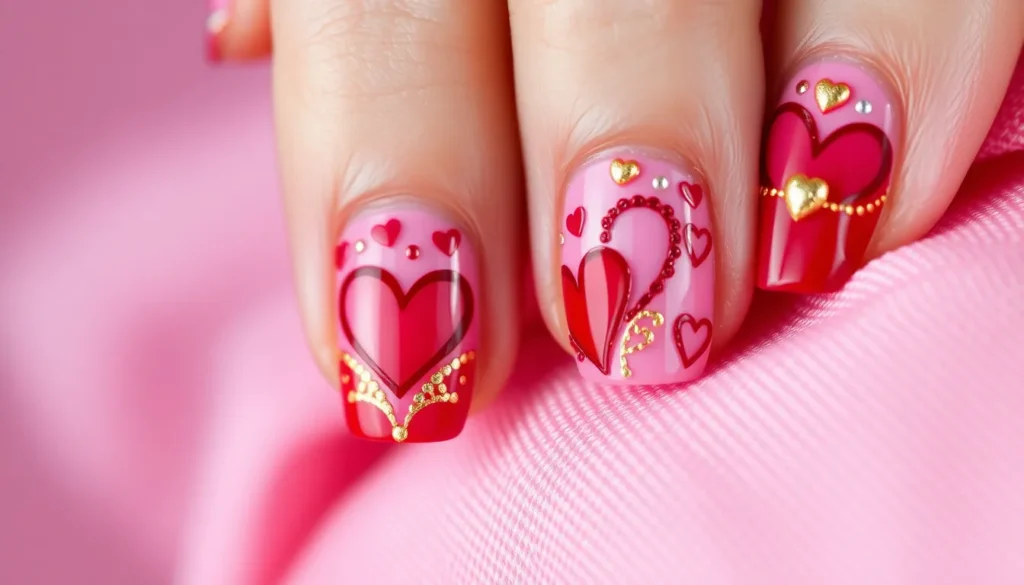
Valentine’s Day is just around the corner and we’re already dreaming of romantic nail designs that’ll make hearts flutter. Whether you’re planning a cozy date night or celebrating Galentine’s Day with friends your nails deserve some love-inspired attention.
From classic red and pink combinations to trendy heart patterns and glittery accents there’s a Valentine’s nail design for every style preference. We’ve curated stunning ideas that range from subtle romantic touches to bold statement looks that’ll have everyone asking where you got your nails done.
Ready to fall head over heels for the perfect Valentine’s manicure? Let’s jump into these gorgeous nail art ideas that’ll make your fingertips the perfect accessory for the season of love.
Classic Red Valentine Nail Ideas for Timeless Romance
Red nails never go out of style, especially when romance is in the air. We’ve curated these classic red valentine nail designs that capture the essence of passionate love while maintaining sophisticated elegance.
Deep Crimson Solid Colors
Deep crimson creates an instantly glamorous look that commands attention at any Valentine’s gathering. We recommend shades like “Malaga Wine” by Essie or “Big Apple Red” by OPI for their rich pigmentation and long-lasting formula. Apply two thin coats over a quality base coat to achieve maximum color payoff without streaking.
Professional manicurists suggest using a small cleanup brush dipped in acetone to perfect the cuticle line. This technique ensures your deep crimson application looks salon-quality even when done at home. The intensity of these darker reds photographs beautifully under restaurant lighting, making them perfect for romantic dinner dates.
Cherry Red French Tips
Cherry red French tips offer a playful twist on the traditional white-tipped manicure while maintaining classic sophistication. Start with a nude or clear base coat, then carefully paint the tips using a bright cherry red polish like “Red My Fortune Cookie” by OPI. We find that using nail guides or tape creates cleaner lines for beginners.
This design works exceptionally well on shorter nails and adds a pop of color without overwhelming your overall look. The contrast between the natural nail bed and vibrant tips creates visual interest that’s both romantic and professional. Many nail artists recommend sealing the design with a high-gloss top coat to enhance the cherry red’s natural shine.
Matte Red with Glossy Accents
Matte red bases paired with glossy accents create stunning textural contrast that feels modern yet timeless. Apply your favorite red polish in two coats, then use a matte top coat over the entire nail. Once dry, add small glossy accents using the same red polish on one or two fingers per hand.
Popular accent patterns include single glossy stripes down the center, small heart shapes on the ring finger, or glossy tips over the matte base. We’ve seen this combination work beautifully with deeper reds like burgundy or wine shades. The interplay between matte and glossy finishes catches light differently throughout the day, creating ever-changing visual appeal that’s perfect for Valentine’s celebrations.
Pink Valentine Nail Ideas to Embrace Feminine Charm
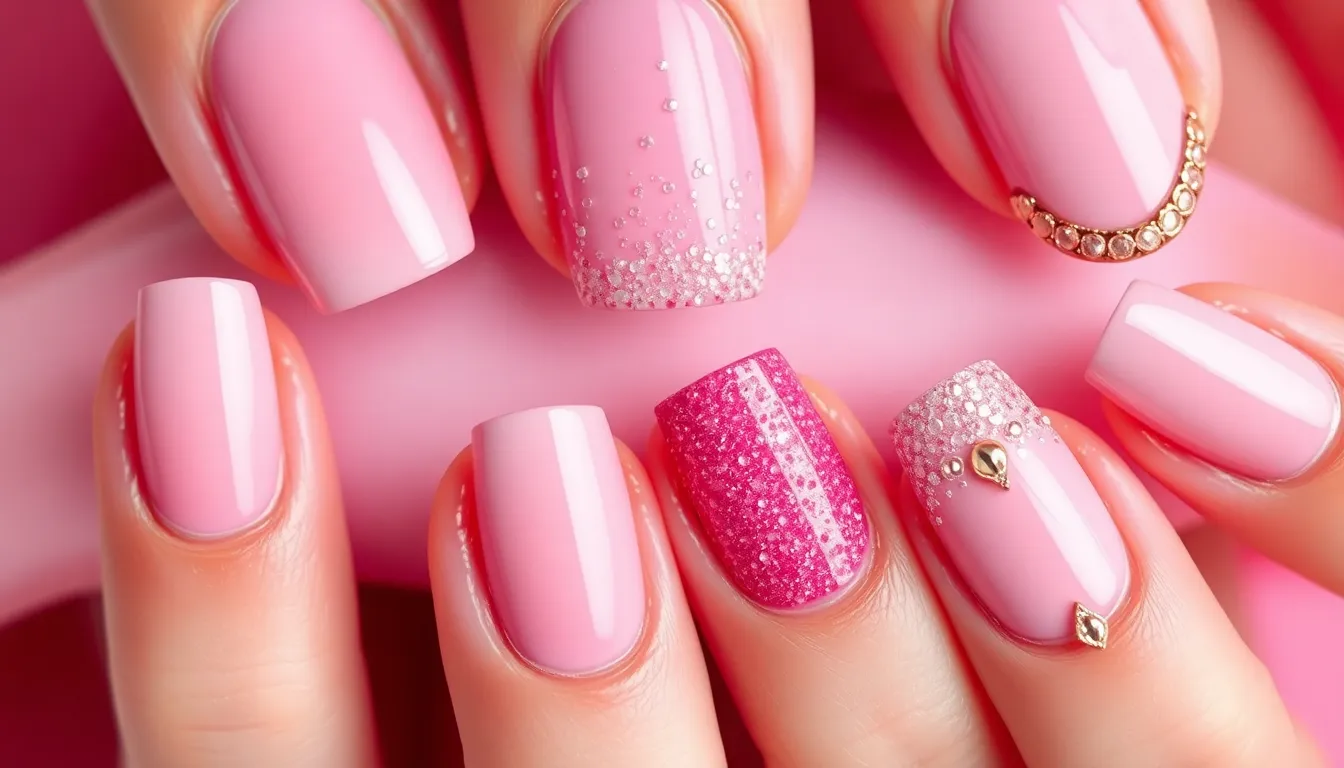
Pink valentine nail designs offer the perfect balance of romance and sophistication for those who prefer softer, more delicate expressions of love. These feminine charm options create stunning alternatives to bold red statements while maintaining the romantic essence of the holiday.
Blush Pink Ombre Designs
Blush pink ombre creates a dreamy gradient effect that transitions seamlessly from light to deeper pink tones. We recommend starting with a nude base like “Ballet Slippers” by Essie, then blending upward with “Eternal Optimist” for the perfect soft fade. This technique requires a makeup sponge for dabbing the colors together while the polish remains wet.
The key to achieving professional looking ombre lies in working quickly before the polish sets. Apply thin layers and blend immediately using gentle pressing motions rather than dragging the sponge across the nail surface. Clean up around the cuticles with a small angled brush dipped in acetone for crisp edges.
Hot Pink Glitter Gradients
Hot pink glitter gradients bring bold femininity to your valentine nail art with sparkling dimension. Start with a hot pink base like “Fiesta” by OPI, then concentrate fine glitter particles toward the nail tips using a fan brush or small sponge. This creates a dramatic buildup that catches light beautifully.
Layering different sized glitter particles adds texture and visual interest to the design. Use holographic glitter over the pink base first, then add larger silver or iridescent pieces for maximum impact. Seal everything with two coats of high gloss top coat to smooth the surface and enhance the sparkle.
Rose Gold Pink Combinations
Rose gold pink combinations merge warm metallic tones with soft pink hues for an elegant valentine look. We suggest pairing rose gold foil accents with dusty pink bases like “Mademoiselle” by Chanel for a sophisticated contrast. Apply the pink base first, then add thin rose gold striping tape or hand painted details.
Metallic pink chrome powders over gel base coats create stunning mirror like finishes that reflect light dramatically. Buff the powder gently with a silicone tool to achieve even coverage, then seal with gel top coat for long lasting shine. This technique works exceptionally well on accent nails paired with solid pink companions.
Heart-Themed Valentine Nail Ideas for Maximum Cuteness
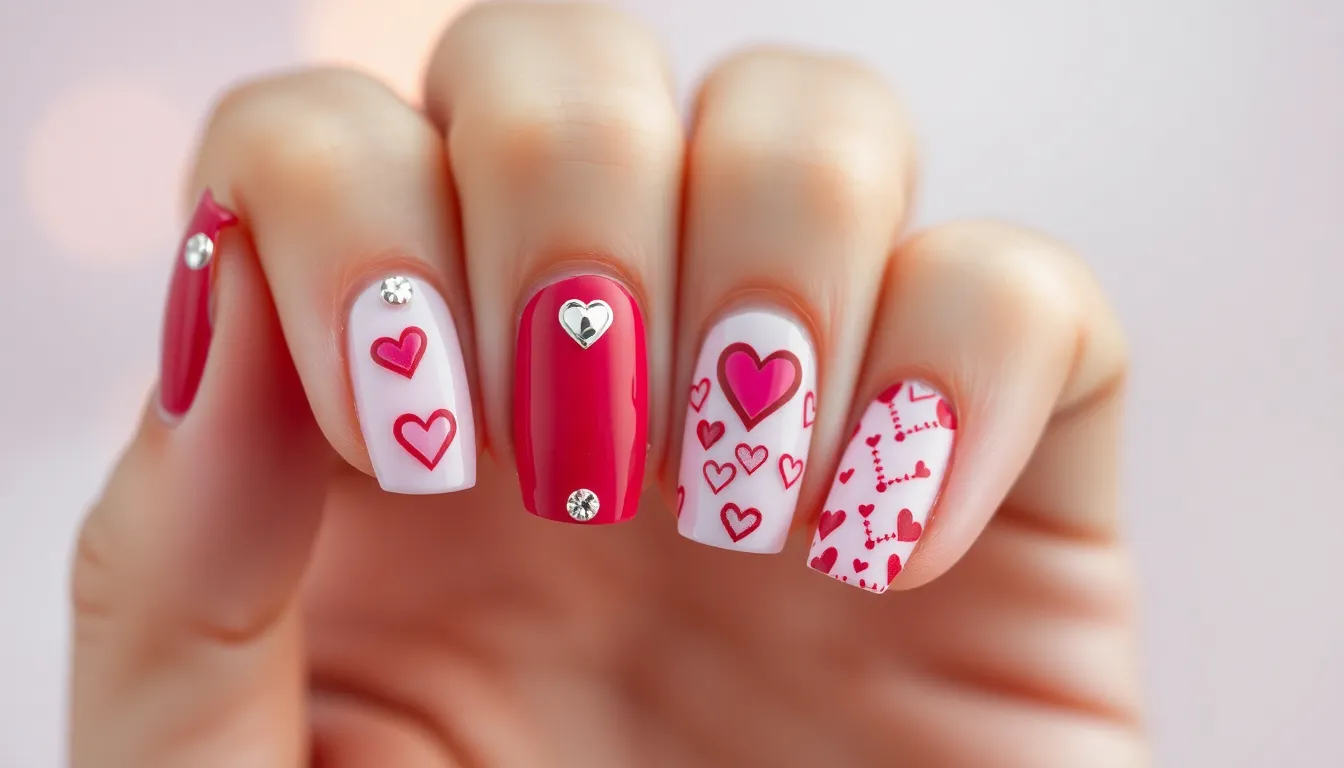
Nothing captures Valentine’s Day romance quite like heart designs on your fingertips. We’ve curated the most adorable heart themed nail art ideas that’ll make your manicure irresistibly cute.
Simple Heart Accent Nails
Single heart accents transform basic manicures into romantic masterpieces with minimal effort. Paint your base color in soft pink like “Bubble Bath” by OPI and add one tiny heart on your ring finger using a dotting tool. Create perfect heart shapes by making two dots side by side with a toothpick, then dragging downward to form the point.
Multi heart scattered designs add playful charm without overwhelming your nails. Apply a nude base like “Samoan Sand” by OPI and dot 3-4 small hearts randomly across each nail using contrasting colors. Vary the heart sizes by using different dotting tools or the tip of a bobby pin for smaller details.
Heart tip accents modernize the classic French manicure with romantic flair. Paint your nails with a clear base and create tiny hearts along the tip line instead of the traditional white stripe. Use nail art brushes to paint hearts in alternating colors like red and pink for maximum visual impact.
3D Heart Embellishments
Rhinestone heart applications create luxurious dimensional effects on Valentine nails. Apply your base color and use nail glue to attach heart shaped rhinestones in sizes ranging from 3mm to 6mm. Position larger hearts on accent nails and smaller ones scattered across remaining fingers for balanced design.
Clay heart sculptures add handcrafted texture to your romantic nail art. Mix small amounts of acrylic powder with monomer to create moldable clay, then shape tiny hearts while the mixture remains pliable. Attach these 3D hearts to wet topcoat and cure under LED light for 60 seconds.
Heart shaped studs provide edgy romance with metallic finishes. Press gold or silver heart studs into tacky base coat before it fully dries to ensure secure adhesion. Layer 2-3 different sized hearts on each accent nail and use single studs on remaining nails for cohesive design.
Negative Space Heart Patterns
Cutout heart windows showcase creative layering techniques with stunning results. Apply base color and use heart shaped nail stencils to mask areas before applying contrasting polish. Remove stencils immediately after application to reveal clean heart shapes that expose the underlying color.
Reverse heart stamping creates sophisticated negative space effects. Paint your nails with a light base like “Funny Bunny” by OPI and use heart shaped stamps with dark polish like “Lincoln Park After Dark.” The technique leaves heart shaped gaps that create elegant contrast patterns.
Heart outline frames define negative space with delicate borders. Use nail art brushes to paint thin heart outlines on nude bases, leaving the interior space completely clear. Apply glossy topcoat only to the outlined areas while keeping the negative space matte for striking textural contrast.
Glitter Valentine Nail Ideas That Sparkle and Shine
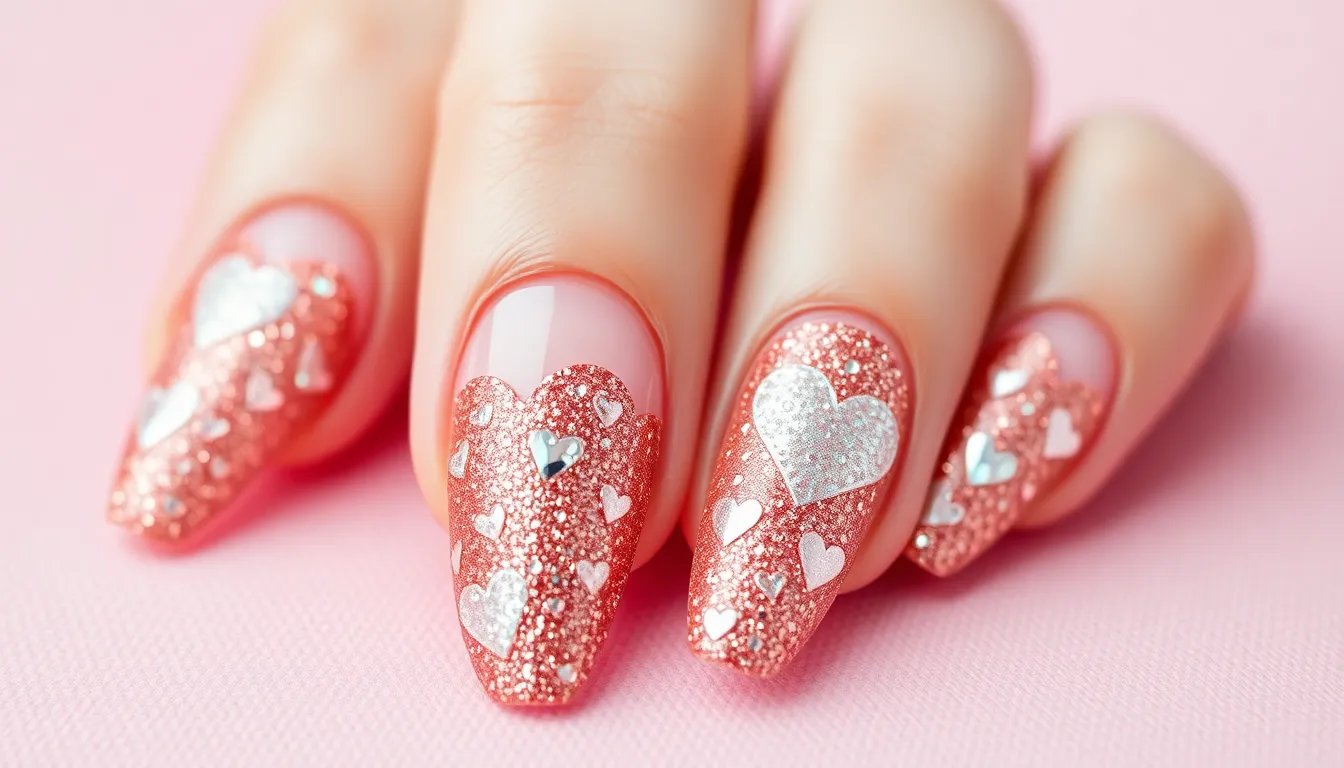
Glitter transforms ordinary Valentine nails into dazzling statements that catch every light. We’ll show you three spectacular glitter techniques that add glamour to your romantic manicure.
Rose Gold Glitter Overlays
Rose gold glitter creates the perfect balance between warm metallics and romantic elegance for Valentine’s Day nails. We recommend starting with a soft pink base like “Bubble Bath” by OPI, then layering fine rose gold glitter from the cuticle to mid-nail for a gradient effect. This technique works beautifully over nude bases, blush pinks, or even deep burgundy shades.
Application becomes easier when you use a small fan brush to blend the glitter seamlessly into your base color. We suggest mixing different sizes of rose gold particles, combining ultra-fine glitter with larger hexagonal pieces for added dimension. Seal everything with two coats of high-gloss topcoat to prevent chipping and enhance the sparkle factor.
Silver Holographic Effects
Silver holographic glitter delivers maximum impact with its rainbow-shifting properties that dance across your nails. We love using holographic topcoats like “Scattered Holo Taco” over classic red or deep pink bases to create stunning dimensional effects. The holographic particles reflect light in multiple directions, creating an almost mirror-like finish that changes with every movement.
Layering techniques enhance the holographic effect significantly when you apply thin coats and build up the intensity gradually. We recommend using a synthetic brush to distribute the glitter evenly, avoiding thick application that can create bumpy textures. Add silver holographic accents to just one or two nails per hand for a sophisticated look that doesn’t overwhelm your overall Valentine design.
Mixed Glitter Heart Designs
Mixed glitter hearts combine multiple sparkle elements to create truly show-stopping Valentine nail art. We start by creating heart stencils using nail tape or vinyl cutouts, then fill each heart with different glitter combinations like rose gold mixed with silver, or red mixed with pink holographic particles. This layering technique creates depth and visual interest that makes each heart unique.
Texture variations add professional polish to mixed glitter hearts when you combine fine glitter with chunky hexagons and star-shaped particles. We suggest using a small detail brush to place larger glitter pieces strategically within each heart outline, then filling surrounding areas with fine glitter for contrast. Finish with gel topcoat to encapsulate all glitter particles and create a smooth, salon-quality finish that lasts through multiple Valentine’s Day celebrations.
Elegant Valentine Nail Ideas for Sophisticated Style
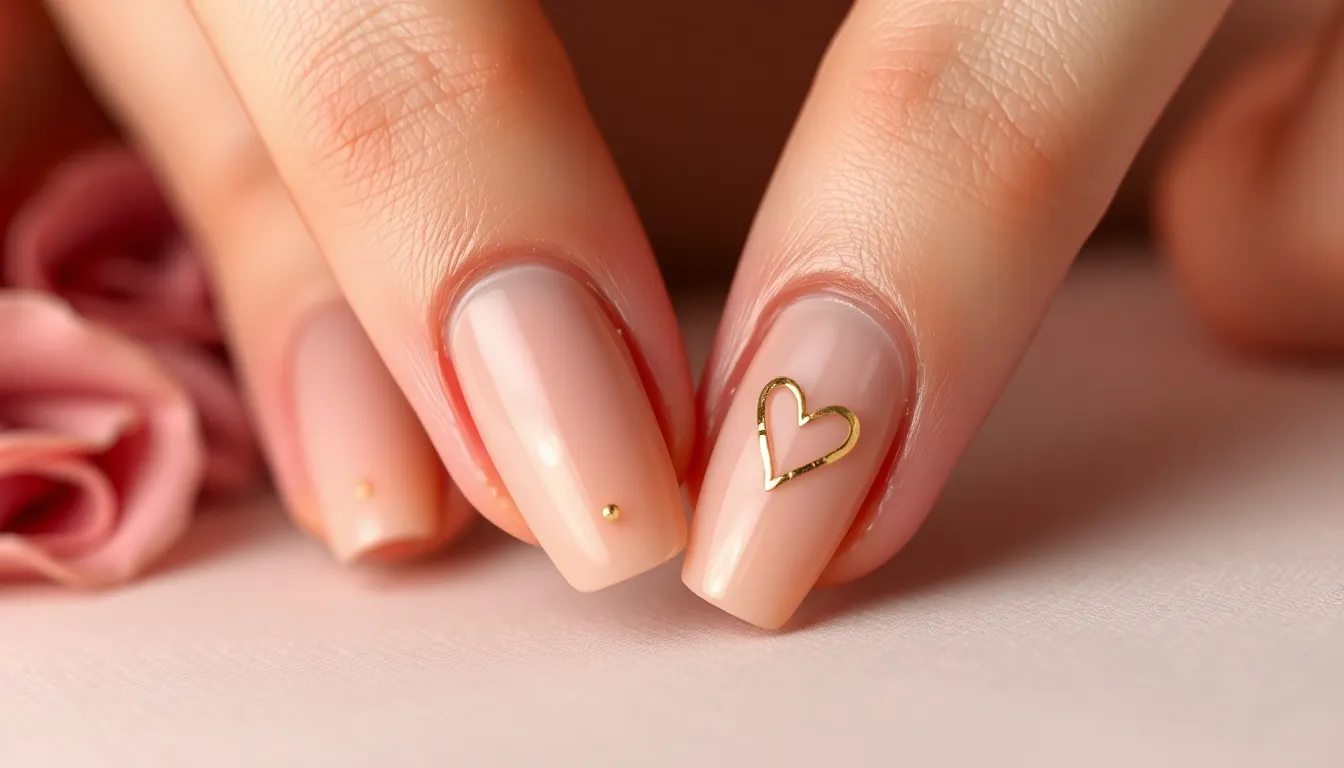
Sophisticated Valentine nail designs elevate romantic nail art beyond playful hearts and bright colors. We’ve curated these refined options that perfectly balance romance with elegance for your special celebration.
Nude Base with Gold Details
Nude bases with delicate gold accents create timeless Valentine elegance that complements any outfit. Start with a neutral nude shade like “Samoan Sand” by OPI or “Mademoiselle” by Essie for your base coat. These shades provide the perfect canvas for metallic gold details.
Gold foil strips placed strategically along the cuticle line add sophisticated shimmer without overwhelming the design. Apply a thin gold line using a striping brush dipped in “18K Gold” nail polish, or press gold foil tape gently onto tacky topcoat for cleaner results.
Delicate gold dots scattered across one accent nail create subtle texture that catches light beautifully. Use a dotting tool or the tip of a bobby pin to place small gold dots in an asymmetrical pattern. This technique works especially well on the ring finger as a statement accent.
Thin gold geometric shapes transform simple nude nails into modern art pieces. Create triangles, thin lines, or small rectangles using gold striping tape or a fine brush with metallic polish. Remove tape while the polish is slightly wet to prevent peeling.
Burgundy and Wine Tones
Deep burgundy shades embody sophisticated romance that’s perfect for evening Valentine celebrations. Rich wine colors like “Lincoln Park After Dark” by OPI or “Wicked” by Essie provide luxurious depth that photographs beautifully in dim lighting.
Wine colored French tips offer an elevated twist on the classic manicure style. Paint your nails with a clear or nude base, then use nail guides to create precise burgundy tips. This look pairs exceptionally well with formal attire and jewelry.
Burgundy ombre effects create dimensional depth that’s both romantic and refined. Start with a deep wine shade at the tips and blend upward using a damp makeup sponge with progressively lighter burgundy tones. Finish with a glossy topcoat to enhance the gradient effect.
Matte burgundy bases with single glossy accent nails provide striking contrast. Apply your favorite wine shade, then use matte topcoat on four nails while keeping one glossy. The mixed finish technique adds visual interest without complicated nail art.
Minimalist Line Art Designs
Simple line art creates sophisticated Valentine nail designs that speak volumes through restraint. Use a fine striping brush and steady hand to create clean, geometric lines in complementary colors on neutral bases.
Single heart outlines drawn in thin black or gold lines offer romantic subtlety. Place one small heart outline on your ring finger using a detail brush, keeping the lines thin and precise. This minimalist approach works beautifully over nude, blush, or white base colors.
Intersecting thin lines create modern geometric patterns that feel fresh and contemporary. Draw two or three crossing lines per nail using contrasting colors like black on nude or gold on burgundy. Keep spacing consistent across all nails for professional results.
Abstract curved lines mimic romantic calligraphy without overwhelming the overall design. Create flowing, organic shapes that suggest movement and grace using a steady hand and high quality striping polish. Practice the motion on paper first to achieve smooth, confident strokes.
Fun Valentine Nail Ideas with Playful Patterns
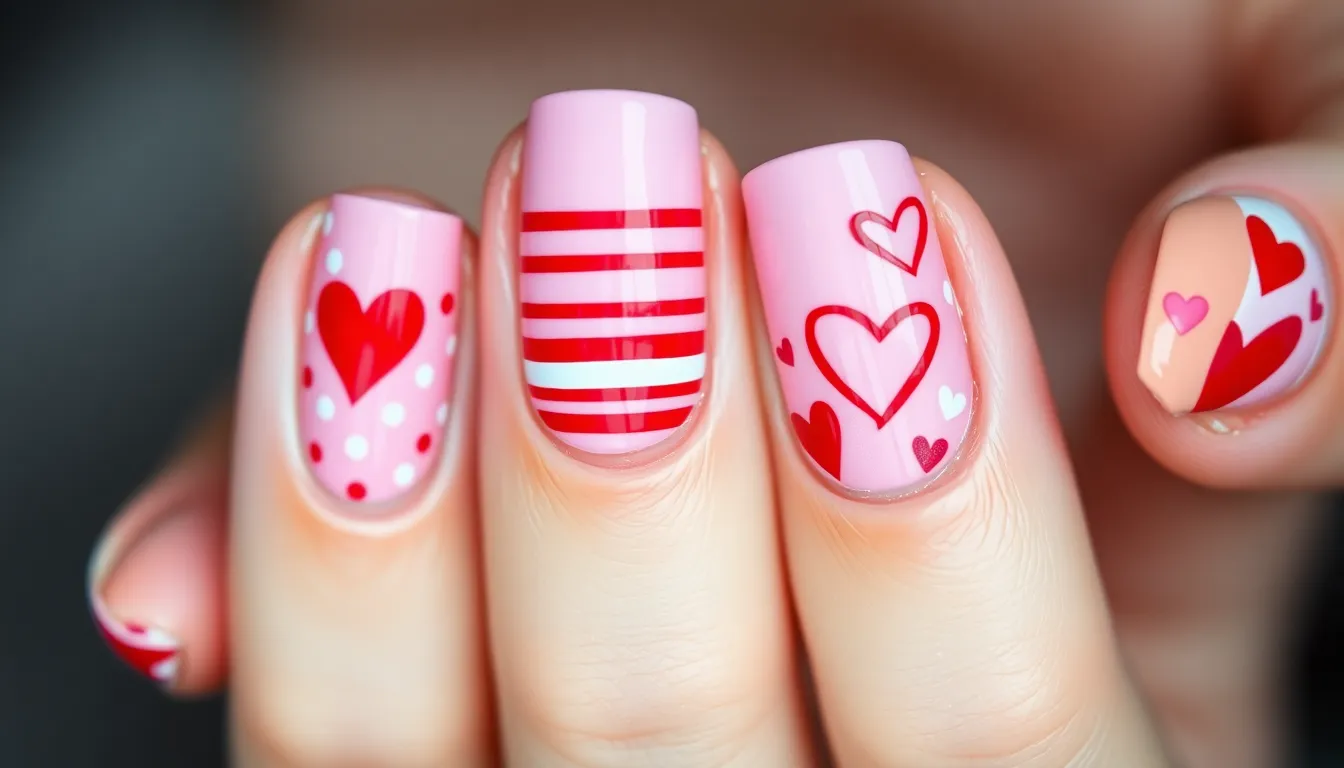
Moving beyond traditional solid colors and simple hearts, we’re exploring playful pattern designs that bring whimsy and personality to your Valentine’s manicure. These creative combinations offer fresh takes on romantic nail art.
Polka Dot Love Themes
Polka dot designs create charming Valentine’s nail art that feels both retro and romantic. We recommend starting with a soft pink base like “Bubble Bath” by OPI and adding white dots using a dotting tool for classic appeal. Alternating the dot colors between red and pink creates visual interest while maintaining the Valentine’s theme.
Creating gradient polka dots adds dimension to your design. Start with larger dots near the cuticle using a medium dotting tool and gradually decrease the size toward the tip. This technique works beautifully with a nude base and red dots, creating an ombre effect that’s both sophisticated and playful.
Multi colored polka dot combinations bring extra fun to your manicure. We suggest using three complementary colors like soft pink, coral, and white on a clear or nude base. The key is spacing the dots evenly while varying their sizes to create a balanced yet spontaneous look.
Stripe and Heart Combinations
Striped patterns paired with heart accents offer the perfect balance of geometric precision and romantic charm. We love vertical stripes in alternating pink and white with a single red heart on the accent nail. This creates a candy cane effect that’s perfect for Valentine’s celebrations.
Diagonal stripe patterns create ever-changing movement across your nails. Start with a light pink base and add thin diagonal lines using striping tape, then fill alternating sections with deeper pink or red. Adding small hearts where the stripes intersect creates cohesive Valentine’s themed artwork.
Heart shaped negative space within striped designs adds sophisticated appeal. We recommend creating horizontal stripes using tape, leaving heart shaped spaces exposed in your base color. This technique works exceptionally well with nude bases and burgundy or deep red stripes.
Conversation Heart Typography
Conversation heart inspired typography brings nostalgic Valentine’s candy charm to your fingertips. We suggest recreating classic phrases like “BE MINE” and “XOXO” using nail art pens on pastel backgrounds. Each nail can feature a different message in complementary colors like yellow, pink, purple, and green.
Modern typography styles update the traditional conversation heart look. Sans serif fonts in white or contrasting colors pop against solid backgrounds. We recommend keeping messages short like “LOVE,” “CUTE,” or “KISS” for maximum readability on the small nail canvas.
Custom message designs let you personalize your conversation heart nails. Create your own romantic phrases or inside jokes using nail art brushes or letter stickers. This approach works best when you coordinate the text colors with your outfit or other Valentine’s accessories for a cohesive holiday look.
DIY Valentine Nail Ideas You Can Create at Home
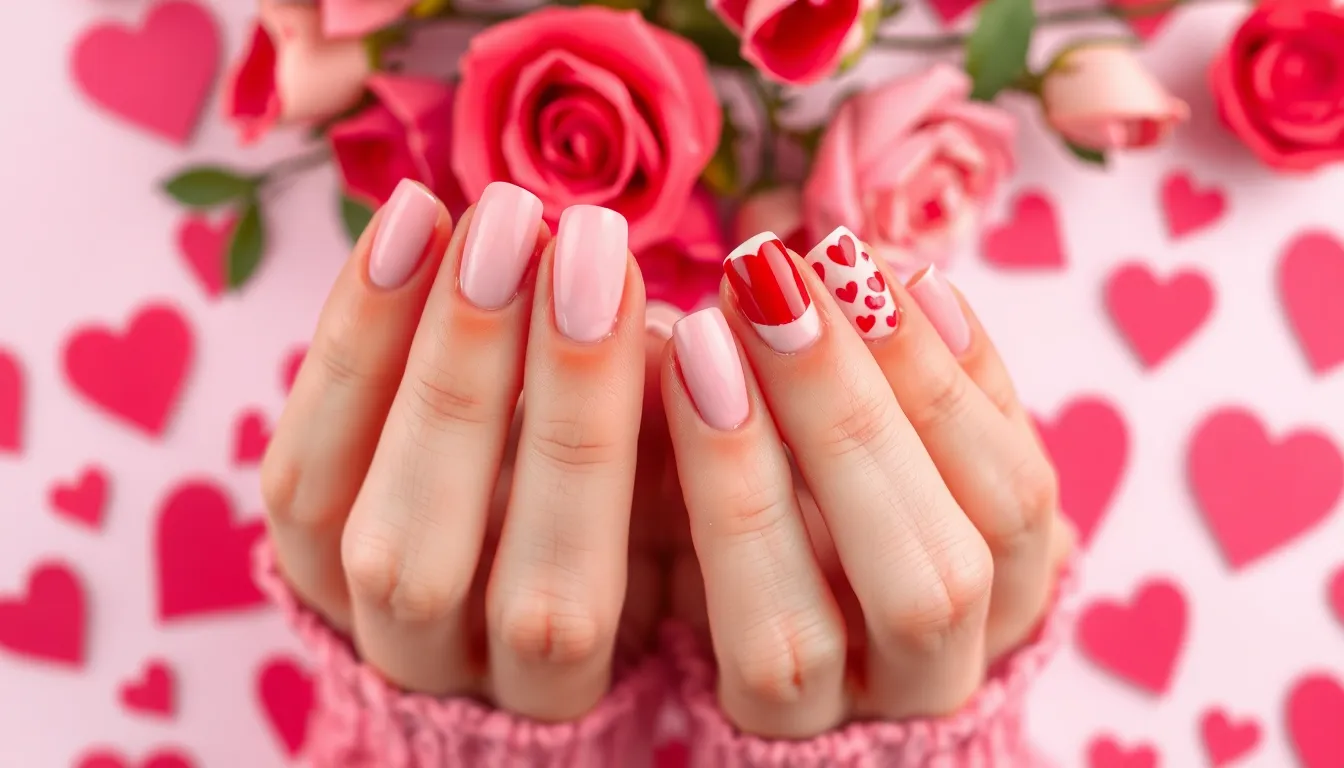
Creating stunning Valentine nail art doesn’t require professional skills or expensive salon visits. We’ll explore accessible techniques that deliver beautiful results using basic tools you likely already own.
Easy Stamping Techniques
Stamping plates transform your nails into romantic masterpieces with minimal effort. We recommend starting with simple heart patterns using a soft pink base like “Bubble Bath” by OPI paired with red stamping polish for crisp contrast. Press the stamping tool firmly onto the plate to pick up the full design, then roll it gently across each nail from one side to the other.
Double stamping creates layered effects that add depth to your Valentine designs. Begin with a base heart pattern in light pink, then stamp smaller hearts in red or gold over the original design. Clean your stamper between each color application using tape or a lint roller to prevent smudging.
Clear stamping allows you to position designs precisely where you want them. Apply a thin coat of regular topcoat to your stamper head before picking up the design, which makes the pattern translucent and easier to place accurately. This technique works especially well for corner heart accents or asymmetrical romantic patterns.
Simple Brush Painting Methods
Dotting tools create perfect heart shapes without requiring artistic skills. Dip a medium dotting tool in red polish and create two dots side by side on your nail, then drag downward from the center to form the heart’s point. Practice this motion on a piece of paper first to perfect your technique and pressure control.
Striping brushes produce clean lines for geometric Valentine designs. Load a thin striping brush with contrasting polish and draw intersecting lines to create diamond patterns, then add small dots at each intersection point. Keep your brush perpendicular to the nail surface and move in one smooth motion for the cleanest results.
Gradient sponging delivers professional looking ombre effects using household makeup sponges. Apply your base color first, then dab different shades of pink or red onto a damp makeup sponge and press it onto each nail in a rocking motion. Seal with topcoat immediately to prevent the gradient from smearing.
Sticker and Decal Applications
Nail stickers offer instant Valentine art without waiting for polish to dry between steps. We suggest applying stickers to completely dry base coats, then sealing with a generous topcoat layer to prevent lifting. Press firmly around the edges of each sticker to ensure proper adhesion and longevity.
Water decals provide intricate designs that look hand painted but apply in seconds. Soak the decal in room temperature water for 10-15 seconds until it slides easily off the backing paper, then position it on your nail and gently press out air bubbles with a soft brush. Allow the decal to dry completely before applying topcoat to prevent tearing.
Layering different sticker types creates unique custom designs that reflect your personal style. Combine solid color heart stickers with metallic line decals, or layer sheer glitter stickers over matte base colors for dimensional effects. Remove any excess sticker material with a cuticle pusher for clean, professional looking edges.
Short Nail Valentine Ideas for Every Length
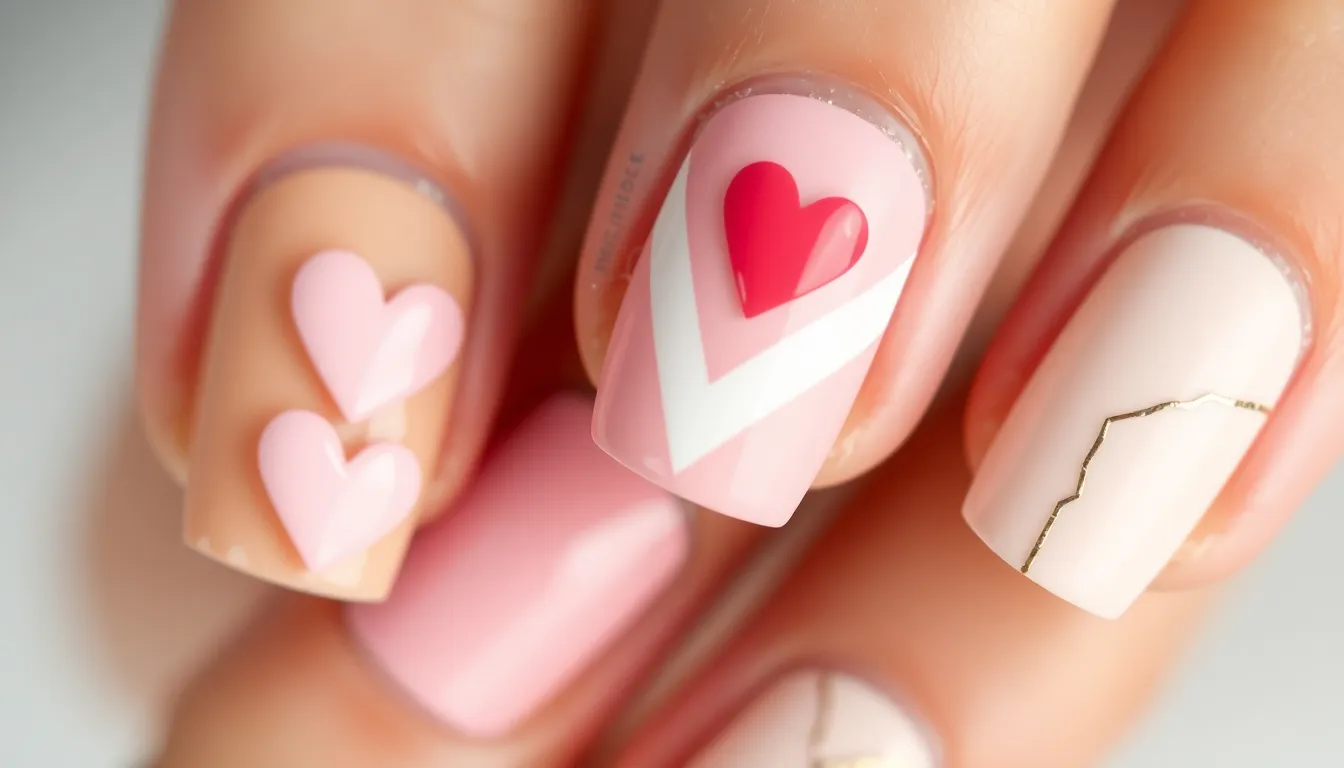
Short nails deserve just as much Valentine’s Day glamour as their longer counterparts. We’ve curated these designs specifically to maximize impact on compact nail beds while maintaining that romantic charm.
Cute Mini Heart Designs
Mini hearts create maximum impact on short nails without overwhelming the limited canvas space. We recommend placing a single small heart at the base of each nail using a dotting tool dipped in contrasting polish. Tiny scattered hearts work beautifully across all five nails using soft pink on a nude base like “Funny Bunny” by OPI.
Creating perfect mini hearts becomes simple with our two dot technique. Place two small dots side by side using your dotting tool then drag downward with a toothpick to form the heart’s point. Multiple mini hearts in graduating sizes add visual interest while keeping designs proportional to shorter nail lengths.
Heart clusters at the cuticle line offer a fresh take on traditional placement patterns. We suggest grouping three tiny hearts in coral pink and rose gold on each ring finger for an accent nail approach. Clear topcoat seals these delicate designs while adding protective shine to your Valentine’s Day manicure.
Simple Color Block Patterns
Color blocking transforms short nails into modern art pieces using geometric Valentine’s Day hues. We recommend dividing each nail into two sections with a diagonal line using tape as your guide. Classic combinations like blush pink and cream white create sophisticated contrast on shorter nail beds.
Vertical color blocks elongate the appearance of short nails while showcasing multiple Valentine’s shades simultaneously. Try pairing “Ballet Slippers” by Essie with “Lincoln Park After Dark” by OPI for dramatic yet wearable results. Remove tape while polish remains slightly wet to achieve crisp clean lines.
Triangular color blocks add ever-changing visual interest to compact nail surfaces without requiring intricate detail work. We suggest creating corner triangles in metallic rose gold against matte pink bases for dimensional contrast. Single accent nails featuring bold color blocks prevent overwhelming shorter lengths while maintaining Valentine’s Day sophistication.
Delicate Detail Work
Fine line work creates elegant sophistication perfectly suited to shorter nail proportions and romantic occasions. We recommend using a striping brush to paint thin gold lines forming simple geometric patterns across nude bases. Delicate vine patterns with tiny leaves showcase artistic flair without cluttering limited nail space.
Micro dot details transform basic manicures into intricate masterpieces using minimal space efficiently and effectively. Create constellation patterns with tiny white dots on deep burgundy bases for celestial Valentine’s romance. Graduated dot sizes from large to small add depth perception to shorter nail canvases.
Negative space designs incorporate bare nail as part of the overall pattern creating modern minimalist Valentine’s looks. We suggest outlining heart shapes with thin red lines while leaving centers clear for contemporary appeal. Fine detail brushes ensure precise application of delicate elements that complement rather than compete with shorter nail proportions.
Long Nail Valentine Ideas to Make a Statement
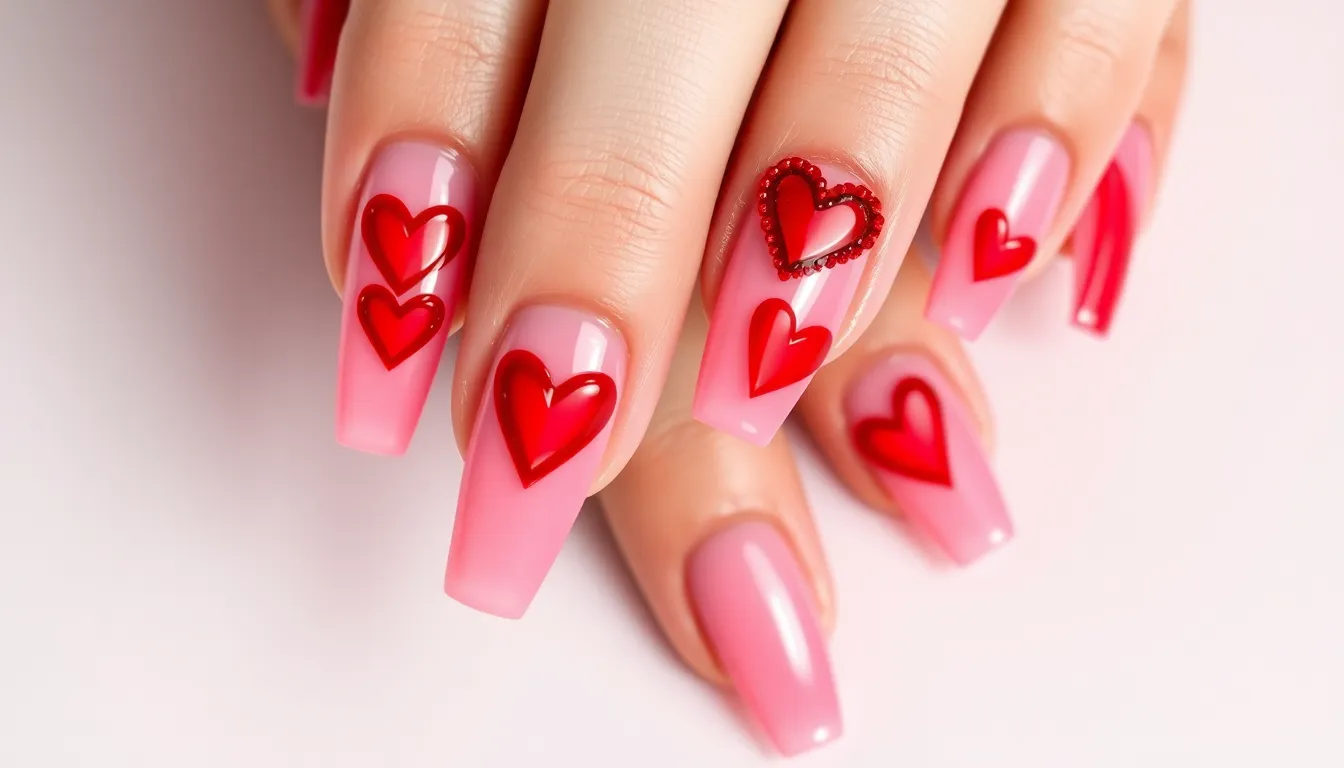
Long nails provide the perfect canvas for dramatic Valentine designs that truly capture attention. We’ll showcase sophisticated techniques that transform extended nail length into romantic masterpieces.
Elaborate Heart Sculptures
Dimensional acrylic hearts create stunning focal points on long nail beds. We recommend building these sculptural elements using clear acrylic powder mixed with red or pink pigments for a translucent effect. Layer the acrylic carefully at the nail tip, creating a raised heart that extends beyond the natural nail edge.
Carved negative space hearts offer an elegant alternative to traditional heart designs. Cut precise heart shapes into gel overlays using a create knife, revealing the natural nail beneath. This technique works beautifully with nude base colors like “Sugar Daddy” by Essie, creating sophisticated contrast.
Layered heart textures combine multiple materials for complex visual interest. Start with a gel base, add textured heart elements using modeling paste, then seal with glossy topcoat. Incorporate rhinestones or micro pearls within the sculptural elements for added luxury.
Gradient Fade Techniques
Vertical Valentine gradients use the full length of extended nails for dramatic color transitions. Begin with white at the cuticle, blend through soft pink in the middle, and finish with deep red at the tips. Use a dense makeup sponge for seamless blending, working in thin layers.
Multi-tonal pink fades create romantic depth using three to four pink shades. We suggest starting with “Bubble Bath” by OPI at the base, transitioning through “First Date” and ending with “Malaga Wine” at the tips. Apply each color wet on wet for the smoothest gradient effect.
Holographic gradient overlays add dimensional sparkle to traditional fades. Layer holographic topcoat over completed gradients, concentrating application at the tips for maximum light reflection. This technique works particularly well over red to pink gradients.
Multiple Design Elements
Combined pattern storytelling transforms long nails into romantic narratives. Feature different Valentine elements on each nail: hearts on the thumb, roses on the index, love letters on the middle finger, and cupid arrows on the ring finger. Maintain color consistency throughout for cohesive appeal.
Textural element mixing combines smooth polish with raised details for tactile interest. Apply gel base colors, add rhinestone clusters on accent nails, incorporate glitter gradients on middle fingers, and finish with matte topcoat on remaining nails. This creates visual rhythm across the full manicure.
Seasonal transition designs blend Valentine themes with upcoming spring elements. Include soft florals alongside traditional hearts, using colors that bridge winter romance and spring renewal. Pink cherry blossoms paired with heart accents create perfect seasonal storytelling on extended nail length.
Conclusion
We’ve explored an incredible range of Valentine’s nail ideas that’ll transform your fingertips into romantic masterpieces. Whether you’re drawn to classic elegance or playful patterns there’s a perfect design waiting for you.
Remember that Valentine’s nails aren’t just about following trends – they’re about expressing your personal style while celebrating love. From DIY techniques to professional-inspired looks we’ve provided options for every skill level and nail length.
This Valentine’s Day let your nails tell their own love story. Pick the designs that speak to you experiment with different techniques and most importantly have fun creating something beautiful that makes you feel confident and radiant.
Frequently Asked Questions
What are the most popular Valentine’s Day nail colors?
The most popular Valentine’s Day nail colors include classic reds like “Malaga Wine” by Essie and “Big Apple Red” by OPI, various shades of pink from blush to hot pink, and elegant burgundy or wine tones. Rose gold and nude bases with metallic accents are also trending choices for a sophisticated romantic look.
How can I create heart designs on my nails at home?
You can create heart designs using a dotting tool to make two dots and drag them together into a point, use nail stamping plates for consistent patterns, apply heart-shaped stickers or decals, or try negative space techniques by creating cutout heart windows in your base color.
What’s the best way to achieve an ombre effect on nails?
Start with a nude base like “Ballet Slippers” by Essie, then use a makeup sponge to dab and blend a second color like “Eternal Optimist” from the tip toward the middle. Work quickly while polish is wet, and clean up excess with a small brush dipped in acetone.
Can short nails look good with Valentine’s Day designs?
Absolutely! Short nails are perfect for Valentine’s designs. Try mini heart clusters near the cuticle line, simple color blocking with geometric patterns, delicate line work, or negative space designs that incorporate bare nail as part of the overall aesthetic for a modern look.
How do I make my Valentine’s nail art last longer?
Use a quality base coat, apply thin layers of polish, seal with a good topcoat, and avoid activities that chip nails for the first 24 hours. For glitter designs, use a peel-off base coat for easier removal, and consider using gel polish for extended wear.
What are some elegant Valentine’s nail ideas for the office?
Opt for nude bases with subtle gold details, burgundy French tips, minimalist line art with simple geometric patterns, or soft pink ombre effects. These designs maintain professionalism while incorporating romantic Valentine’s Day elements in a sophisticated manner.
How do I remove glitter nail polish easily?
Soak cotton balls in acetone, place them on each nail, wrap with foil, and let sit for 10-15 minutes. The glitter should slide off easily. Alternatively, use a peel-off base coat under glitter polish for mess-free removal.
What tools do I need for DIY Valentine’s nail art?
Essential tools include dotting tools for hearts and dots, striping brushes for lines, makeup sponges for ombre effects, nail stamping plates for patterns, cleanup brushes, and basic supplies like base coat, topcoat, and acetone for corrections.

