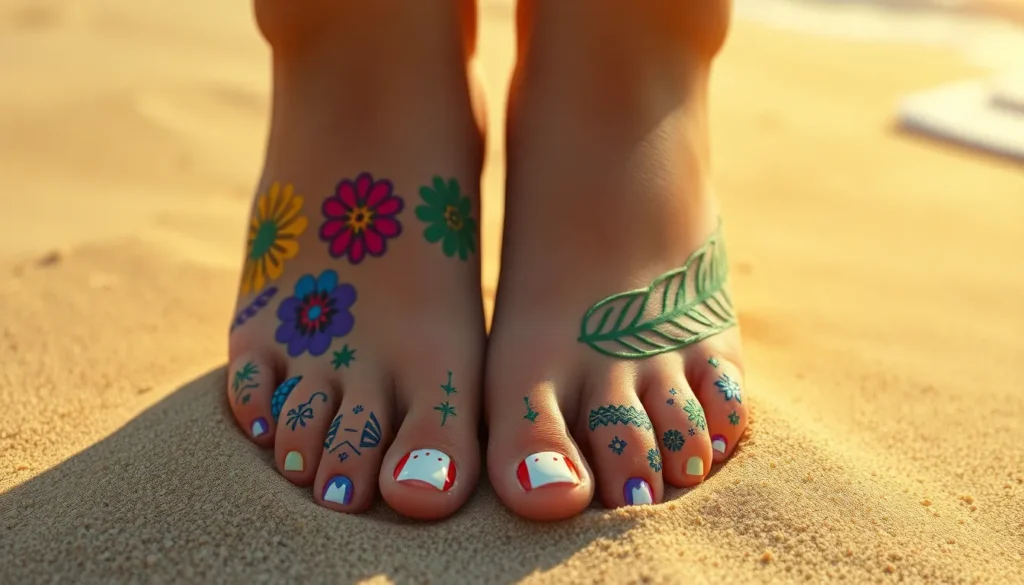
We’ve all been there – staring at our bare toenails wondering how to transform them into stunning works of art that’ll make our feet the star of the show. Whether you’re prepping for sandal season or just want to add some pizzazz to your pedicure routine, the right toenail design can boost your confidence and complete your look.
From simple accent nails to intricate patterns that’ll have everyone asking where you got your pedicure done, we’re about to jump into a treasure trove of creative possibilities. The best part? Many of these designs are surprisingly easy to recreate at home with just a few basic tools and some creativity.
Ready to step up your toe game? We’ll walk you through trending designs, classic favorites, and show-stopping styles that work for every occasion – because your toes deserve just as much attention as your fingernails.
Classic French Pedicure With Modern Twists
The timeless French pedicure gets an exciting makeover with contemporary updates that breathe new life into this beloved nail art style. We’re sharing fresh interpretations that maintain the elegant foundation while adding personality and flair to your toenail designs.
Traditional White Tips With Color Variations
White tips remain the cornerstone of French pedicures, but we’ve discovered exciting ways to enhance this classic look. Swap traditional stark white for softer alternatives like cream, pearl, or champagne shades that complement various skin tones beautifully.
Consider these refined variations:
- Nude base with off-white tips creates a sophisticated everyday look
- Soft pink base with ivory tips adds warmth and femininity
- Clear base with pearl white tips offers subtle shimmer and elegance
- Beige base with vanilla tips provides earthy sophistication
Experiment with tip thickness to modernize your French pedicure further. Thin lines create delicate, minimalist appeal while wider tips make bold statements. We recommend using striping tape to achieve perfectly straight lines every time.
Colored French Tips for Summer Vibes
Vibrant colored tips transform traditional French pedicures into playful summer statements that capture the season’s energy. Bold hues like coral, turquoise, and sunshine yellow instantly elevate your toe nail design with tropical flair.
Popular summer color combinations include:
| Base Color | Tip Color | Occasion |
|---|---|---|
| Clear | Coral Pink | Beach days |
| Nude | Ocean Blue | Pool parties |
| White | Lime Green | Festival wear |
| Pink | Orange | Vacation style |
Neon shades work exceptionally well for festival season and vacation photos. Pastel tips offer softer alternatives that still capture summer’s essence without overwhelming brightness. We suggest choosing colors that complement your wardrobe and personal style preferences.
Glitter French Tips for Special Occasions
Sparkly French tips add glamorous touches perfect for weddings, parties, and celebratory events. Fine glitter creates subtle elegance while chunky glitter makes dramatic statements that catch light beautifully.
Application techniques for flawless glitter tips:
- Press glitter into wet polish for maximum adhesion and coverage
- Layer clear topcoat over glitter to smooth texture and prevent chipping
- Use makeup sponge dabbing to blend glitter seamlessly into base color
- Apply glitter gradient from tip downward for ombre effects
Mix different glitter sizes and colors for dimensional effects that photograph beautifully. Rose gold glitter complements warm skin tones while silver enhances cool undertones. We recommend sealing glitter thoroughly with quality topcoat to extend wear time and maintain shine.
Bold and Bright Neon Toe Nail Designs
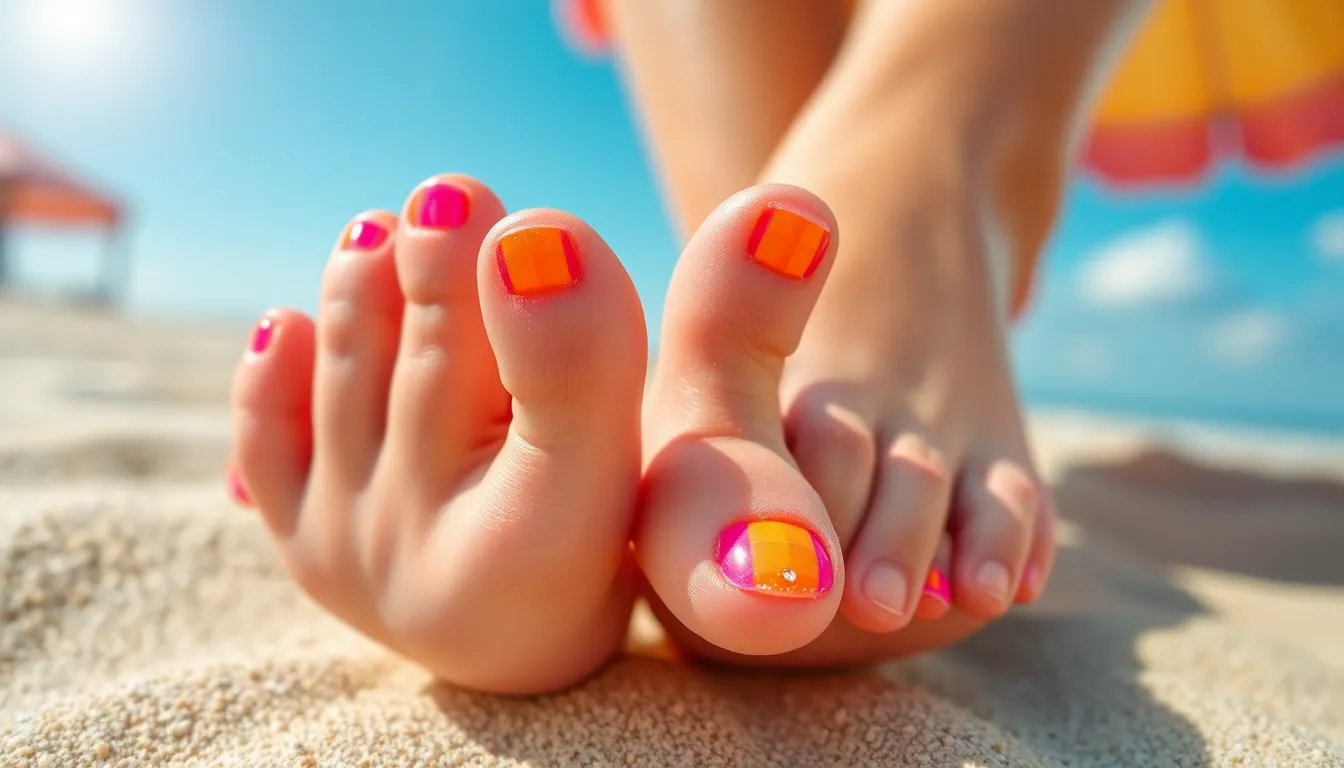
Neon toenail designs make an electrifying statement that commands attention wherever we go. These vibrant colors transform our feet into stunning focal points that perfectly capture summer’s energetic spirit.
Electric Pink and Orange Combinations
Electric pink paired with bright orange creates one of the most striking neon combinations we can achieve. Paint alternating toes with each color for a playful checkerboard effect that screams confidence. Gradient designs work beautifully with these colors, starting with electric pink at the base and blending into vibrant orange at the tips.
Ombre techniques using these two powerhouse colors deliver stunning results when we apply pink to the big toe and gradually transition to orange on the pinky toe. Geometric patterns featuring triangles or stripes in both colors add modern flair to this classic neon pairing. Consider adding small rhinestones or metallic accents to elevate the overall design impact.
Neon Green and Yellow Accent Nails
Neon green serves as the perfect base color when we want to create tropical inspired toenail art. Apply bright yellow to just the big toe and ring toe for a balanced accent nail approach. Leopard print patterns using these two colors create an unexpectedly chic look that works for both casual and evening occasions.
Floral designs featuring yellow flowers on a neon green background bring summery vibes to our pedicure routine. Marble effects combining these colors produce unique patterns that never repeat exactly the same way twice. Sport themed designs using team colors in neon green and yellow show off our favorite athletic teams with style.
UV Reactive Neon Colors for Night Out
UV reactive polishes transform our toenails into glowing masterpieces under blacklight conditions at clubs and parties. These special formulas appear as regular neon colors in daylight but illuminate dramatically under ultraviolet lighting. Purple and blue UV reactive shades create the most dramatic transformation effects we can achieve.
Galaxy designs using multiple UV reactive colors simulate starry night skies that come alive on the dance floor. Apply base coats in darker UV reactive shades and add lighter colors using sponge techniques for cosmic effects. Splatter patterns using white UV reactive polish over colored bases create constellation inspired looks that glow brilliantly under club lighting.
Charging these polishes under natural sunlight for 10 minutes before heading out ensures maximum glow intensity throughout the evening. Layer clear topcoats over UV reactive designs to protect the special pigments and extend the glowing effects.
Floral Toe Nail Art Patterns
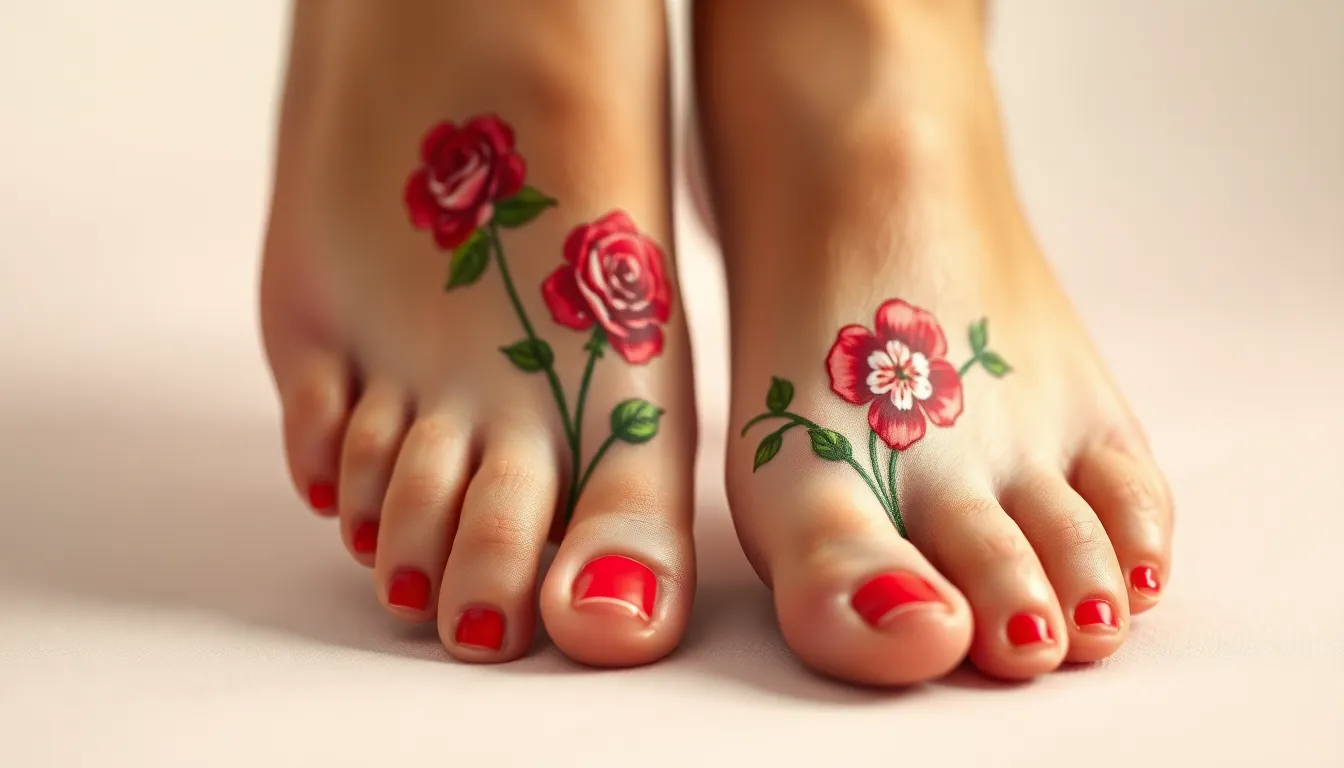
Floral designs bring feminine elegance to our toenails while showcasing artistic flair that complements spring and summer wardrobes. These botanical patterns transform simple pedicures into garden-inspired masterpieces.
Hand-Painted Rose Designs
Classic red roses create timeless beauty on our big toes using simple brush strokes and layering techniques. Start with a deep red base coat then add darker crimson petals using a thin art brush. Light pink highlights bring dimension to each bloom while forest green leaves complete the romantic look.
Miniature rose clusters work perfectly across multiple toes for cohesive floral coverage. Paint tiny buds on our smaller toes using dotting tools and fine brushes. Soft pastel shades like blush pink and cream create dreamy rose gardens that pair beautifully with nude polish bases.
Gradient rose ombre combines multiple rose shades from light to dark across our toes. Begin with pale pink roses on our pinky toes then deepen the color intensity toward our big toes. This technique creates visual flow while maintaining the romantic rose theme throughout our pedicure.
Tropical Hibiscus Motifs
Bold hibiscus blooms capture summer vibes with vibrant coral and fuchsia petals that demand attention. Paint large five-petaled flowers on our big toes using bright tropical colors. Golden yellow centers with delicate stamen details complete these show-stopping tropical statements.
Island-inspired color combinations feature hibiscus flowers in sunset oranges and magenta pinks against turquoise backgrounds. These dramatic color contrasts evoke tropical vacation feelings while creating eye-catching toe nail art. Palm leaf accents in emerald green add authentic island flair.
Watercolor hibiscus effects blend colors seamlessly for artistic tropical designs that look professionally painted. Use wet-on-wet techniques to create soft color transitions within each petal. Purple and blue hibiscus varieties offer unique alternatives to traditional tropical orange and pink combinations.
Delicate Cherry Blossom Accents
Soft pink sakura branches create elegant spring designs using pale pink and white color palettes. Paint delicate five-petaled blossoms along curved brown branches that flow across our toenails. Subtle pearl accents in flower centers add sophistication to these Japanese-inspired designs.
Minimalist cherry blossom sprigs work beautifully on accent toes for understated floral elegance. Single branches with 2-3 small blossoms create clean modern looks without overwhelming our toenails. Dusty rose and cream colors maintain the delicate aesthetic while providing visual interest.
Falling petal effects capture the ephemeral beauty of cherry blossom season through scattered petal designs. Paint individual pink petals floating across our toenails using various sizes and orientations. Soft gradients from pale pink to white create realistic petal depth and movement.
Geometric and Abstract Toe Nail Designs
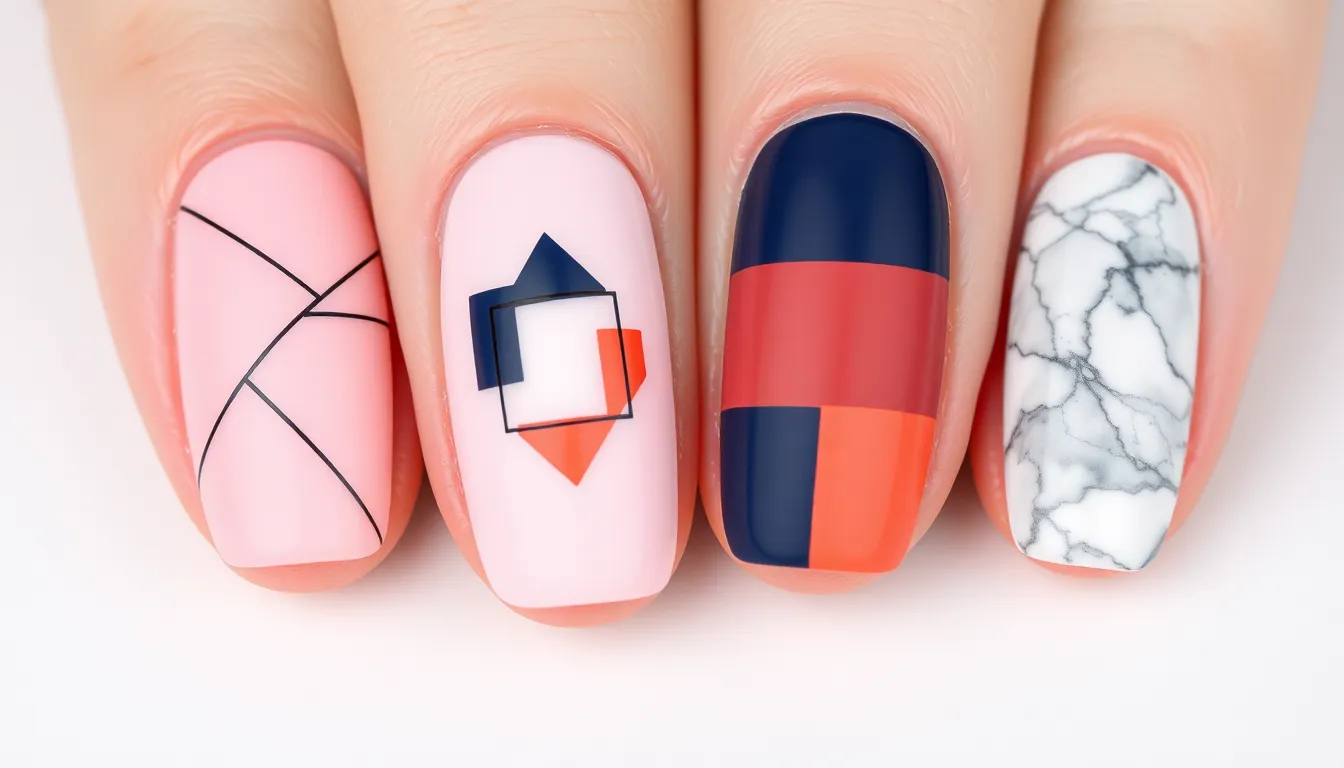
Bold shapes and artistic patterns transform toenails into modern masterpieces. We’ll explore how geometric designs create sophisticated looks that perfectly complement contemporary fashion trends.
Minimalist Line Art Patterns
Thin black lines create striking designs on neutral base colors like nude, white, or soft pink. We recommend using striping tape to achieve perfectly straight lines that intersect at various angles across each toenail. Single diagonal lines across the big toe paired with tiny dots on smaller toes create an elegant minimalist statement.
Negative space designs work beautifully with line art patterns, leaving portions of the natural nail exposed while adding geometric elements. We’ve found that metallic gold or silver lines on clear base coats produce sophisticated results perfect for professional settings. Triangle outlines positioned at different angles on each toe create visual interest without overwhelming the design.
Simple grid patterns using white lines over pastel backgrounds offer versatility for any season. We suggest varying line thickness between toes to add dimension, making the big toe the focal point with slightly thicker lines. Curved line combinations that form abstract wave patterns bring movement to the design while maintaining that clean, modern aesthetic.
Color Block Geometric Shapes
Solid triangular sections in contrasting colors create bold statements that catch attention instantly. We recommend pairing complementary colors like navy and coral or forest green and mustard yellow for maximum impact. Half moon designs at the nail base using metallic shades against matte backgrounds produce stunning dimensional effects.
Square and rectangle blocks arranged asymmetrically across toenails generate contemporary art vibes. We’ve discovered that alternating matte and glossy finishes within the same color family adds textural interest without clashing. Chevron patterns using three different shades create ever-changing movement that elongates the appearance of shorter toenails.
Hexagonal shapes clustered together form honeycomb patterns that work exceptionally well on bigger toes. We suggest using tape stencils to ensure crisp edges and clean color separation between each geometric section. Color gradients within individual shapes, transitioning from light to dark tones, add sophistication to basic geometric forms.
Marble Effect Abstract Designs
Swirled patterns mimicking natural marble create luxurious looks using nail polish and a small brush or toothpick. We recommend starting with a white or light gray base, then dropping small amounts of darker colors while the base is still wet. Gentle swirling motions with a thin brush blend the colors naturally without overmixing.
Water marble techniques produce unique abstract patterns that differ on each toenail, creating a cohesive yet varied set. We’ve found that using three to four colors in the same family produces the most elegant results. Room temperature filtered water works best for this technique, allowing polish to spread evenly before creating the marble pattern.
Alcohol ink effects on gel polish bases create stunning abstract designs with organic flowing shapes. We suggest applying the base color, then adding drops of alcohol ink before curing under LED light. Metallic accents brushed over dried marble patterns add glamorous touches perfect for special occasions or evening events.
Seasonal Toe Nail Design Inspirations
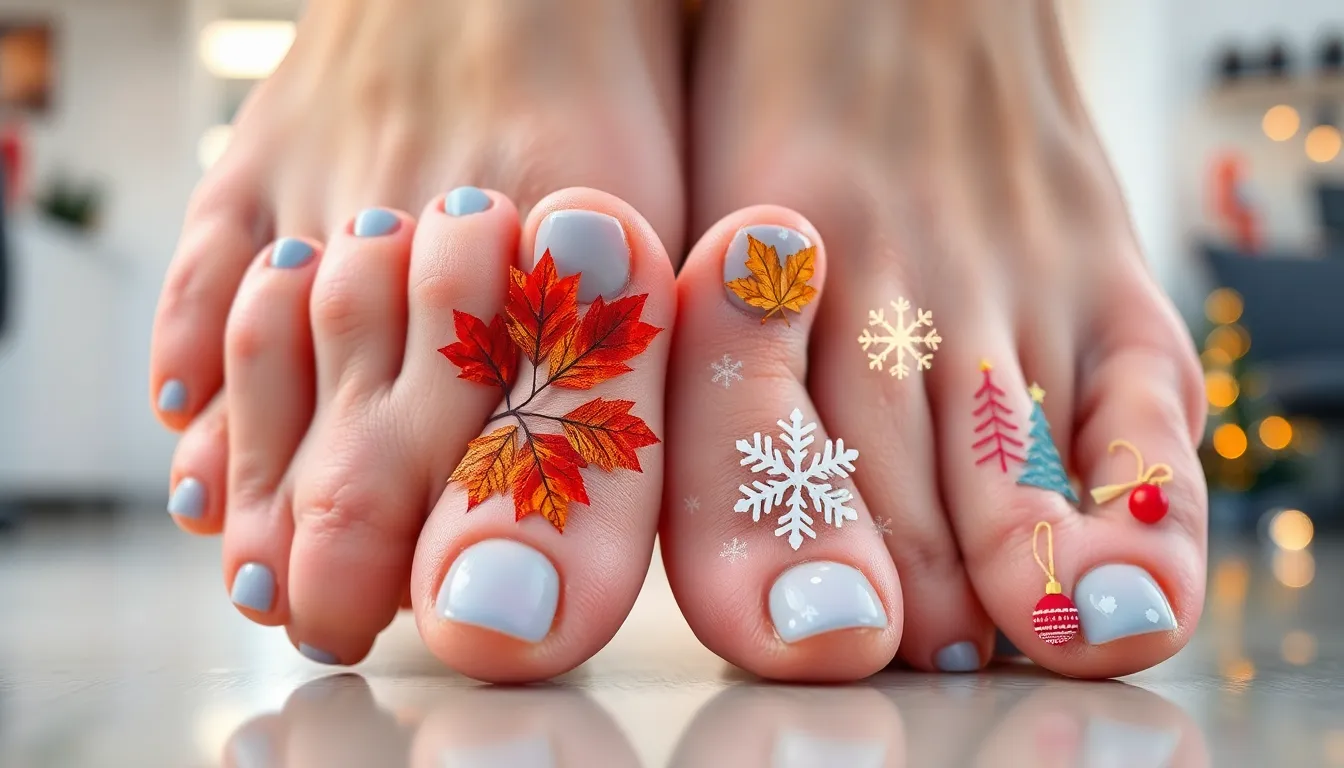
Each season brings unique opportunities to refresh our toenail designs with colors and motifs that capture the essence of the time of year.
Summer Beach and Ocean Themes
Ocean waves create stunning toenail art that captures the movement and beauty of summer waters. We recommend starting with a light blue base and using a small brush to paint white foam details along curved wave lines. Gradient blues from navy to turquoise work perfectly for creating depth and realistic water effects.
Seashell accents add delicate coastal charm to summer pedicures. Small conch shells, starfish, and sand dollars painted in pearlescent whites and corals complement sandy beige base colors beautifully. We suggest using dotting tools to create textured shell ridges and highlighting details with iridescent topcoats.
Tropical sunset designs bring vibrant energy to beach themed toenails. Blending orange, pink, and yellow creates gorgeous sky effects that transition seamlessly across multiple toes. Palm tree silhouettes painted in black over these colorful backgrounds complete the tropical paradise look we love for summer vacations.
Coral reef patterns showcase the underwater beauty of ocean ecosystems through intricate nail art. We paint branching coral structures in bright pinks and oranges while adding small fish details in electric blues and yellows. These designs work especially well on big toes where we have more space for detailed artwork.
Fall Autumn Leaves and Warm Tones
Maple leaf designs capture autumn’s most iconic symbol through rich reds, oranges, and golden yellows. We recommend painting realistic leaf shapes with detailed veining using thin brushes and darker accent colors. Multiple leaves scattered across different toes create a natural fallen leaf effect that perfectly represents the season.
Pumpkin spice colors bring cozy autumn warmth to our toenail palettes through burnt oranges, deep browns, and creamy beiges. These earth tones work beautifully together in gradient designs or as solid colors with metallic accents. We love adding copper glitter to enhance the seasonal sparkle.
Plaid and checkered patterns reflect fall fashion trends through classic autumn color combinations. Burgundy and gold plaid designs create sophisticated looks while orange and brown checkerboard patterns add playful seasonal flair. We use striping tape to achieve clean lines and professional looking geometric patterns.
Acorn and pine cone motifs celebrate nature’s autumn harvest through detailed botanical nail art. Small brown acorns with textured caps and elongated pine cones painted in realistic browns showcase our artistic skills. We recommend painting these designs on accent nails while keeping other toes in coordinating solid colors.
Winter Snowflake and Holiday Motifs
Snowflake patterns transform toenails into winter wonderlands through delicate crystalline designs painted in white and silver. Each snowflake should be unique, featuring six pointed symmetrical patterns with intricate details. We create these designs using thin brushes and dotting tools over deep blue or black backgrounds for maximum contrast.
Christmas tree designs bring holiday cheer to our winter pedicures through festive green triangular shapes decorated with colorful ornaments. Small red and gold dots represent baubles while tiny yellow stars crown each tree. We recommend painting these celebratory designs on big toes while coordinating other nails with solid holiday colors.
Candy cane stripes create playful holiday nail art through classic red and white diagonal patterns. These peppermint inspired designs work perfectly as accent nails or across multiple toes for bold festive statements. We achieve clean stripes using tape guides and steady brush strokes for professional results.
Holly and mistletoe accents add traditional holiday elements through green leaves with red berry details. These botanical motifs look elegant painted as small clusters on accent nails or scattered across multiple toes. We enhance the festive look with gold highlights on leaf edges and pearl finishes on berry details.
Metallic and Chrome Toe Nail Finishes
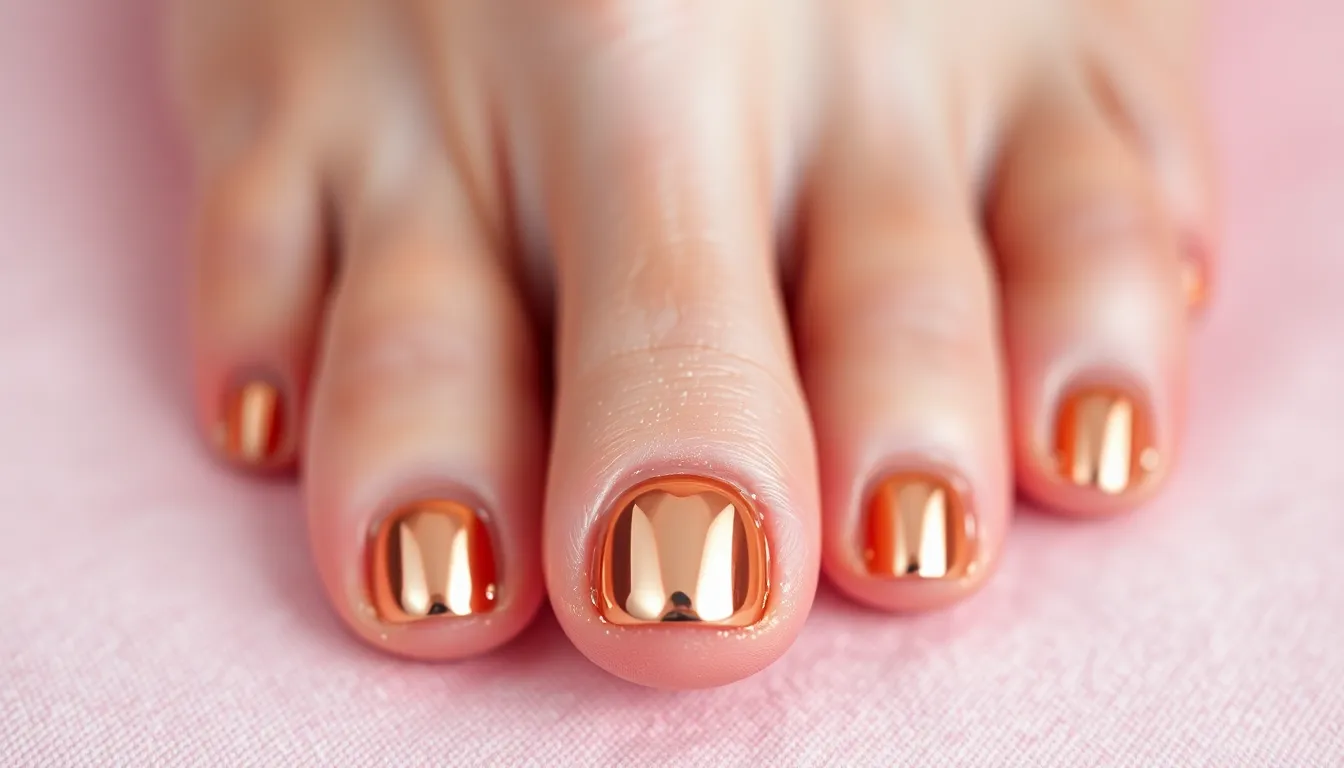
Metallic and chrome toenail finishes create a luxurious mirror-like effect that catches light beautifully. These high-impact designs transform ordinary pedicures into glamorous statements perfect for special occasions or adding drama to everyday looks.
Rose Gold Mirror Effect
Rose gold mirror polish delivers a warm, romantic metallic finish that complements all skin tones. We recommend applying a black base coat first, then layering the rose gold chrome powder with a makeup sponge for maximum reflectivity. Buffing the powder gently into the tacky gel base creates that flawless mirror shine we’re after.
Professional rose gold chrome powders like Born Pretty or Beetles provide the most intense reflective finish. Sealing with a no-wipe top coat preserves the mirror effect without dulling the shine. This technique works exceptionally well on big toes as accent nails paired with nude or blush pink on the remaining toes.
Silver Chrome with Accent Stones
Silver chrome creates a futuristic mirror finish that pairs perfectly with crystal accent stones. We start with a black gel base, apply silver chrome powder using circular motions, then place rhinestones or crystals while the top coat remains tacky. Swarovski crystals in clear or AB (aurora borealis) create stunning light refraction against the chrome surface.
Placement strategy matters for comfort and longevity. We position larger stones on big toes near the cuticle area and smaller crystals on accent nails in triangular or linear patterns. Using nail glue specifically designed for stones ensures they stay secure through daily activities.
Gold Leaf Application Techniques
Gold leaf creates an elegant textured metallic finish with organic, irregular patterns. We apply a thin layer of foil adhesive over cured base color, wait until it becomes tacky, then press real gold leaf sheets onto the surface. Gently brushing away excess leaf with a soft brush reveals beautiful abstract patterns.
Layering techniques produce different effects depending on coverage. Full coverage creates solid gold toes, while partial application over colored bases like deep burgundy or forest green creates luxurious accent details. Sealing with gel top coat protects the delicate leaf while maintaining its metallic luster.
Animal Print Toe Nail Design Ideas
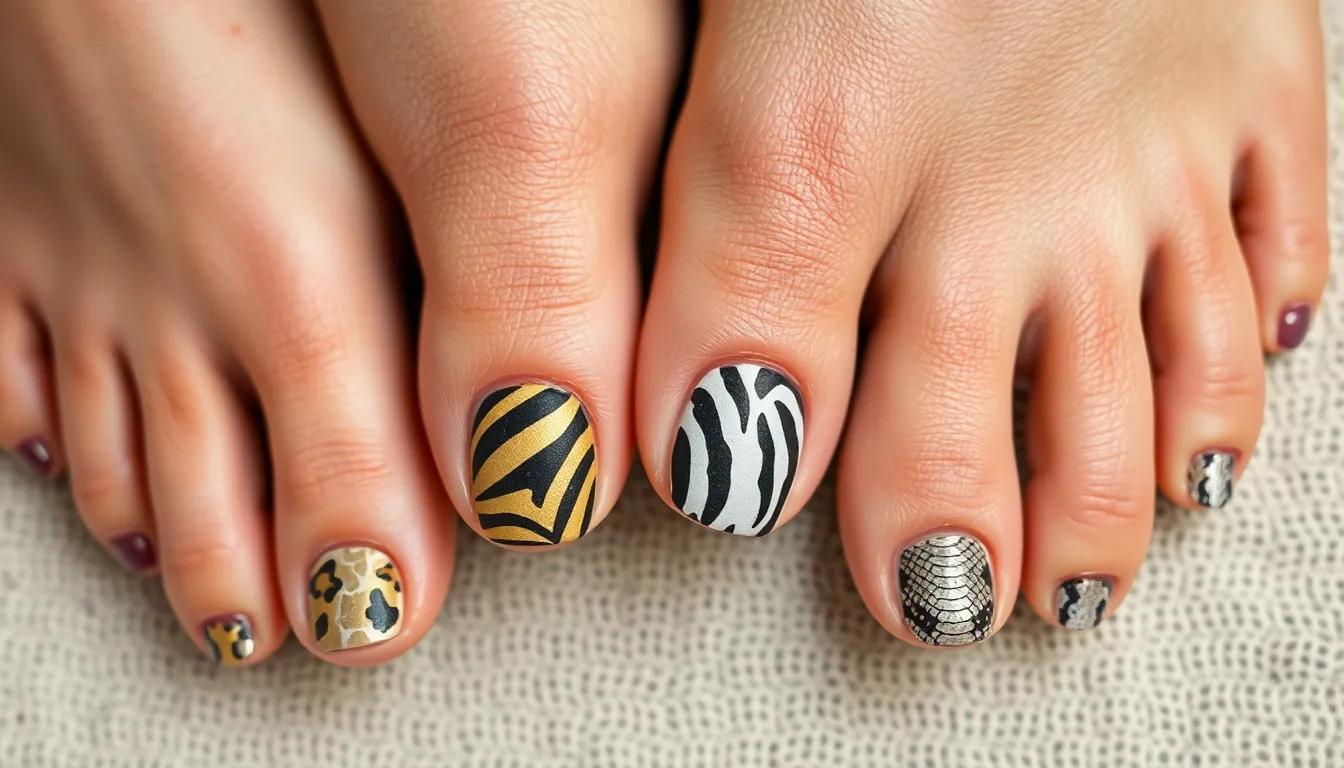
Animal prints bring wild sophistication to your toenail art, creating fierce statements that complement any bold style. These untamed patterns transform ordinary pedicures into runway-ready masterpieces.
Leopard Print Accent Nails
Choose one or two toes per foot for leopard accent placement to maintain balanced visual appeal. We recommend starting with a warm golden base color like champagne or nude beige. Apply irregular black spots using a dotting tool or small brush, varying the sizes from tiny dots to larger oval shapes. Add smaller brown spots inside some black markings to create authentic leopard depth and dimension.
Create gradient leopard effects by blending multiple golden tones from light to dark across the nail surface. Start with the lightest shade at the cuticle and gradually deepen toward the tip. Layer your leopard spots over this gradient base for a more sophisticated and natural appearance. This technique works beautifully on big toes as statement pieces.
Experiment with non-traditional leopard colors like purple and silver or blue and white for modern twists. These unexpected combinations maintain the classic leopard pattern while offering fresh takes on animal print aesthetics. Pink and gold leopard prints create feminine alternatives perfect for spring and summer occasions.
Zebra Stripe Patterns
Begin with pure white polish as your zebra base to achieve maximum contrast with black stripes. We suggest using striping brushes or nail art pens to create irregular, wavy lines that mimic natural zebra patterns. Vary the stripe widths and spacing to avoid uniform appearances that look artificial rather than animal-inspired.
Apply vertical zebra stripes on shorter toenails for elongating effects that make your toes appear more slender. Horizontal stripes work better on longer nail shapes and create bold, dramatic statements. Diagonal stripes offer ever-changing alternatives that add movement and energy to your pedicure design.
Try colorful zebra variations using bright bases like electric blue, hot pink, or lime green with black stripes. These vibrant interpretations maintain zebra authenticity while incorporating playful summer colors. Metallic bases with black stripes create glamorous evening looks perfect for special events and parties.
Snake Skin Textured Designs
Use textured nail polish or stamping plates designed specifically for snake skin patterns to achieve realistic reptilian effects. We recommend neutral bases like taupe, gray, or beige that closely resemble actual snake coloring. Layer shimmery top coats to mimic the natural scales and create authentic reptilian shine.
Create snake skin gradients by blending multiple earth tones from light to dark across each toenail surface. Apply the lightest shade first, then gradually build darker colors toward exact areas. Use makeup sponges to blend colors seamlessly before adding scale patterns with specialized stamping tools or fine detail brushes.
Incorporate metallic accents like gold or copper highlights along certain scale edges to enhance the three dimensional appearance. These subtle metallic touches catch light beautifully and elevate basic snake patterns into luxurious nail art. Focus metallic accents on one or two toes per foot to avoid overwhelming the overall design aesthetic.
Minimalist Toe Nail Art for Everyday Wear
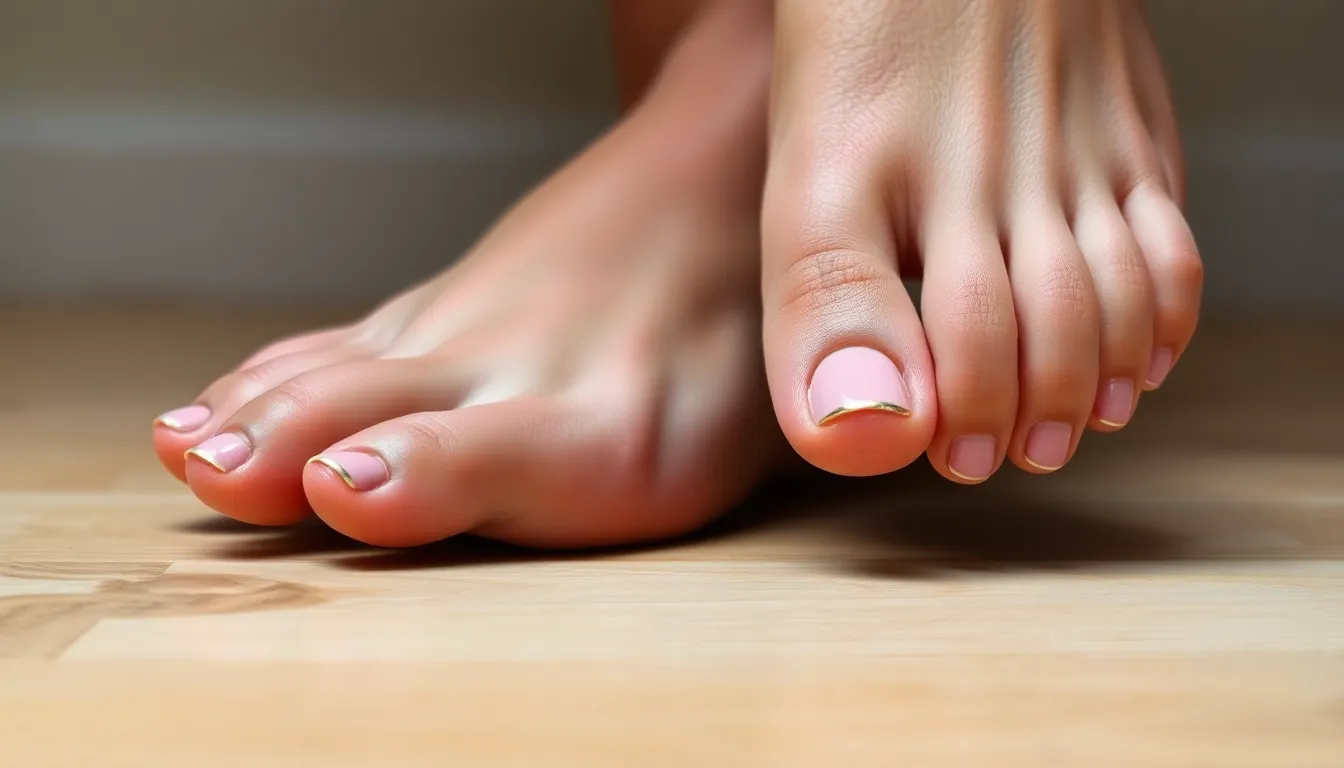
Simplicity becomes the ultimate sophistication when we embrace minimalist toenail designs that complement our daily routines. These understated yet polished looks offer the perfect balance between style and practicality for our everyday adventures.
Single Color with Accent Nail
Classic single color applications create a clean foundation that pairs beautifully with one strategically placed accent nail. We recommend choosing your ring toe for the accent placement as it provides the most visual impact without overwhelming the overall design.
Neutral base combinations work exceptionally well with subtle accent variations like soft pink paired with a single gold nail or cream white complemented by one nude shimmer toe. These pairings maintain sophistication while adding just enough interest to elevate your everyday look.
Monochromatic accent techniques involve using different shades within the same color family such as light gray with one charcoal accent or pale blue with a single navy toe. This approach creates depth without breaking the minimalist aesthetic we’re aiming to achieve.
Texture contrasts add dimension through finish variations like matte base colors with one glossy accent nail or regular polish combined with a single metallic toe. The subtle difference in texture catches light differently throughout the day.
Negative Space Design Concepts
Strategic negative space creates visual interest while maintaining the clean lines that define minimalist toenail art. We use these techniques to achieve modern designs that feel fresh and contemporary.
Geometric cutouts involve using tape or nail vinyls to create simple shapes like triangles, circles, or straight lines that expose the natural nail underneath. These designs work best on larger toes where the shapes remain clearly visible.
Half moon applications feature polish applied only to the upper portion of each nail while leaving the cuticle area exposed for a reverse French effect. This technique elongates the appearance of our toes while maintaining an effortlessly chic look.
Stripe variations incorporate thin lines of exposed nail running vertically or horizontally across colored polish creating sophisticated patterns. We suggest using striping tape for precise lines that result in professional looking results.
Border techniques frame the nail with color while keeping the center area natural such as painting only the outer edges or creating thin outlines around each nail shape. These approaches offer subtle definition without overwhelming the minimalist concept.
Nude Tones with Subtle Details
Nude polish serves as the perfect canvas for delicate details that enhance rather than dominate our everyday toenail designs. These sophisticated approaches work seamlessly with any wardrobe choice.
Sheer layering methods build depth through multiple thin coats of translucent polish in complementary nude shades creating a natural gradient effect. We apply each layer after the previous one dries completely for the smoothest finish.
Minimalist dot placement features tiny dots in coordinating colors placed strategically near the cuticle or along the nail edge using a dotting tool or toothpick. Choose colors that are only one or two shades different from your base for the most refined appearance.
Delicate line work incorporates thin stripes or geometric shapes using fine brush techniques in barely there metallics like champagne or rose gold. These subtle accents catch light without competing with the understated base color.
Pearl finish applications add luminosity through iridescent topcoats that shift subtly in different lighting conditions while maintaining the nude aesthetic. This technique works particularly well over warm beige or soft pink base colors for an elegant everyday glow.
Glitter and Rhinestone Toe Nail Decorations
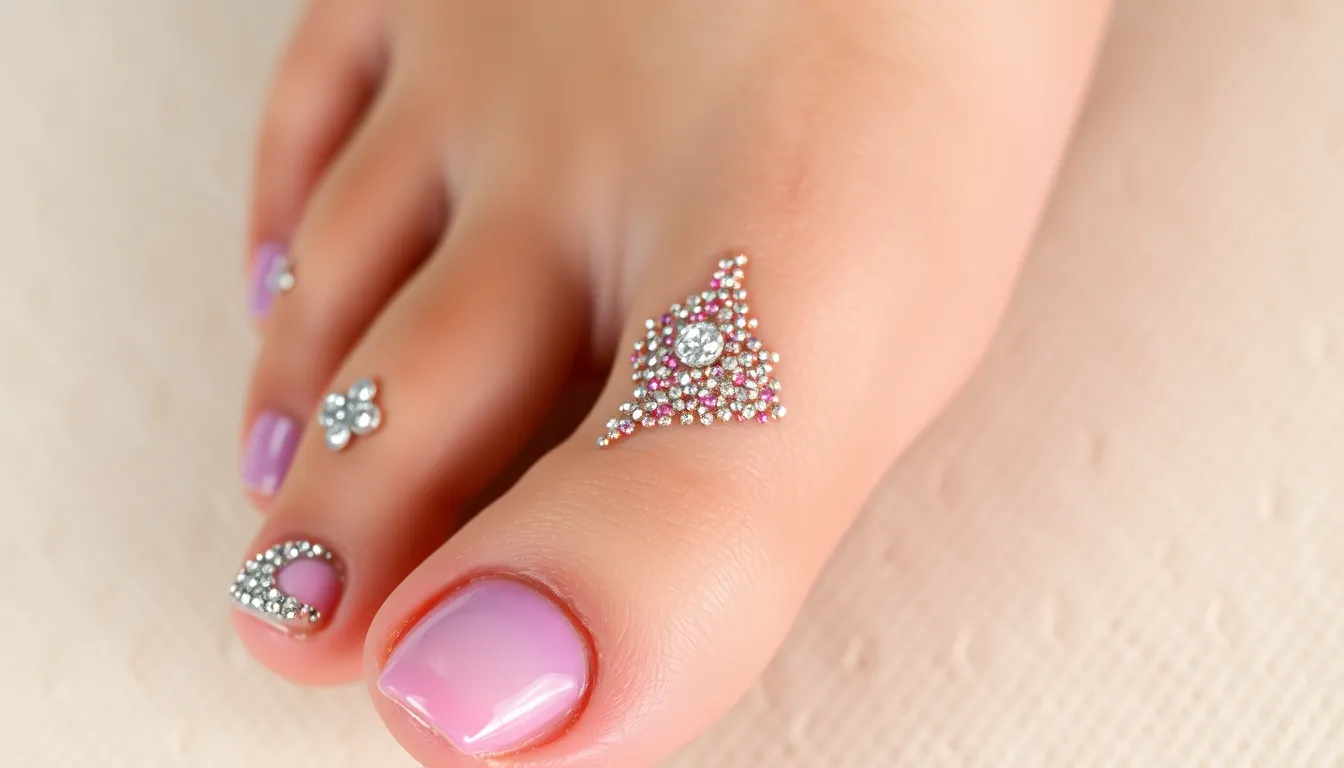
Adding sparkle to your toenails creates instant glamour that catches light beautifully. These decorative elements transform simple pedicures into dazzling statement pieces perfect for special events.
Ombre Glitter Fade Effects
Gradient glitter application starts with dense coverage at the nail tip and gradually fades toward the cuticle. We recommend using a makeup sponge to dab glitter polish in gentle patting motions rather than brushing strokes.
Dual color ombre combines complementary glitter shades like gold blending into copper or silver transitioning to holographic white. Apply the lighter shade first across the entire nail, then concentrate the darker tone at the tips.
Reverse ombre techniques place the heaviest glitter concentration at the cuticle area instead of the tips. This unexpected approach creates visual interest while maintaining elegance for formal occasions.
Textural layering involves applying fine glitter as the base layer followed by medium sized particles in exact zones. Top with chunky accent pieces near the nail bed for maximum dimensional impact.
Strategic Rhinestone Placement
Accent nail positioning works best when rhinestones decorate only the big toe on each foot. Place 3-5 medium stones in a curved line following the natural nail shape for balanced visual weight.
Cuticle line embellishment uses tiny rhinestones arranged along the base of each nail to create a delicate border effect. Space stones evenly with tweezers, leaving small gaps between each piece for refined appearance.
Asymmetrical patterns involve placing different sized rhinestones in irregular formations across the nail surface. Combine clear crystals with colored stones to match your outfit or event theme.
Corner emphasis positions larger statement rhinestones at the outer corners of big toenails only. This technique draws attention without overwhelming smaller toe surfaces while maintaining sophisticated balance.
Chunky Glitter Statement Nails
Hexagonal glitter pieces create bold geometric texture when applied over solid base colors. Press large hex shapes into tacky topcoat using an orange stick for precise placement and secure adhesion.
Mixed size application combines various glitter particle dimensions from fine dust to large flakes within the same design. Layer different textures to build depth while maintaining cohesive color coordination.
Negative space integration leaves portions of the base color visible between chunky glitter sections. This technique prevents overwhelming the nail while showcasing both the glitter and underlying shade effectively.
Gradient density patterns concentrate heavy glitter coverage in exact areas while keeping other zones lighter. Focus chunky pieces at nail tips or create diagonal bands for ever-changing visual movement.
DIY Toe Nail Design Techniques and Tips
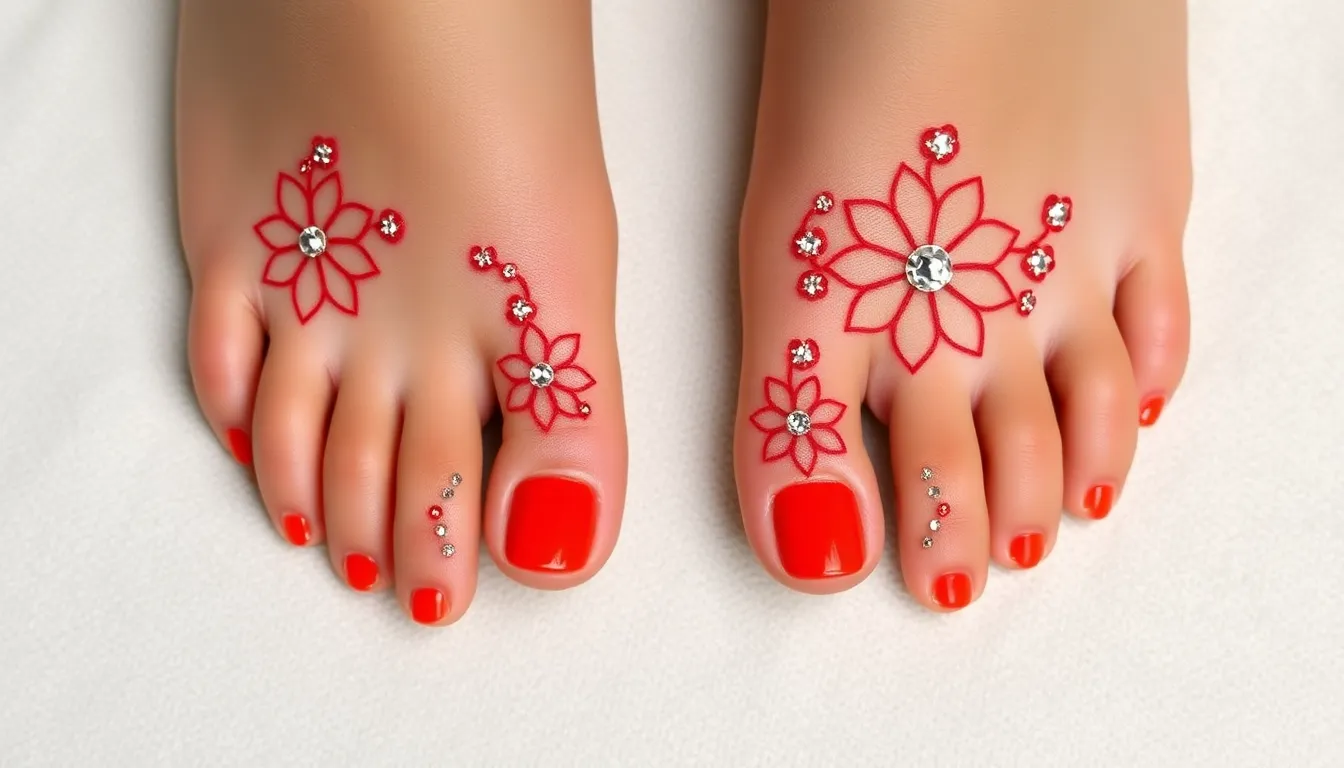
Creating stunning toenail designs at home becomes effortless with the right techniques and preparation. We’ll guide you through professional methods that deliver salon quality results from your own space.
Essential Tools and Materials
Base supplies form the foundation of every successful toenail design project. We recommend investing in high quality base coat, top coat, and nail polish remover for optimal results. Cuticle pusher, nail file, and buffer create the perfect canvas for your artistic creations.
Design exact tools elevate your nail art capabilities significantly. Dotting tools in various sizes help create perfect circles and flower petals with precision. Thin brushes allow for detailed line work and intricate patterns that make designs pop. Striping tape ensures clean geometric lines and negative space effects.
Color essentials should include both classic and trendy shades for versatility. Neutral base colors like nude, white, and clear provide excellent backgrounds for accent designs. Bold colors such as neon pink, electric blue, and vibrant coral create eye catching statements. Metallic shades including gold, silver, and rose gold add luxury touches to any design.
Specialty materials transform basic manicures into professional looking art. Rhinestones and gems create glamorous focal points on accent nails. Glitter in various sizes adds sparkle and texture to designs. Nail stickers and decals offer quick answers for complex patterns.
Step-by-Step Application Methods
Preparation steps ensure long lasting and professional looking results. Start by removing old polish completely and pushing back cuticles gently. File nails into desired shape and buff surface lightly for better adhesion. Clean nails with alcohol or dehydrator to remove oils and debris.
Base application creates the perfect foundation for your design. Apply thin base coat layer and allow complete drying before proceeding. Choose base color and apply in thin, even coats for best coverage. Wait for each layer to dry completely to prevent smudging or bubbling.
Design execution requires patience and steady hands for optimal results. Use dotting tools to create perfect circles by dipping in polish and pressing gently. Apply striping tape for geometric designs and remove while polish is slightly tacky. Paint detailed elements with thin brushes using steady, confident strokes.
Accent techniques add professional finishing touches to your designs. Place rhinestones using tweezers while topcoat is still wet for secure adhesion. Create ombre effects by blending colors with makeup sponges while polish remains workable. Apply glitter strategically for maximum impact without overwhelming the overall design.
Final steps lock in your artwork and ensure durability. Apply thin topcoat layer over entire design to seal and protect. Clean up edges with small brush dipped in acetone for precise lines. Allow complete drying time before wearing closed shoes or captivating in activities.
Maintenance and Longevity Tips
Daily care practices extend the life of your toenail designs significantly. Moisturize feet regularly to prevent cuticle damage and maintain nail health. Wear appropriate footwear that doesn’t rub against toenails and cause chipping. Apply cuticle oil nightly to keep nail beds healthy and flexible.
Touch up strategies keep designs looking fresh between full applications. Carry matching polish for quick chip repairs when needed. Apply additional topcoat every few days to maintain shine and protection. Address small imperfections immediately to prevent further damage.
Protective measures shield your artwork from premature wear. Wear protective footwear during physical activities or cleaning tasks. Apply extra topcoat before swimming or beach activities. Use non acetone remover for gentle cleanup around cuticles.
Seasonal adjustments help designs last through weather changes. Increase moisturizing routine during dry winter months to prevent cracking. Switch to quick dry formulas during humid summer weather for better setting. Store polish in cool, dry places to maintain consistency and color quality.
Professional tips ensure consistent results with each application. Clean brushes immediately after use to prevent stiffening and maintain precision. Store tools properly in designated containers to prevent damage and contamination. Practice designs on practice wheels before applying to actual nails for better technique development.
Conclusion
We’ve explored an incredible range of toenail design possibilities that can transform your pedicure from ordinary to extraordinary. From classic French tips with modern twists to bold neon statements and delicate floral patterns there’s truly something for every style preference and occasion.
The beauty of toenail art lies in its versatility and accessibility. Whether you’re drawn to minimalist negative space designs sophisticated metallic finishes or playful animal prints you now have the knowledge and techniques to create salon-quality results at home.
Remember that the key to stunning toenails isn’t just the design itself but also proper preparation maintenance and quality materials. With the right tools and a bit of practice you’ll be creating eye-catching toenail masterpieces that boost your confidence and complement your personal style all year round.
Frequently Asked Questions
What are the most popular toenail design trends for beginners?
Classic French pedicures with modern twists, simple floral patterns, and minimalist line art are perfect for beginners. These designs require basic tools and can be easily recreated at home. Start with single accent nails before attempting full sets, and practice on fake nails first to build confidence and technique.
How long do DIY toenail designs typically last?
With proper preparation and quality products, DIY toenail designs can last 2-4 weeks. Key factors include using base and top coats, proper nail prep, and avoiding harsh chemicals. Designs on toenails generally last longer than fingernails due to less daily wear and slower growth rates.
What essential tools do I need for creating toenail art at home?
Basic tools include quality base and top coats, nail polish in various colors, dotting tools, thin brushes, striping tape, and nail polish remover. For advanced designs, consider adding rhinestones, glitter, sponges for gradients, and specialized brushes for detailed work like florals or geometric patterns.
Can I create professional-looking metallic and chrome effects at home?
Yes, metallic and chrome effects are achievable with the right products and techniques. Use chrome powders over gel polish, metallic nail polishes, or foil transfers. Key steps include proper base preparation, even application, and sealing with quality top coat for longevity and shine.
Which toenail designs work best for different seasons?
Summer calls for bright neons, tropical florals, and ocean themes. Fall features autumn leaves and warm plaid patterns. Winter showcases snowflakes and holiday motifs. Spring highlights cherry blossoms and pastel colors. Choose designs that complement seasonal clothing and capture each season’s unique energy and color palette.
How can I make my toenail designs last longer?
Extend design longevity by properly prepping nails, using quality base and top coats, avoiding harsh chemicals, and wearing protective footwear. Apply thin polish layers, allow complete drying between coats, and perform gentle touch-ups as needed. Keep cuticles moisturized and avoid picking at designs.
Are geometric and abstract designs difficult for beginners?
Geometric designs can be beginner-friendly with the right tools. Start with simple line art using striping tape for clean edges. Negative space designs and basic color blocking are achievable for novices. Practice straight lines and use guides like tape or stencils until you develop steady hand control.
What’s the best way to remove complex toenail designs?
Soak cotton balls in acetone-based nail polish remover and place on each nail. Wrap fingertips in foil and wait 10-15 minutes. Gently push off softened polish with an orange stick. For stubborn glitter or rhinestones, use additional soaking time and avoid aggressive scraping to protect nail health.

