We all know that feeling when you’re staring at your bare nails wondering how to transform them into something beautiful without spending hours at the salon. Simple nail designs can be just as stunning as complex nail art – and they won’t break your budget or eat up your entire afternoon.
Whether you’re a busy professional rushing between meetings or someone who’s just starting their nail art journey, we’ve discovered that the most elegant looks often come from the simplest techniques. You don’t need professional tools or years of practice to create Instagram-worthy nails that’ll have everyone asking where you got them done.
From classic French tips with a modern twist to minimalist geometric patterns you can master in minutes, we’ll show you how small changes can make a huge impact. These effortless designs prove that sometimes less really is more when it comes to nail beauty.
Classic French Manicure With A Modern Twist
The timeless French manicure gets a contemporary makeover with these updated approaches that maintain its elegant foundation while adding fresh appeal.
Clean White Tips With Nude Base
Start with a sheer nude base that complements your skin tone perfectly. We recommend choosing a barely-there pink or beige shade that creates a natural canvas for your white tips. Apply two thin coats of your nude polish and let it dry completely before moving to the next step.
Create ultra-thin white tips using a steady hand or nail guides for precision. The key to modernizing this classic look lies in making the white tips noticeably thinner than traditional French manicures. Position the white polish just along the very edge of your nail tip, creating a delicate line that’s approximately 2-3 millimeters wide.
Finish with a glossy top coat to seal your design and add brilliant shine. This final step transforms your simple nail idea into a polished look that works for any occasion.
Colored French Tips For Subtle Pop
Choose soft pastels like lavender, mint green, or coral instead of stark white for an unexpected twist. These gentle hues provide just enough color to feel modern while maintaining the sophistication of the original French design. Apply the colored tips using the same thin application technique we mentioned earlier.
Experiment with metallic shades such as rose gold, champagne, or soft silver for special occasions. These reflective colors catch light beautifully and elevate your simple nail ideas to something more glamorous. Keep the base neutral to let the metallic tips be the star of your manicure.
Layer different opacities by using sheer colored polishes over your nude base. This technique creates depth and dimension while keeping the overall look subtle and wearable for everyday activities.
Reverse French Manicure Style
Apply color at the cuticle area instead of the nail tips for this inverted approach. Use a thin brush or striping tool to create a curved line of color along your cuticle, leaving the rest of your nail in a nude or clear shade. This modern interpretation feels fresh and unexpected.
Keep the colored section minimal by making it only 3-4 millimeters wide at its thickest point. The beauty of this reverse technique lies in its restraint and the way it draws attention to your cuticle area rather than your nail tips.
Choose colors that complement your skin undertones for the most flattering result. Cool undertones pair beautifully with blues and purples, while warm undertones shine with coral, peach, and golden shades.
Minimalist Single Color Designs
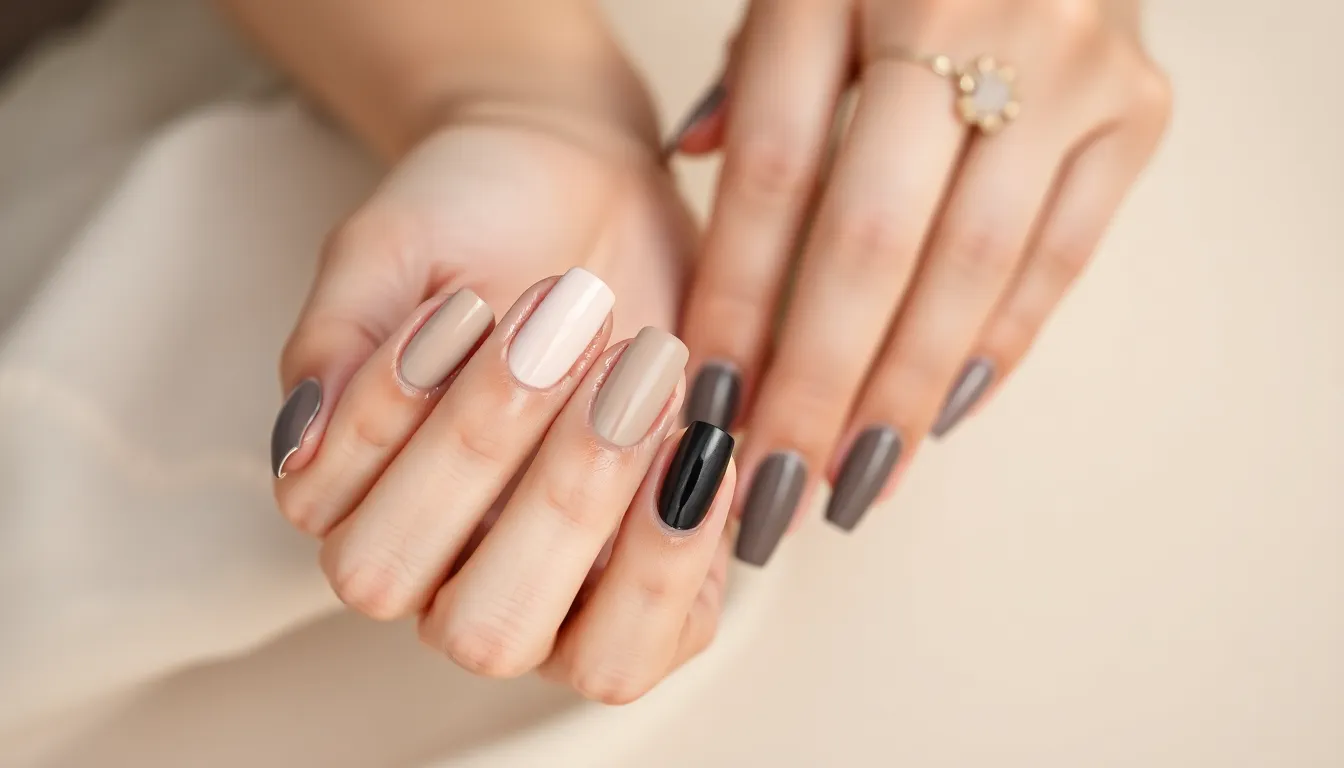
Single color applications create stunning nail art with minimal effort while delivering maximum impact. We’ll explore three distinct approaches that prove simplicity never goes out of style.
Neutral Nude Shades For Everyday Wear
Nude tones offer the perfect foundation for polished everyday nails that complement any outfit or occasion. We recommend choosing shades that match your skin undertone for the most flattering results. Cool undertones pair beautifully with beige pinks and rose nudes, while warm undertones shine with peachy beiges and golden nudes.
Application becomes effortless when you select high quality nude polishes that provide even coverage in just two coats. We suggest popular shades like “Ballet Slippers” by Essie for fair skin tones or “Au Naturel” by OPI for medium to deep complexions. These versatile colors work seamlessly from boardroom meetings to weekend brunches.
Longevity improves significantly when you apply a quality base coat before your nude shade and seal everything with a glossy top coat. We find that nude manicures typically last 5 to 7 days without chipping when properly applied and maintained.
Bold Monochrome Statement Nails
Statement colors transform simple manicures into eye catching focal points that express personality and confidence. We love how single bold shades like deep emerald green, classic red, or navy blue create instant sophistication without requiring complex techniques.
Color selection depends on your personal style and the statement you want to make. We suggest testing bold shades against your skin tone in natural lighting before committing to a full manicure. Rich jewel tones like sapphire blue and ruby red work beautifully on most skin tones, while bright corals and hot pinks add vibrant energy to any look.
Professional results happen when you apply thin, even coats rather than trying to achieve opacity in one thick application. We recommend using three thin coats for most bold colors, allowing each layer to dry completely before adding the next.
Matte Finish For Sophisticated Look
Matte topcoats instantly elevate any single color design from ordinary to editorial worthy sophistication. We’ve discovered that matte finishes work particularly well with deeper shades like burgundy, forest green, and charcoal gray, creating a luxurious velvet like appearance.
Application requires exact techniques to achieve the perfect matte result without streaks or imperfections. We always ensure the base color is completely dry before applying matte topcoat in smooth, even strokes from cuticle to tip. Working quickly prevents the matte formula from creating visible brush marks or uneven texture.
Maintenance differs slightly from traditional glossy manicures since matte surfaces show oils and fingerprints more readily. We recommend carrying a small bottle of matte topcoat for quick touch ups and avoiding hand creams directly on the nails to preserve the sophisticated matte appearance.
Easy Accent Nail Techniques
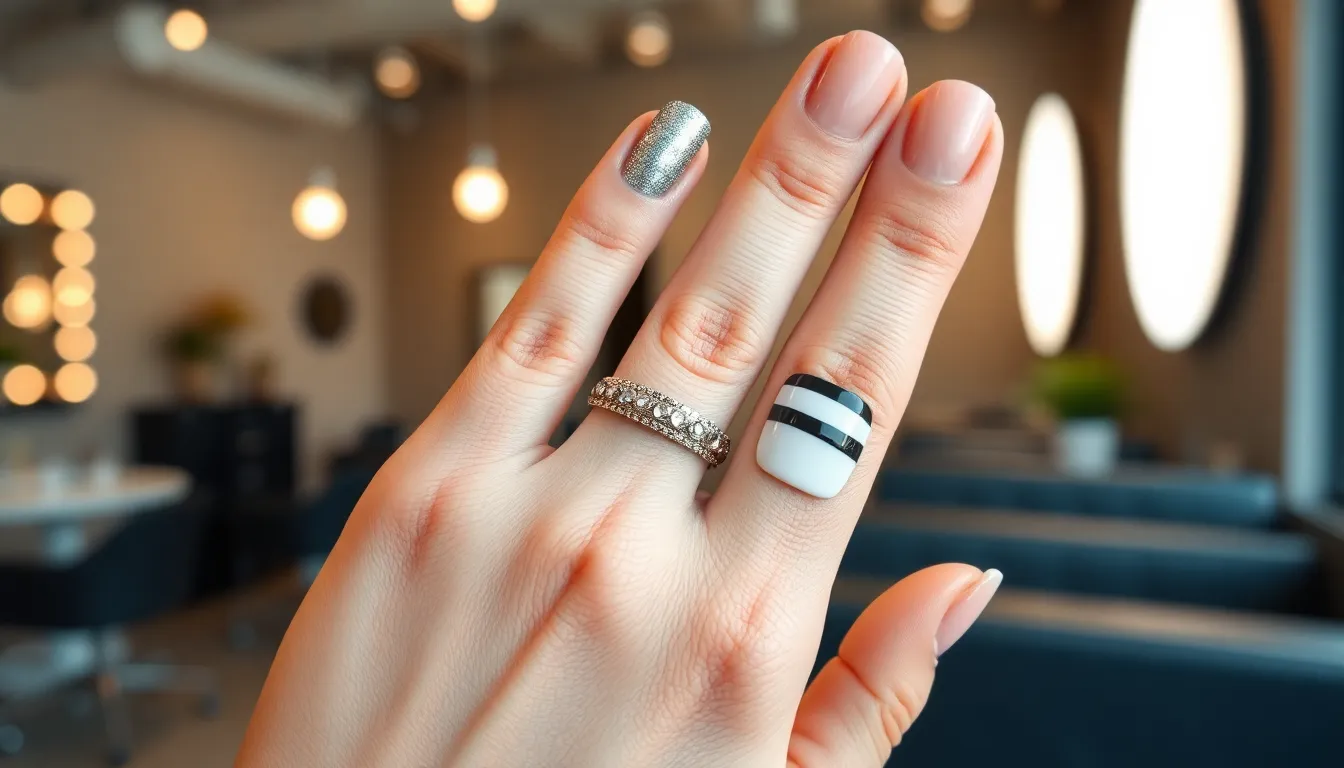
Accent nails transform an entire manicure with just one standout finger. We’ll show you three effortless ways to add visual interest without overwhelming your look.
Single Glitter Nail For Sparkle
Glitter accent nails create instant glamour with minimal effort required. We recommend choosing your ring finger or middle finger as the focal point for maximum impact. Apply your base color to all nails first, then add a glitter polish or loose glitter mixed with clear topcoat to your chosen accent nail.
Fine glitter creates subtle sparkle perfect for daytime wear. Choose glitter that complements your base color rather than contrasting it dramatically. Silver glitter works beautifully over nude or pink bases, while gold glitter enhances warm tones like coral or peach.
Chunky glitter delivers bold statement power for evening events. Apply it over darker base colors like navy or burgundy for sophisticated contrast. Press the glitter gently into wet polish using a small brush to ensure even distribution and prevent clumping.
Metallic Accent On Ring Finger
Metallic accent nails add luxury without requiring advanced nail art skills. We suggest using chrome, gold, or silver polish on your ring finger while keeping other nails in coordinating neutral shades. This traditional placement draws attention to rings and creates balanced visual weight.
Chrome finishes provide mirror like shine that catches light beautifully. Apply a black base coat first, then use a sponge to dab chrome powder over tacky topcoat for professional results. Rose gold chrome works especially well with warm skin tones and blush colored bases.
Foil accents offer textured metallic appeal with unique patterns. Press nail foil onto sticky base coat or specialized foil glue for instant metallic coverage. Cut foil into geometric shapes or use transfer techniques to create custom patterns that complement your overall manicure design.
Simple Stripe On One Nail
Stripe accent nails deliver modern geometric appeal using basic tools. We recommend using striping tape or nail art brushes to create clean lines on your accent finger. Horizontal stripes elongate nail beds, while vertical stripes create height and elegance.
Thin black or white stripes complement any base color choice. Apply your base color to all nails, then use striping tape to mask areas before painting contrasting stripes. Remove tape while polish is slightly wet to prevent peeling and ensure crisp edges.
Multiple thin stripes create sophisticated patterns without complexity. Space stripes evenly using tape as guides, alternating between your base color and accent stripe color. Gold or silver stripes over dark bases like navy or forest green create particularly striking combinations for special occasions.
Beginner-Friendly Nail Art Patterns
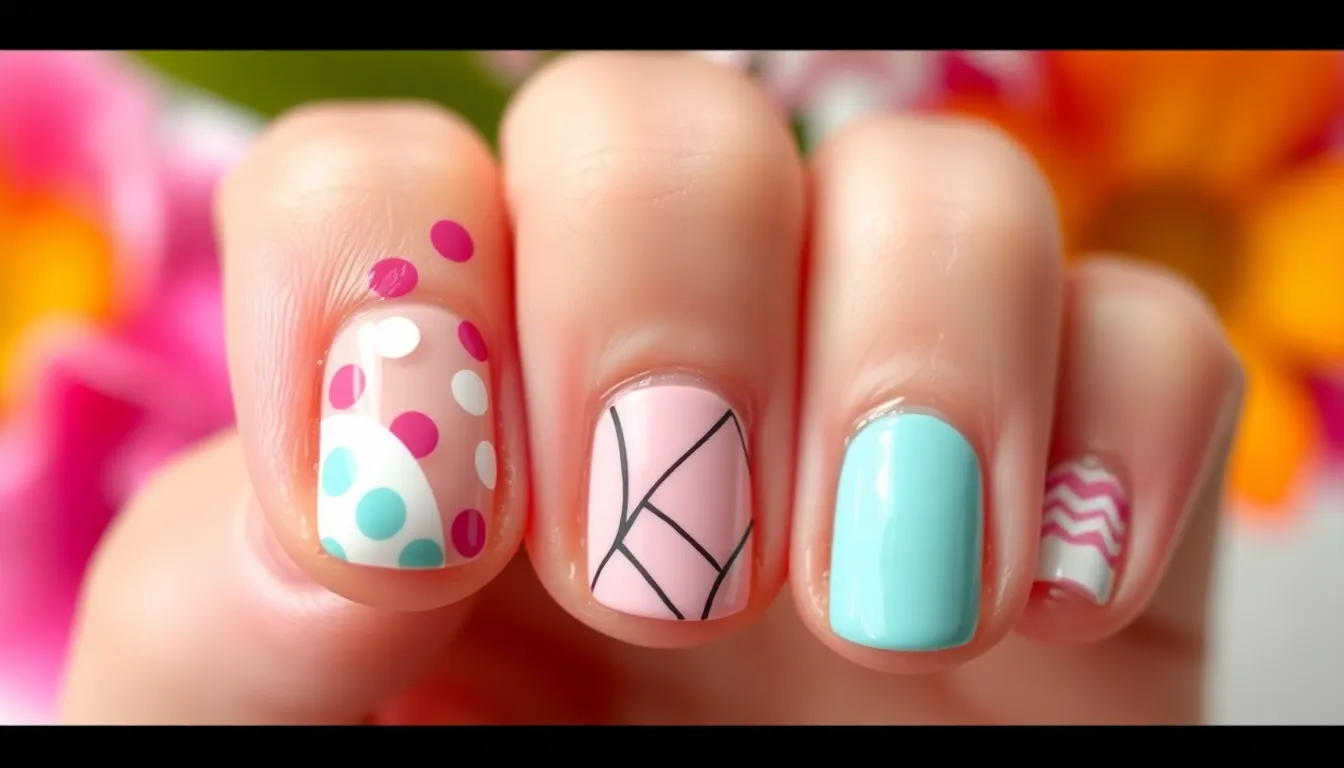
Creating stunning nail art doesn’t require advanced artistic skills or expensive equipment. We’ve gathered the most approachable patterns that beginners can master with basic tools and a little practice.
Polka Dots Using Dotting Tools
Dotting tools make creating perfect polka dots effortless for nail art newcomers. We recommend starting with a bobby pin or pencil eraser as an affordable alternative to professional dotting tools. Simply dip your tool into nail polish and gently press onto your base color for consistent circles.
Spacing techniques help achieve professional looking polka dot patterns. We suggest creating dots in alternating rows for a classic design or clustering three dots together for a modern triangular arrangement. Start with larger dots using the bigger end of your dotting tool then add smaller accents with the pointed tip.
Color combinations can transform simple dots into eye catching designs. We find that white dots on pastel backgrounds create a sweet vintage look while gold dots over deep burgundy or navy polish add sophisticated elegance. Black dots on white nails offer a timeless polka dot pattern that complements any outfit.
Simple Geometric Lines And Shapes
Straight line designs require only tape and steady hands to create clean geometric patterns. We use regular household tape or nail striping tape to section off areas then paint over the exposed sections. Remove the tape while polish is still slightly wet to prevent peeling and achieve crisp edges.
Triangle patterns add modern flair without complex techniques. We create these by applying tape diagonally across the nail to form triangle shapes then filling with contrasting colors. Alternating triangle colors or creating negative space triangles where the base shows through provides visual interest.
Chevron shapes offer a trendy pattern that’s surprisingly simple to execute. We place tape in V shapes across the nail then apply polish over the exposed areas. Multiple chevron rows in different widths or colors create ever-changing patterns that look professionally done.
Half Moon Design At Cuticle
Classic half moon manicures bring vintage glamour back with minimal effort required. We apply a base color then use small circle stickers or tape curved at the cuticle area to create the distinctive half moon shape. Paint over the exposed nail with a contrasting color for the traditional look.
Modern interpretations update this timeless design for contemporary style. We experiment with metallic half moons over matte base colors or create reverse designs where the half moon matches the base and tips get the accent color. Glitter half moons over solid colors add sparkle without overwhelming the design.
Application tips ensure clean half moon shapes every time. We recommend pushing cuticles back completely and applying a thin base coat before starting the design. Use reinforcement stickers from hole punch paper or purchase nail art stencils for the most precise curved edges.
Quick And Easy Gradient Effects
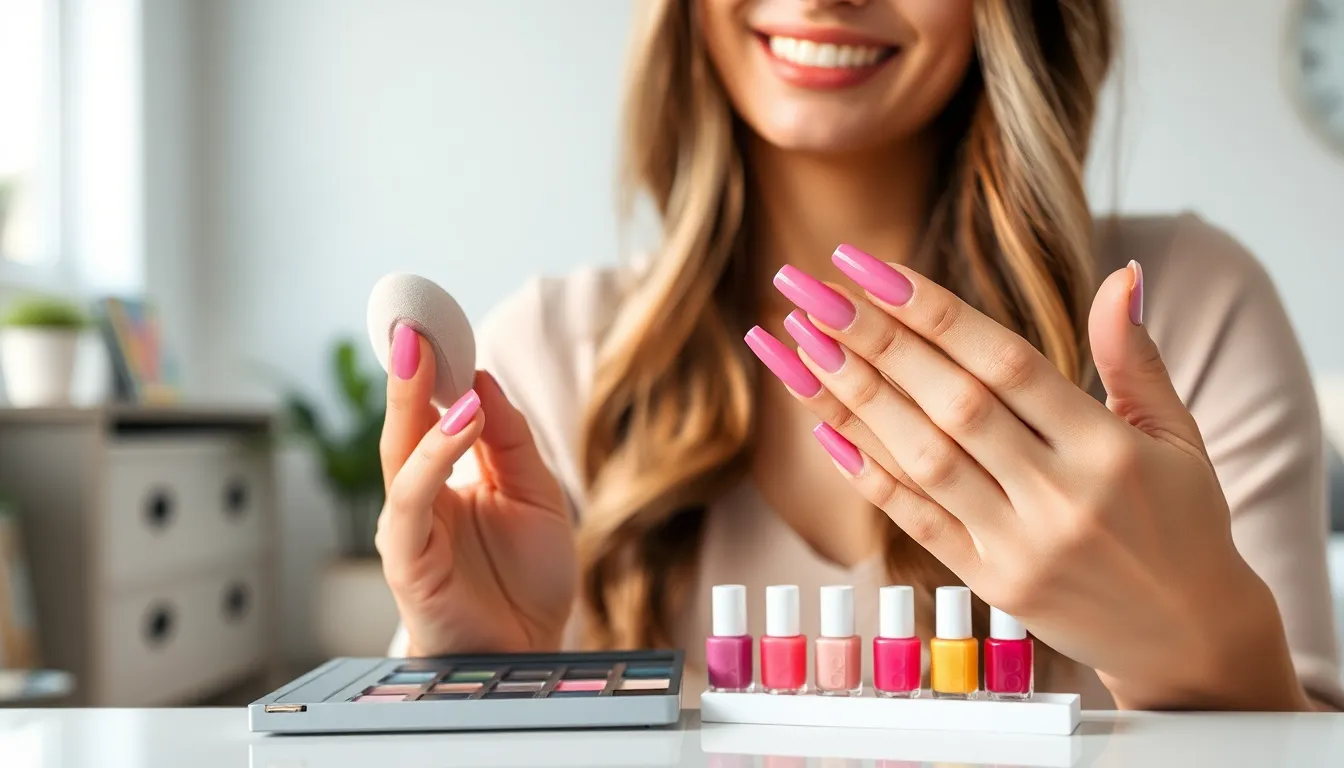
Gradient nails create stunning visual depth without requiring professional equipment or years of practice. We’ll show you three foolproof methods that deliver salon-quality results using items you likely already own.
Ombre Blend With Makeup Sponge
Creating an ombre effect starts with selecting two complementary polish colors and a clean makeup sponge. We recommend choosing shades from the same color family for the most natural transition, such as light pink to hot pink or nude to brown.
Paint both colors side by side on a piece of plastic or foil, creating two horizontal stripes that touch each other. Dab your makeup sponge into both colors simultaneously, ensuring the sponge picks up equal amounts of each polish. Press the sponge gently onto your nail in a rocking motion, starting from the cuticle and moving toward the tip.
Repeat this dabbing process 2-3 times while the polish remains wet to achieve a seamless blend. Clean up any excess polish around your nail using a small brush dipped in acetone. We suggest applying a base coat beforehand and finishing with a top coat to extend the wear time and smooth any texture from the sponging technique.
Two-Tone Gradient Technique
Building a two-tone gradient requires strategic layering that creates depth without muddying your colors. Start by applying your lighter shade as a base coat across the entire nail, allowing it to dry completely between coats.
Apply the darker color to the top two-thirds of your nail using light, sweeping strokes. While this layer remains slightly wet, use a clean brush to gently blend where the two colors meet, creating a soft transition zone. Work quickly but gently to avoid streaking or removing too much polish.
Build the intensity gradually by applying additional thin coats of the darker shade, each time covering less of the nail. We find that three to four layers create the most professional-looking gradient, with each layer extending slightly less down the nail than the previous one.
Glitter Fade From Cuticle To Tip
Glitter fading creates a glamorous effect that starts bold at the cuticle and gradually becomes more subtle toward the tip. Begin with a solid base color that complements your chosen glitter polish, applying two thin coats for even coverage.
Apply glitter polish heavily at the cuticle area, covering roughly one-third of your nail near the base. Using a makeup sponge, gently dab and blend the glitter polish toward the center of your nail, creating a natural fade effect. The sponge helps distribute individual glitter particles more evenly than a brush alone.
Work in thin layers to control the fade intensity, adding more glitter polish only where needed. We recommend concentrating the heaviest glitter application at the very base of the nail and allowing it to naturally thin out as you work toward the free edge. Seal everything with a quality top coat to prevent glitter from catching on clothing or hair.
Simple Seasonal Nail Ideas
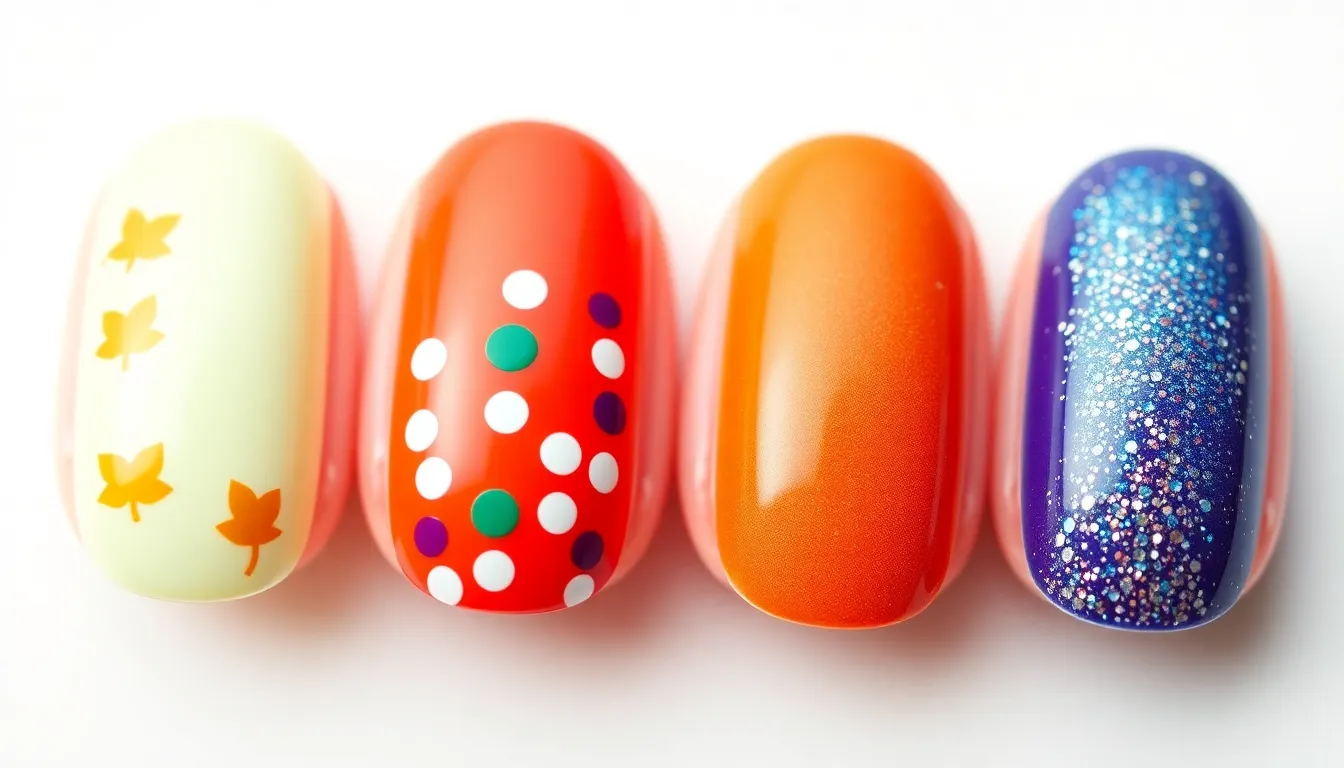
Seasonal nail colors help us embrace the changing moods throughout the year. We can easily adapt our simple nail techniques to match each season’s unique aesthetic.
Spring Pastels For Fresh Look
Spring pastels bring a refreshing softness that perfectly captures the season’s renewal energy. We recommend starting with classic baby pink, lavender, or mint green shades that complement the blooming flowers around us. Soft coral and buttery yellow create beautiful accent nails when paired with neutral bases.
Creating a spring look requires minimal effort with maximum impact. We suggest applying two thin coats of pastel polish for even coverage, then adding a single glitter accent nail on the ring finger. Pale peach with white polka dots using a dotting tool creates an adorable daisy inspired design. Light blue combined with simple white stripes makes for a perfect spring sky aesthetic.
Summer Bright Colors For Fun Vibes
Summer bright colors energize our nail designs with vibrant personality and playful spirit. We love using electric coral, sunshine yellow, and tropical turquoise for bold statement manicures. Hot pink and lime green create eye catching combinations when used as accent colors against white or nude bases.
Achieving summer vibes becomes effortless with these simple application methods. We recommend using bright orange on all nails except the ring finger, which looks stunning with white polish and coral dots. Neon yellow combined with simple geometric tape designs creates a modern summer look. Electric blue with a single silver glitter nail captures the essence of summer nights perfectly.
Fall Earth Tones For Cozy Feel
Fall earth tones embrace the warming comfort of autumn’s rich color palette. We prefer deep burgundy, burnt orange, and chocolate brown shades that mirror the changing leaves. Warm terracotta and golden yellow create sophisticated combinations when paired with neutral nude bases.
Creating cozy fall looks requires these straightforward techniques for stunning results. We suggest applying deep plum on four nails with a single gold accent nail for luxurious warmth. Rich amber combined with simple matte top coat creates an elegant autumn aesthetic. Forest green with copper stripes using tape delivers a perfect fall geometric design.
Winter Jewel Tones For Elegance
Winter jewel tones deliver sophisticated elegance that matches the season’s dramatic beauty. We choose deep emerald, sapphire blue, and rich amethyst shades for luxurious winter manicures. Ruby red and midnight navy create stunning combinations when used with metallic accent techniques.
Achieving winter elegance becomes simple with these refined application approaches. We recommend using deep garnet on all nails with a single silver glitter fade for holiday glamour. Emerald green combined with simple gold half moon designs creates regal winter sophistication. Royal purple with metallic bronze accents delivers the perfect jewel toned winter statement.
No-Tools-Required Nail Designs
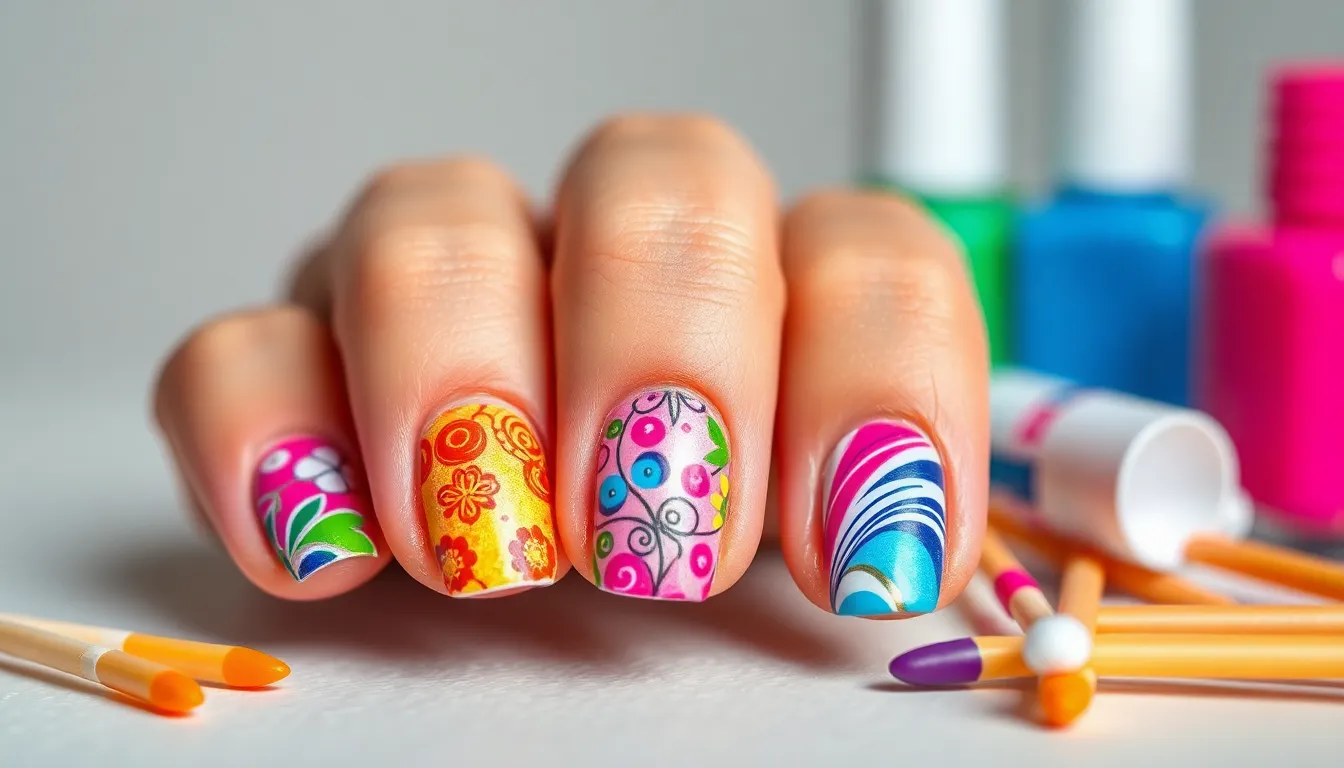
Creating stunning nail art doesn’t require expensive brushes or professional equipment. We can achieve beautiful designs using items already available in our homes and simple finger painting techniques.
Using Household Items For Patterns
Toothpicks create perfect dots and detailed lines without investing in specialized dotting tools. We simply dip the pointed end into polish and gently press onto nails for consistent circles, or drag it through wet polish to create marbled effects. Bobby pins work similarly, with their rounded ends producing slightly larger dots than toothpicks.
Cotton swabs blend colors seamlessly for gradient effects and clean up mistakes around cuticles. We can cut them in half for better control when working on smaller nail surfaces. The cotton tip also creates soft, diffused patterns when dabbed onto wet polish.
Tape from office supplies produces clean geometric lines and shapes without requiring steady hands. We apply strips to create triangular sections, chevron patterns, or simple stripes across nails. Regular scotch tape works perfectly for this technique, though we remove it while the polish is still slightly wet for the crispest edges.
Kitchen sponges generate textured effects and ombre blends using their porous surface. We dab different polish colors onto the sponge, then gently press it onto nails for a stippled texture that mimics expensive salon techniques.
Finger Painted Abstract Art
Direct finger application creates organic, flowing designs that look intentionally artistic rather than amateur. We dip our fingertip into polish and press it onto nails for irregular shapes, then blend edges while the polish remains wet. This technique works especially well with contrasting colors like navy blue over nude bases.
Smudging wet polish produces abstract patterns by gently touching the surface before it dries completely. We apply base color first, then add drops of contrasting polish and use our finger to create swirls, waves, or cloud like effects. The key lies in working quickly while both colors remain wet.
Layering transparent colors builds depth without requiring precise brush control. We start with a light base, then add drops of sheer polish in different areas and blend them with gentle finger pressure. This creates watercolor effects that appear professionally crafted.
Simple Brushstroke Techniques
Dragging the brush through wet polish creates marble effects using only the applicator that comes with the bottle. We apply base color, immediately add drops of contrast polish, then drag the brush tip through both colors in wavy or straight lines.
Stippling with brush tips produces textured surfaces by gently tapping the brush against nails instead of smooth strokes. We load the brush with polish and lightly bounce it on the nail surface to create speckled or rough textures that add visual interest.
Cross hatching patterns emerge from making small intersecting lines with the brush tip. We create tiny hash marks in different directions, building up layers for complexity without needing artistic skills or steady hands.
Quick Fix Ideas For Busy Schedules
Between work meetings and family obligations, finding time for elaborate nail art feels impossible. These lightning-fast answers deliver polished results without sacrificing precious minutes from your day.
5-Minute Manicure Answers
File and buff your nails in under two minutes using a single glass file, working in one direction to prevent splitting. Shape your nails into a simple round or square form while removing any rough edges quickly.
Apply a quick-dry base coat followed by a single layer of your chosen color polish, focusing on smooth, even strokes rather than perfect coverage. Skip the cleanup process around your cuticles since small imperfections won’t be noticeable from a distance.
Finish with a rapid-dry top coat and let your hands air dry for just 90 seconds before carefully resuming your activities. Choose formulas specifically labeled as “60-second dry” or “quick dry” to ensure your manicure sets completely.
Use neutral shades like soft beige or clear pink that hide minor application flaws while providing a polished appearance. These colors complement any outfit and require less precision during application than bold or dark shades.
Press-On Nails For Instant Style
Select high-quality press-on sets that include various sizes to match each of your natural nails perfectly. Brands like Static Nails and Olive & June offer salon-quality options that last up to two weeks with proper application.
Prep your natural nails by pushing back cuticles and lightly buffing the surface to create better adhesion. Clean each nail with rubbing alcohol to remove oils and debris that could prevent proper bonding.
Apply the press-ons starting from your cuticle and pressing firmly toward the tip, holding for 15 seconds per nail. File the seams where the artificial nail meets your natural nail to create a seamless blend.
Choose designs that match your lifestyle such as classic French tips for office environments or subtle glitter accents for weekend activities. Press-on nails come in countless styles from minimalist nudes to bold geometric patterns.
Clear Coat With Simple Add-Ons
Start with two coats of clear polish as your base, allowing each layer to dry completely before proceeding with decorative elements. This foundation protects your natural nails while providing a smooth surface for embellishments.
Add single rhinestones to your ring finger using a dotting tool dipped in clear polish, placing them near the cuticle or tip for maximum impact. Choose neutral-colored gems like clear crystal or rose gold that complement any outfit.
Create instant nail art by pressing small metallic studs into wet clear polish, arranging them in simple patterns like straight lines or small clusters. These adhesive decorations stay secure for days when applied over tacky polish.
Apply nail stickers or decals directly onto your clear base coat, then seal with another layer of clear polish for longevity. Choose simple designs like thin gold stripes or delicate florals that enhance rather than overwhelm your natural nails.
Conclusion
We’ve shown you that stunning nails don’t require hours of practice or expensive salon visits. With these simple techniques and household items you’ll achieve professional-looking results right at home.
Whether you’re drawn to minimalist designs or seasonal colors these easy approaches fit any lifestyle and skill level. From quick 5-minute fixes to creative gradient effects there’s always a simple solution that works for your schedule.
Remember that confidence comes from finding what works best for you. Start with one technique that appeals to you most and gradually explore other styles as you build your skills. Beautiful nails are just a few simple steps away.
Frequently Asked Questions
What are the easiest nail designs for beginners?
Start with modern French tips, single color manicures, or simple accent nails. Try using a glitter polish on one finger, creating polka dots with a toothpick, or applying tape for geometric shapes. These designs require minimal tools and can be completed in under 30 minutes while still looking professionally done.
How can I create nail art without professional tools?
Use household items like toothpicks for dots and lines, bobby pins for larger dots, tape for geometric shapes, and kitchen sponges for ombre effects. Cotton swabs work great for blending colors and cleaning mistakes. These common items can create stunning designs without expensive brushes or equipment.
What colors work best for seasonal nail designs?
Spring calls for soft pastels like baby pink and lavender, summer embraces bright electric coral and sunshine yellow, fall features warm earth tones like deep burgundy and burnt orange, while winter showcases elegant jewel tones such as emerald and sapphire blue with metallic accents.
How long does a quick manicure take?
A complete 5-minute manicure includes filing, buffing, and applying quick-dry polish. For even faster results, use high-quality press-on nails which can be applied in 2-3 minutes, or simply add rhinestones or nail stickers to a clear base coat for instant nail art.
What’s the best way to achieve a matte finish?
Apply your base color and let it dry completely, then use a matte top coat for a sophisticated look. Avoid touching the nails while drying to prevent smudging. Matte finishes work especially well with bold colors and can instantly elevate any simple design.
How do I create gradient or ombre effects at home?
Use a makeup sponge to blend two colors together while both are still wet. Start with lighter colors at the tips and darker at the base. You can also layer transparent colors or apply glitter polish from cuticle to tip for a glamorous fade effect.
What are accent nails and how do I use them?
Accent nails involve highlighting one nail (usually the ring finger) with a different color or design while keeping others simple. Try metallic polish, glitter, or simple stripes on just one nail to transform your entire manicure without overwhelming the look.
How can I make my nail polish last longer?
Use a quality base coat, apply thin layers of polish, seal with a top coat, and avoid water for the first hour after application. Quick-dry formulas and proper nail prep including filing and buffing also help extend wear time significantly.

