We’ve all scrolled through stunning nail art photos online and wondered if we could recreate those gorgeous designs ourselves. The truth is you don’t need professional training or expensive tools to achieve beautiful nail art at home. With just a few basic supplies and some creativity, we can transform our nails into tiny canvases that express our personal style.
Easy nail art isn’t just about following trends – it’s about discovering techniques that work with our skill level and busy schedules. Whether we’re complete beginners or looking to expand our current repertoire, there are countless simple designs that deliver maximum impact with minimal effort.
From classic dots and stripes to elegant gradient effects and playful patterns, we’ll explore nail art ideas that anyone can master. These approachable techniques prove that stunning manicures don’t require hours of practice or artistic expertise – just the right guidance and a willingness to experiment.
Simple Geometric Patterns That Anyone Can Master
Building on the foundation of basic nail art, geometric patterns offer endless possibilities while remaining surprisingly simple to execute.
Triangle and Square Designs
Triangular patterns create instant visual impact using just tape and two contrasting polish colors. Start by applying your base color and allowing it to dry completely. Cut small pieces of painter’s tape into triangle shapes and position them randomly across your nails. Apply your second color over the entire nail and carefully remove the tape while the polish is still slightly wet. This technique works beautifully with metallic gold over matte black or coral pink over cream white.
Square designs follow the same principle but offer a more structured appearance. Use striping tape to create perfect square outlines or fill in solid square patterns. Try alternating colors like navy blue and silver for a checkerboard effect. Position squares at the nail tips for a modern French manicure twist or scatter them across the entire nail for a playful confetti look.
Striped Nail Art Techniques
Horizontal stripes are the easiest geometric pattern for beginners to master. Apply your base color first then use striping tape to mask off sections. Paint over with your accent color and remove the tape immediately. We recommend starting with two colors and gradually adding more as your confidence builds.
Vertical stripes elongate shorter nails and create an elegant effect. Use thin striping brushes or nail art pens to draw straight lines from cuticle to tip. Practice on a piece of paper first to get steady hand movements. Metallic stripes over dark bases look particularly striking for evening looks.
Diagonal stripes add ever-changing movement to your manicure. Position striping tape at 45 degree angles across your nails. This technique works exceptionally well with rainbow color combinations or monochromatic schemes using different shades of the same color family.
Polka Dot Creations
Classic polka dots require nothing more than a dotting tool or the end of a bobby pin. Dip your tool in polish and gently press onto your dried base color. Start with larger dots using the ball end of a dotting tool then add smaller accent dots with a toothpick. We suggest practicing dot sizes on paper before working on your nails.
Gradient dot patterns create sophisticated depth by varying dot sizes across each nail. Begin with large dots at the cuticle area and gradually decrease the size toward the nail tip. This technique works beautifully with ombre color schemes or metallic accents over solid bases.
Clustered dot designs group dots together for a bubble effect that’s both fun and modern. Create clusters of three to five dots in varying sizes then repeat the pattern across your nails. Mix matte and glossy topcoats over different dot clusters for added texture and visual interest.
Easy Floral Nail Art for Beginners
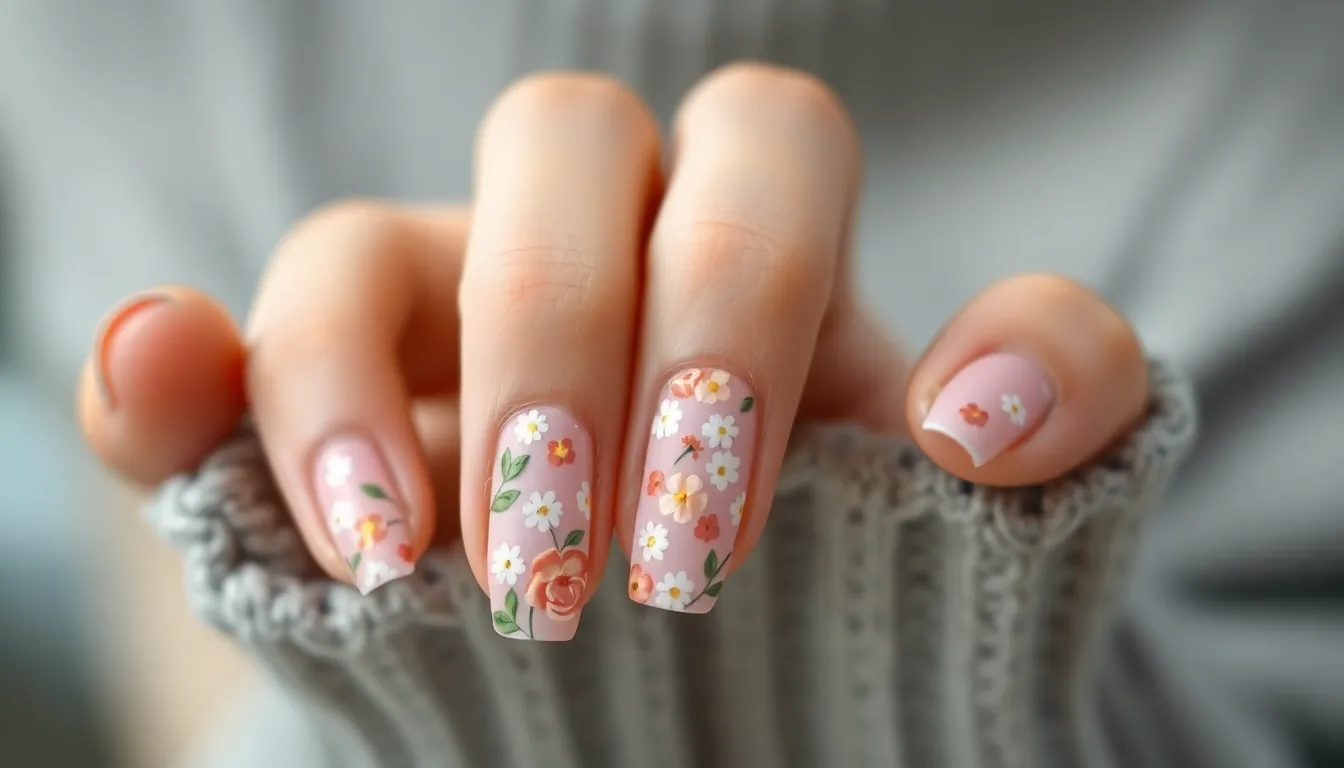
Floral nail designs bring natural beauty to your fingertips while remaining surprisingly simple to achieve. We’ll guide you through the most beginner-friendly flower patterns that require minimal tools but deliver maximum impact.
Basic Rose Designs
Creating roses on your nails starts with a simple dotting technique using your nail polish brush. Place a small dot of polish as your center, then add curved strokes around it to form petals. Building each petal layer by layer gives your roses dimension and realistic appearance.
Two-tone roses elevate basic designs by blending complementary colors like pink and white. Apply your base color first, then while it’s still slightly tacky, add the second color using gentle swirling motions. This technique creates natural color gradients that mimic real rose petals.
Corner placement works exceptionally well for rose designs since it allows maximum space for petal details. Position your roses at the base of your nail near the cuticle or at the tip for an elegant French manicure alternative. Size variation adds visual interest when you create clusters of different sized roses across your nails.
Simple Daisy Patterns
White daisies with yellow centers offer the perfect starting point for floral beginners. Use a small brush to create five or six white petal strokes radiating from a central point, then add a tiny yellow dot in the middle. Each petal stroke should be thin at the base and slightly wider at the tip for authentic daisy proportions.
Multiple daisy placement creates charming garden-inspired manicures without overwhelming your nail space. Scatter three to five small daisies across each nail, varying their angles and positions for natural randomness. This scattered approach mimics how daisies grow in actual meadows and fields.
Color variations transform basic white daisies into personalized masterpieces. Pink, purple, or blue daisies create modern twists on traditional designs while maintaining the same simple technique. Match your daisy colors to your outfit or season for cohesive style coordination.
Minimalist Leaf Accents
Single leaf designs provide subtle nature touches that complement any floral pattern. Create leaves using two quick brush strokes that meet at a point, forming teardrop shapes. Green remains the classic choice, but experimenting with burgundy, gold, or navy creates sophisticated seasonal variations.
Stem connections link your floral elements together for polished, professional-looking results. Draw thin lines connecting your flowers to small leaf clusters, creating the illusion of complete botanical illustrations. These connecting elements fill empty nail space while maintaining design balance.
Accent nail placement maximizes leaf impact without overwhelming your overall manicure. Reserve detailed leaf work for one or two nails per hand, keeping others simple with solid colors or minimal dots. This selective approach draws attention to your artistic details while maintaining wearable elegance.
Quick French Manicure Variations
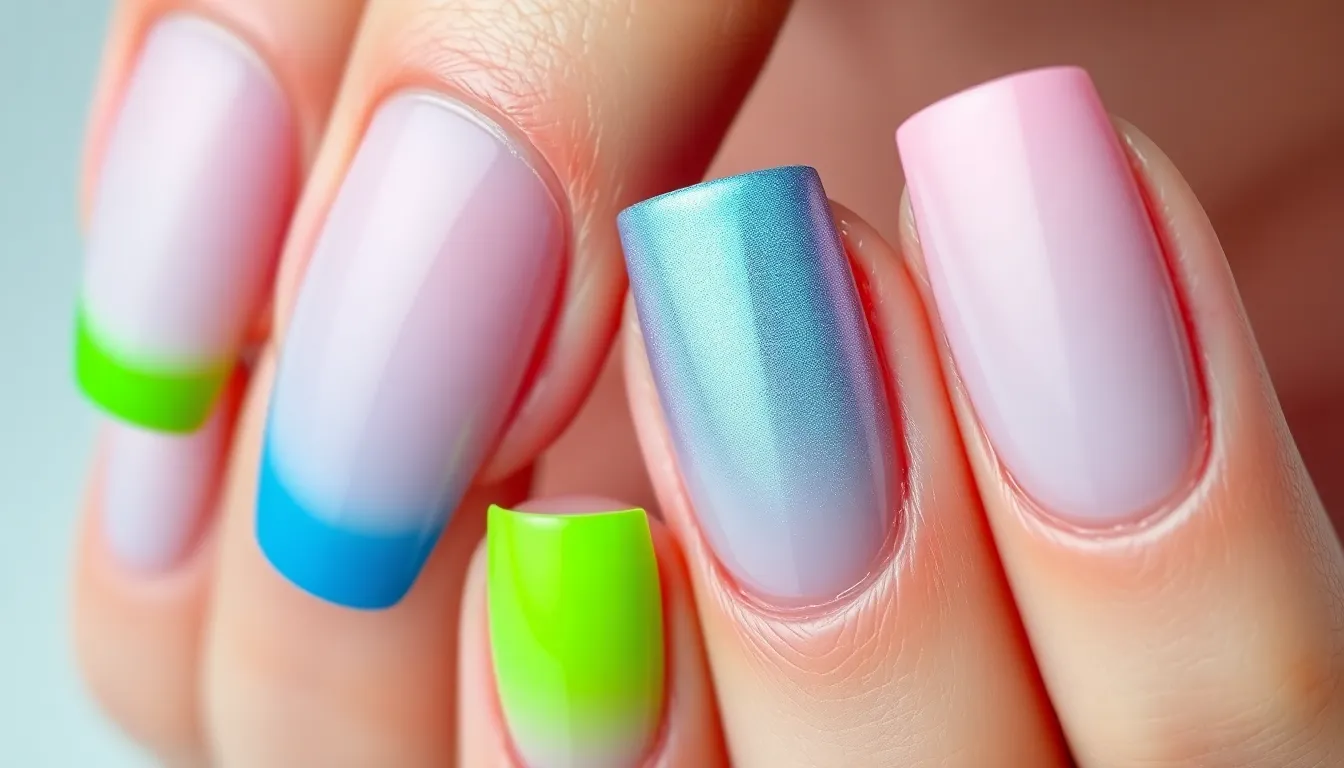
French manicures don’t have to stick to the traditional white tip formula. We can easily transform this classic design with creative twists that maintain elegance while adding personal flair.
Colored French Tips
Bold hues replace the classic white tip to create stunning modern French manicures. We recommend starting with bright colors like coral, electric blue, or emerald green for eye-catching results. Apply your base coat first, then use nail tape or French tip guides to create clean lines at your nail edges.
Metallic finishes add glamour to colored French tips with gold, silver, or rose gold polish. We suggest using a thin brush or nail art pen for precise application along the tip line. Gradient color French tips blend two complementary shades for a sophisticated ombré effect that transitions from your natural nail to the colored tip.
Neon French tips work perfectly for summer nail art with electric pink, lime green, or bright orange shades. We find that neon colors pop beautifully against nude or clear base coats, creating a modern contrast that’s both fun and chic.
Reverse French Manicure
Switching the color placement transforms traditional French manicures by painting the half-moon area near your cuticles instead of the tips. We start with a light base color and add contrasting polish to the crescent shape at your nail bed. Creating clean curves requires steady hands or half-moon nail guides for perfectly symmetrical results.
Pastel reverse French styles use soft colors like baby pink, lavender, or mint green for subtle elegance. We recommend using a dotting tool or small brush to trace the natural curve of your cuticle line. Metallic reverse French designs incorporate gold or silver polish at the base while keeping tips neutral for sophisticated contrast.
Two-tone reverse manicures combine different shades at both the base and tips for unique styling. We suggest choosing colors from the same family or complementary hues to maintain visual harmony across all your nails.
Double French Line Styles
Thin parallel lines create sophisticated double French manicures with two distinct color bands at your nail tips. We use striping tape or thin brushes to paint precise lines with small gaps between each band. Contrasting color combinations work beautifully with classic white paired with gold, or nude tones with bright accent colors.
Varying line thickness adds visual interest by making one line thicker than the other for asymmetrical appeal. We recommend practicing on nail wheels first to perfect your technique before applying to natural nails. Rainbow double French styles incorporate multiple colors in each line set, creating playful designs perfect for festivals or special occasions.
Negative space double lines leave gaps between the colored bands to show your natural nail underneath. We find this technique works exceptionally well with bold colors like black and white or navy and gold for striking geometric appeal.
Effortless Ombre and Gradient Effects
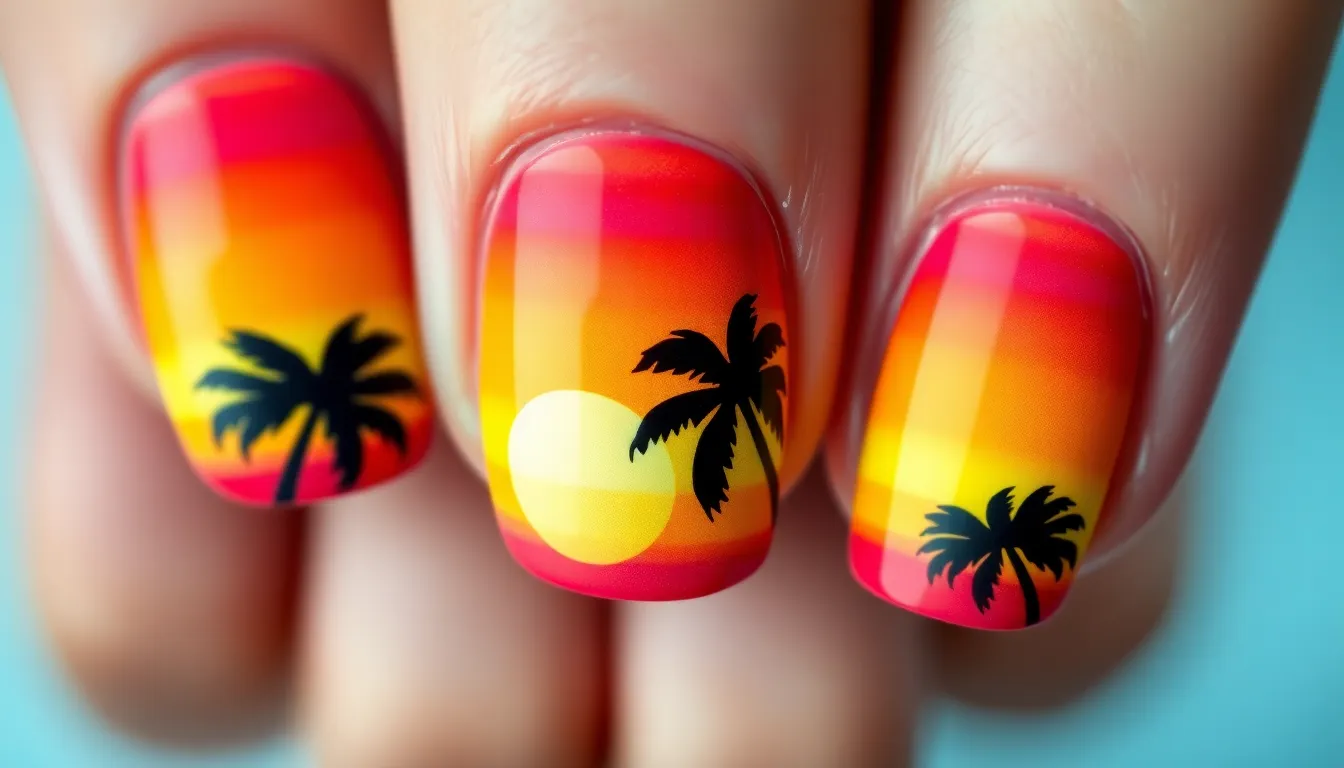
Creating smooth color transitions on our nails adds sophistication without requiring advanced techniques. These gradient effects work beautifully as standalone designs or complementary elements to other nail art patterns.
Two-Color Gradient Technique
Blending two complementary colors creates stunning vertical gradients that suit any occasion. We recommend starting with a light base coat and applying the darker shade at the nail tip using a makeup sponge. Dabbing motions help achieve seamless color transitions while the polish remains wet.
Color combinations like pink to purple or blue to teal produce the most striking results for beginners. We suggest practicing the sponging technique on a nail wheel first to perfect the blending motion. Multiple thin layers create smoother gradients than single thick applications.
Working time becomes crucial since we need to blend colors before they dry completely. We advise keeping a damp sponge nearby and working on one nail at a time. This approach ensures consistent results across all fingers.
Glitter Fade Designs
Glitter gradients transform ordinary manicures into sparkling statement pieces using simple application methods. We create these effects by concentrating glitter polish at the nail tips and gradually reducing coverage toward the cuticle area. Dense glitter application at the tips fades to scattered sparkles near the base.
Layering different glitter sizes produces depth and visual interest in fade designs. We recommend using fine glitter as the base layer with larger hexagonal pieces concentrated at the tips. This technique creates professional-looking dimension.
Removal becomes easier when we apply glitter over a peel-off base coat specifically designed for glitter polishes. We suggest this method for temporary sparkle effects or special occasions when easy cleanup is essential.
Sunset Ombre Styles
Sunset gradients capture warm evening colors in horizontal bands across each nail using orange, pink, and yellow shades. We apply these colors in overlapping sections while wet to achieve natural blending reminiscent of actual sunsets. Starting with yellow at the cuticle area and transitioning through orange to pink at the tips creates authentic sunset effects.
Three-color gradients require strategic placement to avoid muddy color mixing in the center areas. We recommend applying each color to one-third of the nail and blending the edges with a clean sponge. This method maintains color clarity while achieving smooth transitions.
Adding silhouette details elevates sunset designs from simple gradients to artistic statements. We can paint palm trees, birds, or city skylines over dried gradient bases using black polish and thin brushes. These additions create personalized sunset scenes on our nails.
Simple Stamping and Stencil Methods
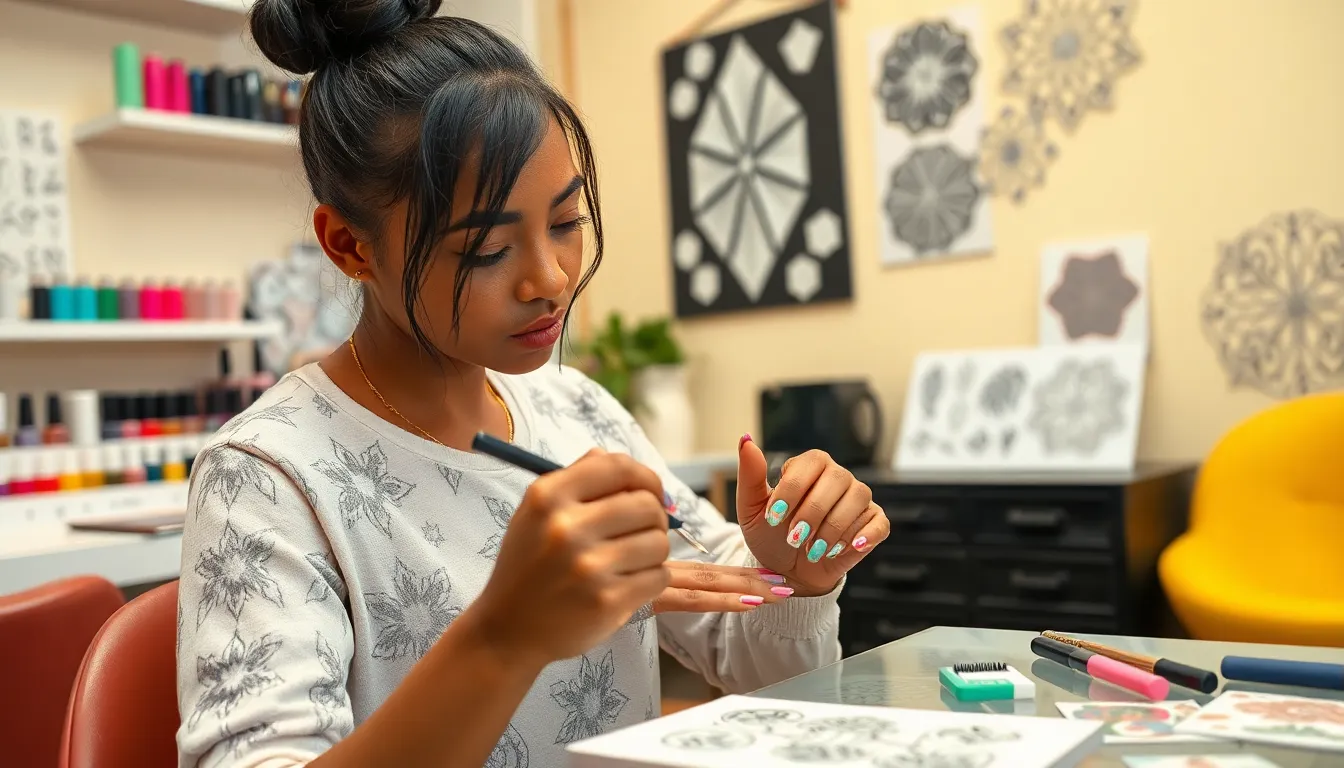
Creating professional-looking nail art becomes effortless when we use stamping plates and stencils to achieve precise patterns and designs.
Basic Stamping Plate Designs
Stamping plates offer endless design possibilities with minimal effort required. We recommend starting with simple geometric patterns like chevrons, dots, or basic florals that transfer easily onto nails. Metal stamping plates work best because they hold polish in the etched grooves more effectively than plastic alternatives.
Applying stamping polish correctly ensures crisp, clean transfers every time. We suggest using specially formulated stamping polish rather than regular nail lacquer since it provides better opacity and coverage. The key involves scraping excess polish from the plate at a 45-degree angle to fill only the design grooves.
Timing plays a crucial role in successful stamping technique. We need to work quickly once we’ve applied polish to the plate because it dries rapidly. The entire process from scraping to stamping should take no more than 10-15 seconds for optimal results.
DIY Stencil Techniques
Creating custom stencils allows us to personalize our nail art with unique shapes and patterns. We can use adhesive vinyl, painter’s tape, or even paper reinforcement circles to create our own templates. Cut shapes like hearts, stars, or crescents using create scissors or a precision knife.
Positioning stencils properly prevents polish bleeding and ensures clean lines. We should press down firmly around all edges of our homemade stencils before applying color. This technique works particularly well with cream polishes that have good coverage in one coat.
Removing stencils at the right moment preserves our design integrity. We recommend peeling away the stencil while the polish remains slightly tacky rather than completely dry. This timing prevents the color from chipping or pulling away with the stencil material.
Tape-Assisted Patterns
Painter’s tape creates the most versatile tool for geometric nail art designs. We can cut thin strips for precise lines, triangular pieces for color blocking, or curved shapes for more organic patterns. The low-tack adhesive won’t damage our base coat when removed properly.
Layering tape in different directions produces complex-looking patterns with simple techniques. We suggest applying horizontal strips first, painting over them, then adding vertical pieces for a plaid or crosshatch effect. This method allows us to build intricate designs step by step.
Washi tape provides decorative patterns without additional painting required. We can apply colorful washi tape directly to our nails for instant designs, then seal with a clear top coat. This approach works especially well for accent nails or when we want quick pattern variety across multiple fingers.
Minimalist Negative Space Nail Art
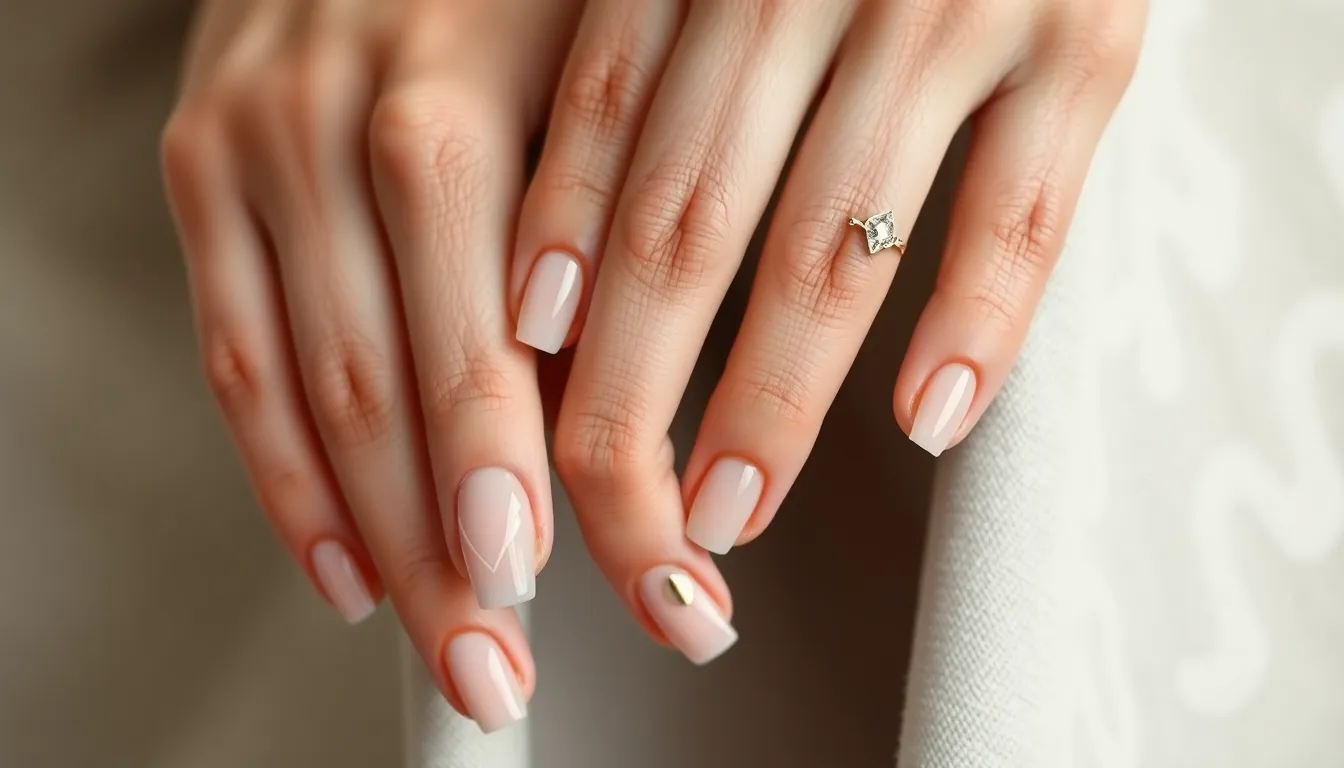
We can create sophisticated looks by leaving portions of the natural nail visible through strategic design placement. This technique celebrates the beauty of bare nails while adding artistic elements.
Bare Nail Accent Designs
We recommend starting with single accent nails that showcase natural beauty through selective polish placement. Paint only the tip or base of one nail per hand while leaving the rest completely bare for maximum visual impact. Consider creating geometric shapes like triangles or half moons using painter’s tape to mask areas you want to keep natural.
Our favorite approach involves painting just the ring finger with a bold color while keeping other nails completely unpolished. Add a thin metallic stripe across the middle of the accent nail to create definition between the colored and clear sections. This design works exceptionally well with deep jewel tones like emerald or sapphire against natural pink nail beds.
Try alternating patterns where we paint every other nail partially, creating a checkerboard effect across both hands. Use nude or clear base coats on unpainted nails to enhance their natural shine while maintaining the minimalist aesthetic.
Cutout Pattern Styles
We can achieve stunning cutout effects using small pieces of tape or vinyl stickers as temporary masks. Apply base color first, then place geometric shapes like circles, squares, or diamonds over wet polish before removing them to reveal the natural nail underneath. This technique creates clean lines and professional looking negative space designs.
Our tested method involves using hole reinforcement stickers from office supplies to create perfect circular cutouts. Place three small circles in a diagonal line across each nail, then paint over the entire surface with metallic polish. Remove stickers immediately while polish is still wet to prevent peeling.
Consider heart shaped cutouts for romantic occasions by folding small pieces of tape and cutting heart shapes before application. Position these at the base of the nail near the cuticle area for an elegant French manicure alternative that showcases natural nail growth.
Simple Line Art on Clear Base
We find that single brushstrokes create the most elegant negative space line art on natural nails. Start with a clear base coat to protect and enhance the natural nail surface, then add one or two thin lines using a striping brush or the tip of a regular nail polish brush. Vertical lines elongate fingers while horizontal lines create width.
Our preferred technique uses metallic gold or silver polish to draw delicate curved lines that follow the natural nail shape. Begin at one corner and sweep across to create an organic flowing design that complements the nail’s natural curve. This approach requires steady hands but produces professional results with minimal effort.
Try intersecting lines that create geometric patterns without overwhelming the natural nail space. Draw two diagonal lines that cross in the center, or create parallel lines at different angles for modern artistic appeal. Keep line thickness consistent throughout all nails for a cohesive finished look.
Easy Seasonal Nail Art Ideas
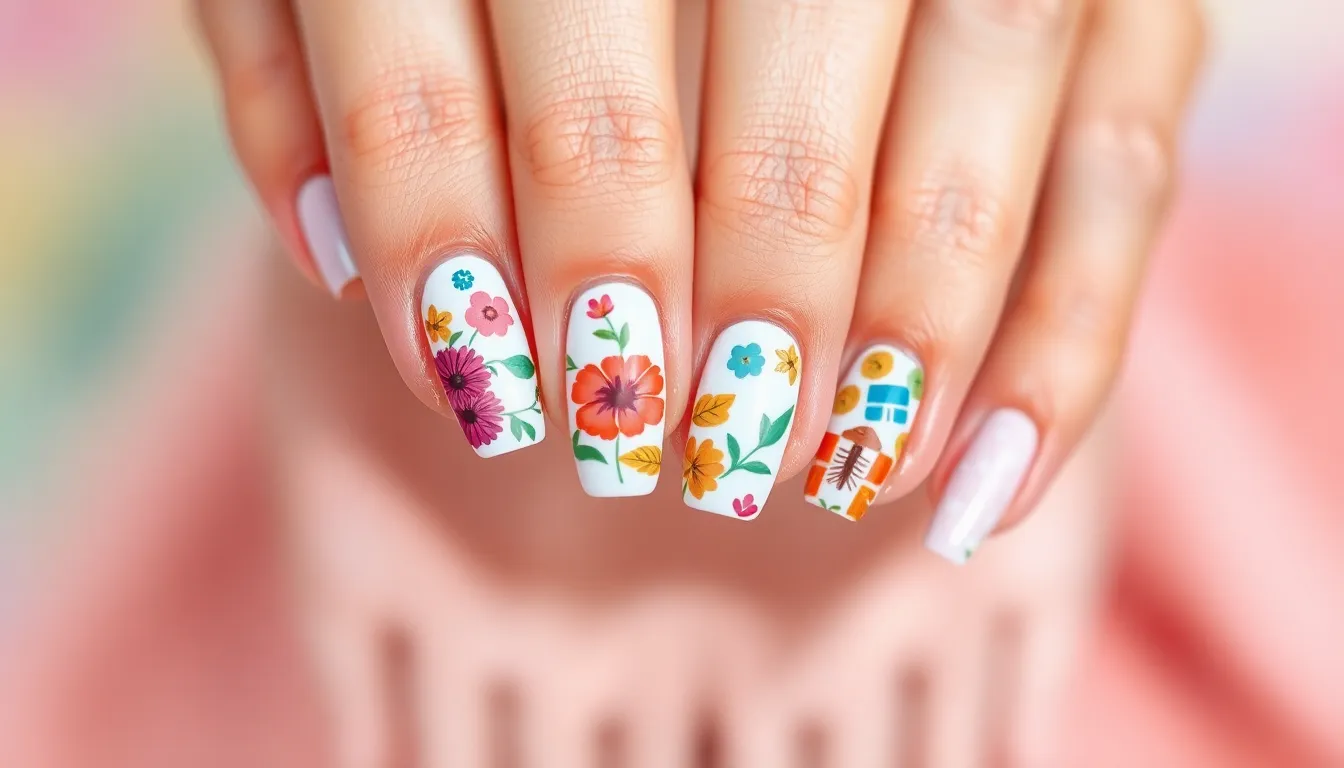
Seasonal nail art lets us celebrate the changing year while keeping our manicures fresh and timely. We’ll explore designs that capture each season’s unique beauty using simple techniques.
Spring Pastel Designs
Soft floral combinations perfectly capture spring’s awakening beauty using gentle pinks, lavender purples, and mint greens. We recommend starting with a light base coat in baby pink or cream, then adding small daisy patterns using the dotting technique from our previous floral section. Cherry blossom branches create stunning accent nails when we paint thin brown lines and dot pale pink flowers along the stems.
Gradient pastel effects bring spring’s soft color palette to life through smooth transitions between complementary shades. We suggest blending lilac into soft yellow or mint green into baby blue using the sponge technique covered earlier. Easter inspired designs work beautifully when we add tiny white dots to represent eggs or create simple bunny silhouettes on accent nails.
Fresh green accents symbolize new growth and can transform any spring manicure with minimal effort. We love adding small leaf details to pastel bases or creating simple grass patterns along the nail tips. Combining these green elements with white or yellow flowers creates a garden fresh look that’s perfect for spring celebrations.
Summer Beach-Themed Nails
Ocean wave patterns capture summer’s coastal vibes through flowing blue and white designs that mimic rolling surf. We create these by painting curved lines in various blue shades from navy to sky blue, then adding white foam details with a thin brush. Sunset beach scenes work magnificently when we blend orange, pink, and purple gradients as backgrounds for simple palm tree silhouettes.
Tropical fruit accents add playful summer energy to our manicures with bright colors and simple shapes. We suggest painting watermelon slices using pink bases with black seed dots and green rinds on accent nails. Pineapple designs become easy when we use yellow bases with crosshatch patterns and green leaf crowns at the cuticle area.
Seashell and starfish motifs bring beachy charm through simple shapes that anyone can master with basic tools. We recommend using nude or coral bases and adding white shell outlines with small dots for texture. Starfish designs work beautifully when painted in bright orange or pink with simple five pointed shapes on feature nails.
Fall Autumn Leaf Patterns
Warm color gradients showcase autumn’s rich palette through seamless blends of orange, red, and golden yellow. We achieve stunning fall ombres by transitioning from deep burgundy at the cuticle to bright orange at the tips using our established sponge blending technique. Copper and bronze metallics add sophisticated autumn glamour when layered over these warm base colors.
Simple leaf silhouettes create elegant fall designs without requiring advanced artistic skills or expensive tools. We paint basic maple leaf shapes using deep red or orange polish, then add simple vein details with thin brushes. Oak leaf patterns become achievable when we focus on rounded lobes and use various brown shades for natural depth.
Harvest theme decorations celebrate fall’s abundance through miniature pumpkins, acorns, and wheat patterns that capture seasonal charm. We create tiny pumpkins using orange dots with green stem details on accent nails. Apple designs work perfectly when we paint red circles with small brown stems and single green leaves.
Winter Holiday Styles
Snowflake accent patterns bring winter’s magic to our nails through delicate white designs on deep blue or silver bases. We create simple six pointed snowflakes using thin brushes and white polish, making each one unique with varying line lengths and decorative dots. Icy blue gradients provide stunning backgrounds when we blend light blue into clear or white polish.
Holiday red and green combinations capture Christmas spirit through classic color pairings enhanced with gold or silver accents. We suggest alternating red and green nails with simple holly leaf patterns or tiny gift bow designs. Candy cane stripes become festive features when we paint diagonal red and white lines on accent nails.
Metallic winter glamour adds sophistication to cold weather manicures through silver, gold, and platinum finishes that catch winter light. We love creating geometric snowflake patterns using metallic polishes over dark bases like navy or black. New Year designs shine when we add gold glitter gradients or create simple champagne bubble effects using various sized dots in metallic shades.
Quick Accent Nail Techniques
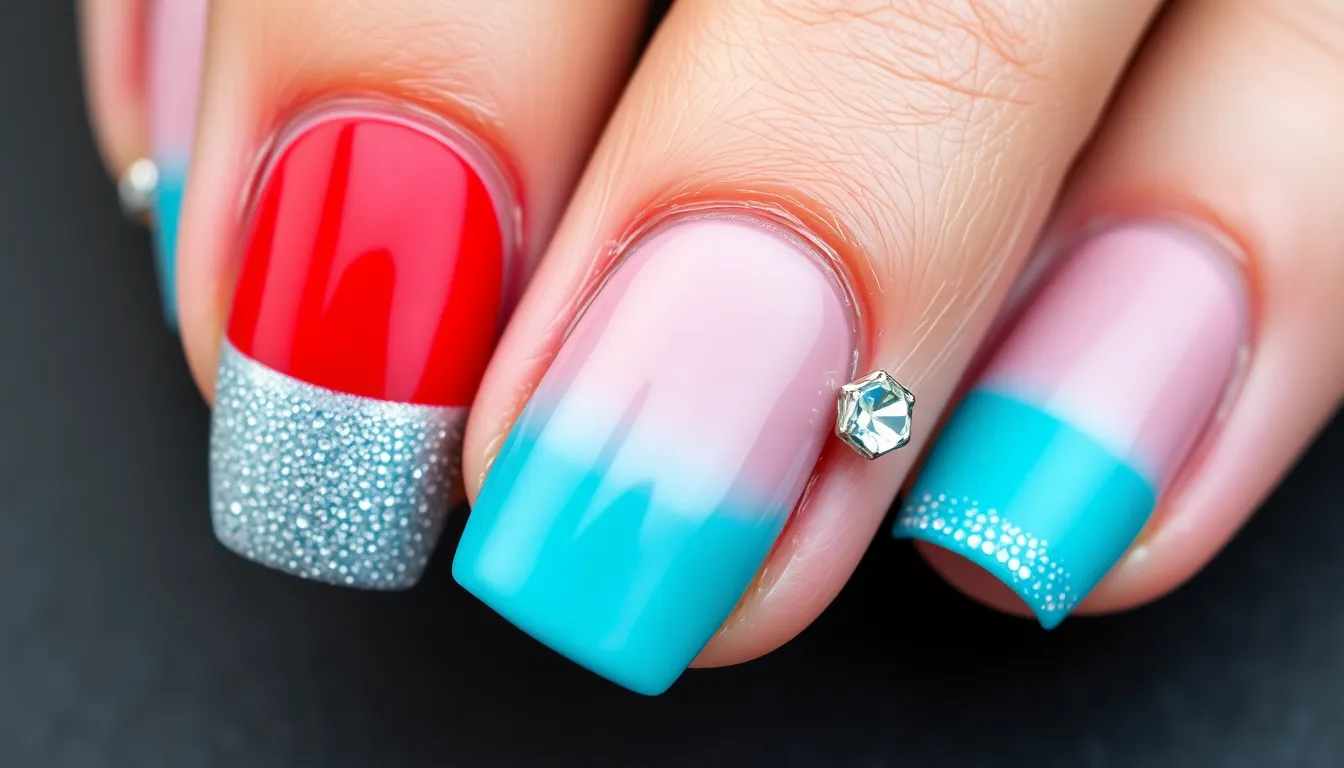
Sometimes we want to create stunning nail art without decorating every finger. These accent nail methods let us highlight one or two nails while keeping the rest simple and elegant.
Single Statement Nail Designs
Feature your ring finger with a bold contrasting color that complements your base shade perfectly. We recommend choosing colors that sit opposite each other on the color wheel for maximum visual impact. Purple base nails look stunning with a golden yellow accent, while soft pink pairs beautifully with mint green.
Create textured statement nails using matte topcoat over one finger while keeping others glossy. This technique adds dimension without requiring additional tools or complicated patterns. Navy blue nails with one matte accent finger create an sophisticated professional look.
Apply metallic polish to your thumb and ring finger for balanced visual weight across both hands. Silver and gold metallics work universally with most base colors. Rose gold accent nails complement neutral tones like beige, cream, and soft gray beautifully.
Design simple geometric shapes on your accent nail using striping tape or nail art brushes. Triangles, half moons, and diagonal lines create clean modern looks. We suggest practicing these shapes on practice wheels before applying them to your nails.
Glitter Accent Methods
Concentrate glitter application at the nail tips for a subtle sparkle effect that catches light beautifully. Use a makeup sponge to dab glitter polish gradually from tip to middle for smooth blending. Fine glitter creates elegant looks while chunky glitter adds playful drama.
Create gradient glitter fades by applying glitter polish in thin layers from cuticle to tip. Start with light coverage at the base and build intensity toward the free edge. This technique works exceptionally well with holographic glitters that shift colors in different lighting.
Apply loose glitter over wet topcoat for custom sparkle placement and intensity control. Cosmetic glitters in hexagon, star, and circle shapes add unique textures. We recommend sealing loose glitter with two thin topcoat layers to prevent chipping.
Design glitter French tips using clear base polish and concentrated glitter application at nail edges. This modern twist on classic French manicures works with any glitter color combination. Silver glitter creates elegant looks while rainbow glitter adds festive flair.
Rhinestone Placement Tips
Position rhinestones near the cuticle area for maximum visibility and reduced catching on clothing or hair. Clean nail surfaces with rubbing alcohol before application to ensure strong adhesion. We suggest using tweezers for precise placement and gentle pressure during application.
Create simple patterns using 3 to 5 rhinestones arranged in straight lines or small clusters. Odd numbers create more visually appealing arrangements than even numbers. Triangle formations and curved lines work well for accent nails.
Apply rhinestones over wet basecoat for strongest adhesion that lasts up to two weeks. Clear nail glue provides additional security for long lasting wear. We recommend avoiding water contact for 24 hours after application to allow complete bonding.
Seal rhinestones with thick topcoat applied carefully around edges without covering stone surfaces completely. This technique prevents lifting while maintaining sparkle and clarity. Multiple thin topcoat layers work better than single thick applications for smooth finishes.
Essential Tools and Supplies for Easy Nail Art
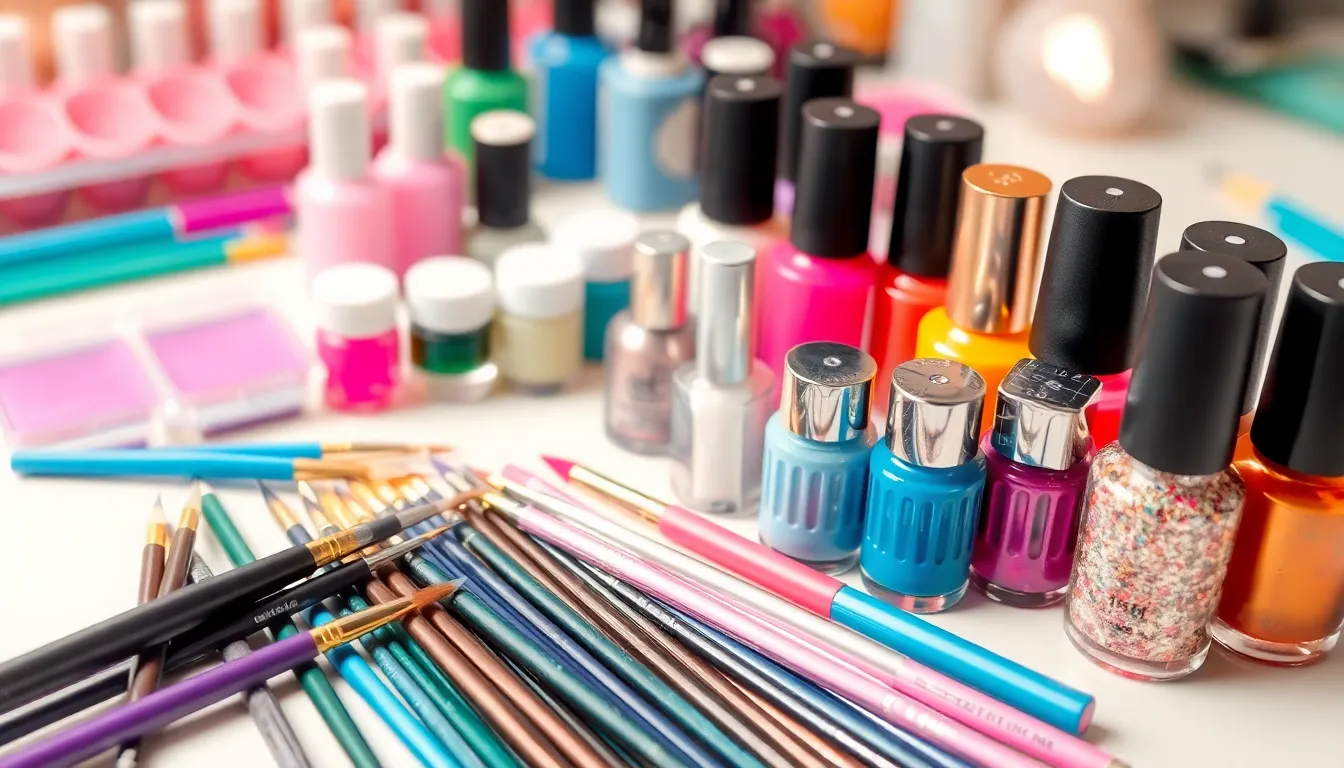
Now that we’ve explored various design techniques, let’s focus on gathering the right supplies to bring your creative visions to life. Having quality tools makes the difference between frustrating attempts and successful nail art sessions.
Basic Brushes and Dotting Tools
Fine detail brushes transform your nail art capabilities by allowing precise line work and intricate patterns. We recommend starting with sizes 0, 2, and 4 synthetic brushes that maintain their shape through multiple uses. Art supply stores often carry these brushes at affordable prices, typically ranging from $3 to $8 each.
Dotting tools create perfect circles for polka dots, flowers, and geometric patterns without requiring steady hands. Metal dotting tools with dual ends offer versatility, featuring different sized tips ranging from 1mm to 5mm. You can substitute bobby pins or toothpicks as budget friendly alternatives, though dedicated tools provide more consistent results.
Striping brushes excel at creating clean lines for geometric designs and French manicures. These thin brushes typically measure 2-3mm in width and work best with slightly thinned polish for smooth application. Practice on a nail wheel or paper before applying to your nails to develop muscle memory.
Fan brushes blend colors seamlessly for ombre effects and textured patterns. The splayed bristles distribute polish evenly, creating natural looking gradients in seconds. Synthetic fan brushes work better than natural bristles because they don’t absorb too much product.
Recommended Nail Polish Colors
Classic neutrals form the foundation of any nail art collection, including white, black, nude, and clear base coat. These colors complement every design style and serve as backgrounds for more complex patterns. We suggest investing in high quality versions of these staples since you’ll use them frequently.
Primary colors red, blue, and yellow unlock endless mixing possibilities for custom shades. Mixing these colors on a palette creates secondary colors without purchasing additional bottles. Primary shades also work beautifully for bold geometric patterns and accent nail designs.
Metallic finishes add instant glamour to simple designs, with gold, silver, and rose gold being the most versatile options. These polishes work exceptionally well for striping, French tip variations, and accent details. Metallic topcoats can transform any base color into a sophisticated finish.
Pastel collection brings softness to floral designs and spring themed nail art, including mint green, baby pink, lavender, and peach. These colors blend beautifully for gradient effects and complement minimalist designs. Pastel polishes often require two coats for full opacity.
Must-Have Accessories
Painter’s tape creates crisp lines for geometric patterns and negative space designs without bleeding. The low tack adhesive removes cleanly without damaging your base color. Cut thin strips for detailed work or use wider sections for bold color blocking effects.
Makeup sponges blend colors smoothly for ombre and gradient techniques, with wedge shaped sponges providing the best control. Dampen the sponge slightly before use to prevent it from absorbing too much polish. Disposable sponges work better than reusable ones for nail art applications.
Nail art pens offer precision for fine details, letters, and intricate patterns without requiring brush skills. Water based pens work over dried polish, while polish based pens integrate with your base color. Practice pressure control on paper before using them on your nails.
Rhinestones and studs add dimension and sparkle to accent nails and special occasion designs. Purchase assorted sizes in clear, gold, and silver to complement any color scheme. Apply these embellishments while your topcoat is slightly tacky for better adhesion.
Nail stamping plates produce professional looking patterns with minimal effort, featuring everything from floral motifs to geometric designs. Start with basic pattern plates before investing in more complex designs. Quality stamping polish ensures clear transfers and vibrant results.
Conclusion
We’ve shown you that creating stunning nail art doesn’t require professional training or expensive salon visits. With just a few basic tools and these simple techniques you can transform your nails into beautiful works of art right at home.
The key to mastering easy nail art lies in starting small and building your confidence with each design. Whether you’re drawn to geometric patterns minimalist styles or seasonal themes there’s something here for every skill level and personal taste.
Remember that practice makes perfect and every nail artist started as a beginner. Don’t be afraid to experiment with colors techniques and your own creative variations. Your nails are the perfect canvas for self-expression and with these accessible methods you’ll be creating Instagram-worthy manicures in no time.
Frequently Asked Questions
What supplies do I need to start nail art at home?
You only need basic supplies including quality nail polish, dotting tools, striping brushes, painter’s tape, and makeup sponges. Essential colors include neutrals, primary colors, metallics, and pastels. Additional accessories like nail art pens, rhinestones, and fan brushes can enhance your designs, but aren’t required for beginners.
Are geometric nail art patterns difficult for beginners?
No, geometric patterns are perfect for beginners! Simple shapes like triangles and squares are easy to master using painter’s tape and striping tape. These patterns offer endless design possibilities and help build confidence before moving to more complex nail art techniques.
How do I create smooth ombre effects on my nails?
Use a makeup sponge to blend two or more polish colors while they’re still wet. Apply colors to the sponge in your desired gradient order, then dab gently onto the nail. Work quickly within 10-15 seconds for best results, and seal with a top coat for smoothness.
What’s the easiest way to make floral nail art?
Start with simple daisies using a dotting tool for white petals and yellow centers. For roses, use the dotting technique to create layered petals with dimension. Place designs in nail corners for optimal visual impact, and add minimalist leaf accents to complete the look.
Can I create French manicure variations at home?
Absolutely! Try colored French tips with bold hues or metallic finishes instead of traditional white. Reverse French manicures place color at the cuticle area, while double French lines add parallel lines for visual interest. These variations are easy and modernize classic looks.
How do stamping plates work for nail art?
Stamping plates contain etched designs that transfer polish to nails. Apply stamping polish to the design, scrape excess, pick up with a stamper, and transfer to your nail within 10-15 seconds. Start with basic geometric patterns and use specialized stamping polish for best results.
What are negative space nail designs?
Negative space designs leave portions of your natural nail visible, creating sophisticated minimalist looks. Start with single accent nails using geometric shapes or simple line art. Use tape or stickers to create clean cutout patterns that showcase your natural nail beautifully.
How can I create seasonal nail art designs?
Match your nails to the season using appropriate colors and patterns. Spring features soft pastels and florals, summer uses beach themes and tropical fruits, fall showcases warm gradients and leaves, while winter includes snowflakes and holiday colors. Keep techniques simple but seasonally appropriate.
What are accent nails and how do I make them?
Accent nails are statement designs on one or two nails while keeping others simple. Create them using glitter, rhinestones, geometric shapes, or textured effects. This technique allows you to experiment with bold designs without overwhelming your entire manicure.
How long does homemade nail art typically last?
With proper base coat, quality polish, and top coat application, homemade nail art can last 5-7 days. Techniques like stamping and simple geometric patterns tend to be more durable than intricate hand-painted designs. Proper nail prep and sealing are key to longevity.


