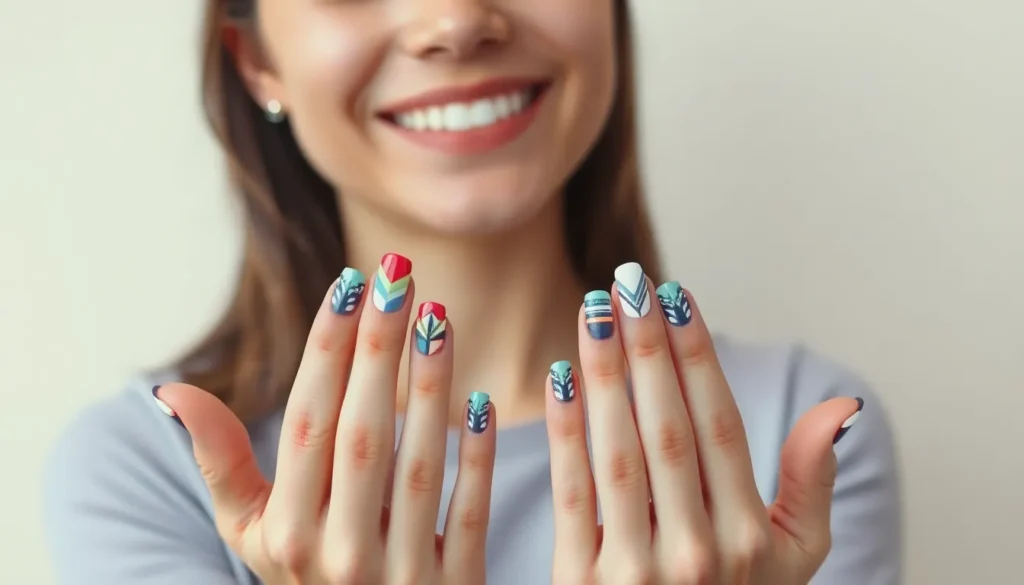
We’ve all been there – staring at our plain nails and dreaming of something more exciting. Whether you’re preparing for a special occasion or simply want to express your creativity, nail art has become the perfect canvas for personal style and artistic flair.
From minimalist designs that work perfectly for the office to bold, eye-catching patterns that make a statement, there’s a nail art style for every personality and skill level. We’re seeing incredible trends emerge from simple geometric shapes to intricate hand-painted masterpieces that rival professional salon work.
The best part? You don’t need expensive tools or years of training to create stunning nail art at home. With just a few basic supplies and the right techniques, we’ll show you how to transform your nails into tiny works of art that’ll have everyone asking where you got them done.
Classic French Manicure With a Twist
The timeless French manicure gets a modern makeover when we add creative variations to this beloved classic. These updated versions maintain the elegance of traditional French nails while incorporating contemporary elements that reflect current trends.
Colored Tips Instead of White
Pink, coral, and lavender tips transform the classic French look into something fresh and vibrant. We can choose soft pastels for a subtle update or bold neons for a dramatic statement that catches attention. Spring colors like mint green and baby blue work beautifully for seasonal nail art, while jewel tones such as emerald and sapphire create sophisticated evening looks.
Ombre effects using two complementary colors blend seamlessly from the cuticle to the tip. We achieve this gradient by applying the lighter shade first, then blending the darker color at the tips using a makeup sponge. Metallic tips in gold, silver, or rose gold add instant glamour to any outfit and photograph beautifully under different lighting conditions.
Geometric French Lines
Angular lines replace the traditional curved smile line for an edgy, contemporary aesthetic. We create sharp diagonal cuts, zigzag patterns, or asymmetrical shapes using nail tape as our guide for precision. These modern interpretations work especially well with nude base colors that let the geometric elements take center stage.
Double lines in contrasting colors add depth and visual interest to the design. We can paint one thin line in black and another in white, or combine complementary shades like navy and gold for a sophisticated look. V shaped tips pointing downward or upward create an unexpected twist that feels both classic and avant garde.
Negative space designs incorporate the natural nail as part of the geometric pattern. We leave strategic areas unpainted to create triangles, diamonds, or linear patterns that showcase the nail’s natural beauty while maintaining the French manicure structure.
Glitter French Tips
Holographic glitter creates rainbow effects that shift and change in different lighting conditions. We apply a clear base coat, then use a small brush to paint glitter polish only on the tips for maximum impact. Fine glitter gives a subtle sparkle that works for professional settings, while chunky glitter makes a bold statement perfect for special occasions.
Gradient glitter fades from dense coverage at the tips to scattered sparkles toward the cuticle. We achieve this effect by applying glitter heavily at the tip, then using a clean brush to pull some sparkles down toward the base while the polish is still wet. This technique creates a sophisticated sparkle that feels both elegant and playful.
Accent nails featuring full glitter coverage on one or two fingers balance the overall look without overwhelming the design. We typically choose the ring finger or create matching accent nails on both hands for symmetry that feels intentional and polished.
Minimalist Nail Art Ideas for Everyday Wear
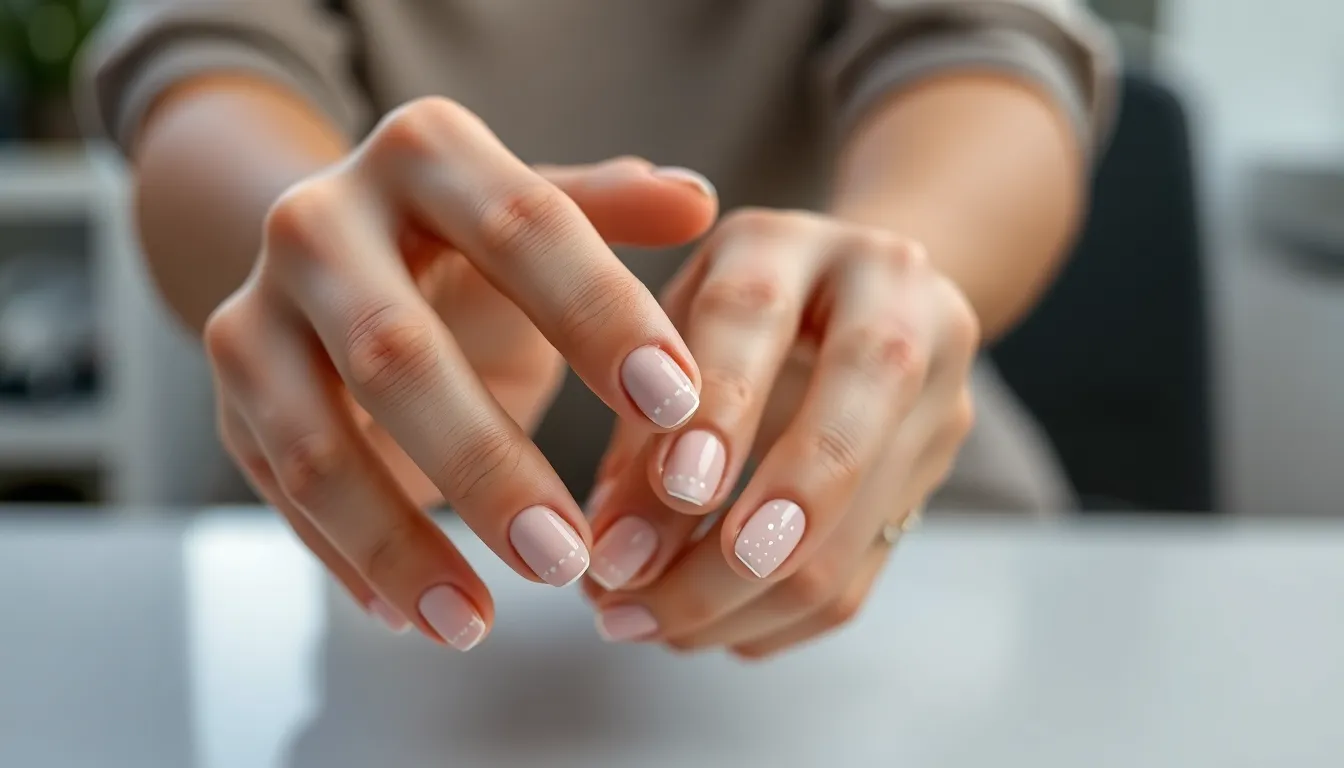
Moving from statement making French tips to subtle everyday elegance, minimalist nail art offers the perfect solution for professional settings and daily wear.
Simple Dot Patterns
Dot patterns create effortless sophistication using just a bobby pin or dotting tool. We love placing three small dots diagonally across one nail for an understated geometric look. White dots on nude bases work beautifully for office environments, while metallic silver dots on clear polish add just enough sparkle for evening events.
Creating uniform dots requires steady pressure and consistent tool positioning. We recommend practicing the motion on paper first to develop muscle memory. Black dots on white polish deliver classic contrast, and soft pink dots on cream backgrounds offer feminine subtlety perfect for any occasion.
Thin Line Designs
Thin line designs transform nails with minimal effort using striping tape or fine brushes. We achieve clean vertical lines by applying tape strips before painting, then removing them while polish stays wet. Horizontal lines across the nail tip create modern updates to traditional French manicures.
Diagonal lines offer ever-changing visual interest without overwhelming complexity. We often use contrasting colors like navy lines on beige polish or gold lines on dusty rose bases. Single lines down the center of each nail create elongating effects that flatter shorter nail beds.
Single Accent Nail
Single accent nails balance creativity with workplace appropriateness by highlighting just one finger per hand. We typically choose the ring finger for accent placement since it draws attention without seeming excessive. Subtle shimmer polish on one nail while keeping others matte creates sophisticated contrast.
Texture variations work exceptionally well for accent nails in professional settings. We might add tiny rhinestones to one nail or use matte topcoat over glossy polish for dimensional effects. Neutral accent colors like champagne or rose gold complement any outfit while maintaining understated elegance throughout the week.
Seasonal Nail Art Ideas to Match the Weather
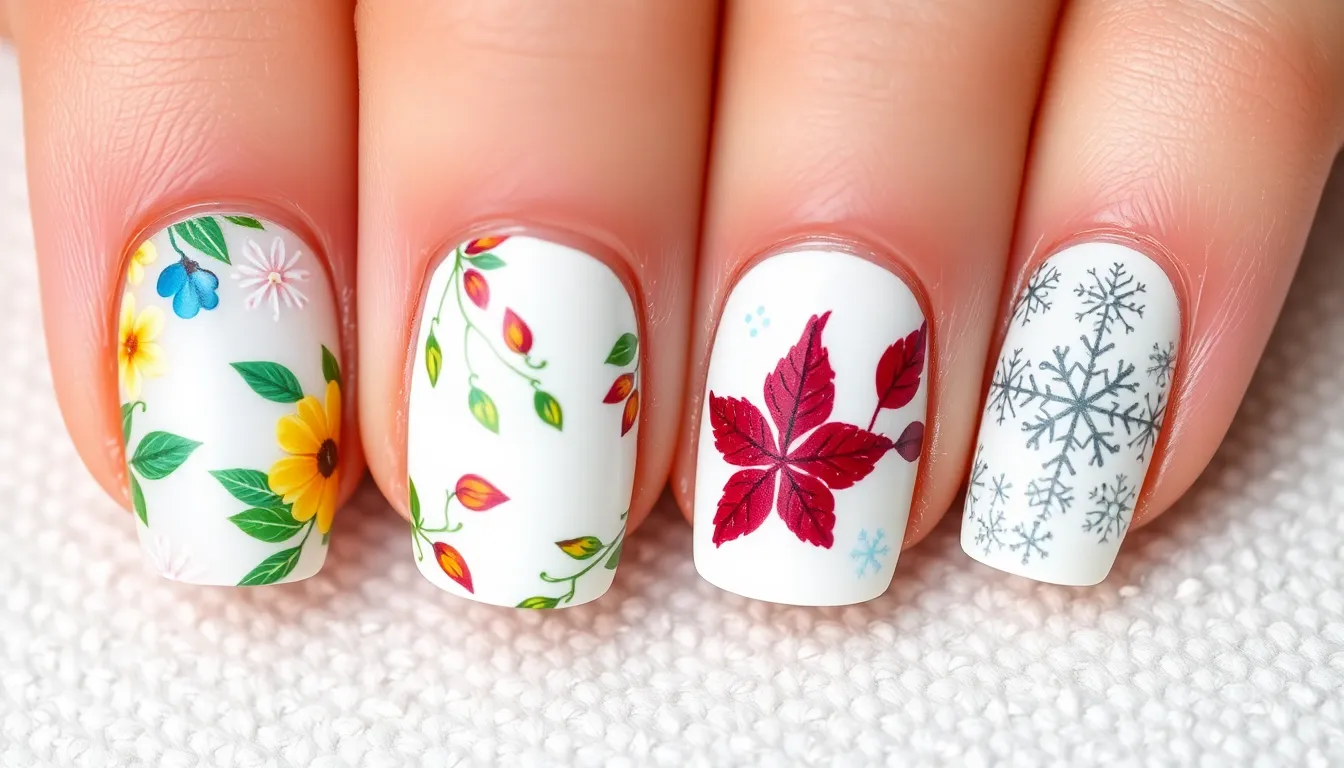
Transform your nails throughout the year with designs that perfectly capture each season’s essence. We’ll explore weather-inspired nail art patterns that complement nature’s changing moods.
Spring Floral Patterns
Delicate cherry blossoms create stunning spring nail art that celebrates renewal and fresh beginnings. Use soft pink and white polishes with a small dotting tool to create clustered petals on a nude base. Add tiny brown branches with a thin brush for authentic detail.
Pastel wildflower designs bring meadow magic to your fingertips. Paint small daisies using white polish with yellow centers, then scatter purple lavender stems throughout. Complete the garden look with light green leaves using a fine liner brush.
Tulip silhouettes offer elegant simplicity for spring manicures. Choose vibrant colors like coral, yellow, or purple for the tulip heads against a soft blue sky background. Paint simple curved stems in sage green to ground the design naturally.
Summer Beach Themes
Ocean wave patterns capture summer’s aquatic energy with flowing blue and white designs. Layer different shades of blue polish from navy to turquoise, then drag a thin brush through wet polish to create wave-like movements. Add white foam details with a dotting tool for realistic texture.
Tropical palm tree silhouettes evoke vacation vibes on any nail shape. Paint dramatic sunset backgrounds using orange, pink, and purple gradients, then add black palm tree outlines with swaying fronds. Small birds in the distance complete this paradise scene.
Seashell accents bring beach treasures to your nail art collection. Use nude and pearl polishes to create conch shells, starfish, and sand dollars on alternating nails. Add subtle shimmer to mimic the ocean’s sparkle on wet shells.
Fall Leaf Designs
Maple leaf patterns showcase autumn’s fiery transformation with rich burgundy, orange, and gold tones. Stamp or freehand paint leaf shapes across your nails, then add detailed veining with a thin brush. Layer different colored leaves for depth and dimension.
Acorns and oak leaves create charming fall nail art that celebrates harvest season. Paint small brown acorns with golden caps, surrounded by detailed oak leaves in amber and rust colors. Use a matte top coat for an authentic autumn finish.
Gradient autumn colors mirror nature’s stunning seasonal transition. Blend warm oranges, deep reds, and golden yellows across each nail using a makeup sponge. Add scattered leaf silhouettes in darker tones for a forest floor effect.
Winter Snowflake Art
Intricate snowflake designs transform nails into winter wonderlands using white polish and fine detailing brushes. Create unique six-pointed patterns with delicate lines and dots, ensuring each snowflake differs from the others. Silver glitter accents add magical sparkle.
Frosty window effects capture winter’s crystalline beauty through strategic polish placement. Use a light blue base with white sponging to create frost patterns, then add geometric ice crystal designs. Clear top coat with holographic glitter mimics frozen window panes.
Winter tree branches create dramatic silhouettes against snowy backgrounds. Paint bare tree limbs in dark brown or black, extending across multiple nails for continuity. Add small white dots as falling snow and tiny red berries for seasonal color pops.
Bold and Dramatic Statement Nails
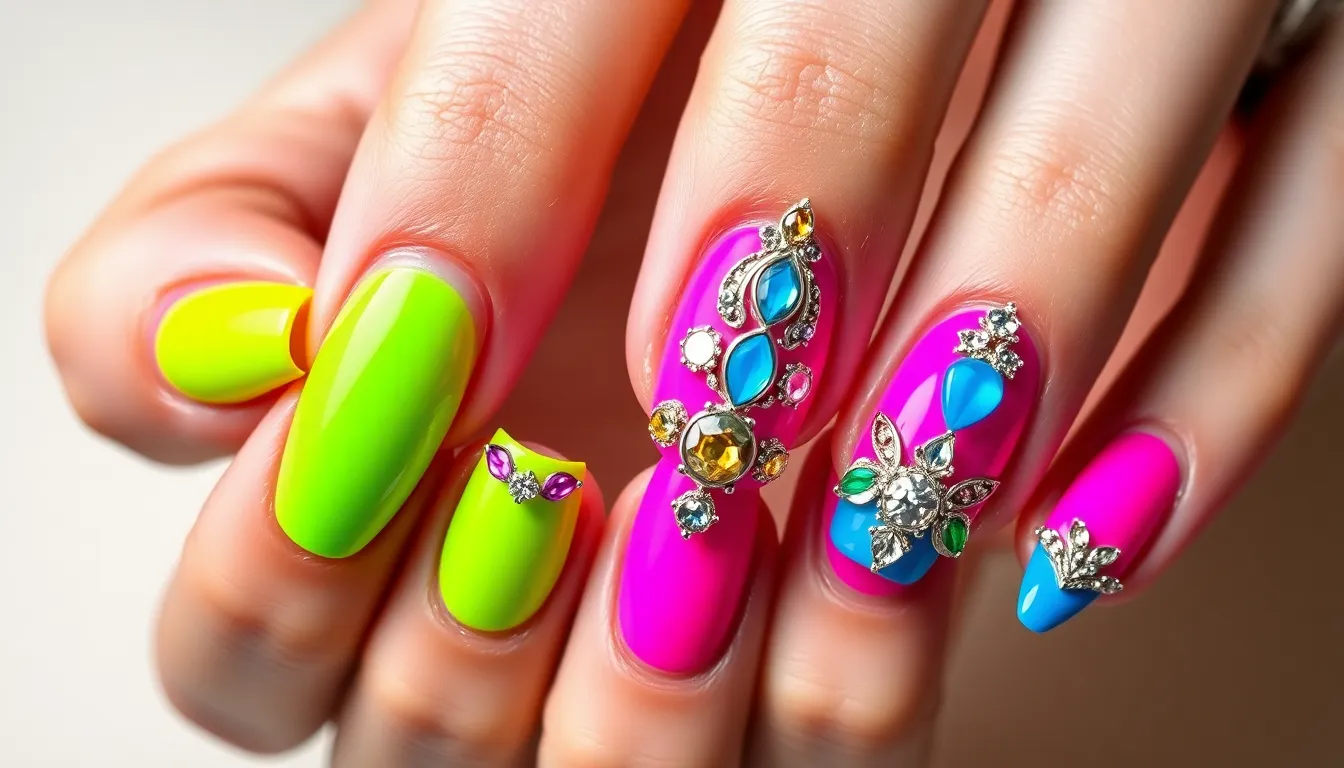
Transform your fingertips into stunning focal points with designs that command attention and showcase your fearless style. These nail art ideas push creative boundaries and make unforgettable impressions wherever you go.
Neon Color Combinations
Electric brights create show-stopping manicures that glow under any lighting condition. Pair hot pink with lime green for a tropical vibe, or combine electric blue with bright orange for maximum visual impact. Layer neon yellow over black for a striking contrast that photographs beautifully on social media.
Color blocking techniques work perfectly with neon shades, allowing you to create geometric patterns that pop against neutral backgrounds. Try alternating neon purple and electric green on different nails, or create diagonal splits using two complementary neon colors. We’ve found that matte topcoats intensify neon pigments while glossy finishes create that classic electric glow.
Gradient blending transforms multiple neon shades into seamless rainbow effects across your nail beds. Start with electric pink at the cuticle and blend into bright orange at the tips for a sunset inspired look. Professional nail artists often use makeup sponges to achieve smooth neon transitions that appear professionally airbrushed.
3D Nail Embellishments
Rhinestones and crystals elevate ordinary manicures into glamorous masterpieces worthy of red carpet events. Apply Swarovski crystals in cascading patterns down one accent nail, or create intricate mandala designs using multiple stone sizes and colors. Clear crystals catch light beautifully, while colored gems add personality and match exact outfit choices.
Sculpted acrylic flowers bring dimensional beauty to your nail art canvas. Rose designs work particularly well for romantic occasions, while cherry blossoms create delicate spring inspired looks. We recommend starting with simple five petal flowers before attempting more complex botanical sculptures that require advanced shaping skills.
Textured powders and beads create fascinating surface variations that beg to be touched. Caviar beads applied over wet polish create luxurious bumpy textures, while velvet powder transforms glossy nails into soft matte surfaces. Mix different bead sizes within the same design for added visual complexity and professional polish.
Chrome and Metallic Finishes
Mirror chrome polishes reflect light like actual metal surfaces, creating futuristic nail looks that appear almost liquid. Silver chrome works beautifully for evening events, while rose gold chrome complements warm skin tones perfectly. Apply chrome powders over gel base coats for the most reflective finish possible.
Holographic topcoats shift colors dramatically as light hits them from different angles. Rainbow holographic effects work over any base color, while linear holographic polishes create stunning light streaks across nail surfaces. We’ve discovered that black base coats make holographic effects appear most dramatic and otherworldly.
Metallic leaf application creates organic texture variations impossible to achieve with regular polish alone. Gold leaf fragments applied randomly over dark bases create galaxy inspired effects, while copper leaf pieces add warmth to autumn nail designs. Seal metallic elements with quality topcoat to prevent lifting and ensure longevity.
Easy DIY Nail Art Ideas for Beginners
Creating stunning nail art doesn’t require years of experience or expensive salon visits. We’ll explore three beginner-friendly techniques that deliver professional-looking results using common household items and affordable tools.
Tape Designs
Striping tape transforms ordinary manicures into geometric masterpieces with minimal effort. Apply your base color and let it dry completely before placing thin strips of tape across your nails in straight lines, chevron patterns, or crisscross designs. Paint over the tape with a contrasting color and remove the tape immediately while the polish is still wet to reveal crisp, clean lines.
Washi tape offers wider design possibilities for bold geometric shapes. Cut small pieces to create triangular sections, half-moon designs, or color blocking effects on your nails. Press the edges firmly to prevent polish from bleeding underneath, then paint your accent color over the exposed areas.
Regular household tape works perfectly for basic nail art when you’re starting out. Create simple vertical stripes by placing tape strips parallel to each other, leaving gaps between them for your accent color. Diagonal tape placement produces ever-changing angled designs that make fingers appear longer and more elegant.
Sponge Gradient Techniques
Makeup sponges create beautiful ombre effects that blend multiple colors seamlessly. Paint two or three complementary colors side by side on a small makeup sponge, then dab the sponge gently onto your nail from cuticle to tip. The sponge naturally blends the colors together, creating a smooth gradient transition.
Kitchen sponges with fine textures work excellently for subtle color blending. Cut a clean kitchen sponge into small pieces and apply your chosen colors in overlapping strokes. This technique works particularly well for sunset gradients using orange, pink, and purple combinations.
Stippling motions with the sponge build up color intensity gradually. Start with light pressure and gradually increase to achieve your desired opacity. Clean your sponge between different color combinations to prevent muddy results, and always seal your gradient design with a clear top coat.
Stamping Patterns
Nail stamping plates feature hundreds of intricate designs that transfer perfectly onto your nails. Apply special stamping polish to your chosen design, scrape away excess polish with a plastic card, then quickly press a rubber stamper onto the plate to pick up the image. Roll the stamper across your nail to transfer the complete pattern.
Silicone stampers pick up fine details better than traditional rubber versions. These newer stampers grab even the smallest elements of complex patterns like lace, florals, and mandala designs. Prime your silicone stamper by buffing it lightly with a nail file to improve its pickup ability.
Clear stamping plates let you see exactly where you’re positioning each design. Unlike metal plates, clear acrylic versions allow you to align patterns precisely on your nails. This visibility makes it easier to center images and create consistent results across all ten fingers.
Holiday-Themed Nail Art Ideas
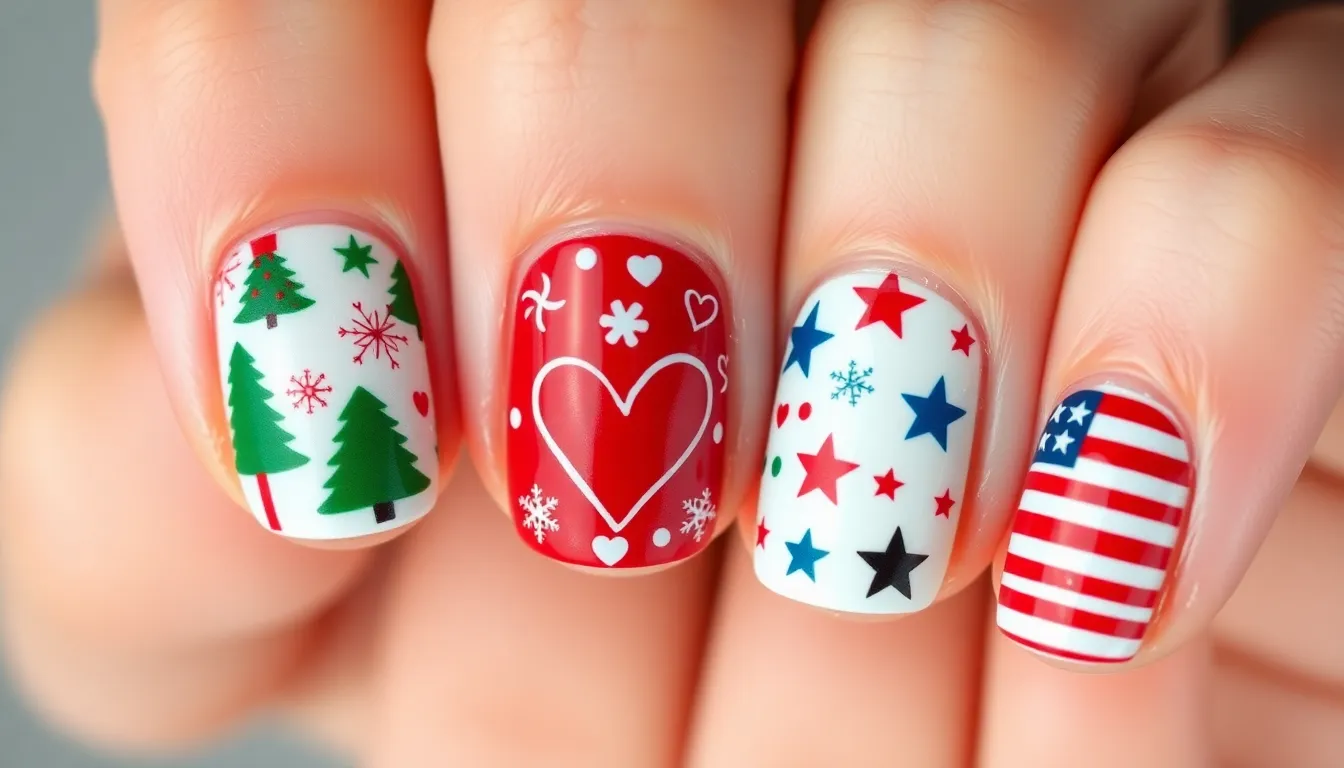
We’ve curated festive nail designs that capture the magic of special celebrations throughout the year. These holiday themed nail art ideas transform your manicures into seasonal masterpieces that spread joy and showcase your creative spirit.
Christmas and Winter Holidays
Snowflake elegance creates stunning winter nail art that captures the delicate beauty of falling snow. We recommend using white nail polish on deep blue or silver bases to paint intricate snowflake patterns with thin brushes or dotting tools. Each nail can feature different snowflake designs to create variety while maintaining the cohesive winter theme.
Christmas tree patterns bring festive cheer to your fingertips with their iconic triangular shapes. Start with green nail polish as your base and add small dots of gold or silver for ornaments. We’ve found that adding a yellow star at the tip completes the Christmas tree look perfectly.
Candy cane stripes offer a classic holiday design that’s surprisingly easy to achieve. Use red and white striping tape to create diagonal or curved patterns that mimic the beloved Christmas treat. These alternating stripes work beautifully as accent nails or across all ten fingers.
Holly and mistletoe designs capture traditional Christmas botanicals in miniature form. Paint small green leaves with red berries using dotting tools for precise application. We suggest placing these designs strategically on ring fingers or thumbs for maximum visual impact.
Reindeer silhouettes add whimsical charm to holiday nail art with their distinctive antler shapes. Brown nail polish creates the perfect base for these beloved Christmas characters. Add red dots for Rudolph’s nose or small white highlights for extra personality.
Halloween Spooky Designs
Spider web patterns create an eerie atmosphere with their intricate geometric designs. We paint white or silver webs over black or deep purple bases using thin brushes to achieve realistic web structures. Small plastic spiders can be added as 3D embellishments for extra spookiness.
Pumpkin faces bring jack o’lantern magic to your nail art with their classic carved expressions. Orange nail polish serves as the perfect base while black details create various facial features. Each nail can showcase different pumpkin personalities from friendly grins to scary scowls.
Ghost designs offer adorable spooky elements that balance cute with creepy. White nail polish creates simple ghost shapes on dark backgrounds. We add black dots for eyes and small curved lines for mouths to give each ghost its own character.
Witch themed nails incorporate magical elements like pointed hats and broomsticks. Deep purple or black bases provide the perfect backdrop for these mystical designs. Silver or gold accents can represent stars and magical sparkles.
Blood drip effects create dramatic Halloween nail art that’s perfect for horror enthusiasts. Start with a light base color and use red nail polish to create dripping effects from the cuticle area. We layer different shades of red for realistic depth and dimension.
Valentine’s Day Romance
Heart patterns remain the quintessential Valentine’s nail design with endless creative possibilities. We create gradient hearts using pink and red ombre techniques or outline hearts with glitter for added sparkle. Multiple small hearts scattered across each nail create a romantic constellation effect.
Rose designs bring classic romance to your fingertips with their elegant floral beauty. Deep red roses painted on nude or pink bases create sophisticated Valentine’s looks. We recommend starting with small dots and gradually building petal layers for realistic rose shapes.
Love letter motifs incorporate romantic typography into your nail art designs. Cursive words like “love,” “kiss,” or “XOXO” written in elegant script create personalized Valentine’s messages. Gold or silver lettering on red or pink bases adds luxurious touches.
Cupid themed nails feature the iconic symbols of love including arrows and wings. Pink and gold color combinations work beautifully for these romantic designs. We paint small arrow shapes across nails or create wing patterns using feathery brush strokes.
Ombre pink gradients create soft romantic looks perfect for Valentine’s celebrations. Blend multiple shades of pink from light to dark across each nail using makeup sponges. These gradient effects provide beautiful bases for additional romantic embellishments.
Fourth of July Patriotic Themes
Stars and stripes patterns capture American flag inspiration with their iconic red, white, and blue combinations. We alternate striped nails with star studded designs to create cohesive patriotic sets. Silver or white stars on blue bases complement red and white striped accent nails perfectly.
Firework designs celebrate Independence Day with explosive nail art that mimics colorful sky displays. Start with dark blue or black bases and add radiating lines in red, white, and gold. We create multiple burst patterns across different nails for ever-changing firework effects.
American flag motifs translate the stars and stripes directly onto your nail canvas. Blue sections with white stars pair beautifully with alternating red and white stripes on other nails. These classic designs work well as full sets or accent nail features.
Patriotic glitter combinations add sparkle to Fourth of July celebrations with red, white, and blue shimmer effects. We layer different glitter sizes and colors to create dimensional patriotic looks. Silver holographic elements enhance the festive firework atmosphere.
Liberty themed designs incorporate iconic American symbols like eagles, liberty bells, and torch motifs. These detailed designs work best as accent nails paired with simpler patriotic patterns. We recommend using metallic colors to highlight these important national symbols.
Abstract and Artistic Nail Designs
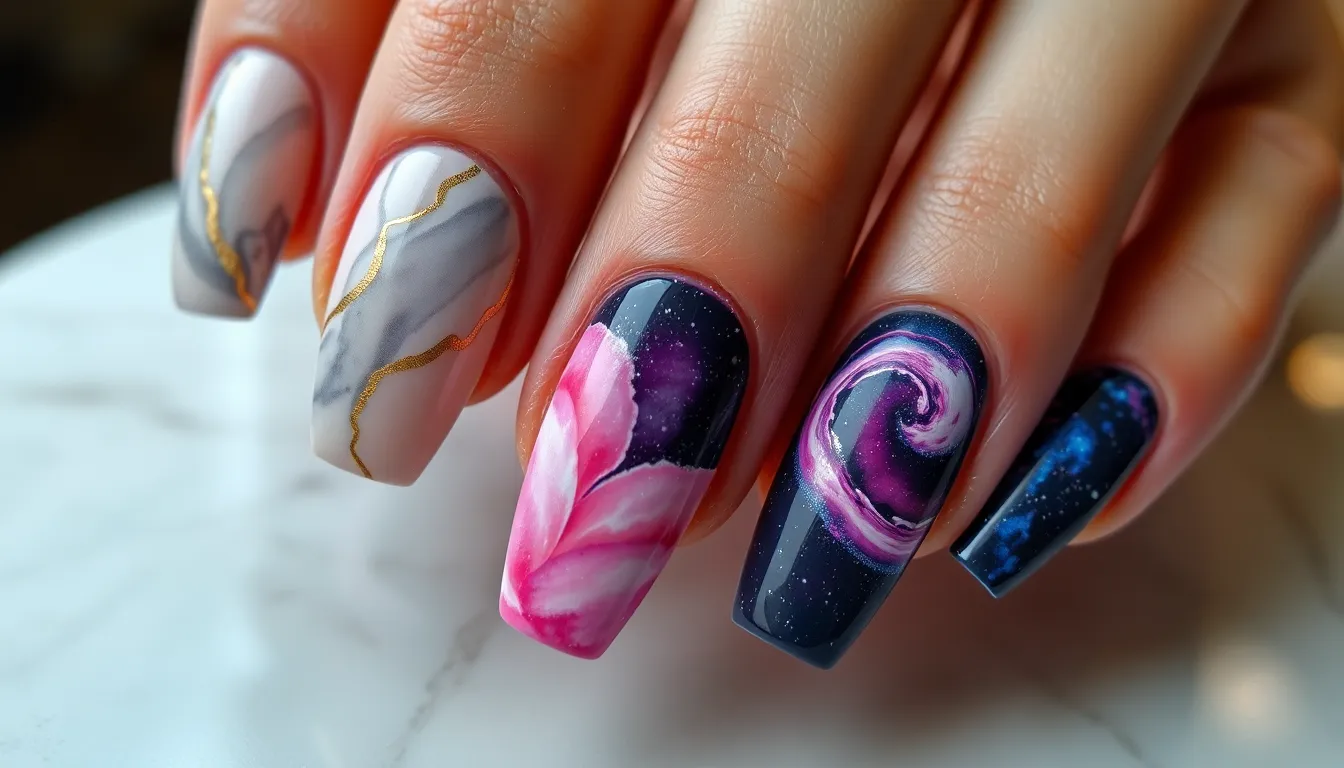
Abstract nail art opens endless possibilities for creative expression through fluid patterns and artistic interpretations. These techniques transform your nails into miniature canvases where color and texture create stunning visual effects.
Marble Effect Techniques
Marble nail art creates sophisticated swirled patterns that mimic natural stone formations using simple water marbling or dry brush techniques. We recommend starting with a white or light base color and adding 2-3 complementary colors like gray, black, or gold for authentic marble veining. Drop your chosen colors into room temperature water one at a time, then use a toothpick to create swirl patterns before dipping your nail through the design.
Dry brush marbling offers more control over the final result and works perfectly for beginners who want precise marble effects. Load a thin brush with very little paint and lightly drag it across your base color in irregular patterns. Layer different shades of the same color family such as various grays or blues to create depth and dimension. Finish with a glossy top coat to enhance the stone-like appearance and seal your marble masterpiece.
Watercolor Nail Art
Watercolor techniques produce soft, dreamy effects that blend colors seamlessly across your nail surface using diluted polish or specialized watercolor nail paints. We suggest working with a damp brush and very thin layers of color to achieve that translucent watercolor appearance. Start with light washes of color and gradually build intensity by adding more pigmented layers in select areas.
Alcohol-based mixing mediums help create authentic watercolor bleeding effects when dropped onto wet polish surfaces. Apply your base colors while they’re still tacky, then add drops of the mixing medium to watch colors naturally spread and blend. Popular watercolor combinations include sunset gradients with orange, pink, and purple, or ocean themes using blues, teals, and white accents.
Galaxy and Space Themes
Galaxy nails capture the mysterious beauty of deep space using dark base colors and strategic layering of cosmic elements like stars, nebulas, and planetary bodies. We start with a black or deep navy base, then sponge on patches of purple, blue, and magenta to create nebula clouds. Use a makeup sponge to blend these colors while they’re still wet for seamless transitions.
Holographic glitter and fine silver particles add realistic starfield effects when scattered across your cosmic background. Create larger stars using white polish on a thin brush or nail art pen, varying the sizes for natural depth. Add planets using small dots of metallic polish in gold, silver, or copper, then highlight one side with white to simulate light reflection. Complete your galaxy with subtle aurora effects by dry brushing iridescent polish in flowing patterns across select nails.
Trendy Social Media Nail Art Ideas
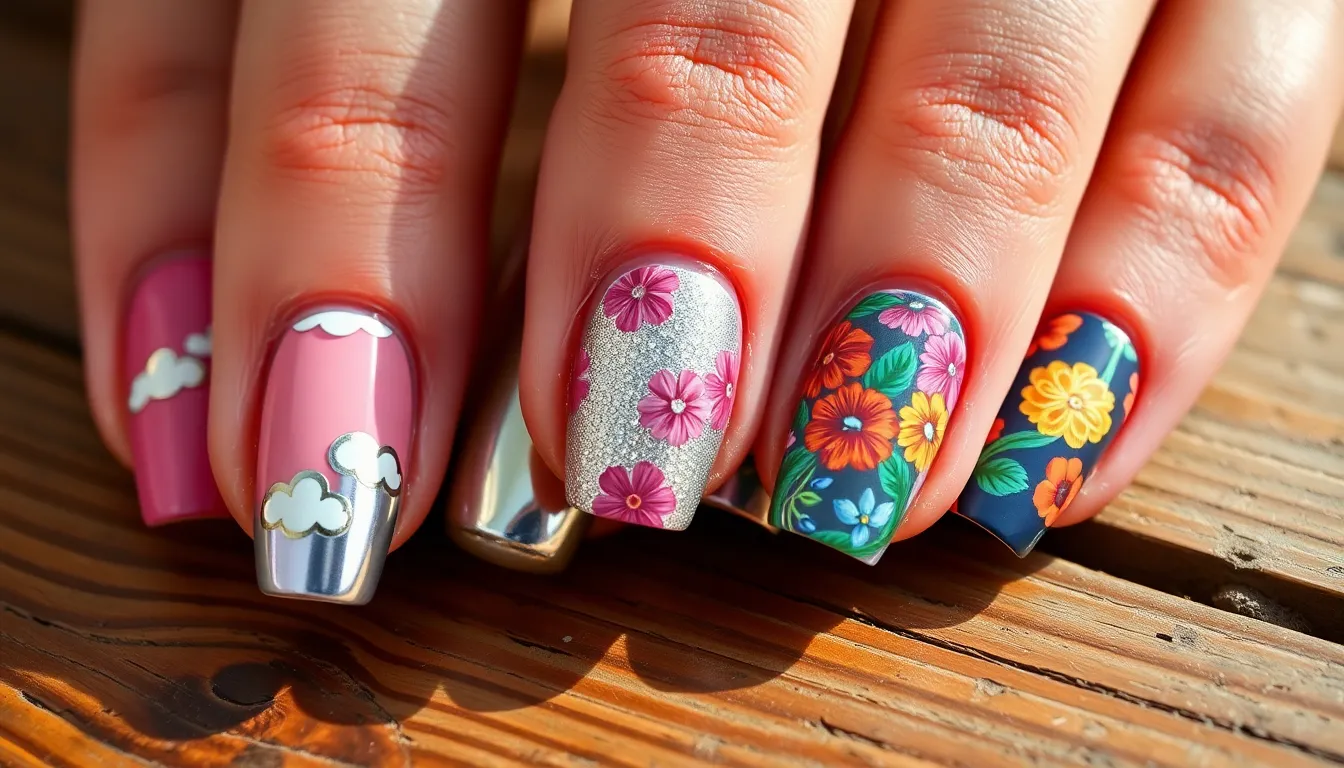
Social media platforms have revolutionized nail art inspiration, creating viral trends that spread globally within hours. We’ve compiled the most popular designs that are dominating feeds and inspiring millions of nail artists worldwide.
TikTok Viral Designs
Cloud nails have taken TikTok by storm, featuring fluffy white clouds painted over blue or gradient sky backgrounds. We see creators using dotting tools and cotton swabs to achieve the perfect billowy texture that mimics real cumulus formations.
Glass skin nails create an ultra-glossy, transparent effect that mirrors the Korean skincare trend. Creators apply multiple thin coats of clear polish with pearl dust, creating nails that look like polished glass windows.
Bubble nails use 3D gel techniques to create actual raised bubbles on the nail surface. TikTokers demonstrate how to cure small amounts of clear gel at different stages, building up dimensional spheres that catch light beautifully.
Cow print patterns became a sensation with their bold black spots on white bases. We’ve watched countless tutorials showing how to use a small brush or sponge to dab irregular spots that perfectly mimic Holstein cow markings.
Dragon scale nails feature overlapping semicircular patterns that resemble mythical creature skin. Creators use fishnet stockings or special stencils to achieve the distinctive scaled texture in metallic or holographic colors.
Instagram-Worthy Patterns
Mirror chrome finishes dominate Instagram feeds with their liquid metal appearance that reflects surroundings like polished silver. We achieve this effect using special chrome powders rubbed over gel base coats for maximum reflectivity.
Pressed flower designs showcase real dried flowers embedded in clear gel polish, creating botanical masterpieces that look like miniature terrariums. Instagram artists use baby’s breath, lavender, and tiny daisies for the most photogenic results.
Negative space geometric patterns combine bare nail with painted sections, creating modern art pieces that photograph beautifully. We use striping tape to create clean lines that frame natural nail color within bold shapes.
Encapsulated glitter layers trap holographic particles between gel coats, creating depth that sparkles differently from every angle. These designs photograph exceptionally well under ring lights and natural sunlight.
Hand-painted portraits feature tiny faces, animals, or cartoon characters painted with incredible detail using fine brushes. Instagram nail artists showcase miniature Mona Lisas, pets, and anime characters that rival traditional canvas paintings.
Pinterest Popular Styles
Cottagecore aesthetics embrace rustic charm with mushroom illustrations, gingham patterns, and earthy color palettes. We create these designs using warm browns, sage greens, and cream bases that evoke countryside living.
Maximalist rainbow gradients layer multiple bright colors in seamless transitions that span all ten nails. Pinterest users save these bold designs that feature electric blues flowing into hot pinks and sunny yellows.
Vintage floral wallpaper patterns recreate antique textile designs with roses, peonies, and intricate leaves painted in muted tones. These designs often feature dusty pink backgrounds with detailed botanical illustrations.
Stained glass window effects use black outlines filled with translucent colors that mimic cathedral windows. We achieve this look using black striping polish and sheer colored gels that allow light to pass through beautifully.
Textured sweater patterns replicate cozy knit designs using special gel techniques that create raised cable knit textures. Pinterest boards showcase these tactile designs in cream, gray, and burgundy colors perfect for fall seasons.
Professional Nail Art Ideas for Work

Creating nail art for professional environments requires balancing creativity with workplace dress codes. We’ll explore sophisticated designs that enhance your professional appearance while maintaining appropriate standards.
Subtle Office-Appropriate Designs
Thin line accents create elegant looks without overwhelming your professional appearance. We recommend drawing single metallic lines along the nail bed or creating minimal geometric shapes using gold or silver striping tape. Single accent nails provide the perfect compromise between creativity and workplace appropriateness by featuring one decorated nail per hand while keeping the remaining nails in neutral tones.
Negative space designs offer modern sophistication through strategic bare nail areas combined with subtle polish application. We suggest creating half-moon designs at the cuticle area or leaving geometric cutouts unfilled for a contemporary aesthetic. Textured matte finishes transform simple manicures into interesting focal points without adding bright colors or bold patterns that might distract in meeting environments.
Small dot patterns deliver understated charm when applied sparingly across the nail surface. We use dotting tools to create constellation-like arrangements or subtle polka dot designs in colors that complement your work wardrobe. French manicure variations modernize the classic professional look through thin colored tips in dusty rose, soft gray, or champagne hues instead of traditional white.
Business Meeting Safe Colors
Neutral beige tones provide the safest foundation for professional nail art while offering enough variation to prevent monotony. We recommend shades like taupe, mushroom, and warm sand that complement most skin tones and business attire. Soft pink variations include dusty rose, blush, and mauve options that add femininity without appearing overly casual or distracting during important presentations.
Classic gray palettes range from dove gray to charcoal, offering sophisticated alternatives to traditional nude colors. We suggest using lighter grays for everyday office wear and deeper charcoal tones for formal business events or client meetings. Cream and ivory shades work particularly well in conservative professional environments where bold colors might be considered inappropriate.
| Professional Color Category | Recommended Shades | Best For |
|---|---|---|
| Neutral Beiges | Taupe, Mushroom, Sand | Daily office wear |
| Soft Pinks | Dusty Rose, Blush, Mauve | Client meetings |
| Classic Grays | Dove Gray, Slate, Charcoal | Formal presentations |
| Cream Tones | Ivory, Champagne, Pearl | Conservative environments |
Muted burgundy options provide deeper color choices for fall and winter professional settings. We choose wine tones and deep berry shades that maintain sophistication while offering more personality than standard neutrals.
Conservative Pattern Options
Vertical stripe designs elongate the nail while maintaining professional appropriateness through thin lines in coordinating colors. We create these patterns using striping tape or thin brushes with metallic accents that catch light subtly during handshakes and presentations. Half-moon patterns at the nail base offer vintage-inspired elegance that works well in traditional business environments.
Geometric minimalism incorporates simple triangles, squares, or diamonds in neutral color combinations. We position these shapes strategically on accent nails or create subtle repeating patterns that don’t compete with professional attire. Gradient ombres using workplace-appropriate colors create visual interest without bold contrast or distracting elements.
Small floral silhouettes work when executed in monochromatic color schemes or neutral tones that blend with professional dress codes. We recommend tiny leaf patterns or simplified flower outlines rather than bold botanical designs. Textured overlays using matte topcoats or subtle shimmer finishes add dimension without creating busy visual patterns that might seem unprofessional.
Border accents along the nail edges provide definition while maintaining conservative appearances. We use thin metallic lines or subtle color variations to frame the nail without creating bold contrast that draws excessive attention during business interactions.
Conclusion
We’ve covered everything from simple DIY techniques to bold statement designs that’ll help you express your unique style. Whether you’re heading to the office or hitting the town nail art offers endless possibilities to showcase your personality.
The beauty of nail art lies in its accessibility – you don’t need expensive equipment or years of training to create stunning results. With basic tools and a little creativity you can transform your nails into miniature masterpieces that reflect the season your mood or the latest trends.
Remember that practice makes perfect. Start with simple designs and gradually work your way up to more complex patterns. Your nails are your canvas so don’t be afraid to experiment and have fun with different colors techniques and styles that speak to you.
Frequently Asked Questions
What are some easy nail art techniques for beginners?
Beginners can start with tape designs using striping tape for geometric patterns, sponge gradient techniques with makeup sponges for ombre effects, and nail stamping using stamping plates and silicone stampers. These methods require minimal tools and create professional-looking results without extensive training or expensive equipment.
How can I create professional nail art suitable for the workplace?
Focus on subtle designs like thin line accents, negative space patterns, and small dot arrangements. Use neutral colors such as beiges, soft pinks, classic grays, and muted burgundies. Conservative patterns like vertical stripes and geometric minimalism maintain sophistication while adding creative flair to your professional appearance.
What are the most popular social media nail art trends?
TikTok trends include cloud nails, glass skin nails, bubble nails, and cow print patterns. Instagram features mirror chrome finishes, pressed flower designs, and negative space geometric patterns. Pinterest showcases cottagecore aesthetics, maximalist rainbow gradients, and vintage floral wallpaper patterns that have gained viral popularity.
How do I create seasonal nail art designs?
Spring designs feature floral patterns like cherry blossoms and tulips. Summer includes ocean waves and tropical palm trees. Fall showcases maple leaves and gradient autumn colors. Winter transforms nails into snowy landscapes with snowflakes and frosty effects, capturing each season’s unique essence through themed patterns and colors.
What tools do I need for DIY nail art at home?
Basic tools include striping tape, makeup sponges, nail stamping plates, silicone stampers, and common household items. You don’t need expensive equipment to create beautiful designs. Simple tools like washi tape, dotting tools, and small brushes can help achieve professional-looking results on a budget.
How can I make my nail art last longer?
Apply a quality base coat before design creation, use thin layers of polish, and seal with a top coat. Allow each layer to dry completely between applications. Avoid water exposure immediately after application, and consider using quick-dry top coats for added durability and shine protection.
What are 3D nail embellishments and how do I apply them?
3D embellishments include rhinestones, crystals, sculpted acrylic flowers, textured powders, and beads that add depth and glamour to manicures. Apply them over wet polish or nail glue for secure attachment, then seal with top coat. These elements create dimensional effects and luxury finishes for special occasions.
Can I create French manicure variations at home?
Yes, modern French manicures include colored tips, ombre effects, and geometric designs. Use tape for clean lines, experiment with different tip colors, and try diagonal or curved variations. These creative twists on the classic French manicure offer fresh, contemporary looks while maintaining elegance and sophistication.

