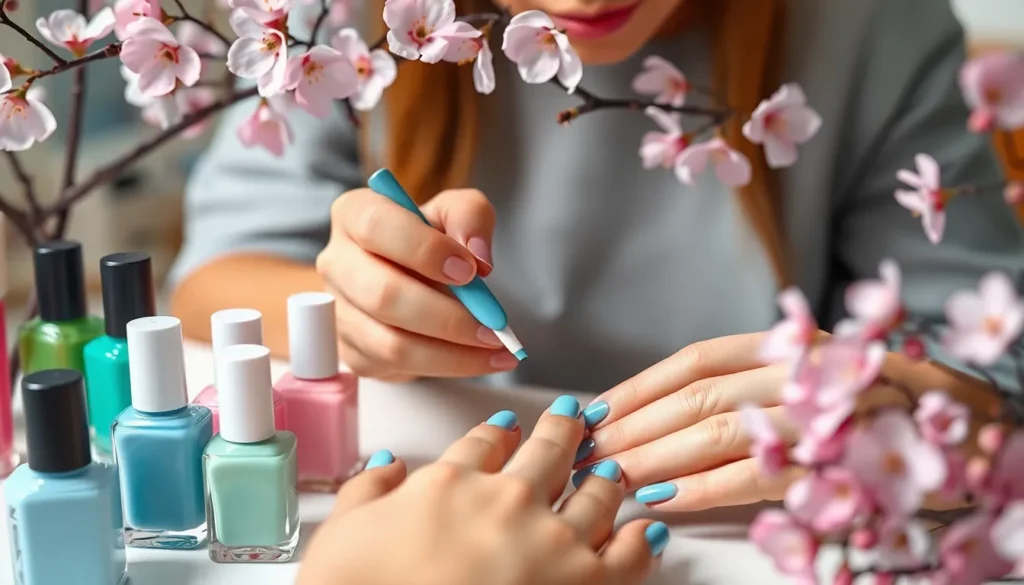
March brings the perfect opportunity to refresh our nail game as we transition from winter’s muted tones to spring’s vibrant energy. We’re diving into the most stunning march nail ideas that capture this seasonal shift – from subtle pastels that whisper of upcoming blooms to bold designs that celebrate the month’s ever-changing spirit.
This month’s nail trends blend the best of both worlds: cozy textures that still feel winter-appropriate and fresh colors that hint at warmer days ahead. We’ve curated designs that work perfectly for St. Patrick’s Day celebrations while also incorporating the soft greens and delicate florals that make March so special.
Whether you’re looking for simple spring nail designs or ready to experiment with more elaborate nail art, we’ve got inspiration that’ll keep your manicure on-trend throughout the entire month. Let’s explore the creative possibilities that make March nails absolutely irresistible.
Fresh Spring Florals for March Manicures
March brings the perfect opportunity to showcase nature’s awakening through delicate floral nail art. We’re embracing soft petals and vibrant blooms that capture spring’s fresh energy.
Delicate Cherry Blossom Designs
Cherry blossom nail art transforms your fingertips into a springtime masterpiece. We love creating these romantic designs using soft pink and white shades as the base, then adding delicate five-petaled flowers with a fine brush or dotting tool. The key lies in layering different shades of blush pink to create depth and dimension.
Start with a nude or pale pink base coat, then use a small brush to paint thin brown branches across one or two accent nails. Add tiny clusters of cherry blossoms using white and light pink polish, finishing with small yellow dots for flower centers. We recommend sealing everything with a glossy top coat to make the petals appear fresh and dewy.
For beginners, cherry blossom nail decals offer an easier alternative while still achieving that authentic spring garden look. Place them strategically on ring fingers or thumbs for maximum impact without overwhelming the entire manicure.
Bold Tulip Accent Nails
Tulip designs bring vibrant energy to March manicures through their distinctive cup shaped petals. We’re painting these iconic spring flowers in bold colors like deep purple, bright yellow, and classic red to make a statement against neutral base shades.
Create tulip silhouettes by painting elongated oval shapes with pointed tops on your accent nails. Use a flat brush to fill in the petals with rich, saturated colors, then add subtle shading with a slightly darker tone along one edge. Green stems and leaves complete the design, extending from the cuticle area toward the tulip heads.
Mix different tulip colors across multiple accent nails for a garden variety effect. We suggest pairing bright tulips with soft gray or cream base colors to let the floral elements truly pop. This technique works especially well on longer nail lengths where there’s more canvas space.
Minimalist Daisy Chain Patterns
Minimalist daisy chains offer understated elegance perfect for everyday March wear. We’re creating these charming patterns using simple white petals and yellow centers arranged in delicate connecting lines across the nail surface.
Paint tiny white oval petals in groups of five or six around small yellow dots to form individual daisies. Connect multiple flowers with thin green curved lines to create the chain effect, keeping the overall design light and airy. This technique works beautifully on shorter nails and professional settings.
For subtle variation, try painting daisy chains along the nail’s edge like a delicate border, or create a single chain running diagonally across accent nails. We recommend using a light pink or lavender base to add just enough color while maintaining the minimalist aesthetic.
Vibrant Green Shades to Welcome Spring
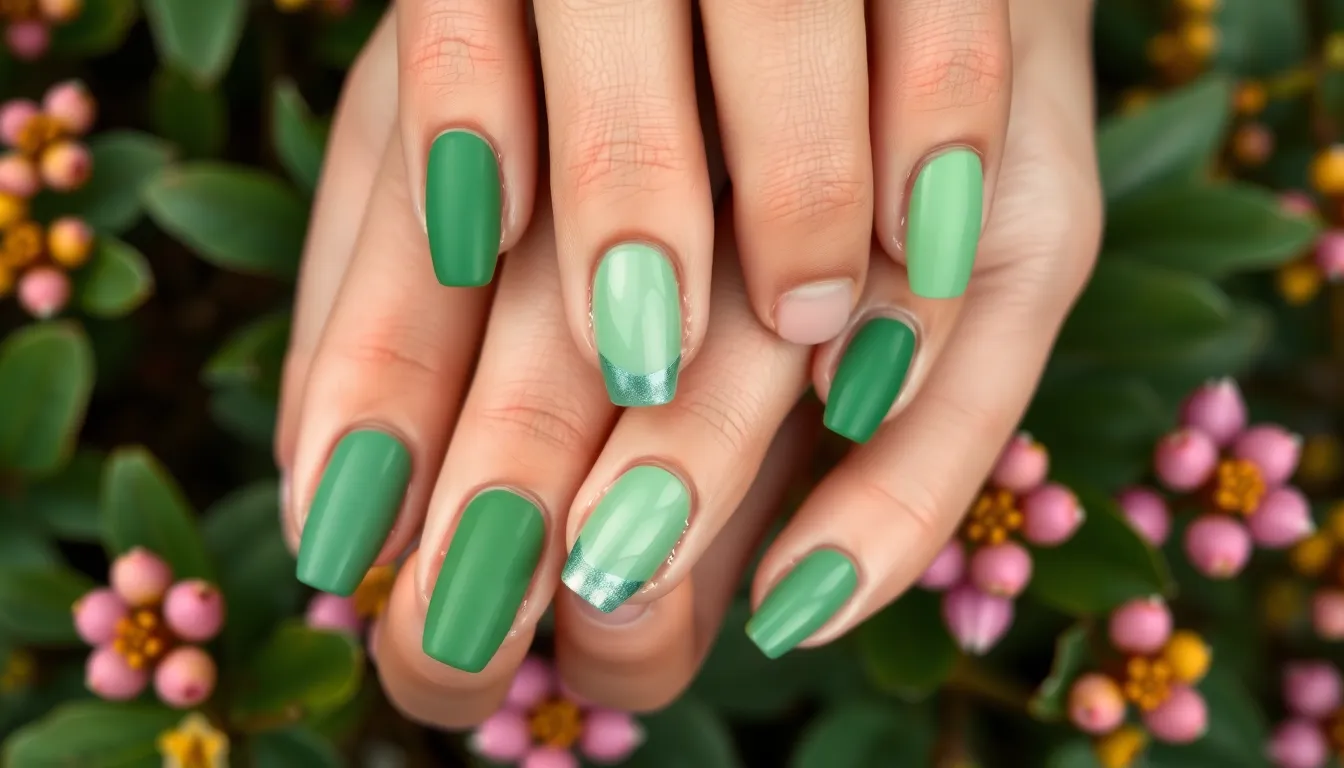
Green nail designs capture March’s natural awakening perfectly. We’re embracing nature’s palette with these stunning green variations that celebrate spring’s arrival.
Sage Green Matte Finishes
Sage green matte nails deliver sophisticated elegance with their soft, powdery texture. We love how this earthy tone complements every skin undertone while maintaining a modern minimalist appeal. The velvety finish creates depth without shine, making your nails appear naturally polished yet refined.
Apply two thin coats of sage green polish followed by a quality matte top coat for best results. We recommend pairing this shade with neutral outfits to let your nails become the focal point. Consider adding a single accent nail with subtle gold foil for extra sophistication.
Emerald Chrome Effects
Emerald chrome nails transform your fingertips into dazzling gemstones that catch light beautifully. We achieve this luxurious look using chrome powder over a dark green base coat, creating mirror-like reflections that shift from deep forest to brilliant jade. The metallic finish adds instant glamour to any March outfit.
Start with a black or dark green base color for maximum chrome impact. We apply the chrome powder while the base is still slightly tacky, then seal with a glossy top coat. This technique works exceptionally well for special March events like St. Patrick’s Day celebrations.
Mint Green Gradient Techniques
Mint green gradients create dreamy, ethereal effects that perfectly capture spring’s gentle energy. We blend this fresh shade from the cuticle to tip using sponge techniques, creating seamless color transitions from white to mint. The gradient effect adds dimension while keeping the overall look soft and feminine.
Choose complementary shades like white, sage, or pale yellow for your gradient base. We recommend using makeup sponges to dab colors together, building layers slowly for smooth transitions. Finish with a glossy top coat to enhance the gradient’s visual flow and protect your March manicure.
Pastel Color Combinations Perfect for March
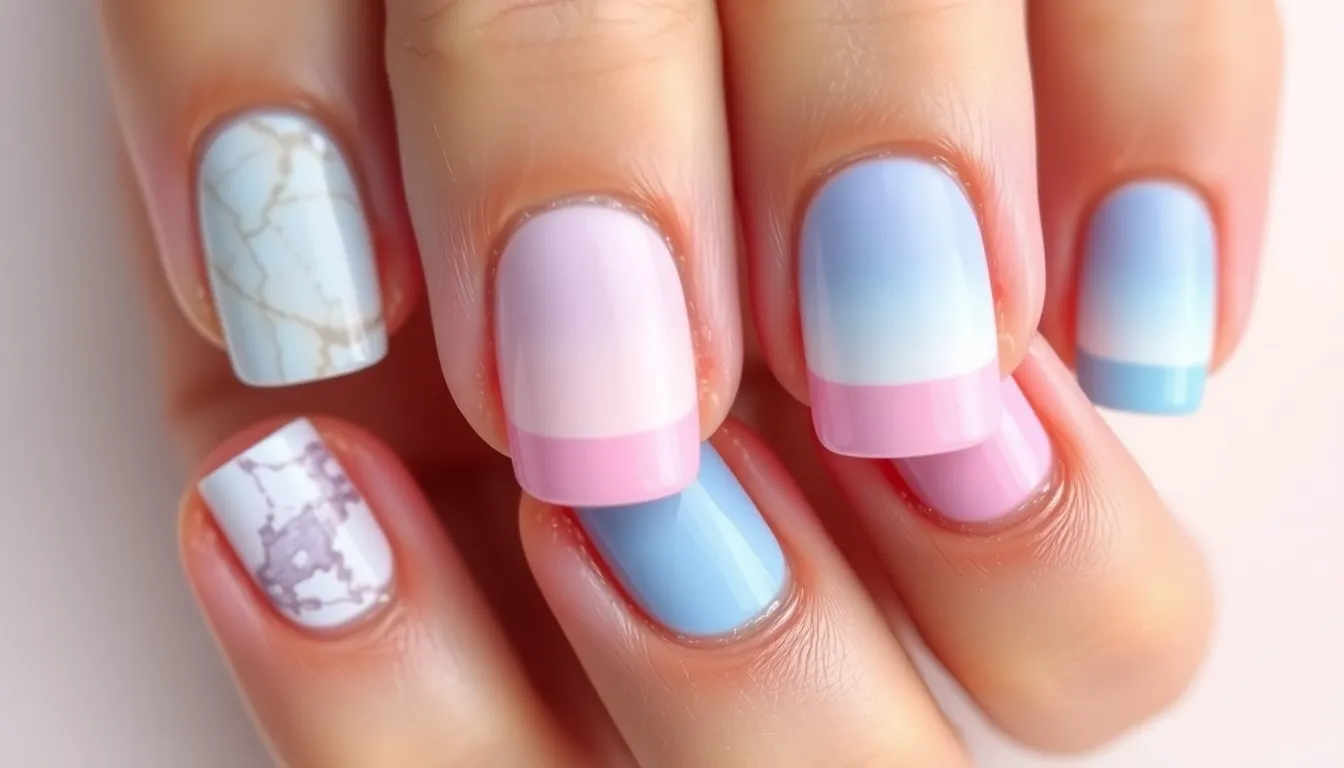
Pastel shades embody March’s gentle transition from winter’s starkness to spring’s vibrant awakening. These soft color pairings create sophisticated manicures that complement the season’s emerging beauty.
Lavender and Cream Marble Effects
Lavender marble nails bring ethereal elegance to your March manicure with dreamy swirls and organic patterns. We love how this technique mimics natural stone while maintaining a soft, romantic appeal that perfectly captures spring’s essence.
Start with a cream base coat and let it dry completely before applying the marble design. Drop small amounts of lavender polish onto the cream surface while it’s still slightly tacky. Use a thin brush or toothpick to create gentle swirling motions that blend the colors naturally. The key is working quickly before the polish sets to achieve those flowing marble veins.
Add a matte top coat for a sophisticated stone like finish that feels luxurious to the touch. This combination works beautifully on both short and long nails, making it versatile for any lifestyle. The neutral tones complement spring wardrobes while the artistic technique adds visual interest to your overall look.
Soft Pink and White French Tips
Soft pink French tips modernize the classic manicure with a gentle twist that’s perfect for March’s romantic atmosphere. This updated version uses blush tones instead of stark white, creating a more natural and contemporary appearance.
Choose a sheer pink base that matches your skin undertone for the most flattering result. Apply two thin coats for even coverage, allowing each layer to dry thoroughly. Use white polish with a fine brush to create curved tip lines that follow your nail’s natural shape.
Blend the colors slightly at the meeting point for a seamless gradient effect that looks professionally done. This technique prevents harsh lines and creates a soft transition that’s more forgiving than traditional French manicures. The result is timeless elegance with a modern edge that works for both casual and formal occasions.
Baby Blue Ombré Styles
Baby blue ombré nails capture March skies with their soft gradient transitions from light to deeper blue tones. This technique creates depth and dimension while maintaining the delicate aesthetic that defines spring nail trends.
Begin with the lightest blue shade as your base color, applying two even coats for full opacity. While the second coat is slightly tacky, use a makeup sponge to dab on progressively deeper blue shades toward the nail tips. Work quickly to blend the colors before they set completely.
Seal the design with a glossy top coat that enhances the gradient effect and adds professional shine. The ombré technique works especially well on longer nails where you have more space to showcase the color transition. This look pairs beautifully with spring pastels in your wardrobe and adds a dreamy quality to your overall style.
St. Patrick’s Day Themed Nail Art
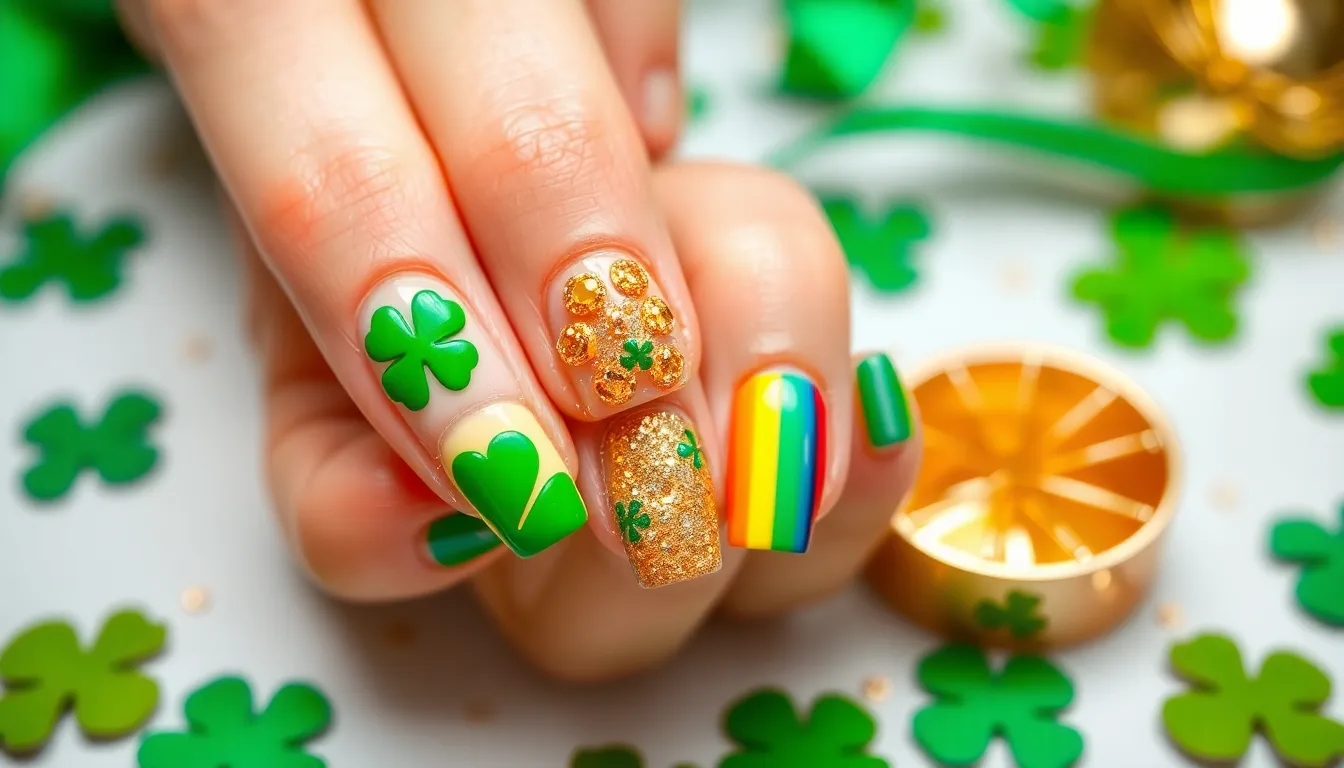
March brings the perfect opportunity to celebrate Irish heritage with festive nail designs that embrace the holiday’s iconic symbols and colors.
Classic Shamrock Designs
Shamrock patterns transform ordinary manicures into lucky charms that capture the essence of Irish tradition. We recommend starting with a forest green base coat to create the perfect backdrop for your clover designs. Hand painting tiny shamrocks using a fine detail brush allows for precise control over each leaf’s shape and placement.
Traditional three leaf clovers work beautifully as accent designs on ring fingers while keeping other nails in complementary solid colors. We suggest using white or gold polish to outline each shamrock for added definition and visual impact. Stamping plates offer an alternative method for achieving consistent shamrock shapes across multiple nails with professional looking results.
Gradient shamrock designs create depth by using different shades of green within each clover pattern. We find that starting with darker green at the base and blending to lighter mint at the tips produces stunning dimensional effects. Water decals provide another option for those seeking intricate shamrock details without requiring advanced painting skills.
Gold Glitter Accents
Gold elements elevate St. Patrick’s Day nail art beyond basic green themes with luxurious metallic touches reminiscent of leprechaun treasure. We recommend applying gold glitter as strategic accents rather than full coverage to maintain elegant balance. Thin gold striping tape creates precise lines and geometric patterns that complement shamrock designs beautifully.
Chunky gold glitter works exceptionally well when applied over green base colors using a makeup sponge for controlled placement. We suggest concentrating glitter at nail tips or along cuticle lines for sophisticated accent placement. Gold foil flakes pressed into tacky topcoat create irregular metallic patches that catch light beautifully.
French tip designs gain festive flair when traditional white tips are replaced with shimmering gold polish. We find that combining matte green bases with glossy gold accents produces striking contrast effects. Gradient techniques using gold glitter from cuticle to mid nail create elegant ombre effects that transition seamlessly into solid green tips.
Rainbow Gradient Techniques
Rainbow gradients celebrate the legendary pot of gold mythology while incorporating vibrant March colors into cohesive designs. We achieve smooth color transitions by working with damp makeup sponges and slightly overlapping each color zone. Starting with red at the base and progressing through orange yellow green blue indigo and violet creates authentic rainbow sequences.
Horizontal rainbow stripes offer a simpler alternative to complex gradient blending while maintaining the festive theme. We recommend using thin striping brushes to create clean lines between each color band. Vertical rainbow placement from thumb to pinky creates a cohesive set design where each nail represents a different rainbow segment.
Subtle rainbow gradients work well when applied over neutral bases using sheer colored polishes for understated elegance. We find that focusing rainbow effects on accent nails while keeping others in coordinating solids prevents overwhelming busy designs. Holographic topcoats enhance rainbow nail art by adding extra dimension and light reflecting properties that make colors appear more vibrant.
March Birthstone Inspired Aquamarine Nails
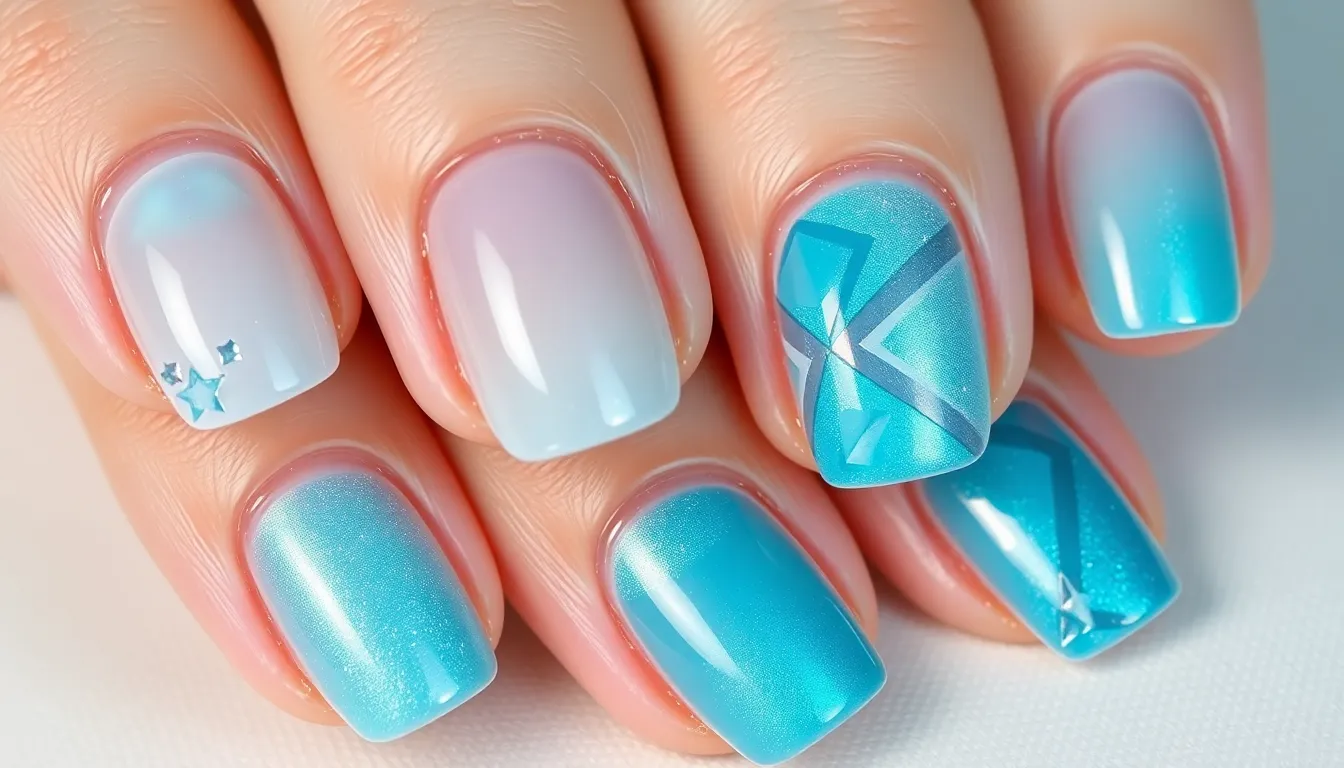
We’re diving into the stunning industry of aquamarine-inspired nail designs that capture March’s birthstone in all its crystalline glory. These designs channel the serene beauty of clear blue waters with sophisticated techniques that elevate your spring manicure.
Crystal Clear Base Coats
Transparent glass finishes create the perfect foundation for aquamarine nail art that mimics the stone’s natural clarity. We recommend starting with a ridge-filling base coat that smooths nail imperfections before applying two thin layers of crystal clear polish. Building layers gradually prevents bubbling while achieving that coveted glass-like appearance that aquamarine stones possess.
Strengthening formulas work best for this technique since they provide durability without adding unwanted color or opacity. We’ve found that applying each coat in thin strokes from cuticle to tip creates the smoothest finish. Curing time matters significantly, so allow each layer to dry completely for 3-4 minutes before proceeding to the next step.
Blue Shimmer Overlays
Iridescent blue topcoats transform clear bases into mesmerizing aquamarine replicas that catch light beautifully. We suggest using shimmer polishes with fine pearl particles rather than chunky glitter for a more authentic gemstone effect. Application technique involves dabbing the shimmer overlay lightly across the nail surface, concentrating more product at the nail tips for natural depth variation.
Color temperature plays a crucial role in achieving authentic aquamarine tones, so look for cool-toned blues with silver undertones rather than warm turquoise shades. We recommend brands that offer specifically formulated “aquamarine” or “ice blue” shimmer polishes for the most accurate color match. Blending different shades creates dimensional effects by mixing pale blue shimmer with clear holographic topcoats.
Geometric Aqua Patterns
Angular designs capture aquamarine’s natural crystal structure through precise geometric shapes that mirror the stone’s faceted appearance. We create these patterns using thin striping brushes or nail art pens to draw interconnected triangles and diamond shapes across the nail surface. Negative space techniques work particularly well by leaving portions of the clear base visible to simulate the stone’s transparency.
Metallic accents enhance geometric aquamarine patterns when applied strategically along pattern edges using fine silver or white gold polish. We position these accents to follow the natural lines of each geometric shape, creating definition without overwhelming the design. Symmetrical placement across all nails ensures a cohesive look, though varying the pattern density creates visual interest while maintaining the aquamarine theme.
Trendy Negative Space March Designs
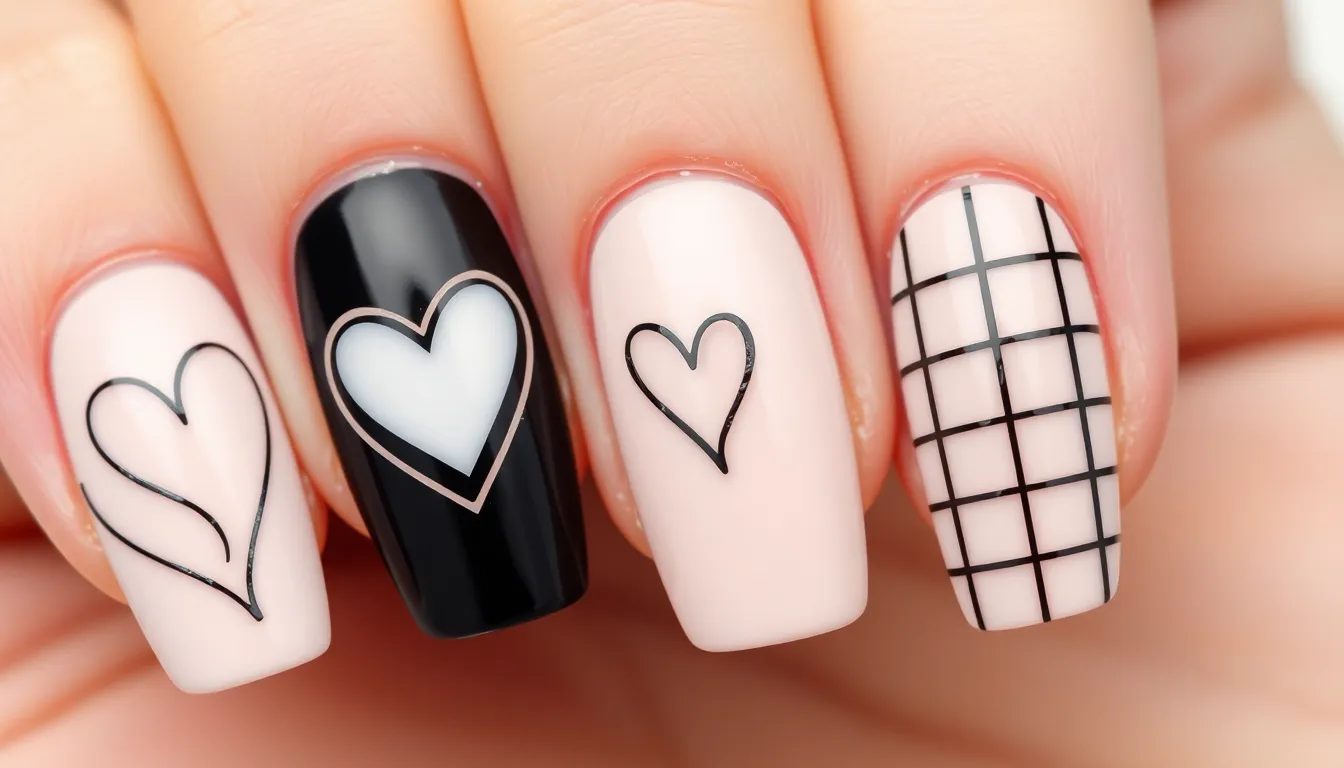
Negative space nail art transforms ordinary manicures into sophisticated statements by strategically leaving portions of the natural nail exposed. We’re embracing this minimalist approach for March designs that balance elegance with modern creativity.
Cut-Out Heart Patterns
Cut-out heart patterns create romantic negative space designs perfect for March’s transitional energy. We recommend starting with a neutral base coat in nude or soft pink, then using heart-shaped stencils or nail tape to create precise cutouts. Painters tape works exceptionally well for achieving clean, geometric heart shapes that expose the natural nail beneath.
Strategic placement makes these designs shine – we suggest positioning hearts at the nail tips, along the cuticle line, or creating scattered patterns across each nail. Glossy topcoats enhance the contrast between painted areas and exposed nail bed. Rose gold or silver accent lines around the heart cutouts add dimensional appeal without overwhelming the minimalist aesthetic.
Abstract Line Art
Abstract line art utilizes negative space to create flowing, organic designs that capture March’s artistic spirit. We focus on using thin nail art brushes or striping tape to create intersecting lines that divide the nail into geometric sections. Black or deep navy polish works beautifully against natural nail tones, creating striking contrast in these modern compositions.
Curved lines flowing from cuticle to tip create movement and visual interest in abstract negative space designs. We recommend leaving alternating sections unpainted to achieve balanced compositions. Matte topcoats on painted areas while keeping negative spaces glossy creates textural depth that elevates these artistic manicures.
Minimalist Grid Designs
Minimalist grid designs showcase negative space through precise geometric patterns that embody March’s clean, fresh aesthetic. We create these looks using striping tape to form perfect squares or rectangles across each nail surface. Checkerboard patterns work particularly well, alternating between painted squares and exposed natural nail.
Fine-tip nail art pens allow for hand-drawn grid patterns when tape isn’t available. We suggest using soft pastels like lavender or mint green for subtle grid lines that don’t overpower the negative space elements. Clear topcoat over the entire design protects painted sections while maintaining the natural nail’s shine in exposed areas.
Easter-Ready Nail Ideas for Late March
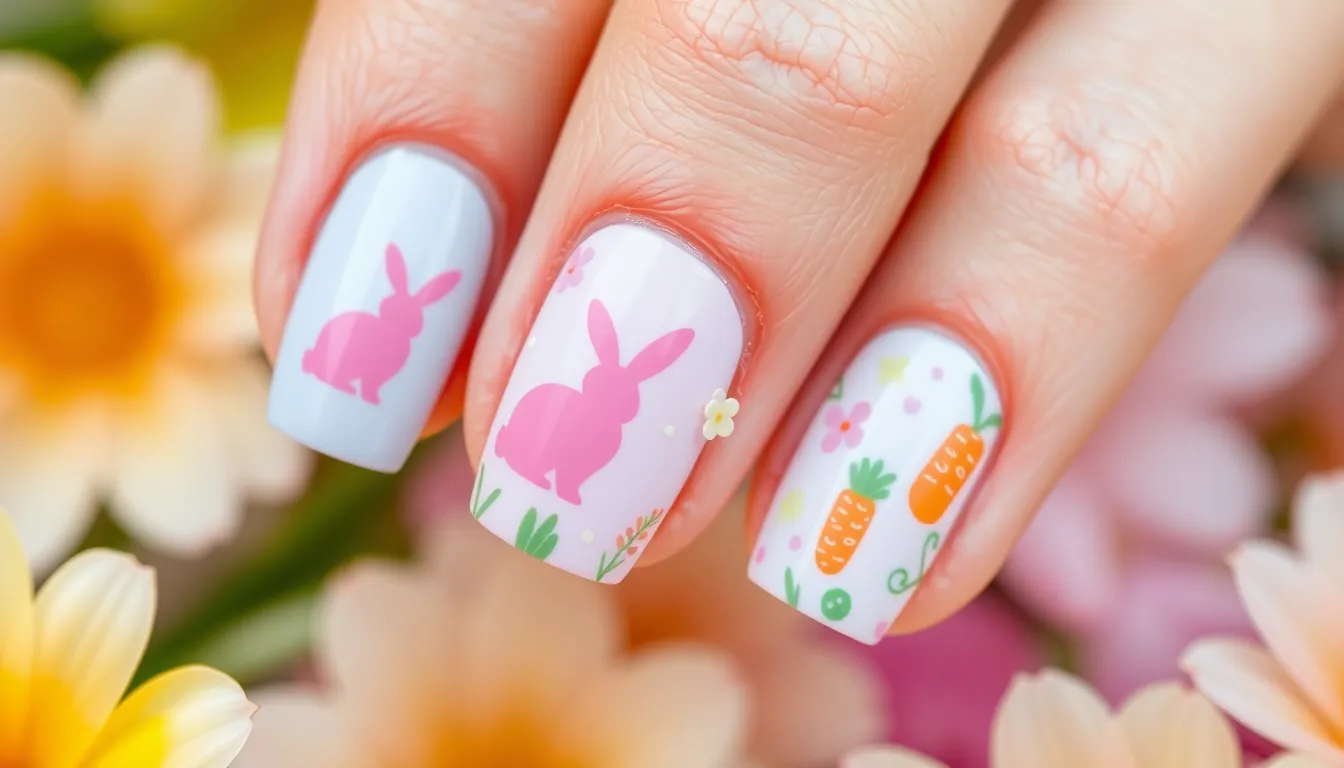
Easter celebrations bring a perfect opportunity to showcase soft, cheerful nail designs that capture the holiday’s joyful spirit. We’ll explore three enchanting themes that transform your manicures into Easter masterpieces.
Pastel Egg Hunt Colors
Soft lavender bases create the perfect foundation for Easter egg inspired designs. We recommend starting with two coats of a creamy lavender polish to achieve full opacity. Delicate speckled patterns using a makeup sponge and white polish mimic the texture of traditional Easter eggs.
Baby pink gradient techniques offer another stunning approach to egg hunt aesthetics. Apply the lightest shade at your cuticles and gradually deepen the color toward your nail tips. Small white dots created with a dotting tool add authentic egg like details.
Mint green marble effects capture the essence of pastel Easter eggs beautifully. Mix your mint green polish with white on a palette and use a thin brush to create swirled patterns. Each nail becomes a unique piece of Easter art with this technique.
Butter yellow accent nails provide the perfect pop of sunshine for your Easter manicure. We suggest using butter yellow on your ring fingers while keeping other nails in complementary pastels. Tiny pearl embellishments add an elegant Easter touch.
Bunny Silhouette Accents
Classic bunny ear outlines transform simple manicures into playful Easter statements. Use a thin striping brush with black or dark brown polish to create two curved lines on your accent nails. Position the ears at different angles for a natural, whimsical appearance.
Cotton tail textures add dimensional charm to bunny themed designs. Apply small dots of white polish using a dotting tool and immediately dust with white glitter. This technique creates fluffy, realistic cotton tail effects on your nails.
Silhouette stamping techniques offer precision for intricate bunny designs. Invest in Easter themed stamping plates featuring various bunny poses and expressions. We recommend using contrasting colors like white bunnies on pastel backgrounds for maximum visual impact.
Minimalist bunny faces work beautifully for subtle Easter nail art. Create simple bunny faces using just dots for eyes and small curved lines for noses. Pink blush applied with a small brush adds adorable cheek details.
Spring Garden Themes
Carrot garden patterns celebrate Easter’s connection to spring vegetables. Paint small orange triangles with green leafy tops using thin detail brushes. Arrange these tiny carrots in rows across your nails for a charming garden effect.
Daisy chain borders frame your nails with spring garden elegance. Use white polish to create small petal shapes around your nail edges and add yellow centers with a dotting tool. This technique works especially well on longer nail lengths.
Grass texture bases provide realistic garden foundations for your Easter designs. Apply green polish and immediately drag a fan brush through the wet polish to create grass like textures. Layer other spring elements over this textured base.
Butterfly accent details bring spring garden scenes to life on your nails. Paint simple butterfly shapes using pastel colors and add delicate antennae with a thin brush. Position butterflies as if they’re landing on your garden themed nails for natural movement.
Weather Transition Nail Looks
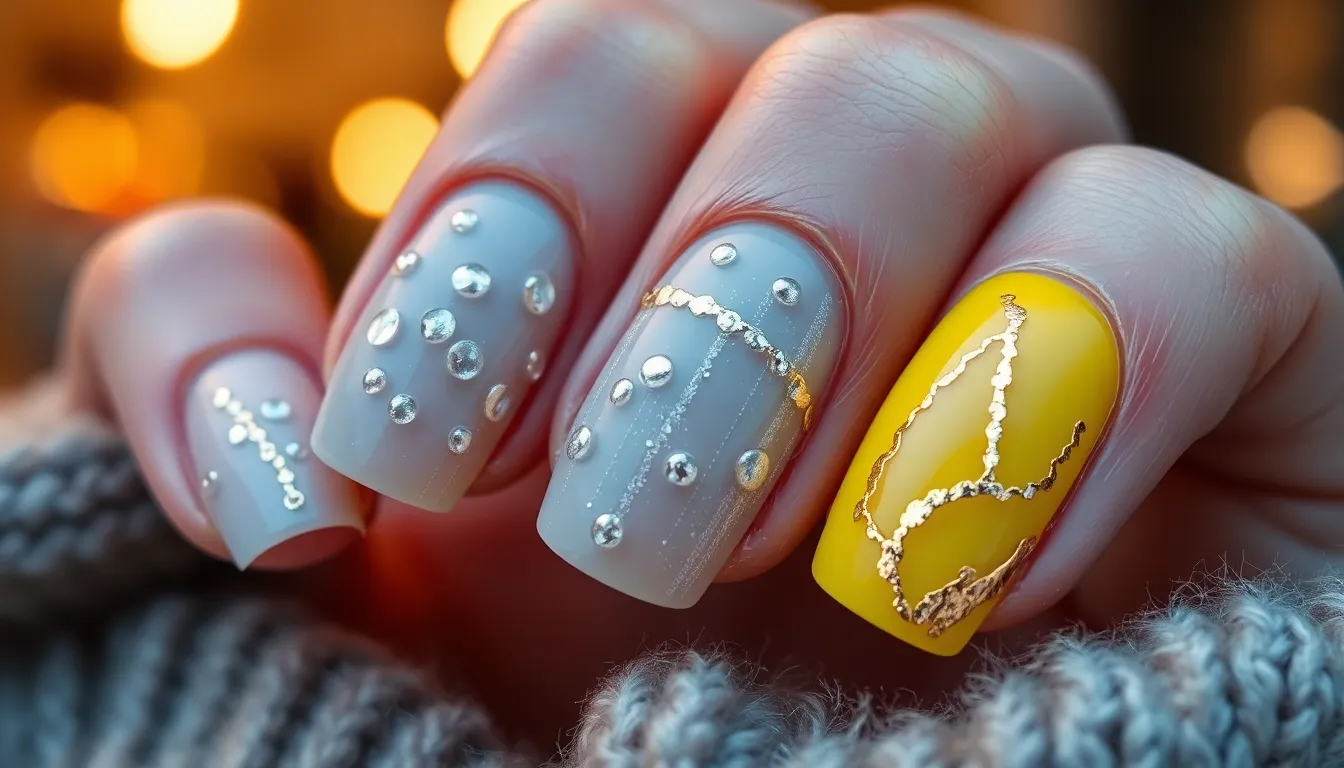
March weather brings unpredictable changes that inspire stunning nail art reflecting nature’s moods. These designs capture the essence of transitional weather patterns with creative techniques.
Rain Drop Effect Designs
Creating rain drop effects transforms your nails into miniature weather scenes. We recommend starting with a soft gray or blue base coat to mimic stormy skies. Silver metallic polish works perfectly for creating authentic droplet shapes using a dotting tool or thin brush.
Layering techniques add depth to rain inspired manicures. Apply your base color first, then use a slightly darker shade to create shadow effects beneath each droplet. Clear topcoat with fine silver glitter mimics the shimmer of actual raindrops catching light.
Water marble effects enhance the rain theme beautifully. Drop different shades of blue and gray polish into room temperature water, creating swirling patterns with a toothpick. This technique produces organic, flowing designs reminiscent of puddles and storm clouds.
Sunshine Yellow Accents
Bright yellow accents bring warmth to March weather nail designs. We suggest using sunshine yellow as an accent color on one or two nails while keeping others in neutral tones. This creates balance without overwhelming the overall look.
Gold foil details elevate yellow accent nails significantly. Press small pieces of gold leaf onto wet yellow polish for a luxurious sun ray effect. Geometric shapes cut from foil create modern interpretations of sunburst patterns.
Gradient techniques blend yellow with complementary colors seamlessly. Start with a pale cream base and sponge golden yellow toward the nail tips. This creates a natural sunrise or sunset effect that captures March’s longer daylight hours.
Cloud Inspired Gray Tones
Soft gray shades create sophisticated cloud themed manicures. We recommend mixing different gray tones from light silver to charcoal for authentic cloud depth. Matte topcoats enhance the realistic texture of cloud formations.
Wispy cloud patterns require exact application techniques. Use a fan brush or makeup sponge to dab lighter gray shades over darker bases. This creates the fluffy, undefined edges characteristic of real clouds.
Ombré cloud effects capture different weather moods perfectly. Blend pearl white into medium gray using gentle sponging motions. Add touches of pale blue or lavender to suggest different lighting conditions throughout March’s changing skies.
Quick and Easy March Nail Ideas for Busy Schedules
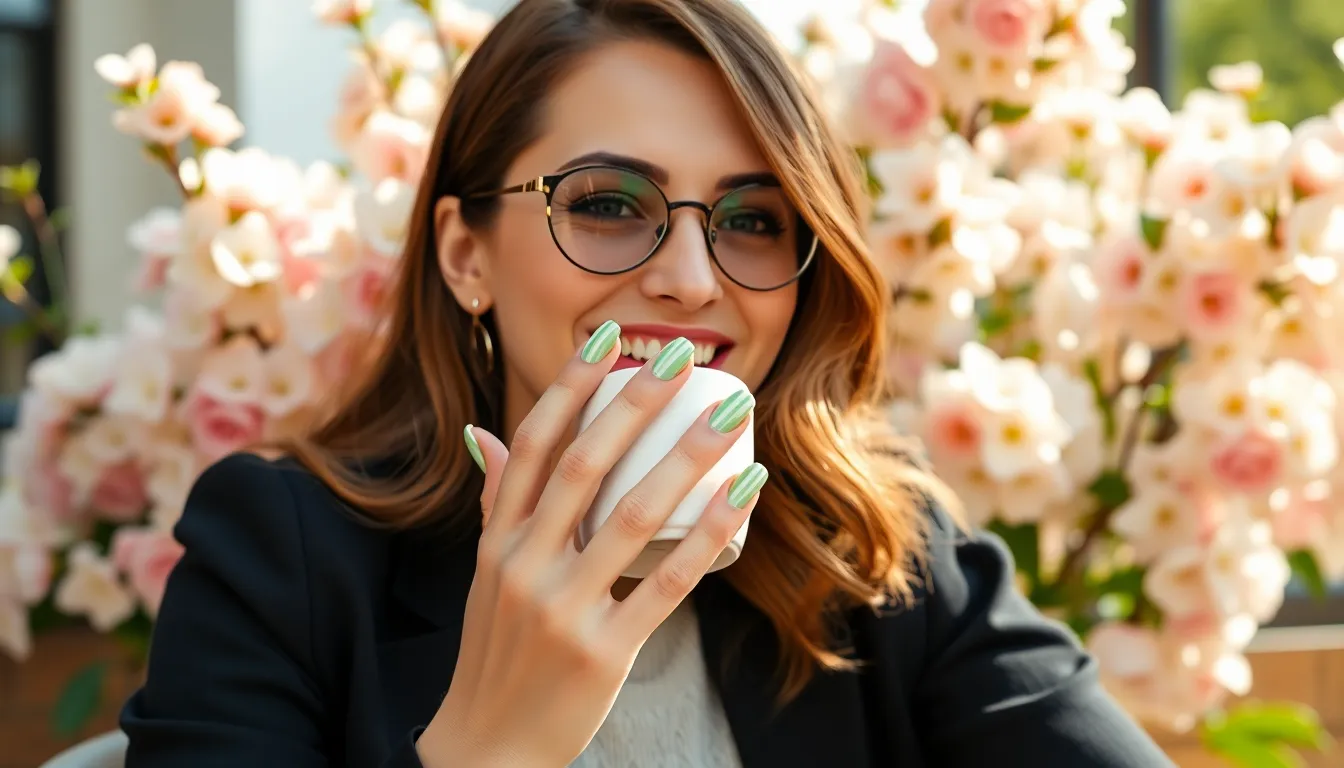
March’s ever-changing energy deserves nail art that matches your fast-paced lifestyle without sacrificing style. These time-saving designs let you embrace spring trends while keeping your manicure routine manageable during hectic days.
Simple Striped Patterns
Vertical lines create an instant elongating effect that transforms basic manicures into sophisticated statements within minutes. We recommend using striping tape to achieve perfectly straight lines across all ten nails, removing the tape while the polish is still slightly wet for crisp edges. Pastel green and white combinations capture March’s fresh energy, while navy and gold stripes offer timeless elegance for professional settings.
Diagonal patterns add ever-changing movement to your nails using just two complementary colors from March’s seasonal palette. Start with a light base coat in soft pink or mint green, then apply tape at 45-degree angles before painting the exposed areas. This technique takes less than 15 minutes total, including dry time between coats.
Horizontal accent stripes across the middle of each nail create visual interest without requiring intricate artistic skills. We suggest placing a single thin line of gold or silver polish across nude or pastel bases, which complements both casual outfits and office attire. This minimalist approach works perfectly when you need polished nails in under 20 minutes.
Single Accent Nail Designs
Ring finger spotlight transforms ordinary manicures with minimal effort by dedicating attention to just one nail per hand. We recommend painting four nails in soft lavender or sage green, then adding March birthstone aquamarine shimmer to your ring fingers. This creates visual balance while keeping the overall look understated and professional.
Glitter gradient accents on thumbs only provide sparkle without overwhelming your entire manicure during busy weeks. Apply your chosen March base color to all nails, then sponge gold or silver glitter from the tip toward the middle of each thumb. This technique requires just five extra minutes but delivers maximum impact for spring events.
Simple shamrock stamps on accent nails celebrate St. Patrick’s Day without committing to elaborate designs across all fingers. We suggest using nail stamping plates to apply single shamrock motifs to your middle fingers while keeping remaining nails in classic forest green. This approach lets you embrace holiday spirit while maintaining workplace appropriate nail art.
Press-On Nail Options
Pre-designed spring sets eliminate application time while delivering professional-quality March manicures that rival salon work. We recommend selecting sets featuring pastel ombré effects, delicate floral patterns, or geometric designs that complement this season’s trends. Most quality press-on options last 7-10 days with proper application techniques.
Mix and match collections allow customization without the time investment of traditional nail art creation. Choose coordinating designs from the same brand family, alternating between solid pastels and accent patterns across your ten nails. This creates a curated look that appears intentionally designed while requiring only 15-20 minutes for full application.
Reusable luxury options provide salon-quality results for multiple March occasions when properly maintained and stored. We suggest investing in higher-end press-on nails featuring March themes like spring florals or aquamarine effects, which can be removed carefully and reapplied for special events throughout the month. These premium options often include professional-grade adhesive and detailed application instructions for optimal results.
Conclusion
March offers endless possibilities for expressing creativity through nail art. Whether you’re drawn to delicate spring florals or bold St. Patrick’s Day themes there’s a design that matches your personal style and the season’s vibrant energy.
From aquamarine birthstone inspirations to weather-themed looks these March nail ideas prove that transitional months deserve standout manicures. The variety ensures you’ll never run out of fresh concepts to try throughout the month.
We encourage you to experiment with different techniques and color combinations. March is the perfect time to step out of your comfort zone and embrace the creative freedom that comes with seasonal nail art. Your nails can become a beautiful canvas that celebrates everything this ever-changing month has to offer.
Frequently Asked Questions
What are the most popular nail colors for March?
March nail colors focus on fresh spring hues and vibrant greens. Popular choices include sage green matte finishes, emerald chrome effects, mint green gradients, and pastel combinations like lavender marble and soft pink. These colors perfectly capture the transition from winter to spring while celebrating St. Patrick’s Day themes.
How can I create floral nail designs for spring?
Start with cherry blossom designs using soft pink and white shades on a clear base. For tulips, use bold accent colors with simple petal shapes. Create minimalist daisy chains with white petals and yellow centers using dotting tools or thin brushes. Practice on a nail wheel first for best results.
What are some easy St. Patrick’s Day nail art ideas?
Try classic shamrock patterns on a forest green base using stamping plates or hand-painting techniques. Add gold glitter accents for luxury. Create rainbow gradients with sponge application or simple horizontal stripes. Finish with holographic topcoats to enhance the festive sparkle and celebrate Irish heritage.
How do I achieve aquamarine-inspired nail looks?
Use crystal clear base coats with ridge-filling formulas for a glass-like finish. Apply blue shimmer overlays in cool tones to mimic aquamarine’s natural beauty. Create geometric patterns with angular designs and metallic accents. Layer products properly and seal with high-gloss topcoats for authentic stone-like effects.
What are negative space nail designs?
Negative space designs leave portions of the natural nail exposed, creating minimalist patterns. Popular March styles include cut-out hearts using stencils, abstract line art with thin brushes, and geometric grid patterns with striping tape. These modern designs transform simple manicures into sophisticated statements.
How can I create Easter-themed nail art?
Design pastel egg hunt nails with speckled patterns on lavender, pink, or mint bases. Add bunny silhouettes using stamping techniques or hand-painting. Create spring garden themes with carrot patterns, daisy borders, and butterfly accents. Use pearl embellishments and soft gradients for elegant Easter celebrations.
What are some quick nail ideas for busy schedules?
Try simple striped patterns using tape for clean lines in pastel colors. Focus on single accent nails with glitter gradients on ring fingers or thumbs. Consider high-quality press-on nails with pre-designed sets for professional results without salon time. These options maintain style while saving precious time.
How do I create weather-inspired March nail designs?
Create rain drop effects using soft gray or blue bases with layered clear polish drops. Add sunshine yellow accents with gold foil details and gradient techniques. Design cloud patterns with wispy gray tones and ombré effects. These designs perfectly reflect March’s unpredictable weather transitions.

