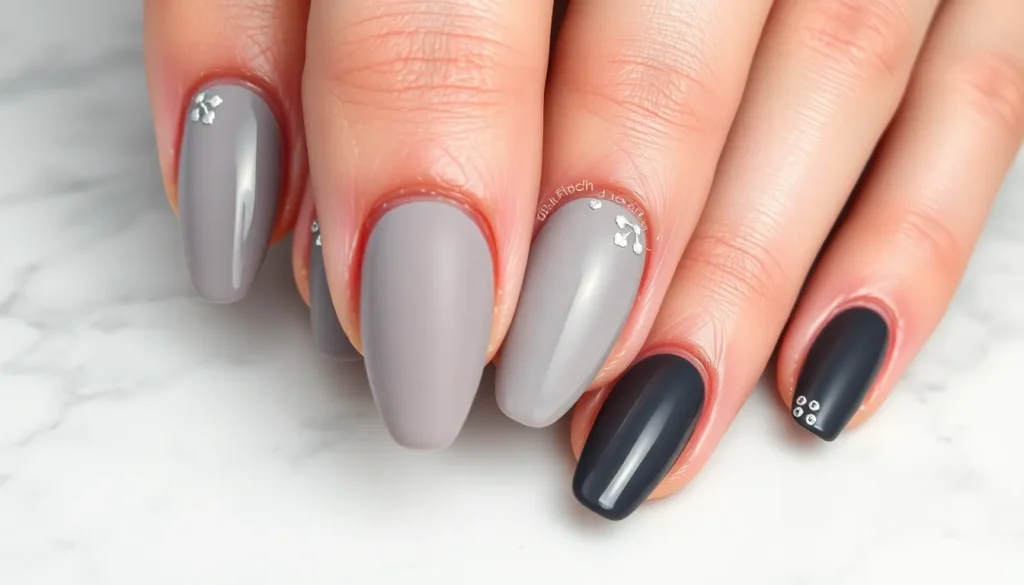
Grey nails have become the ultimate statement piece that’s taking the beauty industry by storm. We’re witnessing a major shift from traditional pinks and reds as more people embrace this sophisticated and versatile shade that works for literally every occasion.
What makes grey so irresistible? It’s the perfect neutral that complements every skin tone and outfit choice. From soft dove grey to dramatic charcoal, this color family offers endless possibilities for nail art creativity. We’ve seen celebrities and influencers rocking everything from minimalist grey manicures to intricate designs that showcase the shade’s incredible range.
Whether you’re heading to a business meeting or a weekend brunch, grey nails deliver that effortless chic vibe that’s both modern and timeless. We’re excited to share our favorite grey nail ideas that’ll transform your manicure game and give you the confidence to rock this trending color like a pro.
Classic Light Grey Nail Designs
Light grey serves as the perfect introduction to this sophisticated color family, offering subtle elegance that complements every wardrobe choice.
Soft Dove Grey Manicures
Soft dove grey creates an understated foundation that works beautifully for professional settings and everyday wear. This gentle shade mimics the natural color of morning clouds, providing just enough pigment to elevate your look without overwhelming delicate features. We recommend applying two thin coats for optimal opacity and finish with a glossy topcoat to enhance the color’s natural depth.
Pairing dove grey with nude cuticle oil creates a cohesive, polished appearance that photographs beautifully under office lighting. The shade complements both silver and gold jewelry equally well, making it an ideal choice for those who frequently switch between different metal accessories throughout the week.
Pearl Grey with Shimmer Accents
Pearl grey incorporates subtle metallic undertones that catch light beautifully throughout the day. This sophisticated variation adds dimension without appearing flashy, making it suitable for both daytime meetings and evening events. We suggest concentrating shimmer particles near the nail bed and blending outward for a gradient effect that appears naturally luminous.
Adding a single coat of iridescent topcoat transforms basic pearl grey into a multidimensional masterpiece. The shimmer creates movement that shifts between silver and white depending on the viewing angle, offering visual interest that remains professional and refined.
Light Grey French Tips
Light grey french tips modernize the traditional white-tipped manicure with contemporary sophistication. This updated classic maintains the elongating effect of traditional french nails while introducing subtle color that feels fresh and current. We achieve the cleanest lines by using nail guides and applying the grey tip color in thin, even strokes.
Varying the tip thickness creates different style statements, from ultra-thin lines for minimalist appeal to slightly thicker tips for more noticeable impact. The neutral grey tone pairs exceptionally well with natural nail beds, creating contrast that appears intentional yet effortless.
Dark Charcoal and Slate Grey Styles
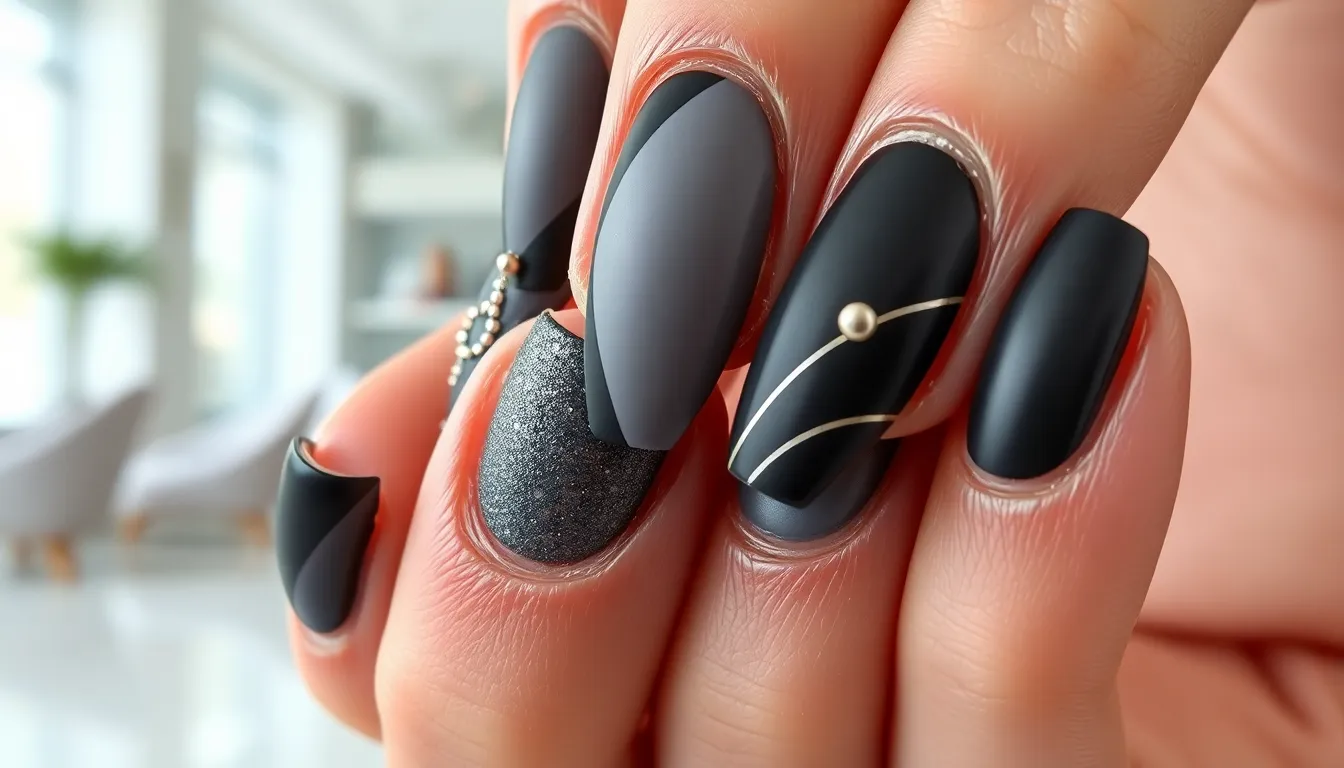
Moving into deeper grey territory opens up sophisticated possibilities for dramatic nail looks. These darker shades create bold statements while maintaining the refined elegance that makes grey such a coveted choice.
Matte Charcoal Nail Art
Matte charcoal transforms your nails into striking canvases that demand attention without appearing overly flashy. We love how this finish eliminates shine to create a velvety texture that photographs beautifully under any lighting condition. The deep pigmentation requires just one coat for full coverage, making application quick and efficient.
Geometric patterns work exceptionally well with matte charcoal, particularly negative space designs that showcase natural nail color against the dark backdrop. Triangle cutouts and linear shapes create modern architectural looks that complement minimalist fashion choices. We’ve found that using striping tape helps achieve crisp lines that remain sharp throughout wear.
Accent nails featuring textured elements like caviar beads or matte studs elevate the overall design without overwhelming the sophisticated base color. Position these embellishments strategically on ring fingers or thumbs to maintain visual balance across all ten nails.
Glossy Dark Grey Statement Nails
Glossy dark grey delivers maximum impact through its mirror like finish that reflects light beautifully throughout the day. This formulation typically requires two thin coats to achieve optimal depth and richness, followed by a high shine topcoat for lasting brilliance.
We recommend experimenting with different nail shapes to enhance the dramatic effect of glossy dark grey shades. Coffin and stiletto shapes elongate fingers while showcasing the color’s intensity, particularly when paired with longer nail lengths. Square shapes offer a more classic approach that works well for professional environments.
Chrome powder applications over dark grey bases create stunning transformations that shift between gunmetal and silver tones depending on the viewing angle. This technique works best when applied over slightly tacky gel polish before curing under LED lights for 60 seconds.
Slate Grey with Metallic Details
Slate grey serves as the perfect neutral backdrop for incorporating metallic accents that catch light without competing with the base color. Silver foil strips positioned vertically along nail centers create elegant racing stripes that elongate the appearance of shorter nails.
Rose gold dots applied using dotting tools in varying sizes generate playful constellation patterns that add whimsy to the sophisticated slate base. We suggest spacing dots irregularly rather than in perfect rows to achieve a more organic, natural appearance.
Metallic French tips using copper or bronze polish offer unexpected warmth against the cool slate undertones. This combination works particularly well during autumn months when warmer metallic tones complement seasonal fashion trends and color palettes.
Grey Marble and Stone-Inspired Looks
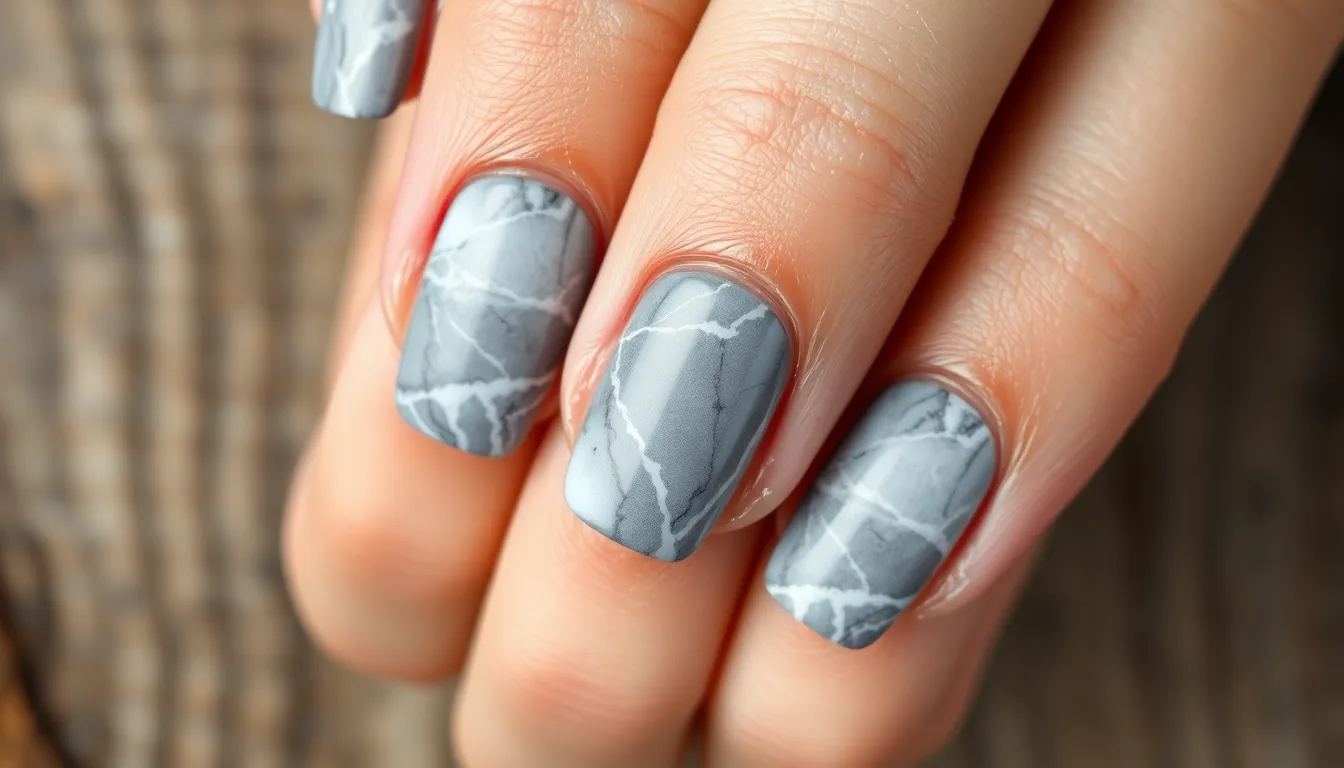
Nature’s most stunning stone patterns translate beautifully onto our nails, creating sophisticated grey designs that capture the elegance of marble and granite.
White and Grey Marble Effects
Classic white marble with grey veining creates the most sought after stone inspired nail art. We recommend starting with a crisp white base and using a fine nail art brush to create irregular grey veins that mimic natural marble patterns. The key lies in varying the thickness of your veining lines and allowing them to intersect naturally across the nail surface.
Carrara marble techniques involve blending soft grey and white shades while the polish remains slightly wet. Use a makeup sponge to dab and blend the colors, creating that signature cloudy marble effect. Apply a glossy topcoat to enhance the stone’s natural shine and depth.
Grey dominant marble designs flip the traditional approach by using medium grey as the base with white and darker grey veining. This creates a more dramatic look that’s perfect for evening events or when you want your nails to make a statement.
Granite-Inspired Nail Designs
Speckled granite effects require a multi step application process using different grey tones. We start with a light grey base, then use a small dotting tool to add tiny specks of white, charcoal, and silver throughout each nail. This technique creates the authentic granite appearance that’s both textured and refined.
Salt and pepper granite looks combine equal amounts of light and dark speckles over a medium grey base. The randomness of the speckle placement is crucial for achieving that natural stone authenticity. We suggest practicing the speckle technique on a nail wheel first to perfect your application.
Polished granite finishes benefit from multiple thin coats and a high gloss topcoat that mimics the polished surface of real granite countertops. This creates depth and makes the speckling appear to sit beneath a glass like surface.
Concrete Textured Grey Nails
Industrial concrete effects capture the raw beauty of modern architecture on your nails. We create this look using a matte grey base with strategic placement of slightly darker and lighter grey shades to mimic concrete’s natural variations. The texture comes from using a sea sponge to dab additional grey tones while the base is still tacky.
Smooth concrete finishes require a perfectly even matte grey application followed by subtle highlighting with a slightly lighter grey shade. We use a fan brush to create barely visible streaks that replicate the subtle imperfections found in polished concrete surfaces.
Weathered concrete styles incorporate tiny cracks and imperfections using a very fine liner brush with darker grey polish. These imperfections should appear random and natural, mimicking how real concrete ages and develops character over time.
Grey Ombre and Gradient Techniques
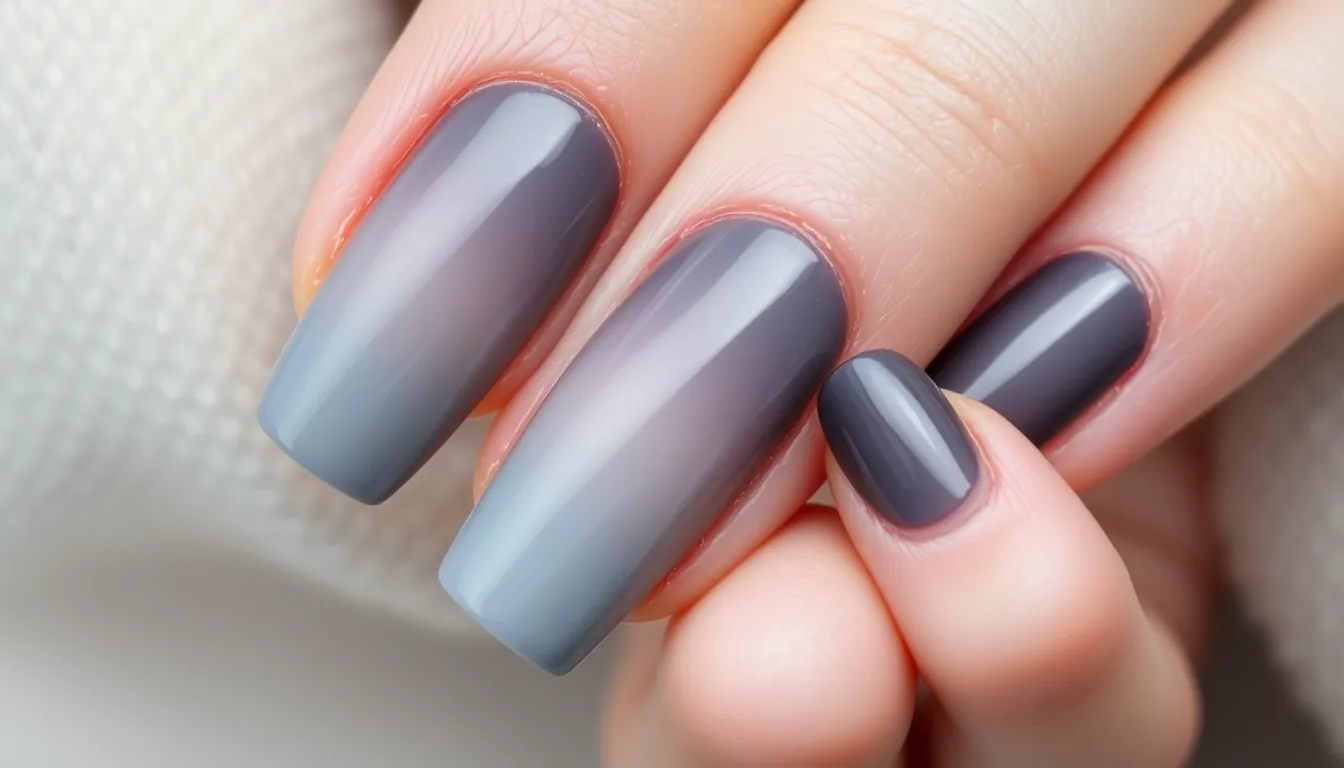
Creating seamless gradient effects with grey nail polish allows us to achieve sophisticated color transitions that rival professional salon work. These techniques transform our manicure into a work of art using strategic blending methods.
Light to Dark Grey Transitions
Light to dark grey transitions create stunning depth and dimension on our nails. We start with a light grey base like dove or pearl grey at the cuticle and gradually blend toward deeper charcoal or graphite at the tips. This technique requires three to four grey shades in varying intensities to achieve smooth color progression.
Application begins with the lightest shade covering the entire nail. We then apply the medium grey shade to the bottom two thirds of the nail using a makeup sponge for seamless blending. The darkest shade goes on the bottom third only, with gentle dabbing motions to eliminate harsh lines.
Blending works best while the polish remains slightly wet. We use small circular motions with a clean makeup sponge to merge the colors together. This process takes patience and may require multiple thin layers to achieve the desired gradient effect.
Grey to White Fade Effects
Grey to white fade effects offer ethereal elegance that complements any outfit or occasion. We begin with pure white at the cuticle area and transition to medium or dark grey at the nail tips. This reverse gradient technique creates a sophisticated cloudy sky effect on our nails.
White polish application starts at the base and covers approximately half the nail. We then apply grey polish to the tip area, leaving a small overlap zone in the middle. The magic happens in this overlap zone where we blend the two colors using gentle patting motions.
Sponge technique produces the smoothest white to grey transitions. We apply both colors to a makeup sponge in the desired gradient pattern and press it onto our nail. Multiple light layers work better than one heavy application for achieving professional looking results.
Multi-Toned Grey Blending
Multi-toned grey blending incorporates three or more grey shades for complex dimensional effects. We can create stunning sunrise inspired gradients using warm grey tones mixed with cooler ash grey shades. This technique allows us to experiment with undertones like blue grey, purple grey, and green grey combinations.
Vertical gradient placement creates elongating effects on shorter nails. We position the lightest shade at the center of the nail and blend darker tones toward both the cuticle and tip. This creates a spotlight effect that draws attention to the nail’s length.
Horizontal blending works beautifully across all nail shapes and sizes. We apply different grey tones to each section of the nail from left to right, creating a unique color story on every finger. This technique pairs exceptionally well with metallic accent stripes or geometric patterns for added visual interest.
Metallic Grey and Silver Combinations
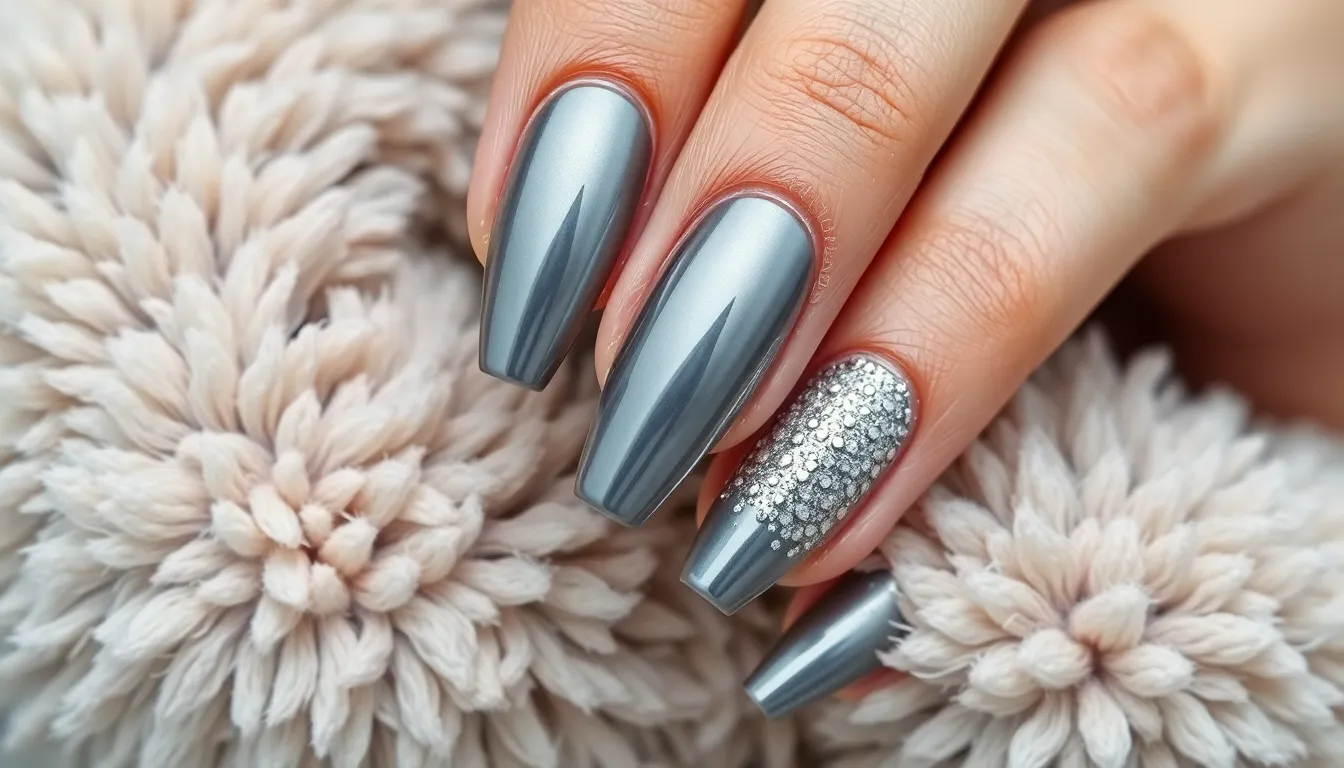
Metallic grey nail designs elevate sophistication with their luxurious finish and modern appeal. These combinations offer the perfect balance between understated elegance and eye-catching glamour.
Chrome Grey Finishes
Chrome grey nails deliver an ultra-modern mirror finish that reflects light beautifully. We recommend starting with a black or dark grey base coat to achieve maximum opacity and depth. Professional chrome powders rubbed over gel polish create that signature metallic sheen that photographs exceptionally well.
Application technique makes all the difference with chrome finishes. Polish each nail completely before moving to the next to prevent streaking or uneven coverage. The final result produces a liquid metal appearance that works perfectly for evening events or when you want to make a statement.
Maintenance requires gentle care since chrome finishes can show scratches more easily than traditional polishes. We suggest wearing gloves during household tasks and applying cuticle oil regularly to keep the surrounding skin healthy and hydrated.
Silver Glitter on Grey Base
Silver glitter transforms any grey base into a sparkling masterpiece perfect for celebrations. Fine holographic glitter creates subtle sparkle while chunky hexagonal pieces add dramatic texture and visual interest. We love layering different glitter sizes for depth and dimension.
Gradient glitter application starts heavy at the nail tips and fades toward the cuticles for an elegant ombre effect. This technique works especially well with medium grey bases that provide enough contrast to make the silver pop. Two coats of topcoat seal the glitter and create a smooth finish.
Accent nails featuring full glitter coverage paired with solid grey on remaining fingers offer the perfect compromise. This approach allows you to embrace sparkle without overwhelming your overall look or making daily tasks difficult.
Pewter and Gunmetal Accents
Pewter grey combines warm undertones with metallic finish for a sophisticated vintage inspired look. We achieve this color by mixing silver with subtle brown tints that create depth and richness. This shade complements both warm and cool skin tones beautifully.
Gunmetal accents add edgy sophistication through strategic placement on accent nails or geometric designs. Striping tape helps create clean lines when applying gunmetal polish over grey bases. The contrast between matte grey and glossy gunmetal creates striking visual impact.
Foil transfer techniques work exceptionally well with pewter and gunmetal shades. Press metallic foils onto tacky gel polish surfaces to create organic patterns that mimic natural metal patina. This method produces unique results every time since no two applications look identical.
Grey Nail Art with Geometric Patterns
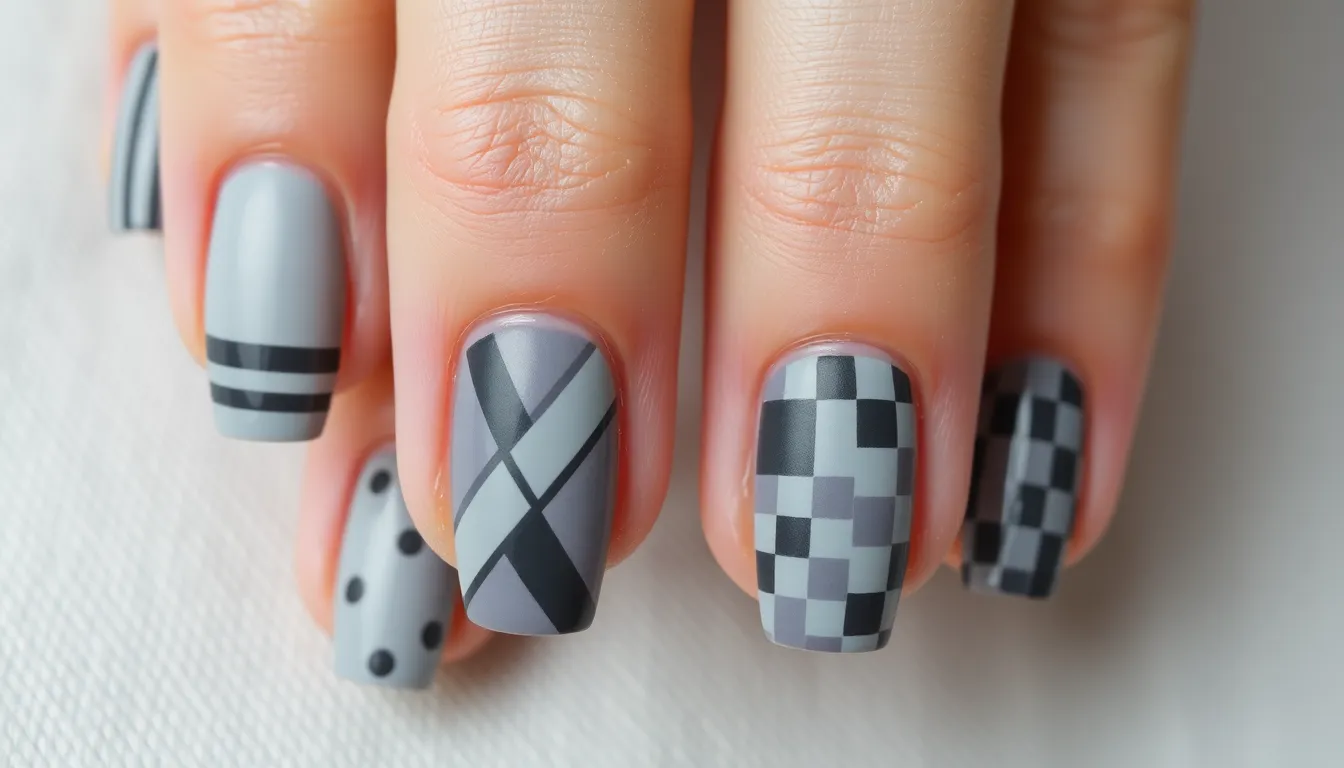
Geometric patterns transform grey nails into striking works of art that capture attention with their precise lines and bold shapes. These structured designs offer endless possibilities for creative expression while maintaining the sophisticated appeal of grey tones.
Grey Stripes and Lines
Stripes create ever-changing visual interest on grey nails through their simple yet impactful design approach. We recommend starting with a light grey base coat and adding darker charcoal stripes using thin nail art brushes or striping tape for perfectly straight lines. Vertical stripes elongate shorter nail beds while horizontal stripes add width to narrow nails.
Diagonal stripes bring movement and energy to your manicure with their slanted orientation across each nail. Create varying stripe widths from 1mm thin lines to 3mm bold bands for added dimension and texture. Metallic silver stripes over matte grey backgrounds produce stunning contrast that catches light beautifully.
Parallel lines offer minimalist elegance when applied in sets of two or three across the nail surface. Space these lines evenly using a dotting tool as a guide for consistent placement. Combining different grey shades like dove grey, charcoal, and slate creates subtle tonal variations within the linear pattern.
Triangular Grey Designs
Triangular patterns deliver sharp geometric appeal through their angular shapes and precise points. We suggest creating triangle accent nails by taping off sections with nail vinyl or painter’s tape before applying contrasting grey shades. Large triangles covering half the nail make bold statements while smaller scattered triangles provide delicate detail.
Chevron designs use connected triangles to form zigzag patterns that create visual movement across your nails. Apply a base coat of light grey then use striping brushes to paint darker grey chevrons pointing toward the cuticle or nail tip. Three to four chevron points per nail achieve optimal visual balance without overwhelming the design.
Triangle negative space techniques showcase natural nail color within geometric grey frameworks. Paint grey triangular sections leaving clear triangular spaces between them for modern minimalist appeal. Seal these designs with clear topcoat to protect both painted and unpainted areas equally.
Checkerboard Grey Patterns
Checkerboard patterns create classic geometric nail art through alternating light and dark grey squares. We achieve clean checkerboard effects by using nail vinyls or tape to mask off small squares before painting. Start with a light grey base then apply darker grey in alternating squares for traditional checkerboard appearance.
Micro checkerboard designs use tiny 2mm squares for intricate detailed patterns that showcase precision nail art skills. These smaller squares work particularly well on shorter nails where larger patterns might overwhelm the available space. Apply using thin detail brushes and steady hands for professional looking results.
Diagonal checkerboard layouts rotate traditional square patterns 45 degrees for diamond shaped checker effects. This variation adds ever-changing movement while maintaining the classic checkerboard concept. Combine matte and glossy grey finishes within the same checkerboard for added textural interest and sophisticated depth.
Seasonal Grey Nail Inspirations
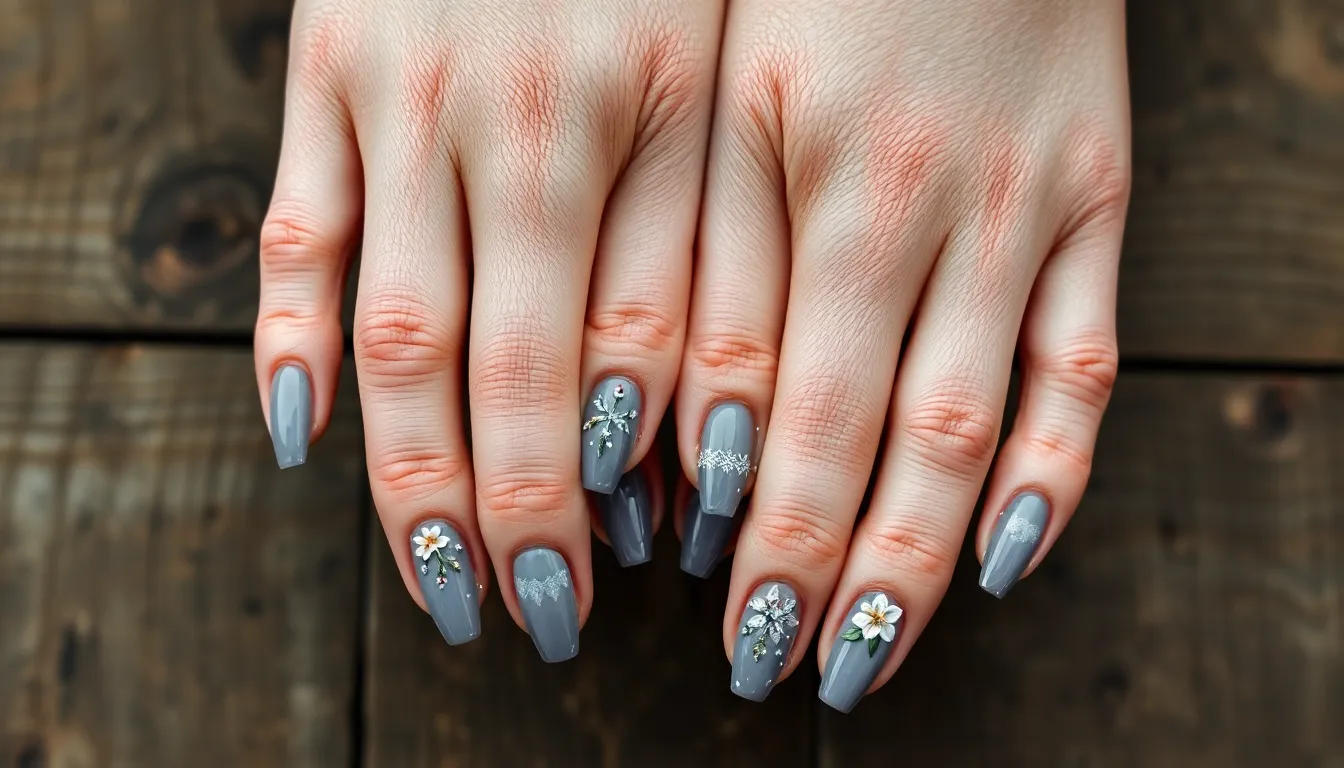
We believe grey nails shine brightest when they’re customized to each season’s unique mood and aesthetic. Different times of year call for exact grey variations that complement nature’s changing palette.
Winter Grey and White Themes
Frosty white and silver gradient creates the perfect winter wonderland effect on our nails. We start with a light grey base and blend pure white toward the tips using a makeup sponge for seamless transitions. Adding silver glitter around the cuticle area mimics fresh snowfall beautifully.
Arctic grey with snowflake accents brings delicate winter charm to any manicure. We apply a cool-toned grey polish as our base and use white nail art pens to draw intricate snowflake patterns on accent nails. Each snowflake design should be unique, just like real ones.
Crystalline grey ombre captures the essence of ice formations perfectly. We blend three shades from pale grey to deep charcoal, creating a vertical gradient that resembles icicles. Finishing with a high-gloss topcoat enhances the crystal-like appearance.
Winter storm marble combines grey and white in dramatic swirls. We use the water marble technique with storm grey and crisp white polishes to create turbulent patterns. This design looks stunning on longer nail shapes like coffin or almond.
Spring Grey with Floral Accents
Sage grey with tiny daisies welcomes the freshness of spring beautifully. We choose a soft grey-green base and add small white daisies using dotting tools and thin brushes. Yellow centers complete the cheerful floral design perfectly.
Lavender grey with pressed flower overlays creates an elegant botanical look. We apply a light purple-grey base and place real dried flowers like baby’s breath or small petals on wet topcoat. Sealing with additional clear coat preserves the delicate details.
Mint grey with leaf patterns offers a modern take on spring greenery. We use a grey base with subtle green undertones and paint simple leaf silhouettes in darker grey or black. This minimalist approach feels fresh without being overwhelming.
Rose grey with cherry blossom art captures spring’s romantic spirit perfectly. We start with a warm grey base and add delicate pink cherry blossom branches using fine detail brushes. Small white highlights on the petals create dimension and realism.
Fall Grey with Warm Undertones
Mushroom grey with copper foil embraces autumn’s earthy palette beautifully. We apply a brown-toned grey base and add irregular copper foil pieces for organic texture. This combination mimics fallen leaves and forest floors perfectly.
Taupe grey with gold leaf accents brings luxury to fall nail designs. We choose a warm grey with brown undertones and apply gold leaf flakes randomly across the nail surface. The contrast creates depth and catches light beautifully.
Charcoal grey with burgundy tips offers sophisticated autumn elegance. We paint the entire nail in deep charcoal and add burgundy French tips for rich color contrast. This design works exceptionally well with shorter nail lengths.
Storm grey with amber details captures the moody atmosphere of fall weather. We use a dark grey base and add small amber-colored dots or geometric shapes as accent elements. This combination feels both mysterious and warming.
Grey Nails with Accent Colors
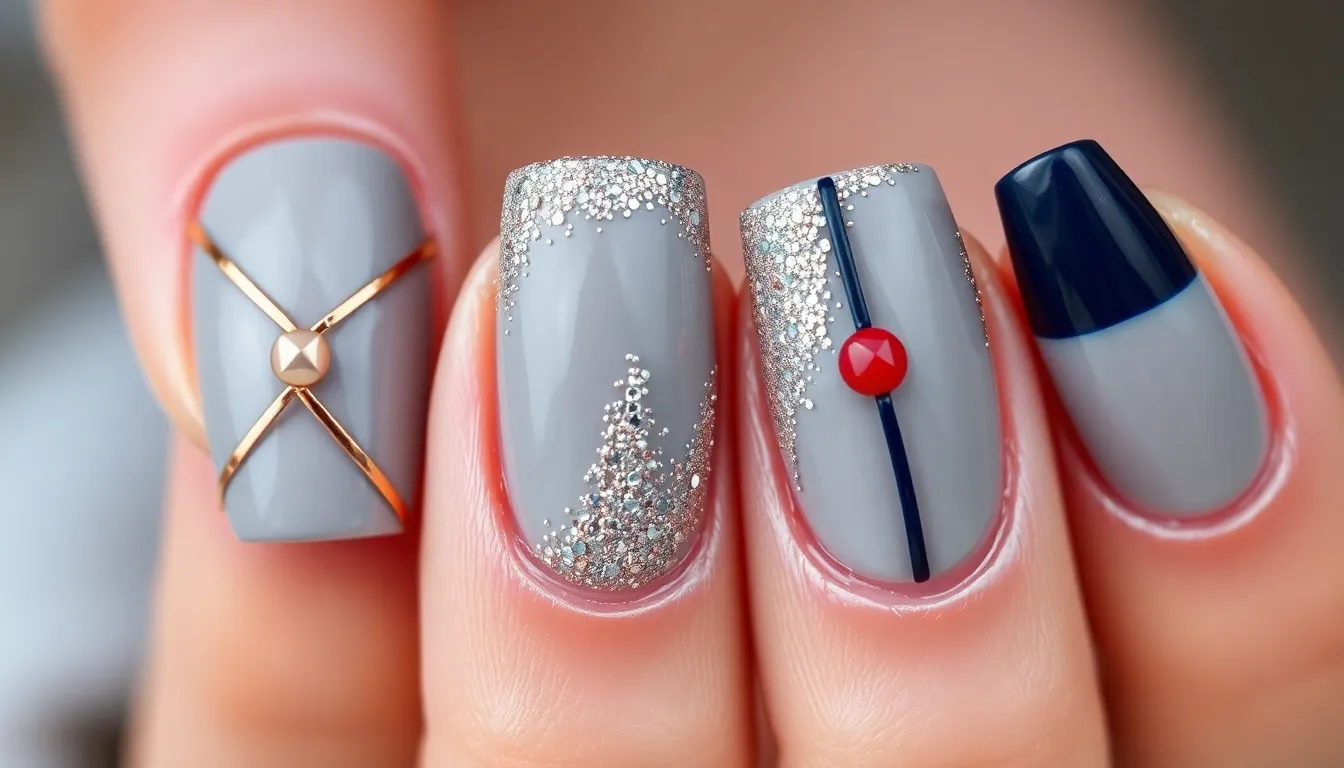
Adding pops of color to grey nails creates stunning contrast while maintaining the sophisticated foundation that grey provides. We’ve discovered that strategic accent placement transforms classic grey manicures into eye-catching statements.
Grey and Rose Gold Pairings
Rose gold complements grey beautifully by adding warmth to the cool undertone base. We recommend painting four nails in soft dove grey and applying rose gold chrome powder to the ring finger for an elegant accent. Alternating rose gold glitter gradients on light grey creates a sunset-inspired effect that photographs gorgeously under natural light.
Foil techniques work exceptionally well with this color combination. Apply thin strips of rose gold foil in geometric patterns across charcoal grey nails for a modern architectural look. We’ve found that rose gold nail art pens create delicate line work and tiny dots that elevate simple grey manicures without overwhelming the design.
French tip variations using rose gold instead of white offer a contemporary twist. Paint the base in medium grey and apply rose gold polish to just the tips, varying the thickness from thin lines to bold statements depending on your preference.
Grey with Bold Red Accents
Red accents on grey nails create dramatic contrast that commands attention. We suggest using classic red on the accent nail while keeping remaining nails in matte charcoal for a sophisticated balance. Blood red tips on light grey nails offer a vampy alternative to traditional French manicures.
Gradient techniques blend these contrasting colors seamlessly. Start with dark grey at the cuticle and fade to deep red at the tips using a makeup sponge for smooth transitions. We’ve perfected this look by applying thin coats and building color gradually.
Geometric red shapes on grey backgrounds create striking visual impact. Paint triangles, squares, or diagonal stripes in cherry red across slate grey nails for modern art-inspired designs. Red rhinestones placed strategically on grey nails add glamorous sparkle for special occasions.
Grey and Navy Blue Combinations
Navy blue paired with grey creates sophisticated depth reminiscent of stormy skies. We love applying navy accent nails on light grey bases for a nautical-inspired look that works year-round. Midnight blue tips on medium grey nails offer an unexpected alternative to traditional dark French manicures.
Marble techniques using both colors produce stunning results. Blend navy and grey with white veining to create ocean-inspired patterns that capture movement and flow. We achieve the best results by working quickly while the polish remains wet and using a fine brush for delicate veining.
Alternating patterns showcase both colors equally. Paint navy and grey stripes in varying widths, or create a checkerboard effect using these complementary shades. Navy blue dots scattered across grey nails add playful texture while maintaining elegance.
Textured Grey Nail Finishes
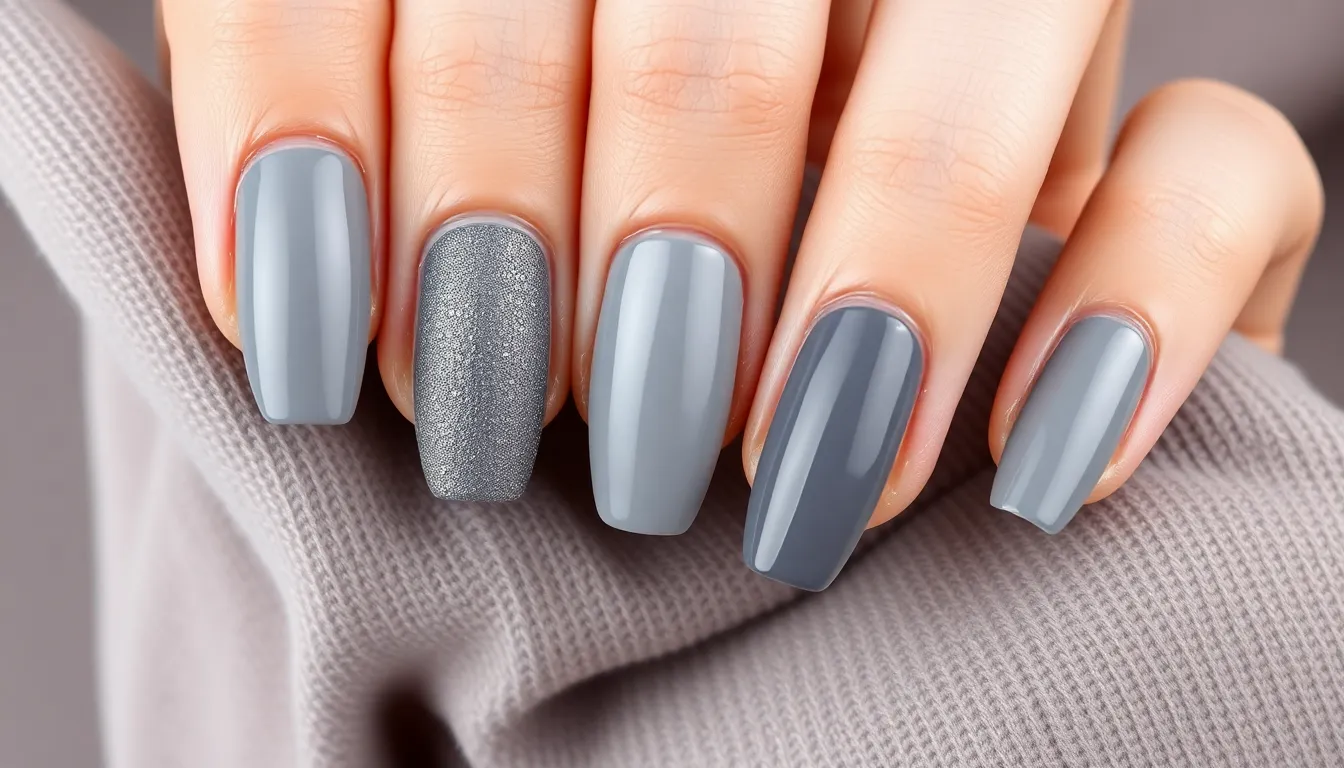
Building on the beautiful grey shades we’ve explored, textured finishes add dimension and visual interest that transforms simple grey polish into stunning nail art.
Matte Grey Velvet Effects
Matte grey finishes create a luxurious velvet appearance that feels soft and sophisticated to the touch. We recommend applying a base coat followed by two thin layers of your chosen grey shade, then sealing with a matte topcoat for that coveted velvety texture. Charcoal grey looks particularly striking in matte finish, while lighter shades like dove grey offer subtle elegance.
Application techniques make all the difference in achieving professional matte results. Start with completely clean nails and allow each coat to dry thoroughly before applying the next layer. Matte topcoats can sometimes streak if applied too thickly, so work in thin, even strokes from cuticle to tip.
Maintenance tips help preserve that perfect matte texture longer. Avoid oil based hand creams near the nail area, as they can create unwanted shine spots on your matte finish. Touch up any chips immediately with a small brush and matching polish to maintain the seamless velvet appearance.
Glossy High Shine Grey
Glossy grey nails deliver a mirror like reflection that catches light beautifully and photographs exceptionally well. We achieve this stunning finish by applying a high quality base coat, two coats of grey polish, and finishing with a fast dry glossy topcoat. Darker greys like graphite and slate create the most dramatic high shine effects.
Layering techniques ensure maximum glossiness and longevity. Allow each polish layer to cure completely before adding the next coat, typically waiting 2-3 minutes between applications. Multiple thin coats always outperform one thick application when creating that perfect glass like finish.
Color recommendations vary based on the desired impact level. Steel grey offers subtle sophistication for professional settings, while deeper shades like pewter create bold statement nails. Lighter glossy greys work beautifully for French manicures and gradient designs.
Satin Finish Grey Nails
Satin grey finishes strike the perfect balance between matte and glossy, creating a soft luminous appearance that’s both modern and timeless. We create this effect using specialized satin topcoats that provide gentle sheen without full mirror shine. This finish works exceptionally well with medium grey tones like mushroom and taupe.
Blending opportunities arise when combining satin grey with other textures on different nails. Try pairing satin grey on most nails with one glossy accent nail, or alternate between satin and matte finishes across your manicure. These combinations create visual depth while maintaining cohesive color schemes.
Professional applications make satin grey perfect for workplace appropriate manicures that still feel fashion forward. The subtle sheen adds polish without being distracting, while the grey base remains neutral enough for any outfit. Apply base coat, two thin grey polish coats, then finish with satin topcoat for best results.
Short and Long Grey Nail Shapes
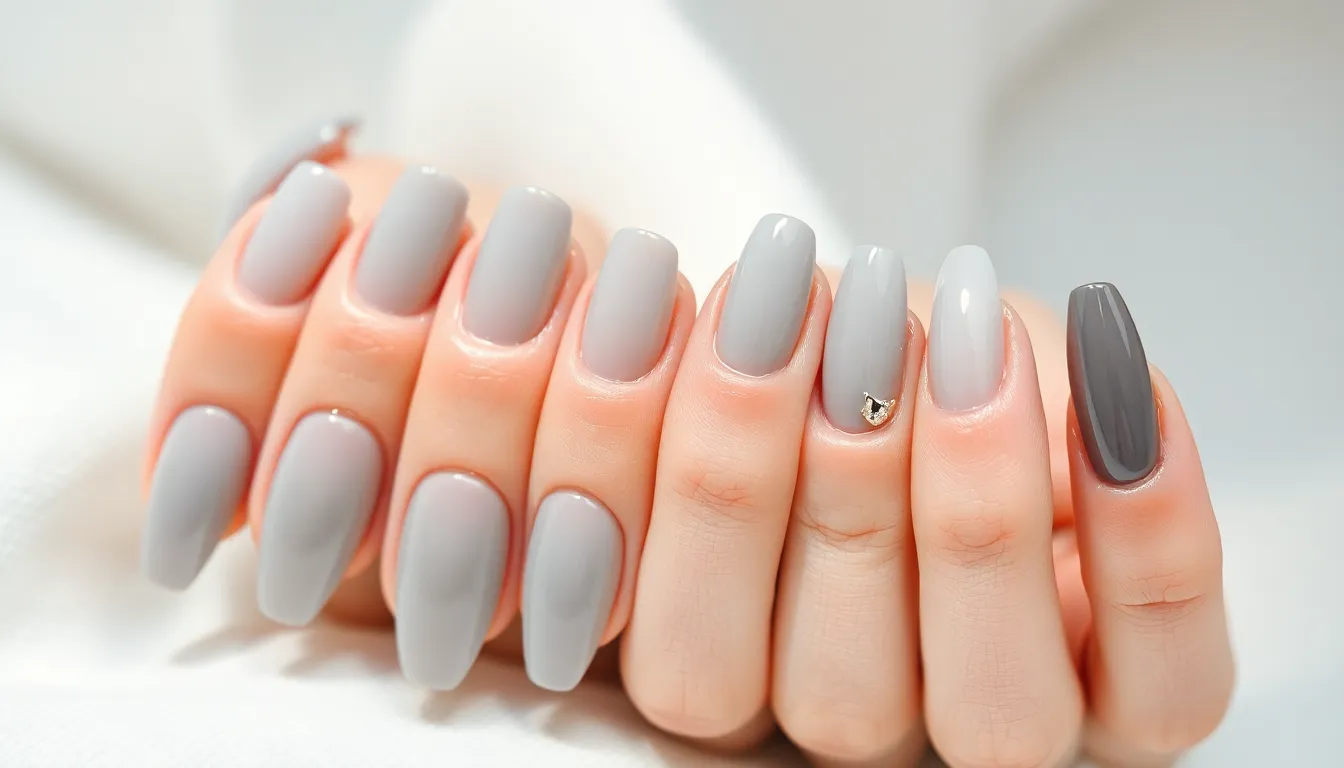
We’ve explored the stunning textures and finishes that make grey nails so captivating, and now it’s time to discover how different nail shapes can enhance these beautiful shades. Each shape offers unique opportunities to showcase grey polish in ways that complement your personal style and lifestyle needs.
Grey Ideas for Short Nails
Round grey nails create a classic, polished appearance that’s perfect for everyday wear. We recommend applying light grey shades like dove or pearl grey to round nails since these colors won’t overwhelm the smaller surface area. Soft grey with a glossy finish makes short round nails appear slightly longer while maintaining a professional look.
Square short nails showcase bold grey tones exceptionally well, particularly charcoal and slate shades. These darker colors create striking contrast against the clean lines of square shapes. We suggest adding subtle metallic accents like silver dots or thin stripes to enhance the geometric appeal without cluttering the limited nail space.
Squoval shapes offer the best of both worlds for short grey manicures, combining the durability of square nails with the softness of round edges. Medium grey tones like pewter and gunmetal work beautifully on this shape. French tip variations using light grey bases with darker grey tips create elegant contrast that elongates the appearance of shorter nails.
Long Grey Coffin and Stiletto Styles
Coffin shaped nails provide an excellent canvas for dramatic grey marble designs and intricate stone textures. We love how the tapered sides and flat tips showcase granite inspired looks with speckled details. Dark charcoal with matte finishes creates a striking coffin silhouette that’s both edgy and sophisticated.
Stiletto grey nails demand attention with their sharp, elongated points that make bold statements. Chrome grey finishes work exceptionally well on stilettos since the extended length catches light from multiple angles. We recommend incorporating geometric patterns like triangular designs or diagonal stripes that follow the nail’s natural lines to emphasize the dramatic shape.
Long grey ombre effects transform both coffin and stiletto nails into stunning works of art. Starting with white at the cuticle and transitioning to deep charcoal at the tips creates incredible depth on these extended shapes. The length allows for smooth color transitions that would be impossible to achieve on shorter nails.
Grey Almond and Oval Shapes
Almond shaped grey nails offer feminine elegance with their tapered sides and rounded tips that mimic natural nail growth. We find that soft sage grey and lavender grey complement the graceful almond silhouette perfectly. These shapes work beautifully with seasonal grey inspirations like pressed flower accents or delicate cherry blossom art.
Oval grey nails provide a classic, universally flattering shape that suits all hand types and finger lengths. Medium toned greys like mushroom and taupe create sophisticated looks that transition seamlessly from day to night. We recommend adding rose gold accents or subtle glitter gradients to enhance the natural curves of oval shaped nails.
Natural looking grey shades on both almond and oval shapes create the perfect backdrop for textured finishes. Satin grey polish maintains the elegant lines of these shapes while adding subtle dimension. Concrete textured effects work particularly well since the organic patterns complement the naturally inspired silhouettes of almond and oval nails.
Conclusion
Grey nails have proven themselves as the ultimate chameleon in nail fashion. We’ve seen how this sophisticated shade adapts to every style preference and occasion with effortless grace.
From subtle dove grey for professional settings to dramatic charcoal statements and everything in between, grey offers endless possibilities. Whether you’re drawn to marble effects, geometric patterns, or seasonal inspirations, this versatile color serves as the perfect foundation.
The beauty of grey lies in its ability to complement any skin tone while remaining timelessly elegant. We encourage you to experiment with different shades, textures, and accent colors to discover your perfect grey nail look. Your nails will thank you for choosing this chic and sophisticated option.
Frequently Asked Questions
Why are grey nails becoming so popular?
Grey nails are gaining popularity because they offer versatility as a neutral shade that suits all skin tones and occasions. Unlike traditional pinks and reds, grey provides a sophisticated, modern look that works for both professional settings and casual wear. Celebrities and influencers have embraced this trend, showcasing everything from minimalist designs to intricate patterns.
What are the best grey shades for beginners?
Soft dove grey is perfect for beginners as it’s subtle and elegant, ideal for professional settings. Pearl grey with shimmer accents adds dimension without being too bold. Light grey French tips offer a modern twist on classic manicures. These shades are forgiving and easy to apply with two thin coats.
How do I create a grey marble nail design?
Start with a white or light grey base coat. While still wet, use a fine brush or toothpick to create veining patterns with darker grey polish. Blend gently using a makeup sponge for natural-looking marble effects. For Carrara marble, use white with subtle grey veins. Finish with a glossy topcoat for depth.
What’s the difference between matte and glossy grey finishes?
Matte grey creates a velvety, textured appearance that photographs beautifully and offers a sophisticated look. Apply matte topcoat over regular grey polish. Glossy grey provides a mirror-like reflection with high shine, achieved through quality base coat and multiple thin polish layers. Each finish creates different visual impact and styling opportunities.
Which nail shapes work best with grey polish?
Short nails look great with round shapes for light greys and square shapes for bold charcoal tones. Long nails suit coffin and stiletto shapes for dramatic designs. Almond and oval shapes offer feminine elegance perfect for seasonal inspirations. Squoval nails provide versatility for both subtle and bold grey looks.
How can I add metallic accents to grey nails?
Rose gold chrome and glitter create luxurious combinations with grey bases. Silver foil strips add elegance, while pewter and gunmetal accents offer vintage-inspired sophistication. Apply metallic elements over dry grey polish using thin brushes or foil transfer techniques. Focus on accent nails or gradient applications for balanced looks.
What seasonal grey nail designs work throughout the year?
Winter calls for frosty white-grey gradients and arctic grey with snowflake accents. Spring features sage grey with daisies and lavender grey with pressed flowers. Fall showcases mushroom grey with copper foil and taupe grey with gold leaf. Each season offers unique color combinations and decorative elements.
How do I maintain textured grey nail finishes?
For matte finishes, avoid oil-based products that can create shine. Use cuticle oil carefully around nail edges only. Glossy finishes need regular topcoat refresh every few days. Satin finishes require gentle buffing if they become too glossy. Always use base coat protection and avoid harsh chemicals for longer-lasting results.

