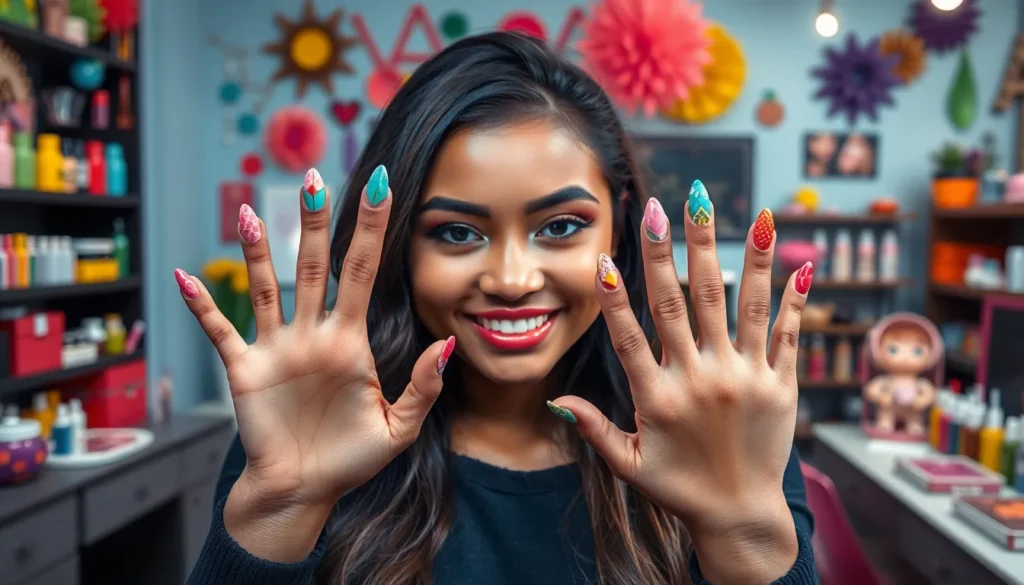
We’re living in an era where nail art has evolved from simple polish applications to miniature canvases showcasing incredible creativity. Whether you’re preparing for a special event or simply want to express your unique personality, funky nail designs offer the perfect opportunity to make a bold statement that turns heads and sparks conversations.
From geometric patterns that defy gravity to 3D elements that practically pop off your fingertips, today’s nail art trends push boundaries and challenge traditional beauty norms. We’ve discovered that the most eye-catching manicures often combine unexpected color palettes with innovative techniques that transform ordinary nails into extraordinary works of art.
Ready to ditch those boring solid colors and jump into a industry where your nails become the ultimate fashion accessory? We’ll explore cutting-edge designs that range from subtly quirky to absolutely show-stopping, ensuring you’ll find the perfect funky style that matches your vibe and skill level.
Bold Geometric Patterns That Make a Statement
Geometric nail art transforms your fingertips into miniature canvases of mathematical precision and artistic flair. Sharp lines and defined shapes create visual impact that’s impossible to ignore.
Angular Lines and Sharp Edges
Diagonal stripes cut across nails at precise 45-degree angles, creating ever-changing movement that catches light beautifully. We love how thin metallic tape produces razor-sharp divisions between contrasting colors like midnight black and pure white. Chevron patterns stack angular lines in zigzag formations that elongate shorter nail beds while adding sophisticated drama.
Intersecting lines form complex grids and crosshatch patterns that showcase technical skill and attention to detail. Try using a fine liner brush to paint thin gold lines over a matte burgundy base for an elegant contrast. Lightning bolt designs branch across nails in jagged formations that pulse with electric energy and modern edge.
Color-Blocked Triangles and Squares
Triangle combinations divide each nail into distinct color zones using crisp geometric boundaries. We recommend pairing complementary colors like coral and teal in alternating triangular sections for maximum visual pop. Negative space triangles leave portions of the natural nail exposed while surrounding them with bold color blocks.
Square patterns create pixel-like effects reminiscent of digital art and retro video games. Paint alternating squares in two or three coordinating shades for a checkerboard effect that’s both playful and sophisticated. Rectangle blocks stretch horizontally or vertically across nails, allowing for gradient color transitions within geometric constraints.
Optical Illusion Designs
Parallel lines in varying widths create depth perception that makes nails appear longer or wider depending on their direction. We achieve stunning results by painting thin white lines over black polish at equal intervals. Spiral patterns wind from cuticle to tip in hypnotic curves that seem to move as fingers gesture.
3D cube effects use strategic shading and highlighting to create the illusion of dimensional blocks sitting on flat nail surfaces. Paint each face of the cube in different tones of the same color family for realistic depth. Gradient stripes fade from dark to light within geometric boundaries, combining smooth color transitions with sharp architectural lines for mesmerizing visual tension.
Quirky Animal-Inspired Nail Art
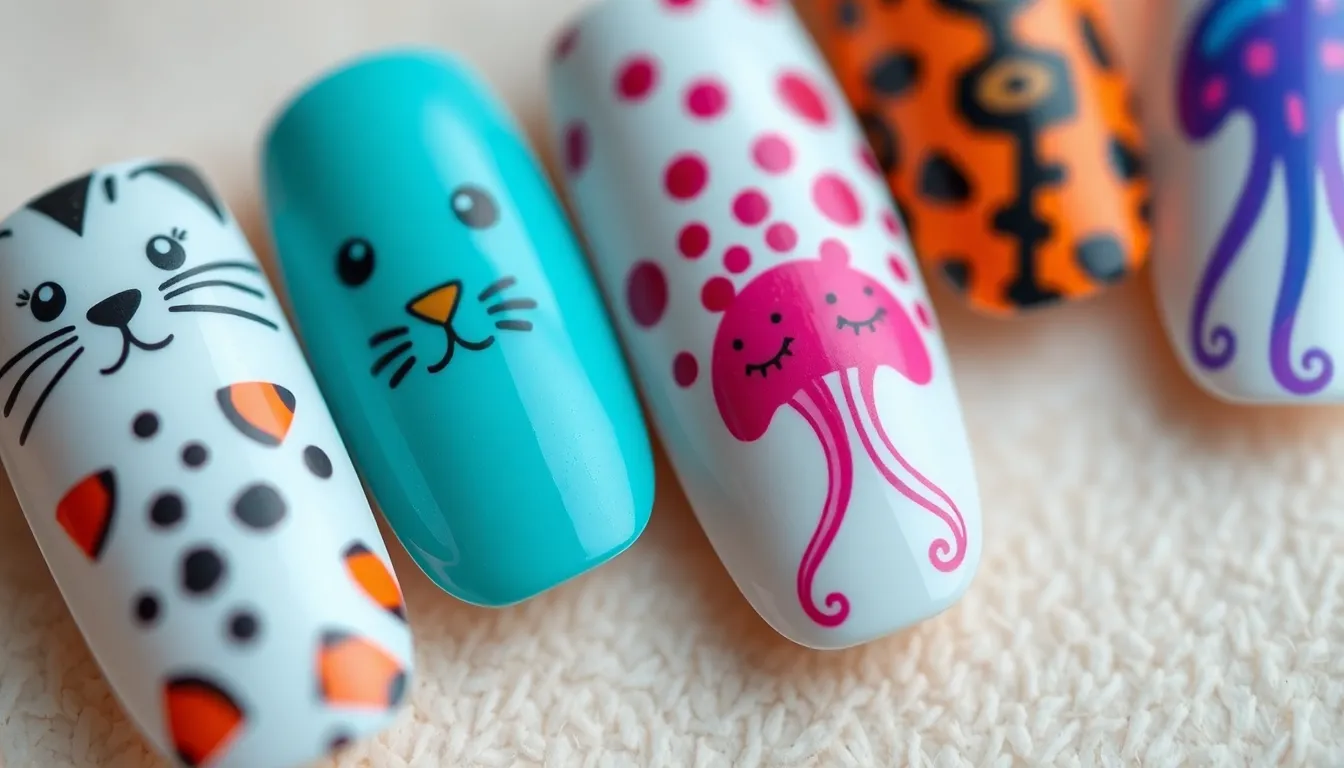
Animal motifs bring a playful twist to nail art that transforms fingertips into miniature wildlife galleries. These designs offer endless creative possibilities for expressing our love of creatures both domestic and wild.
Cute Cat Faces and Paw Prints
Cat inspired nail art creates an adorable focal point that cat lovers can’t resist showing off. We recommend starting with a neutral base color like soft pink or cream before adding the feline features. Simple black dots for eyes and a tiny triangle for the nose instantly create recognizable cat faces on accent nails.
Paw print designs work beautifully across multiple nails using a small dotting tool or toothpick. Three small circles arranged in a triangle with an oval below forms the perfect paw print pattern. Alternating between different sized prints creates visual interest while maintaining the cute animal theme.
Whiskers add the finishing touch using thin nail art brushes or striping tape for precision lines. We suggest limiting detailed cat faces to one or two accent nails while using simpler paw prints on the remaining fingers for balanced design.
Wild Safari Animal Prints
Safari patterns bring exotic flair to nail art with leopard spots being the most popular choice. Creating authentic looking leopard prints requires layering different brown and gold tones with black outlines for each irregular spot. We start with a tan base coat then add darker brown irregular circles before outlining with black polish.
Zebra stripes offer a bold alternative using stark black lines over white bases for dramatic contrast. Curved and slightly irregular stripes look more natural than perfectly straight lines. Tiger prints combine orange bases with black stripes that tend to be thicker and more varied than zebra patterns.
Giraffe patterns use interconnected polygonal shapes in various brown shades over cream colored bases. These geometric animal prints work particularly well on longer nail lengths where the pattern has more space to develop properly.
Underwater Sea Creature Themes
Ocean inspired nail art brings aquatic life to our fingertips with endless creative possibilities. Jellyfish designs use translucent polishes with flowing tentacle details created using thin brush strokes in complementary colors. We layer different opacity levels to achieve the ethereal jellyfish appearance.
Seahorse motifs work beautifully as accent nail designs with their distinctive curved shape and detailed texture. Using metallic polishes in gold or silver creates stunning seahorse silhouettes that catch light beautifully.
Fish scale patterns transform entire nail sets into mermaid worthy creations using nail art stencils or careful freehand techniques. Overlapping semicircular shapes in iridescent polishes create the authentic scale appearance. Starfish and coral designs add tropical elements using warm orange and pink color palettes with textured application techniques for realistic underwater scenes.
Retro-Inspired Funky Designs
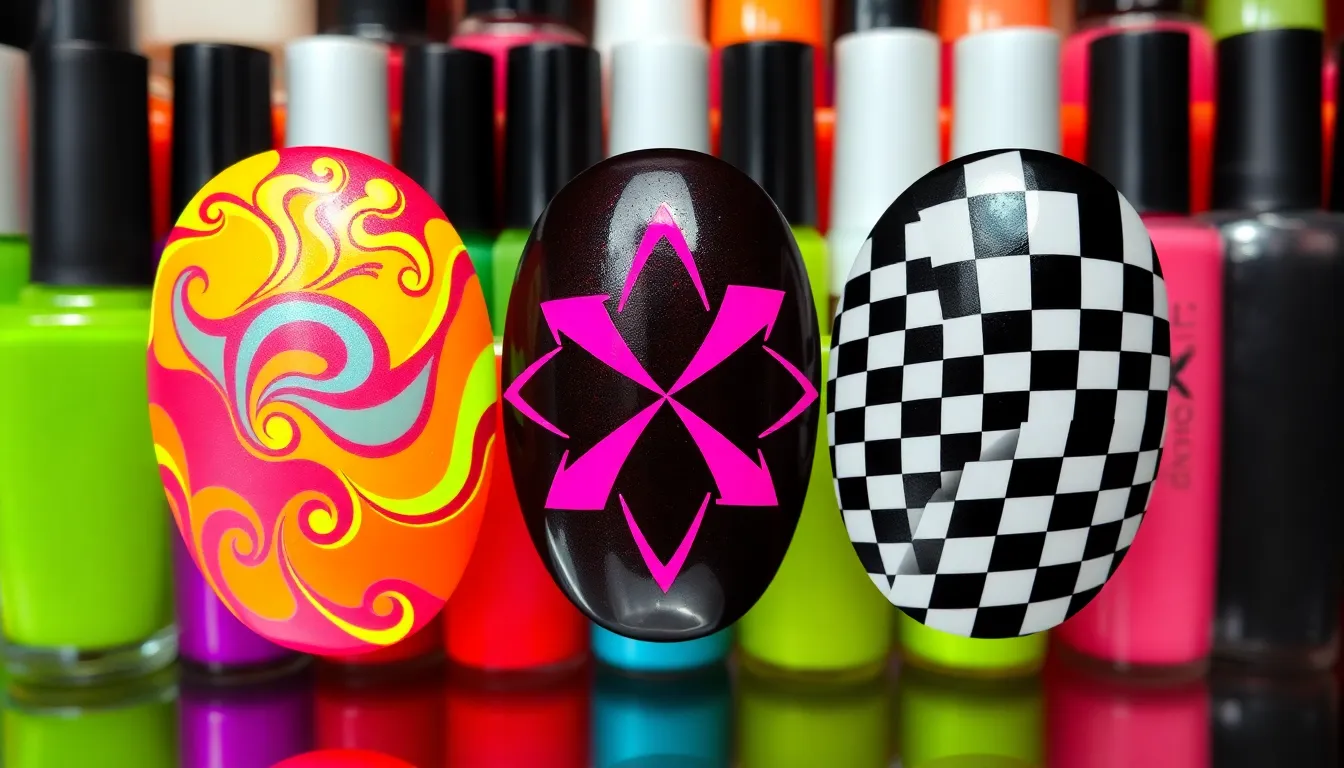
Stepping into the time machine of nail art takes us through decades of iconic style movements that continue influencing modern designs. We’re diving into three standout eras that defined funky nail aesthetics.
70s Psychedelic Swirls
Groovy swirl patterns capture the free-spirited essence of the 1970s with their hypnotic, flowing designs. We recommend starting with a warm base color like burnt orange or deep purple to achieve that authentic retro vibe. Creating these mesmerizing patterns involves using a thin brush or dotting tool to draw interconnected curves and spirals across each nail.
Rainbow color gradients bring the flower power movement to your fingertips through seamless color transitions. Blending techniques work best when you use a makeup sponge to dab multiple colors from yellow to pink to purple. The key lies in working quickly while the polish remains wet to achieve smooth color melding.
Tie-dye effects replicate the iconic fabric patterns that defined hippie culture through nail art interpretation. Using the water marble technique creates authentic tie-dye appearances by dropping different colored polishes into water and creating swirled patterns. We suggest using earth tones like mustard yellow, rusty red, and forest green for genuine 70s authenticity.
80s Neon Color Combinations
Electric pink and lime green pairings scream 1980s boldness with their high-contrast, eye-catching combinations. These fluorescent colors work exceptionally well together because they create maximum visual impact without clashing. We apply the base color first, then add geometric shapes or stripes in the contrasting neon shade for optimal effect.
Hot magenta with electric blue accents delivers that unmistakable 80s Miami Vice aesthetic through vibrant color blocking. Creating clean lines between these intense colors requires steady hands and quality striping tape for professional results. The contrast between warm magenta and cool blue creates ever-changing tension that epitomizes decade-defining style.
Neon orange and purple combinations channel the era’s love for unconventional color partnerships through bold artistic expression. These complementary colors create visual excitement when applied in alternating patterns like checkerboards or diagonal stripes. We recommend using a white base coat to make the neon colors pop with maximum intensity and vibrancy.
90s Grunge and Checkered Patterns
Black and white checkered designs pay homage to the alternative music scene that dominated 1990s youth culture. Creating precise squares requires patience and a steady hand, but the payoff delivers instant grunge credibility. We use striping tape to section off perfect squares before alternating between black and white polish applications.
Dark plaid patterns embrace the flannel shirt aesthetic through intricate nail art interpretation that captures grunge essence. These designs involve layering thin lines in different directions using colors like deep red, forest green, and navy blue. Building plaid patterns requires creating horizontal and vertical lines that intersect to form the characteristic woven appearance.
Smudged smoky effects replicate the deliberately imperfect beauty standards that defined 90s alternative fashion through intentionally messy techniques. Using a dry brush or sponge to blend dark grays and blacks creates that lived-in, effortlessly cool appearance. We achieve the best results by applying base color, then gently smudging darker tones around the edges while the polish remains slightly tacky.
Abstract Art Techniques for Nails
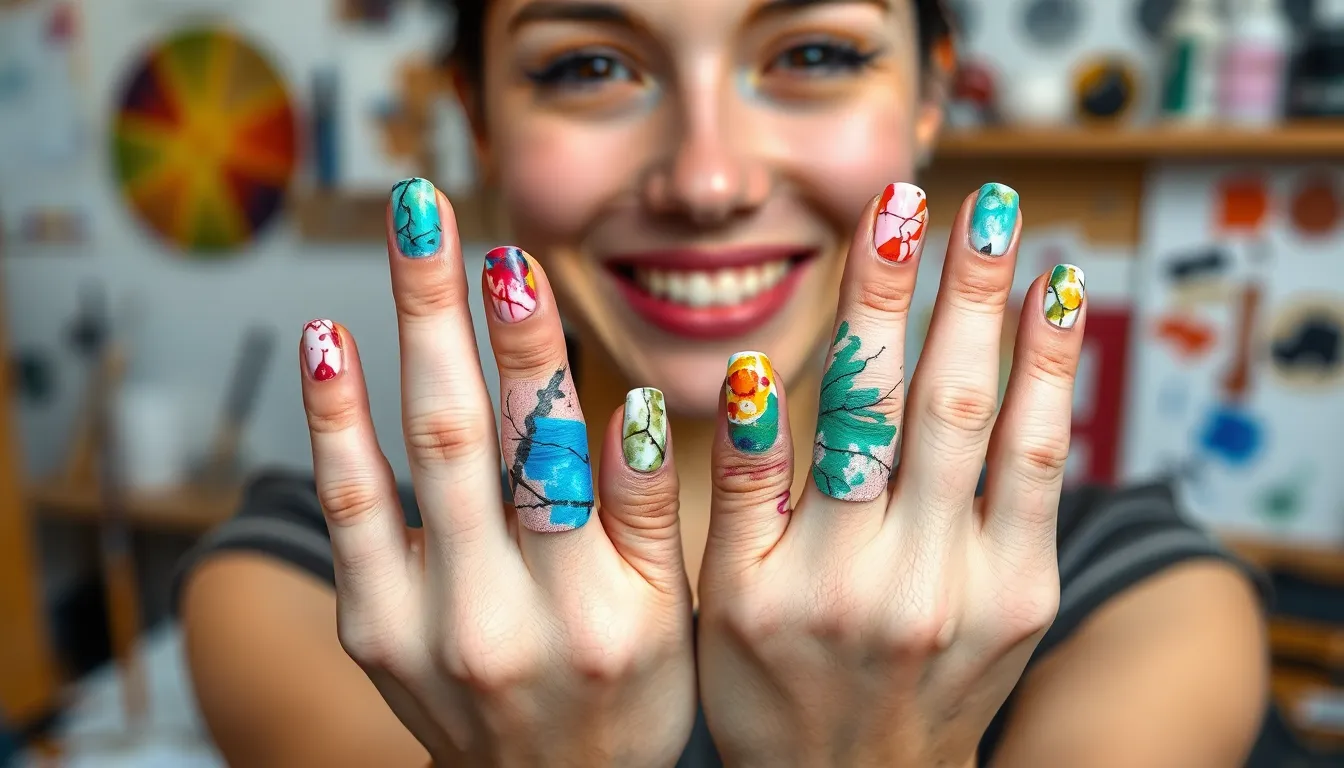
Abstract art techniques transform your nails into miniature masterpieces that blur the lines between traditional manicures and gallery-worthy artwork. These expressive methods let you create unique designs that celebrate spontaneity and artistic freedom.
Splatter Paint Effects
Splatter paint effects bring Jackson Pollock’s iconic technique to your fingertips through controlled chaos and artistic expression. Start with a white or light base coat to make your colors pop dramatically against the backdrop. Dilute your nail polish slightly with acetone to achieve the perfect consistency for splattering across each nail surface.
Create authentic splatter patterns by loading a small brush with thinned polish and gently tapping it against a toothpick or cuticle pusher. Work with multiple colors like bright pinks, electric blues, and sunny yellows for maximum visual impact. Layer different colors to build depth and complexity in your abstract nail designs.
Control your splatter size by adjusting the distance between your brush and nail surface. Smaller splatters form when you hold the brush closer to your nails, while larger drops create when you increase the distance. Protect your surrounding skin with liquid latex or tape to keep the artistic chaos contained to your nail area.
Marble and Tie-Dye Looks
Marble effects create sophisticated swirls that mimic natural stone patterns through water marbling or dry brushing techniques. Fill a cup with room-temperature water and drop different colored polishes onto the surface, creating concentric circles. Drag a toothpick through the polish to create marbled patterns before dipping your nail into the design.
Achieve stunning tie-dye looks by blending multiple colors directly on your nail using a makeup sponge or stippling brush. Apply your base color first, then dab contrasting shades like purple, orange, and green while the base is still slightly wet. Blend the colors together using gentle pressing motions to create seamless transitions.
Create gradient marble effects by starting with darker shades at the cuticle area and gradually lightening toward the nail tip. Use white polish as a blending medium to soften harsh color transitions and create that authentic marbled stone appearance. Seal your marble designs with a high-quality top coat to enhance the depth and shine.
Brushstroke Masterpieces
Brushstroke masterpieces capture the essence of abstract expressionism through deliberate paint strokes and artistic gestures on your nail canvas. Use different brush sizes and shapes to create varied stroke effects, from thin detail brushes for delicate lines to flat brushes for bold statement strokes. Mix your nail polish colors on a palette to achieve custom shades that complement your overall design vision.
Apply brushstrokes in multiple directions to create ever-changing movement and visual interest across your nail surface. Start with lighter colors as your base strokes, then layer darker or more vibrant shades on top for dimension. Vary your pressure while painting to achieve different stroke widths and textures that mimic traditional brush painting techniques.
Build your brushstroke composition by planning your color placement and stroke direction before you begin painting. Create focal points using contrasting colors or intersecting brushstrokes that draw the eye to exact areas of your nail. Allow each layer to dry completely before adding additional brushstrokes to prevent unwanted color mixing and maintain clean, defined edges.
Pop Culture and Fandom Nail Art
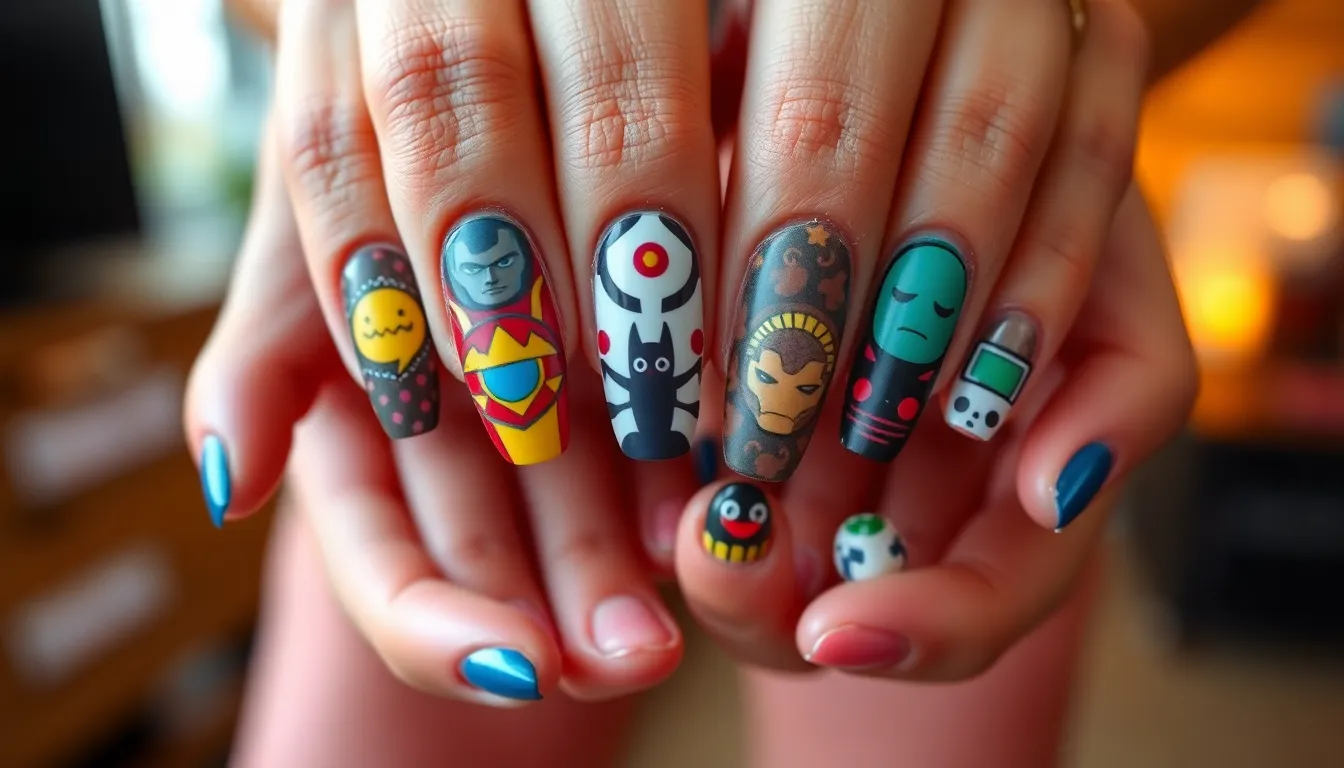
Pop culture nail art transforms your fingertips into conversation starters that showcase your favorite fandoms. These designs create instant connections with fellow fans while displaying your creative personality.
Movie and TV Show References
Superhero emblems dominate movie inspired nail designs with Batman logos, Wonder Woman symbols, and Spider-Man web patterns leading the trend. We recommend using a matte black base for Batman designs and adding the iconic yellow symbol with precision brushes. Marvel fans gravitate toward Iron Man arc reactor designs that glow with metallic gold polish over dark bases.
Disney character nails bring childhood magic to your fingertips through Mickey Mouse silhouettes, princess crowns, and castle designs. Classic combinations like red and yellow for Mickey or blue and silver for Cinderella create instantly recognizable motifs. Frozen themed nails featuring snowflakes and ice crystal patterns remain popular choices for winter seasons.
Horror movie tributes showcase your darker side with designs inspired by classics like Halloween, Scream, and Friday the 13th. Blood drip effects using red polish over black bases create dramatic statements, while knife and ghost patterns add subtle horror elements. These designs work exceptionally well during October but maintain year-round appeal for horror enthusiasts.
TV show homages celebrate everything from Friends coffee cups to Stranger Things upside-down themes. Sitcom inspired designs often feature iconic quotes or symbols like the Central Perk logo or The Office Dunder Mifflin references. Science fiction shows inspire galaxy patterns, alien symbols, and futuristic chrome effects that capture otherworldly aesthetics.
Music Artist Tributes
Taylor Swift era nails capture different album aesthetics through color schemes and symbols representing each musical period. Reputation era designs feature snake patterns and dark metallics, while Lover era nails showcase pastel rainbows and heart motifs. Folklore and Evermore inspire earthy tones with delicate line work resembling album artwork.
K-pop group tributes feature band logos, member colors, and album concept designs that celebrate your favorite artists. BTS inspired nails often incorporate purple themes with constellation patterns, while BLACKPINK designs use their signature pink and black color combinations. Group lightstick designs translate beautifully onto nails using metallic accents and LED inspired effects.
Rock and metal band homages showcase skull designs, band logos, and dark aesthetic elements that capture the genre’s rebellious spirit. Metallica inspired nails feature lightning bolts and metallic silver accents, while punk rock designs incorporate studs, chains, and distressed textures. Gothic elements like roses, crosses, and lace patterns appeal to alternative music fans.
Pop icon celebrations honor legends like Madonna, Prince, and David Bowie through their signature styles and memorable looks. Madonna designs feature cone shapes, crosses, and bold red accents reflecting her iconic imagery. Prince tributes incorporate purple rain effects, love symbols, and glittery finishes that capture his flamboyant aesthetic.
Video Game Character Designs
Nintendo character nails bring beloved gaming icons to life through Mario mushrooms, Zelda Triforce symbols, and Pokemon designs. Super Mario Bros inspired nails feature green pipes, fire flowers, and pixel art patterns that recreate classic game elements. Link’s Master Sword, Hylian shields, and rupee gems translate beautifully into detailed nail art compositions.
Pokemon themed designs showcase favorite creatures through miniature portraits, type symbols, and Pokeball patterns. Pikachu faces with rosy cheeks and lightning bolt tails create adorable accent nails, while evolution stones inspire gradient designs in corresponding colors. Team logos from different generations add nostalgic touches for long-time fans.
Fighting game tributes celebrate Street Fighter, Mortal Kombat, and Tekken through character exact color schemes and signature moves. Ryu inspired designs feature white and red combinations with hadoken energy effects, while Sub-Zero tributes showcase icy blue gradients with freezing patterns. These designs often incorporate martial arts symbols and elemental themes.
RPG character homages honor Final Fantasy, Industry of Warcraft, and Elder Scrolls through class symbols, weapon designs, and magical effects. Mage designs feature spell circles and mystical symbols in ethereal colors, while warrior themes incorporate armor patterns and weapon silhouettes. Fantasy elements like dragons, runes, and elemental crystals create immersive gaming experiences on your nails.
Textured and 3D Funky Elements
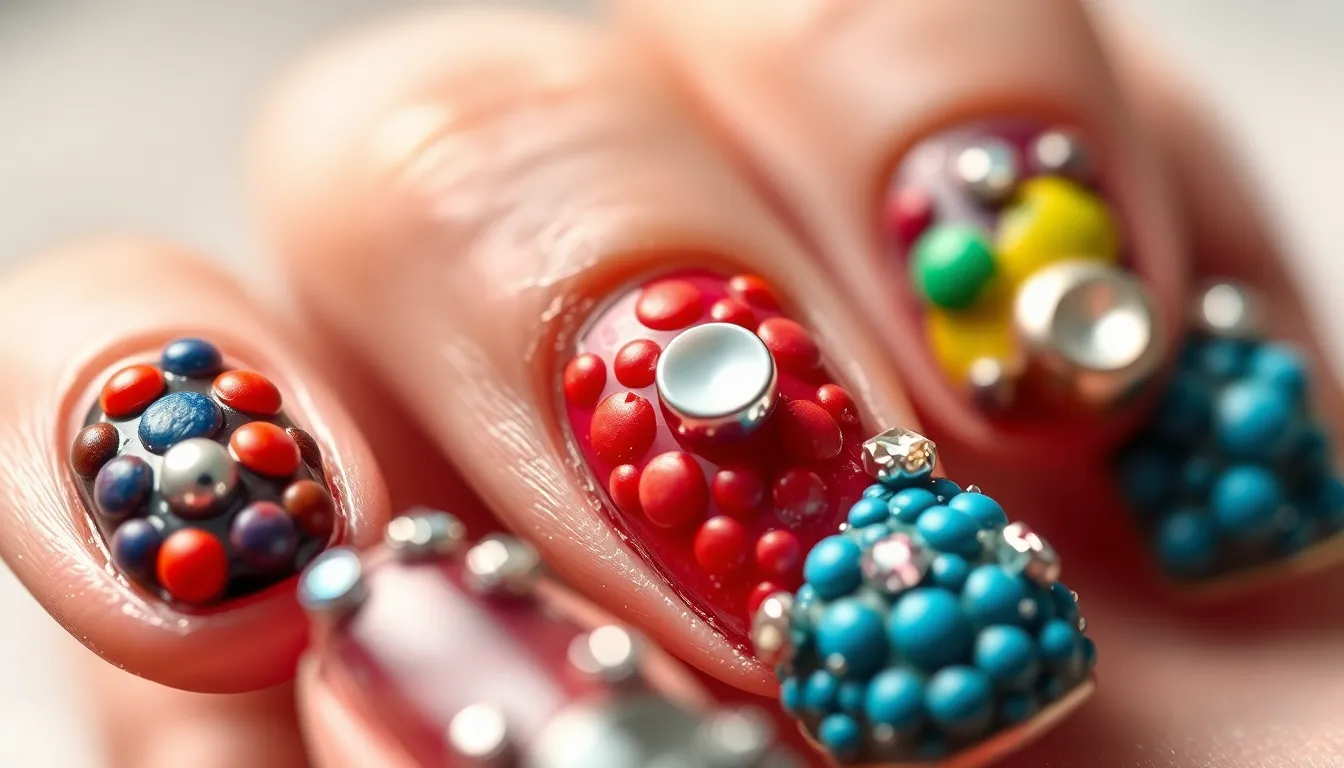
We’re moving beyond flat designs to create nail art that literally reaches new dimensions. These techniques transform ordinary manicures into tactile masterpieces you can actually feel.
Raised Dots and Studs
Dotting tools create perfectly raised circles that add instant texture to any nail design. We recommend starting with small dots using a bobby pin or professional dotting tool dipped in thick polish. Layer multiple colors in varying sizes to build depth and visual interest across your nail canvas.
Metal studs transform nails into edgy statements that catch light from every angle. Apply base coat first, then press pyramid studs, round studs, or spike studs into wet topcoat for secure adhesion. Gold studs complement warm nail colors while silver studs enhance cool tones and create dramatic contrast.
Rhinestone placement requires strategic positioning for maximum impact without interfering with daily activities. We suggest placing larger stones near the cuticle area and smaller ones toward the nail tip. Clear rhinestones work with any color palette, while colored gems should coordinate with your base polish for cohesive design flow.
Fabric and Velvet Applications
Velvet powder creates luxurious fuzzy textures that feel as amazing as they look. Brush the powder over wet polish immediately after application, then seal edges with thin topcoat while avoiding the velvet surface. Deep jewel tones like emerald and sapphire showcase velvet effects beautifully.
Lace fabric imprints add delicate romantic touches through simple pressing techniques. Place clean lace over wet base color and gently press down, then carefully lift to reveal intricate patterns underneath. White lace over pastels creates vintage wedding vibes, while black lace over bright colors delivers gothic elegance.
Mesh materials produce fishnet effects that channel 90s grunge aesthetics perfectly. We use fine mesh pressed into wet polish to create uniform grid patterns. Contrasting colors between base and topcoat enhance the mesh visibility and create striking dimensional effects.
Mini Charm Attachments
Tiny bow charms bring kawaii culture directly to your fingertips with adorable three dimensional elements. Apply strong nail glue to clean, dry nails before pressing charms firmly for 10 seconds. Pink bows complement soft feminine looks while black bows add gothic touches to darker designs.
Heart shaped attachments express romantic themes through miniature dimensional love symbols. We position heart charms at different angles across nails to create playful asymmetrical patterns. Red hearts work beautifully with Valentine’s themes, while holographic hearts add futuristic sparkle to any color scheme.
Star and moon charms channel celestial energy with magical three dimensional appeal. Combine gold stars with silver moons for mixed metal sophistication, or use all matching metals for cohesive cosmic themes. Layer different sized celestial charms to create depth and simulate actual night sky arrangements.
Glow-in-the-Dark and Special Effects
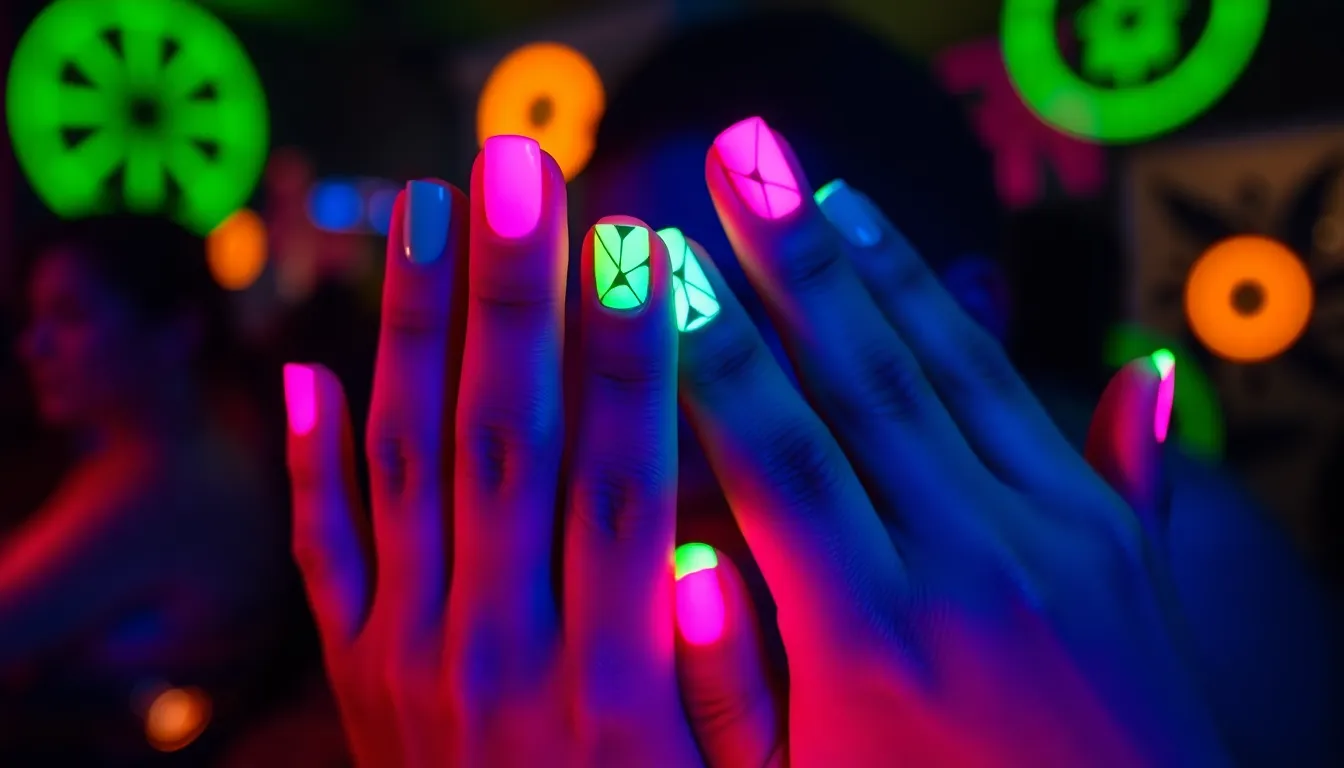
Moving beyond traditional textures and 3D elements, we’re diving into the mesmerizing industry of special effects nail art that literally lights up your look. These innovative polish formulas create stunning visual transformations that shift and change depending on lighting conditions.
Neon and Blacklight Reactive Polish
Blacklight reactive polishes transform your nails into glowing masterpieces under UV lighting. These specialized formulas contain phosphorescent pigments that absorb UV light and emit a brilliant glow in darkened environments. We recommend starting with a white or pale base coat to maximize the fluorescent effect, then applying 2-3 thin coats of reactive polish for optimal brightness.
Electric neon shades create the most dramatic blacklight transformations. Colors like hot pink, lime green, electric blue, and bright orange produce the strongest glowing effects. Party venues, clubs, and concerts become the perfect showcases for these eye catching designs. Many brands now offer entire neon collections specifically formulated for UV reactivity, including options from OPI, Essie, and indie polish makers.
Combining multiple reactive colors creates stunning gradient effects. We suggest blending two complementary neon shades using a makeup sponge for smooth transitions. Geometric patterns using blacklight tape also produce sharp, glowing lines that appear to float on your nails in UV light.
Holographic and Iridescent Finishes
Holographic polishes create rainbow prismatic effects that shift with every movement. These formulas contain special holographic particles that break light into spectral colors, producing a mesmerizing kaleidoscope effect on your nails. Linear holographic polishes display distinct rainbow stripes, while scattered holographic formulas create a more subtle sparkle with rainbow flashes.
Iridescent finishes offer sophisticated color shifting properties. Unlike holographic polishes, iridescent formulas transition between two or three exact colors depending on the viewing angle. Popular combinations include purple to green shifts, blue to pink transitions, and gold to copper changes. These multichrome effects work beautifully over dark base colors or as standalone statement pieces.
Layering techniques maximize the holographic rainbow display. We recommend applying holographic topcoats over various base colors to create unique effects. Black bases make the rainbow more vivid, while white bases create softer, more ethereal appearances. Matte topcoats can also transform holographic polishes into subtle shimmer finishes.
Magnetic Polish Patterns
Magnetic polishes contain iron particles that respond to magnetic fields to create stunning patterns. These innovative formulas allow you to manipulate the polish while wet using special magnetic tools, creating effects like cat eye stripes, starburst patterns, and wave designs. The magnetic particles align according to the magnet’s position, producing dimensional looking textures.
Cat eye effects remain the most popular magnetic nail art technique. We position the magnetic wand parallel to the nail surface immediately after polish application, creating a bright stripe that resembles a cat’s eye gemstone. Moving the magnet in different directions produces various stripe angles and intensities.
Advanced magnetic techniques create complex geometric patterns. Star magnets produce radiating burst effects, while grid magnets create checkerboard textures. We can also combine multiple magnetic passes to layer different patterns, creating truly unique designs. Some magnetic polishes work better with exact magnet shapes, so experimenting with different tools yields the best results.
Temperature sensitive magnetic polishes add another dimension to special effects. These formulas change colors based on body heat while maintaining their magnetic properties. We’ve seen polishes that shift from deep burgundy to bright pink while displaying magnetic patterns, creating truly ever-changing nail art that responds to both magnets and temperature changes.
Mix-and-Match Asymmetrical Styles
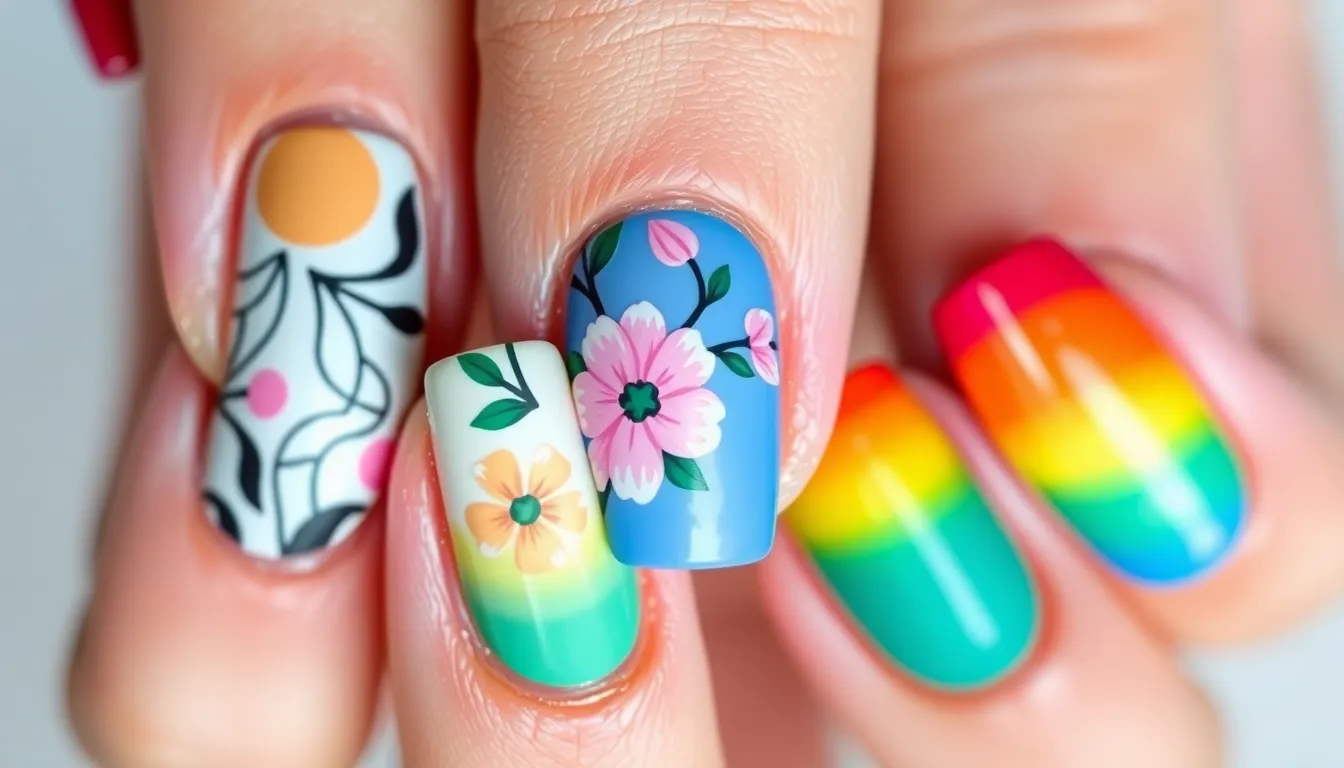
Breaking free from traditional symmetry transforms your nails into an artistic playground where each finger tells a different story. This approach lets you showcase multiple techniques and designs simultaneously while creating a cohesive yet deliberately mismatched aesthetic.
Different Design on Each Nail
Each fingertip becomes its own canvas when you embrace the beauty of asymmetrical nail art. Your thumb might feature a bold geometric pattern while your index finger showcases delicate florals and your middle finger displays abstract brush strokes. This technique allows you to experiment with various styles without committing to one design across all nails.
Starting with a cohesive color palette keeps the overall look unified even though the different patterns. We recommend choosing two to three base colors that complement each other like navy, gold, and cream or dusty pink, sage green, and ivory. Your ring finger could sport a minimalist line design while your pinky features tiny dots or stars.
Mixing textures adds another layer of visual interest to your asymmetrical manicure. One nail might have a glossy finish while another features a matte topcoat and a third incorporates glitter or chrome powder. This variation creates depth and prevents the design from looking chaotic or overwhelming.
Coordinated Chaos Looks
Strategic chaos creates stunning nail art that appears random but follows intentional design principles. Each nail connects to the others through shared elements like colors, shapes, or themes while maintaining its unique character. Your left hand might feature warm toned abstract designs while your right hand showcases cool toned geometric patterns.
Alternating patterns across your nails establishes rhythm within the seemingly mismatched design. We suggest using stripes on your thumb and ring finger while incorporating polka dots on your index and pinky fingers. Your middle finger could serve as the focal point with a more complex design that incorporates elements from the other nails.
Color gradation ties disparate designs together by creating a smooth transition from one nail to the next. Starting with the darkest shade on your thumb and gradually lightening each subsequent nail creates flow even when the patterns differ dramatically. This technique works especially well with ombre effects or when transitioning between complementary colors.
Rainbow Gradient Variations
Rainbow gradients on asymmetrical nails create stunning color stories that shift and change across your fingertips. Each nail represents a different section of the color spectrum while maintaining visual harmony through careful color placement and blending techniques. Your design might start with deep purple on your thumb and transition through blue, green, yellow, orange, and red across your remaining fingers.
Vertical gradients on individual nails add complexity to the overall rainbow effect. We recommend creating different gradient directions on each nail such as diagonal fades, horizontal blends, or circular color bursts. This approach prevents the design from looking too uniform while showcasing advanced blending skills.
Incorporating negative space within rainbow gradients creates modern interpretations of classic color transitions. Leaving portions of each nail clear or using nude base colors allows the rainbow elements to pop while preventing color overload. Triangle cutouts, curved sections, or geometric shapes can frame your gradient work and add contemporary flair to traditional rainbow designs.
Conclusion
We’ve explored an incredible spectrum of funky nail art possibilities that prove your fingertips can be the ultimate canvas for creativity. From geometric patterns that showcase precision to whimsical animal designs that spark joy these techniques offer endless ways to express your unique personality.
The beauty of funky nail art lies in its versatility and accessibility. Whether you’re drawn to nostalgic retro vibes sophisticated abstract techniques or cutting-edge special effects there’s a style that matches your artistic vision and skill level.
We encourage you to experiment fearlessly and embrace the unexpected. Mix textures combine unexpected color palettes and don’t be afraid to try asymmetrical designs that break traditional rules. Your nails are waiting to become your next masterpiece.
Frequently Asked Questions
What makes nail art a form of self-expression?
Nail art transforms simple manicures into personal canvases that reflect individual creativity, interests, and style. From geometric patterns to pop culture tributes, each design choice communicates something unique about the wearer. Unlike traditional plain polish, modern nail art allows people to showcase their personality, fandoms, and artistic preferences through their fingertips, making it a powerful form of wearable self-expression.
What are the most popular geometric nail art patterns?
Popular geometric patterns include diagonal stripes, chevron designs, and intersecting lines that create visual impact through sharp, defined shapes. Color-blocked triangles and squares using complementary colors are trending, along with negative space designs. Optical illusion patterns like parallel lines, spirals, and 3D cube effects add depth and dimensionality, transforming nails into miniature artistic masterpieces.
How can beginners start with animal-inspired nail art?
Start with simple designs like cat faces using a neutral base color and basic dotting tools for features. Paw prints are easy to create with small circular stamps. For safari patterns, practice leopard spots by layering colors or zebra stripes using tape guides. Focus on recognizable features and simple techniques before advancing to more complex animal designs.
What defines retro-inspired funky nail designs?
Retro nail art draws from 70s psychedelic swirls with warm base colors and rainbow gradients, 80s bold neon combinations with high-contrast geometric shapes, and 90s grunge aesthetics featuring black and white checkered patterns. Each era has distinct color palettes and design elements that capture the nostalgic essence while adding modern nail art techniques for contemporary appeal.
How do you create abstract art effects on nails?
Abstract nail art celebrates artistic freedom through techniques like splatter paint effects using diluted polish, marble looks achieved through water marbling, and tie-dye patterns with seamless color transitions. Brushstroke masterpieces use varied brush sizes and colors to create dynamic compositions. The key is embracing spontaneity and allowing creative expression to guide the design process.
What are special effects polishes and how do they work?
Special effects polishes include glow-in-the-dark formulas that illuminate under UV light, holographic polishes that shift colors depending on angle and lighting, and magnetic polishes that create patterns when exposed to magnetic fields. Temperature-sensitive polishes change color based on body heat. These innovative formulas add dynamic, ever-changing elements to traditional nail art designs.
How can you achieve textured and 3D nail art?
Textured nail art uses raised dots created with dotting tools, metal studs, rhinestones, and velvet powder applications. 3D elements include fabric imprints, lace patterns, and mini charm attachments like bows, hearts, and celestial shapes. Mesh materials add grunge textures while various embellishments create tactile, dimensional effects that transform flat designs into sculptural nail art pieces.
What is asymmetrical nail art and how do you create it?
Asymmetrical nail art breaks traditional symmetry rules by creating different designs on each nail while maintaining visual cohesion through shared color palettes or connecting elements. Techniques include coordinated chaos looks, rainbow gradient variations across different nails, and mixing textures. The key is balancing individuality with overall harmony to create intentionally mismatched yet aesthetically pleasing designs.

