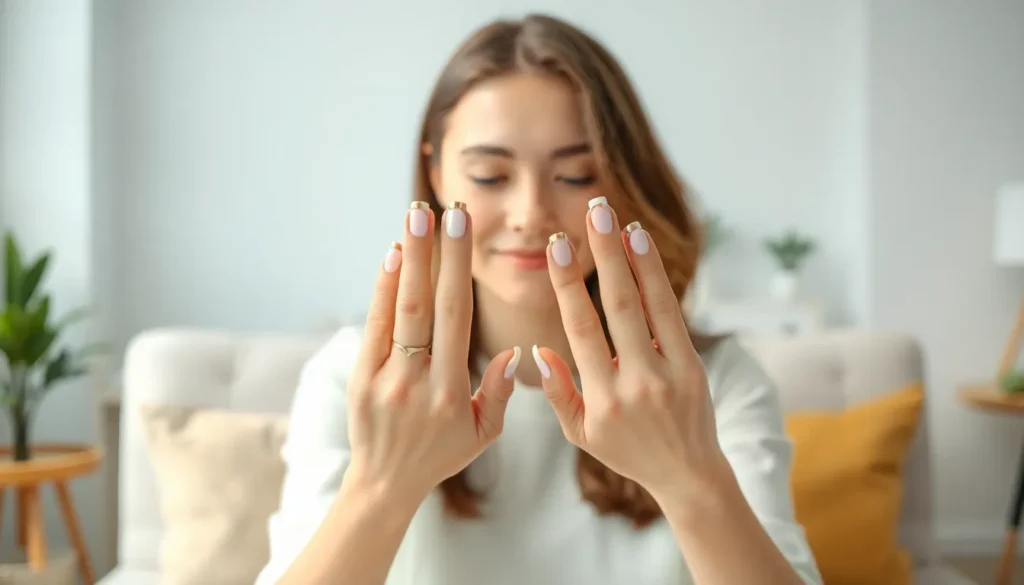
We’ve all been there – staring at our nails wondering how to transform them from ordinary to absolutely stunning. Elegant nail art doesn’t require expensive salon visits or professional skills to achieve that sophisticated look you’re craving.
The beauty of elegant nail designs lies in their versatility and timeless appeal. Whether you’re preparing for a special occasion or simply want to elevate your everyday style these refined nail art ideas will help you create manicures that exude class and sophistication. From minimalist geometric patterns to delicate floral accents we’ll show you how to master techniques that look complex but are surprisingly achievable at home.
Classic French Manicure With Modern Twists
The traditional French manicure gets a contemporary makeover with these innovative approaches that maintain elegance while adding personality. We’ll explore three stunning variations that transform the classic white-tipped look into something extraordinary.
Colored Tips Instead of White
Swap white tips for bold colors to create an instantly updated French manicure that suits any mood or outfit. Deep burgundy tips offer sophisticated drama for fall occasions, while coral shades bring summery warmth to your fingertips. Navy blue creates a chic professional look that works beautifully with business attire.
Metallic tips elevate the classic design with luxurious shine that catches light beautifully. Gold tips complement warm skin tones and pair perfectly with evening wear, while silver creates a modern edge that works for both casual and formal settings. Rose gold strikes the perfect balance between warmth and coolness for universal appeal.
Pastel tips soften the traditional French look with romantic charm that’s perfect for spring weddings or brunch dates. Soft pink maintains the classic feel while adding subtle color, and lavender brings an unexpected twist that remains elegantly understated. Mint green offers a fresh alternative that looks stunning against both fair and deeper skin tones.
Geometric French Lines
Angular tip lines replace the traditional curved French design with sharp, modern edges that create striking visual impact. Diagonal lines slanting from corner to corner give your nails an edgy geometric appeal that’s surprisingly easy to achieve with tape guides. V-shaped tips pointing downward create an arrow effect that lengthens shorter nail beds naturally.
Double line techniques add architectural interest by incorporating two parallel lines instead of one solid tip. Create negative space between thin lines using your base color, or fill the gap with contrasting polish for bold color blocking effects. Staggered double lines at different heights on each nail create an asymmetrical design that’s uniquely artistic.
Triangular French tips transform your manicure into a statement piece with sharp points that draw attention. Point the triangle upward for a crown-like effect that feels regal and sophisticated, or flip it downward for a more avant-garde approach. Multiple small triangles across the tip create a sawtooth pattern that’s both edgy and elegant.
Glitter French Accents
Glitter gradient tips blend sparkle seamlessly from the tip downward for a glamorous ombre effect that catches every light. Dense glitter at the very tip fades gradually into your base color, creating depth and dimension that photographs beautifully. This technique works with any glitter size from fine shimmer to chunky hexagonal pieces.
Glitter French lines replace the traditional solid tip with a thin band of sparkle that adds just enough glamour without overwhelming the design. Use fine glitter in metallic shades for subtle sophistication, or choose holographic options for rainbow effects that shift colors as you move your hands. Apply the glitter line with a thin brush for precise placement.
Half moon glitter bases flip the French concept by placing sparkle at the nail base instead of the tip. This reverse French approach creates an unexpected twist while maintaining the elegant proportions of traditional French manicures. Combine with colored tips for a three-toned effect that’s perfect for special celebrations or holiday parties.
Minimalist Geometric Patterns
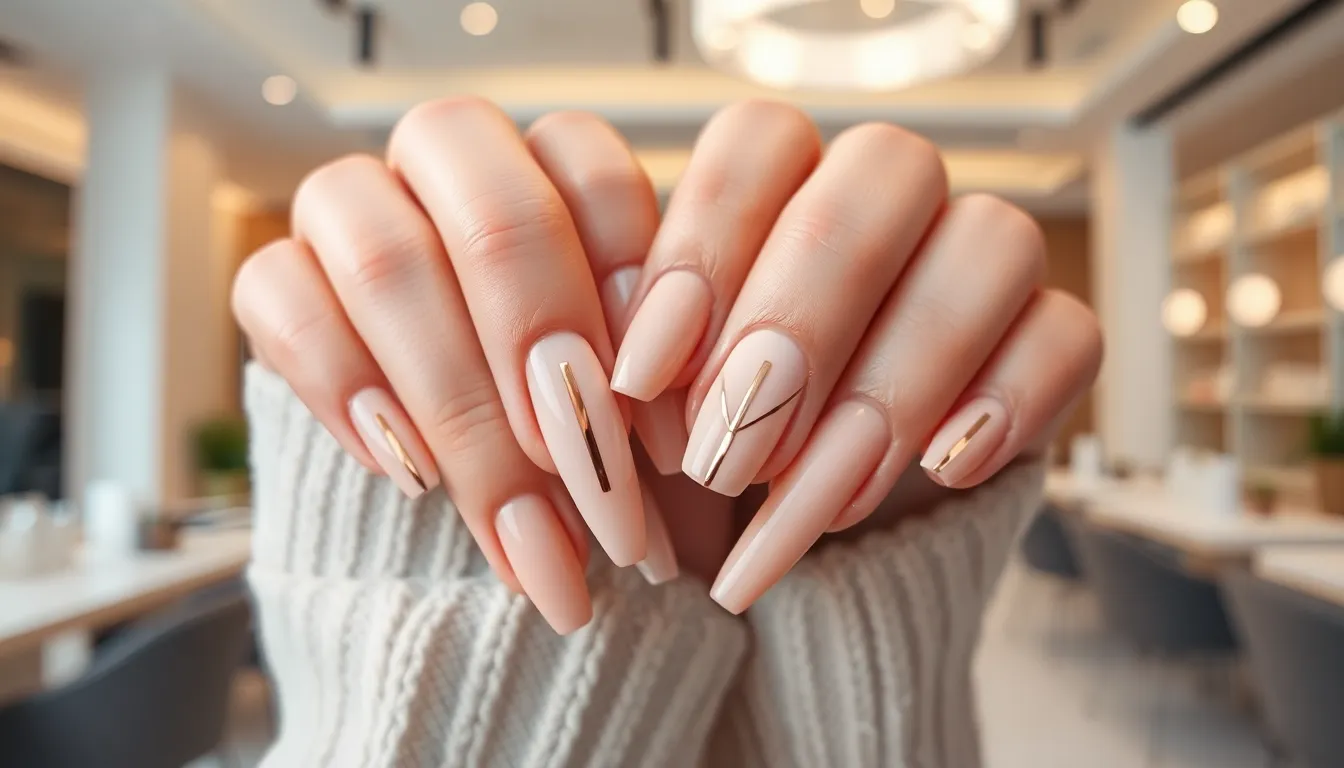
Geometric patterns bring sophisticated simplicity to elegant nail art through clean lines and structured shapes. These designs create striking visual impact while maintaining the refined aesthetic we’ve been exploring.
Single Accent Lines
Vertical accent lines transform plain manicures into modern masterpieces with just one precise stroke per nail. We recommend using nail tape or striping brushes to achieve perfectly straight lines down the center of each nail. Metallic shades like rose gold or silver create the most dramatic contrast against nude or pastel base colors.
Horizontal accent lines work beautifully when placed at different heights across your nails for an asymmetrical effect. Position these lines about one third from your cuticle or nail tip for optimal visual balance. Matte topcoat over glossy lines adds textural depth that elevates the overall design.
Diagonal accent lines offer ever-changing movement while keeping the look clean and sophisticated. Angle these lines from corner to corner or create parallel diagonal stripes using contrasting colors. Black lines on white bases or white lines on dark bases deliver the strongest geometric impact.
Triangle and Diamond Shapes
Triangle tips replace traditional French manicure curves with sharp geometric angles for contemporary elegance. We suggest taping off triangular sections at your nail tips using small pieces of painter’s tape cut into triangle shapes. Metallic triangles over nude bases create stunning negative space effects.
Diamond cutouts positioned at the center of each nail become focal points that catch light beautifully. Create these shapes by outlining diamonds with thin brushes then filling them with contrasting colors or leaving them as negative space. Gold outlines around clear diamond shapes look particularly luxurious.
Multiple triangle patterns work when scaled small and repeated across the nail surface in organized rows. Keep triangles uniform in size and spacing for the most polished appearance. Alternating filled and outlined triangles prevents the design from becoming overwhelming.
Negative Space Designs
Geometric cutouts use your natural nail as part of the design element rather than covering it completely. We love creating rectangular windows, circular holes, or angular shapes that showcase the nail underneath. Clear base coat protects the exposed nail while maintaining the minimalist aesthetic.
Half moon geometric shapes combine classic nail art techniques with modern angular twists. Replace traditional curved half moons with geometric shapes like triangles, squares, or hexagons at your nail base. Nude polish with white geometric half moons creates timeless elegance.
Striped negative space involves painting alternating bands of color and clear polish for a sophisticated layered effect. Use nail tape to create perfectly even stripes then remove it while polish is slightly wet for crisp lines. Three to four stripes per nail provides optimal visual balance without appearing cluttered.
Delicate Floral Motifs
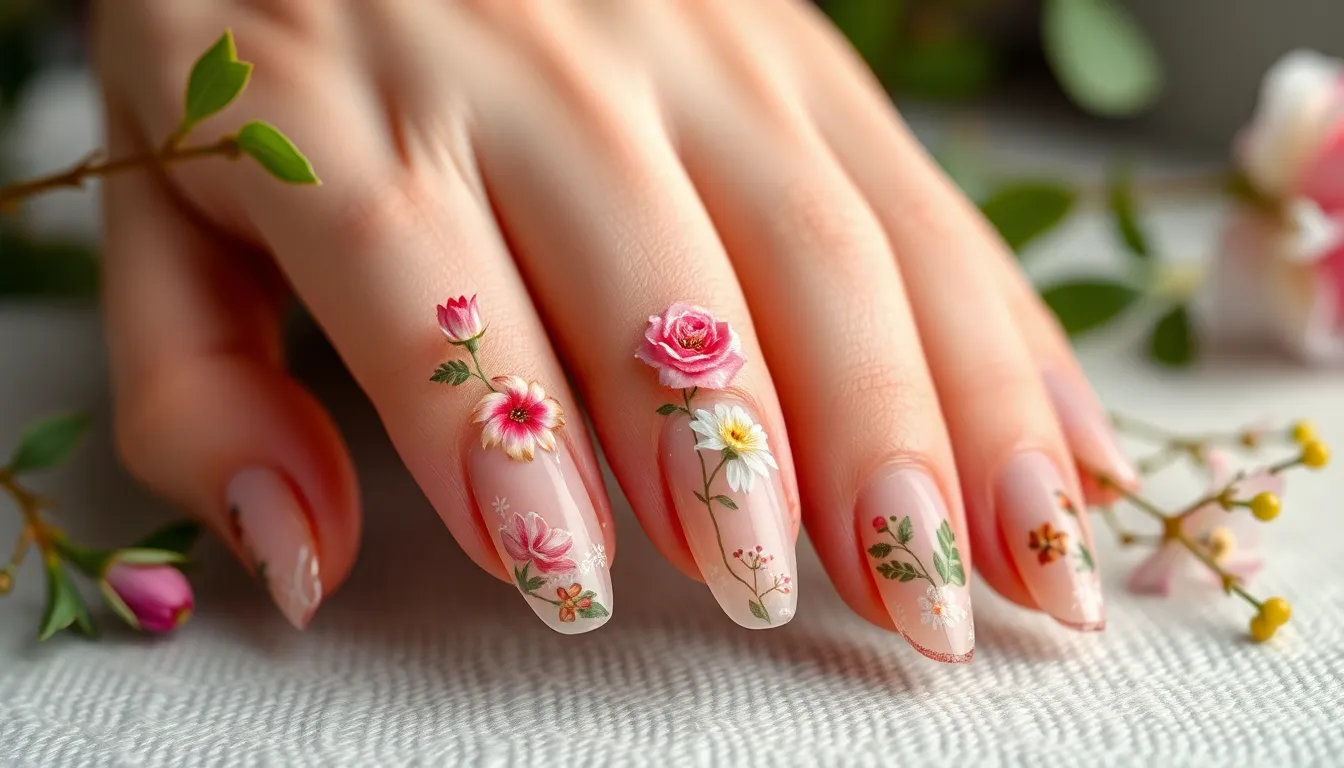
Floral nail art brings natural beauty to your fingertips while maintaining the sophisticated elegance we’ve been exploring. These designs offer a softer alternative to geometric patterns while still delivering stunning visual impact.
Hand-Painted Rose Designs
Rose motifs create timeless elegance that works perfectly for romantic occasions or everyday sophistication. Start by applying a neutral base color like soft pink, cream, or clear polish to let your roses take center stage. Using a fine detail brush or dotting tool, begin with small circular motions to form the rose center in a deeper shade.
Layer petals outward using gentle curved strokes, gradually increasing the size of each petal for natural dimension. We recommend practicing the technique on a nail wheel first to perfect your brush control before applying to your actual nails. Mix colors like dusty rose with burgundy or coral with peach to create depth and realistic shading.
Position roses asymmetrically across your nails rather than centering them for a more organic, garden inspired look. Add tiny green leaves using quick flicking motions with your brush to complete the botanical theme.
Pressed Flower Applications
Real pressed flowers offer authentic texture and color that synthetic alternatives simply can’t match. Choose small flowers like baby’s breath, forget me nots, or tiny daisies that fit proportionally on your nail surface. Apply a clear base coat and let it dry completely before placing your pressed flowers.
Use tweezers to position each flower precisely where you want it, gently pressing down to ensure good adhesion. We’ve found that slightly overlapping flowers creates natural clustering that mimics how they grow in nature. Cover the entire design with two thin coats of clear topcoat, allowing each layer to dry thoroughly.
Seal the edges carefully to prevent lifting and ensure your pressed flower manicure lasts up to two weeks. Store unused pressed flowers between parchment paper sheets to maintain their flat shape and vibrant colors for future nail art projects.
Watercolor Bloom Effects
Watercolor techniques create dreamy, artistic effects that blend beautifully with the elegant theme we’ve been developing. Begin with a white or very light base to allow the watercolor effect to show through clearly. Mix your chosen nail polish colors with clear topcoat on a palette to create translucent, paint like consistency.
Apply the diluted polish in soft, flowing motions using a fan brush or makeup sponge for natural blending. Layer different shades while they’re still wet to achieve that signature watercolor bleeding effect. We recommend working on one nail at a time since this technique requires quick blending before the polish sets.
Focus on creating organic shapes rather than defined petals for the most authentic watercolor appearance. Finish with glossy topcoat once completely dry to enhance the fluid, painted quality of your floral watercolor design.
Subtle Metallic Accents
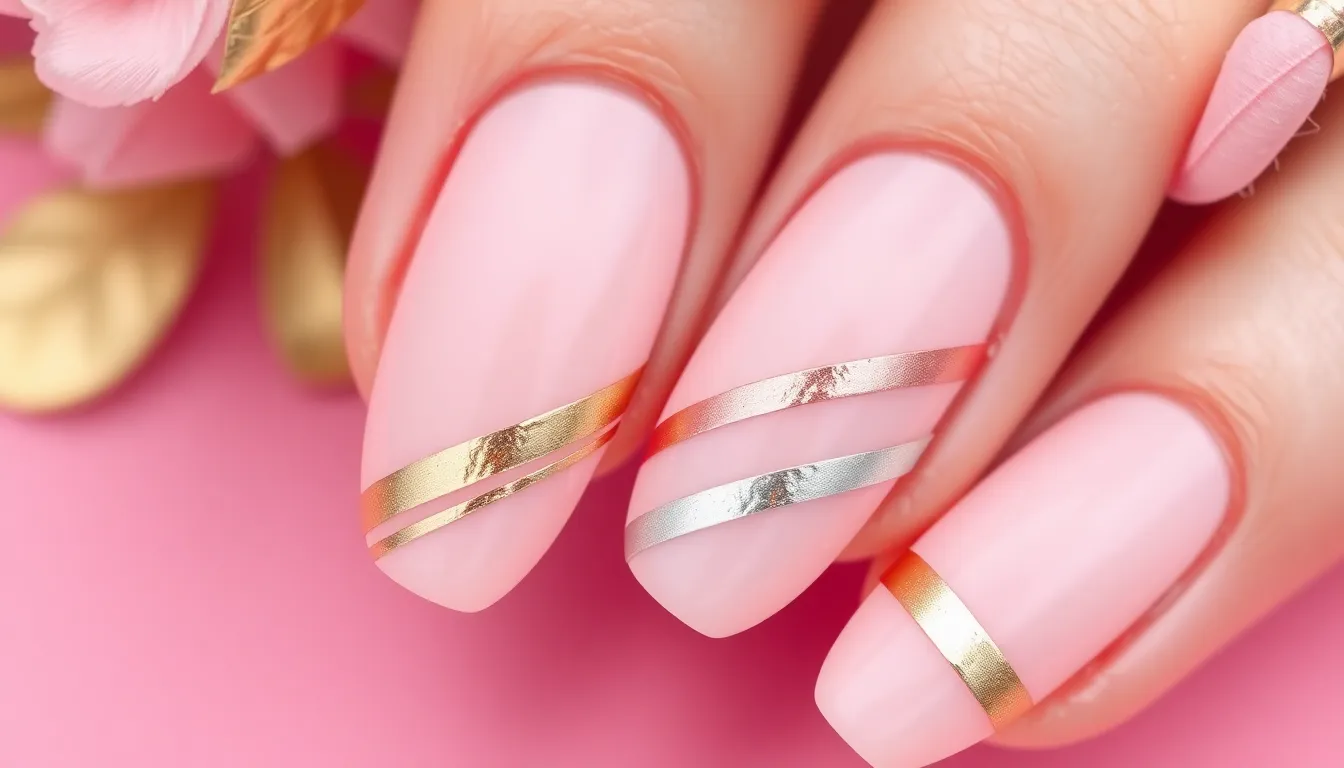
Metallic accents bring sophisticated glamour to elegant nail designs without overwhelming the overall look. We’ll explore three stunning metallic techniques that transform simple manicures into luxurious statements.
Gold Foil Details
Gold foil creates instant luxury with minimal effort and maximum impact. We recommend applying a base coat in nude, cream, or soft pink tones before adding foil accents for the most elegant effect.
Technique Steps:
- Apply foil adhesive in thin lines or small dots on dried base color
- Wait 30-60 seconds until adhesive becomes tacky but not wet
- Press foil sheets firmly onto adhesive areas using a cuticle pusher
- Remove foil backing quickly to reveal crisp metallic details
- Seal with top coat for lasting wear
Popular placement options include single accent nails, cuticle lines, or delicate geometric shapes like triangles and crescents. We find that less is more with gold foil, as strategic placement creates more sophisticated results than covering entire nails.
Silver Chrome Finishes
Silver chrome delivers mirror-like brilliance that catches light beautifully throughout the day. We achieve this stunning effect using chrome powder over specially formulated base colors for maximum reflectivity.
Application Process:
- Start with black or dark base polish as the foundation
- Apply chrome powder using eyeshadow applicator or silicone tool
- Buff powder gently until surface achieves mirror finish
- Remove excess powder with clean brush
- Apply top coat immediately to lock in chrome effect
Chrome works exceptionally well on accent nails paired with neutral base colors like dove gray or soft white. We suggest limiting chrome to 1-2 nails per hand to maintain elegant sophistication rather than flashy appearance.
Rose Gold Striping Tape
Rose gold striping tape offers precision and versatility for creating clean metallic lines and patterns. We love this technique because it requires no special skills while delivering professional looking results every time.
Design Applications:
- Create geometric patterns by intersecting tape at various angles
- Frame French tip designs with thin rose gold borders
- Add vertical or horizontal accent lines to single nails
- Form minimalist triangle or diamond shapes
Application involves placing tape on completely dry base polish, then removing it immediately after applying top coat while polish remains wet. We recommend using high quality striping tape that removes cleanly without damaging the base color underneath.
Rose gold complements both warm and cool undertones, making it universally flattering across different skin tones and base polish colors. Popular combinations include rose gold tape with soft gray, cream, or blush pink base shades.
Sophisticated Neutral Palettes
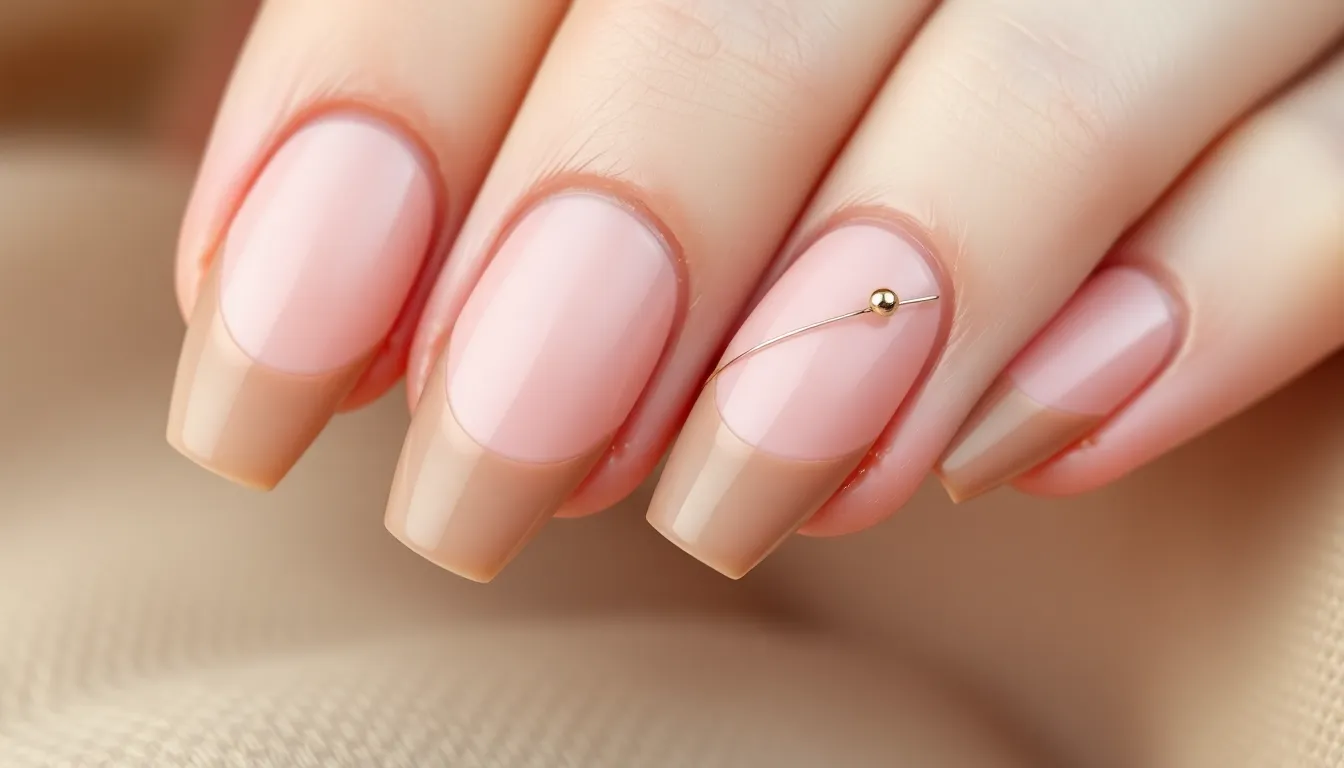
Neutral tones create the foundation for the most versatile and timeless nail art designs. These understated colors complement any outfit while maintaining an air of refined elegance.
Nude and Beige Combinations
Nude shades offer endless possibilities for creating sophisticated nail art that works for every occasion. We recommend starting with a classic nude base like OPI’s “Put It in Neutral” or Essie’s “Mademoiselle” to establish the perfect canvas. Beige tones add depth when layered strategically across different nails.
Creating dimension becomes effortless when you alternate between warm and cool undertones. Champagne beiges pair beautifully with peachy nudes for a subtle ombre effect. Cooler mushroom beiges complement pinkish nudes for balanced contrast.
Accent techniques work exceptionally well with these neutral foundations. We suggest adding thin gold lines along the cuticle area or creating delicate dots using a slightly darker beige shade. Single accent nails featuring subtle shimmer elevate the entire manicure without overwhelming the design.
Soft Pink Gradient Blends
Pink gradients deliver romantic sophistication that’s perfect for both professional and social settings. Start with a sheer pink base like Sally Hansen’s “Sheer Ecstasy” and gradually build color intensity toward the tips. Blush tones create natural-looking depth that mimics healthy nail beds.
Blending techniques require patience but produce stunning results. We apply the lightest shade first, then use a makeup sponge to dab progressively deeper pinks toward the nail tips. Dusty rose and mauve shades create particularly elegant transitions when layered properly.
Finishing touches make pink gradients truly special. Adding a subtle pearl topcoat enhances the natural luminosity of pink tones. Tiny white dots placed randomly across one or two accent nails create a delicate polka dot effect that maintains the overall softness.
Taupe and Cream Variations
Taupe serves as the ultimate neutral for creating sophisticated nail art with understated elegance. This versatile color works as both a base and accent shade, offering more depth than traditional beiges. Greige tones (gray-beige blends) provide modern sophistication that complements contemporary fashion trends.
Cream colors brighten taupe combinations without creating harsh contrast. We layer warm ivory or soft vanilla shades over taupe bases to achieve subtle dimension. Alternating between matte taupe and glossy cream finishes on different nails creates textural interest.
Pattern possibilities expand dramatically with these color combinations. Thin cream lines create elegant French tip variations when applied over taupe bases. Negative space designs using taupe and cream allow natural nail color to peek through strategically placed geometric shapes. Small cream dots arranged in triangular patterns add visual interest while maintaining the sophisticated neutral aesthetic.
Timeless Pearl and Crystal Embellishments
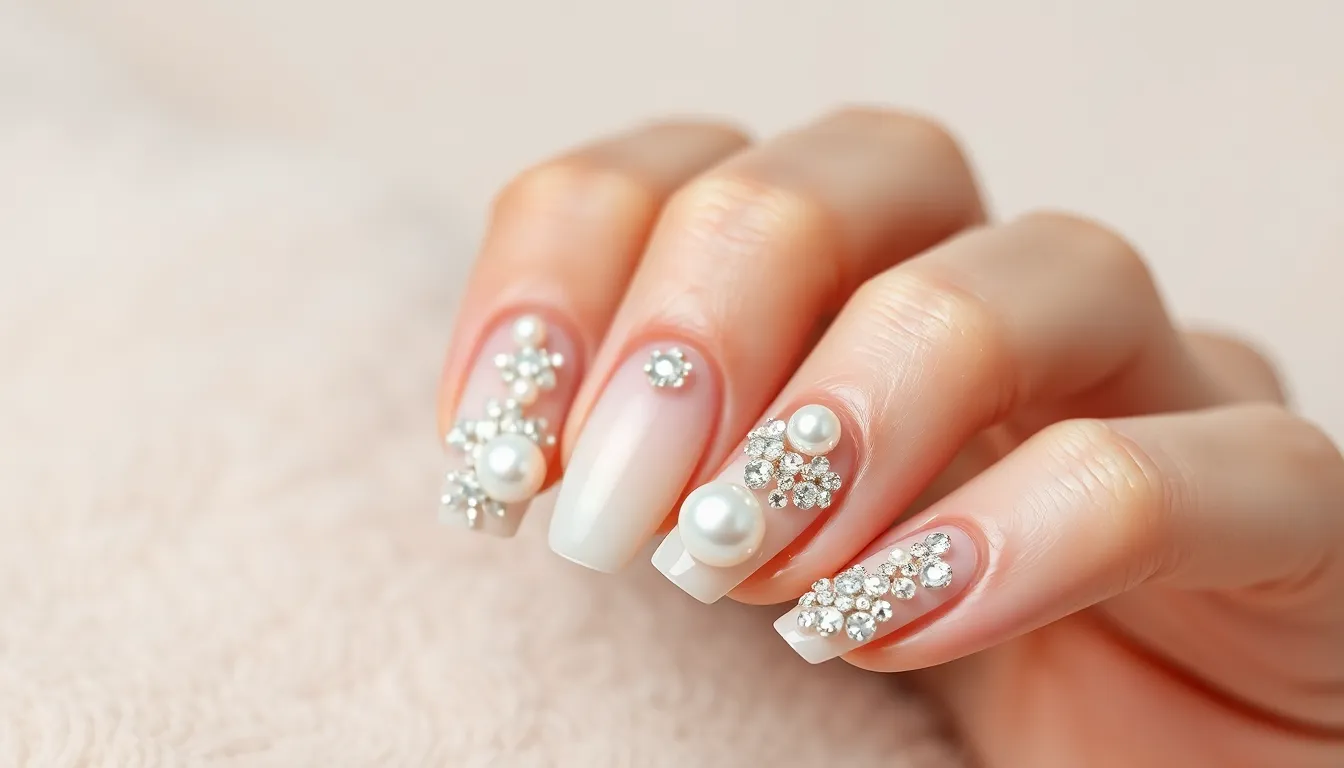
Pearl and crystal embellishments transform ordinary manicures into luxurious works of art that capture light beautifully. We’ll explore sophisticated techniques that add dimensional elegance to your nail designs.
3D Pearl Applications
Strategically placed 3D pearls create stunning focal points on accent nails without overwhelming the overall design. Start by applying your base color and allowing it to dry completely before positioning small create pearls using nail glue or thick topcoat.
Ombré pearl arrangements work beautifully along the nail bed, transitioning from larger pearls near the cuticle to smaller ones toward the tip. Use tweezers for precise placement and vary pearl sizes from 2mm to 6mm for ever-changing visual interest.
Half moon pearl clusters positioned at the base of your nails create an elegant French manicure alternative. Apply pearls in a curved pattern following your natural nail shape, leaving the rest of the nail in a complementary nude or soft pink shade.
Single statement pearls placed off center on ring finger nails provide subtle luxury without requiring extensive application time. Choose high quality create pearls that won’t yellow over time and seal them with a generous topcoat layer.
Swarovski Crystal Placements
Individual crystal accents positioned strategically on one or two nails create maximum impact with minimal effort. Select SS5 to SS7 sized crystals for comfortable wear and apply them using specialized nail glue designed for embellishments.
Linear crystal arrangements along the nail’s natural curve follow the contour beautifully and elongate shorter nails. Space crystals evenly using a dotting tool to create guidelines before permanent placement.
Cluster formations work best on accent nails where multiple small crystals create a concentrated sparkle zone. Group 3 to 5 crystals of varying sizes together for organic looking arrangements that catch light from multiple angles.
Corner crystal details placed at the base or tip corners add subtle glamour without interfering with daily activities. This placement technique works particularly well with square or coffin nail shapes.
Caviar Bead Textures
Full coverage caviar applications create luxurious textured surfaces using tiny glass or plastic beads in coordinating colors. Roll freshly painted wet nails in loose caviar beads, then gently press them into the polish for secure adhesion.
Gradient caviar effects transition from dense bead coverage at the cuticle to sparse application at the tips. Apply beads while the base coat remains tacky, then seal with thin topcoat layers to prevent bead loss.
Accent stripe caviar details work beautifully as borders or geometric elements within larger nail art designs. Use striping tape to create clean lines before applying beads to exact sections only.
Mixed texture combinations pair caviar beads with smooth polish areas for striking contrast effects. This technique works especially well when caviar sections complement the base color rather than contrast sharply against it.
Elegant Marble and Stone Effects
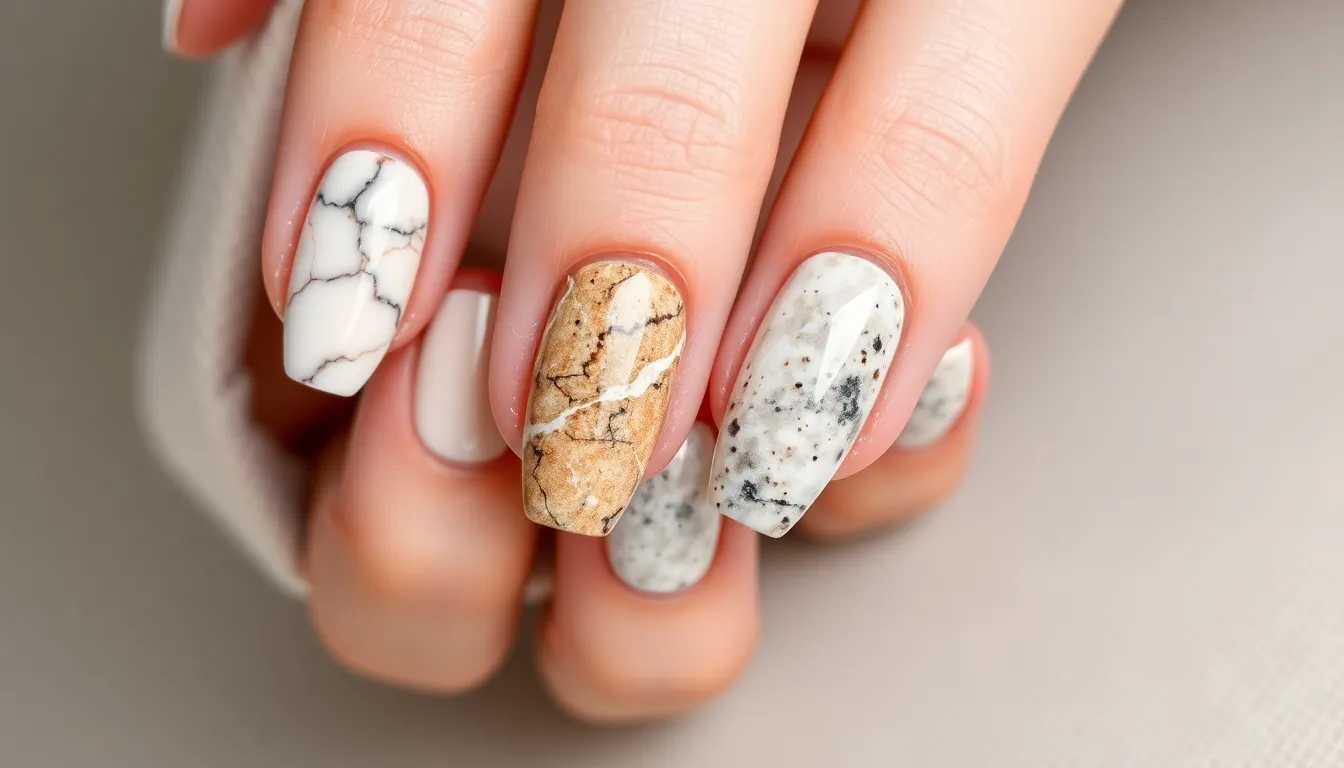
Stone inspired designs bring timeless sophistication to your nail art collection with natural textures that complement any elegant look. We’ll explore techniques that capture the organic beauty of marble and granite patterns for truly stunning manicures.
Classic White Marble Veining
White marble nails create an effortlessly chic foundation that pairs beautifully with any outfit or occasion. Start with a pristine white base coat and allow it to dry completely before adding the signature veining patterns that define this elegant style.
Creating authentic marble veins requires a delicate touch with thin striping brushes or dotting tools. Dip your brush in gray polish and create irregular, flowing lines that branch and intersect naturally across the nail surface. Vary the thickness of your veins by applying different pressure levels while drawing.
Blending techniques enhance the realistic appearance of your marble effect. Use a dry makeup sponge to gently dab over wet veining lines, softening harsh edges and creating that authentic stone appearance. Add subtle hints of soft gray or beige undertones around the veins for dimensional depth.
Finishing touches include a high gloss topcoat that mimics the polished surface of real marble. Consider adding tiny flecks of silver glitter strategically along some vein lines to capture how natural marble catches light.
Natural Stone Textures
Natural stone textures offer endless inspiration for sophisticated nail designs that showcase earth’s raw beauty. These organic patterns work especially well with neutral color palettes and matte finishes.
Travertine effects start with warm beige or cream base colors that capture this limestone’s natural warmth. Create subtle texture using a sea sponge dipped in slightly darker brown polish, dabbing randomly across the nail surface. Layer different shades of tan and ivory for authentic depth.
Sandstone patterns require multiple color layers to achieve their characteristic grainy appearance. Begin with a sandy beige base, then use a fine detail brush to add tiny speckles in darker brown and lighter cream tones. Focus on creating random, organic distributions rather than uniform patterns.
Slate inspired designs work beautifully with deep gray base colors and metallic silver accents. Apply your base color, then use a dry brush technique with charcoal gray polish to create the layered appearance of natural slate. Add thin silver lines to mimic the natural mineral veining found in this stone.
Granite Inspired Patterns
Granite patterns bring sophisticated speckled textures to your nail art repertoire with their distinctive multi tonal appearance. These designs work exceptionally well for creating accent nails that complement solid colored manicures.
Speckled granite effects require patience and multiple polish colors to achieve their characteristic appearance. Start with a light gray or white base coat, then use a fan brush or stippling technique to apply tiny dots of black, dark gray, and silver polish randomly across the surface.
Color variations expand your granite options beyond traditional gray tones. Try warm granite effects using beige bases with brown and gold speckles, or cool granite patterns with blue gray bases and silver accents. Each variation creates a unique stone like appearance.
Application techniques determine the authenticity of your granite finish. Use a stippling motion rather than brushing strokes to create the random distribution of minerals found in real granite. Layer your colors gradually, allowing each to partially dry before adding the next for better blending.
Sealing methods protect your intricate granite patterns while improving their stone like appearance. Apply a matte topcoat for an unpolished stone effect, or use glossy finish to simulate polished granite surfaces commonly found in elegant interiors.
Refined Ombré and Gradient Techniques
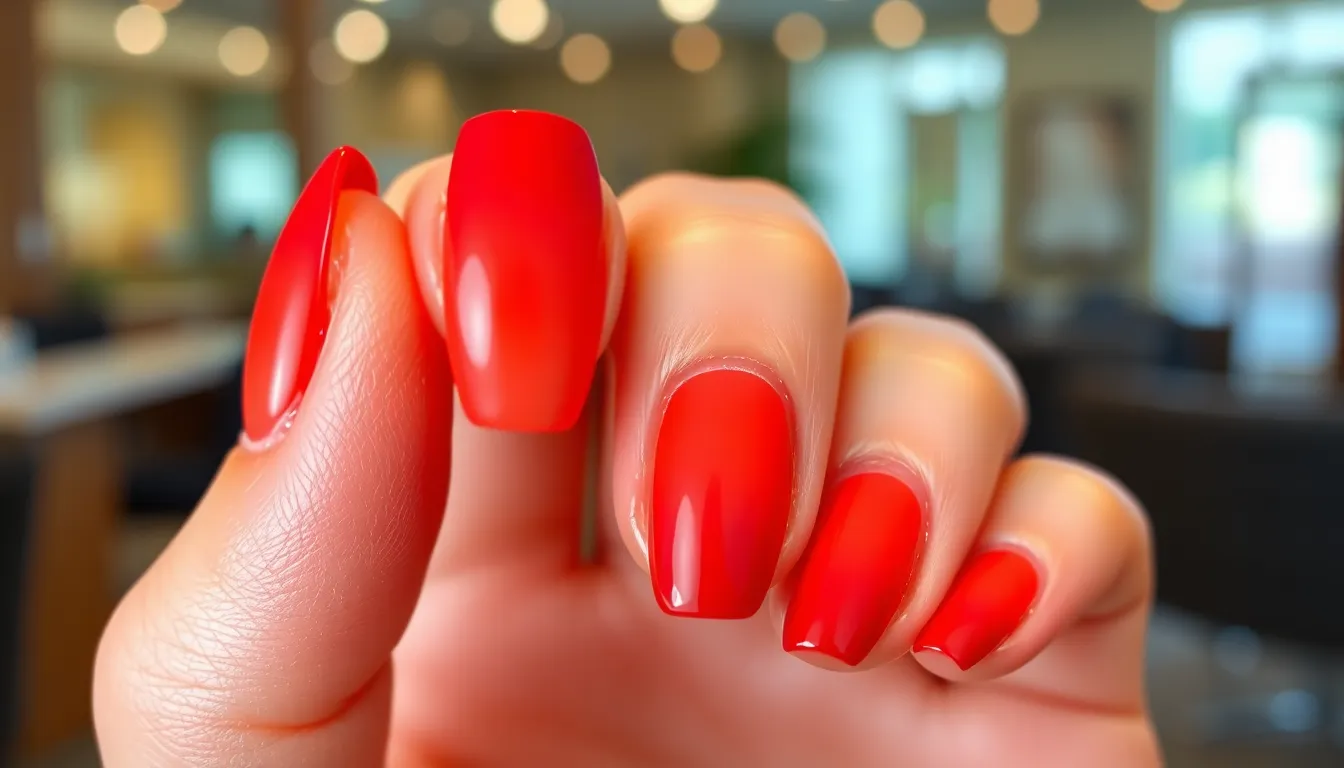
Gradient techniques offer the perfect balance between artistry and wearability, creating seamless color transitions that elevate any manicure to sophisticated new heights. These blending methods transform ordinary polishes into stunning visual effects that rival expensive salon work.
Sunset Color Transitions
Sunset gradients capture nature’s most breathtaking color combinations, starting with warm coral or peach at the base and transitioning to deep orange or red at the tips. We begin by applying a light base coat in the palest shade, then use a makeup sponge to dab progressively darker colors toward the nail tips. Blending requires quick work while the polish remains wet, creating smooth transitions between coral, orange, and deep burgundy tones.
Multiple thin layers produce better results than attempting the gradient in one application. We apply each color section separately on the sponge, then press and roll gently across the nail surface. This technique works particularly well with warm palettes including peach to rose gold, coral to deep red, or yellow to burnt orange combinations.
Monochromatic Fades
Monochromatic gradients showcase subtle sophistication by using different shades within the same color family, creating depth without overwhelming contrast. Light to dark progressions work beautifully with blues ranging from powder blue to navy, pinks from blush to burgundy, or greens from mint to forest.
We start with the lightest shade as our base color, allowing it to dry completely before beginning the gradient process. Using a clean makeup sponge, we apply the medium shade to the upper portion and the darkest shade to the tips. Gentle dabbing motions blend the colors while they’re still wet, creating seamless transitions between tones.
Reverse gradients offer another elegant approach, placing the darkest shade at the cuticle and fading to light at the tips. This technique creates an unexpected twist on traditional ombré while maintaining sophisticated appeal.
Glitter Gradient Applications
Glitter gradients add glamorous sparkle while maintaining elegant restraint through strategic placement and density variation. We concentrate glitter at the tips and gradually decrease coverage toward the base, creating a sophisticated fade effect that catches light beautifully.
Fine glitter produces the smoothest gradients, while chunky glitter creates more dramatic texture transitions. Applying glitter over a coordinating base color enhances the overall effect and prevents gaps in coverage. We use a fan brush to control glitter placement, starting with heavy concentration at the tips and feathering the application downward.
Layering different glitter sizes creates dimensional depth within the gradient. We apply fine glitter first for smooth coverage, then add medium sized pieces strategically for texture variation. Clear top coat between each glitter layer prevents clumping and ensures a smooth final surface.
Alternative techniques include glitter sandwiching, where we apply base color, add glitter gradient, then seal with another layer of the base shade for subtle sparkle. This method creates sophisticated depth while maintaining professional polish appearance.
Conclusion
We’ve explored an impressive range of elegant nail art techniques that prove sophisticated manicures don’t require professional training or expensive salon visits. From minimalist geometric patterns to luxurious pearl embellishments each method offers unique ways to express your personal style while maintaining that coveted elegant aesthetic.
These versatile designs work beautifully for both special occasions and everyday wear. Whether you’re drawn to subtle metallic accents or bold marble effects the key lies in practicing the techniques and experimenting with different color combinations that complement your wardrobe and lifestyle.
Transform your at-home manicure routine with these refined approaches and discover how easy it is to achieve salon-quality results. Your nails will become a stunning accessory that reflects your sophisticated taste and attention to detail.
Frequently Asked Questions
Can I really achieve salon-quality nail art at home?
Yes! With the right techniques and tools, you can create stunning nail designs at home. The key is starting with simple patterns like geometric lines or basic French variations, then gradually building your skills. Using tools like nail tape, striping brushes, and makeup sponges makes achieving professional-looking results much easier than you might expect.
What tools do I need for elegant nail designs?
Essential tools include nail tape or striping brushes for clean lines, makeup sponges for gradients, dotting tools for details, and quality base and top coats. For embellishments, you’ll need nail glue, tweezers, and your chosen decorative elements like crystals, pearls, or foil. Most of these items are affordable and reusable.
How long do these elegant nail designs typically last?
With proper application and a quality top coat, most designs last 7-10 days. Embellished designs with crystals or pearls may have shorter wear time (5-7 days) due to the added dimension. Always use a base coat and seal everything with a top coat for maximum longevity and chip resistance.
Are geometric patterns difficult for beginners?
Not at all! Geometric patterns are actually perfect for beginners because they rely on clean, simple lines rather than complex artistic skills. Start with single accent lines or basic triangles using nail tape. The structured nature of geometric designs makes small imperfections less noticeable while still looking sophisticated and intentional.
What’s the best way to create smooth gradient effects?
Use a damp makeup sponge and apply polish directly to the sponge, then dab onto your nail in a rocking motion. Work quickly while the polish is wet, and build up the gradient in thin layers. Blend while the polish is still tacky for seamless transitions, and always finish with a top coat.
How do I make French manicure variations look professional?
Focus on clean, consistent lines by using nail tape or guides for crisp edges. Try colored tips, metallic finishes, or geometric angles instead of traditional white. Keep the base color neutral and ensure your tip line is even across all nails. Practice the technique on one hand first before doing both.
Can I use real flowers in my nail art?
Yes! Pressed flowers create beautiful, authentic designs. Apply a base color, place dried flowers with tweezers while the base is slightly tacky, then seal with multiple thin coats of clear polish. Ensure flowers are completely flat and dry before application to prevent lifting or bubbling under the topcoat.
What’s the secret to applying embellishments that stay put?
Clean preparation is crucial – ensure nails are oil-free before application. Use a small amount of nail glue or apply embellishments over wet base coat for adherence. Press firmly and seal with thin layers of top coat, building up around the embellishment gradually to avoid air bubbles or lifting.
Which neutral colors work best for sophisticated looks?
Classic nudes, soft beiges, warm taupes, and creamy pinks create the most versatile and timeless base. These colors complement all skin tones and work for any occasion. Layer different neutral shades for depth, or use them as bases for subtle metallic accents or minimalist geometric patterns for added sophistication.
How do I fix mistakes in delicate nail art?
Keep a small cleanup brush dipped in acetone or nail polish remover handy for immediate corrections. For dried mistakes, use a toothpick dipped in remover for precision. With marble or watercolor effects, mistakes often blend naturally into the design. Always work in thin layers so errors are easier to correct.

