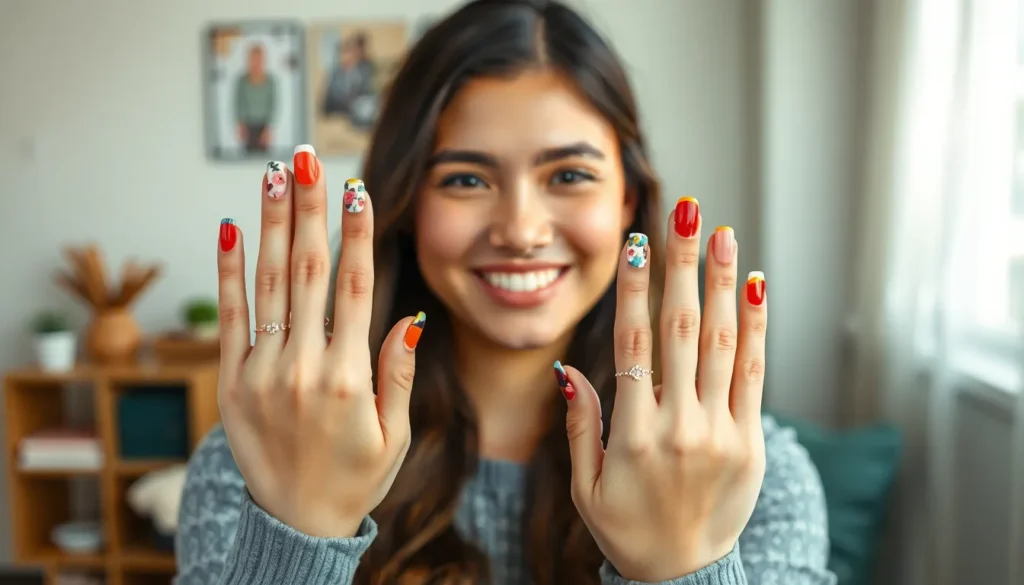
We’ve all scrolled through Instagram mesmerized by those stunning nail art designs that look like they require a professional’s touch. But what if we told you that achieving gorgeous nails doesn’t need to expensive or demand years of practice?
Easy nail art has become our favorite way to express creativity while saving time and money. With just a few basic tools and simple techniques we’ll share today you can transform plain nails into eye-catching masterpieces right from your living room.
Whether you’re preparing for a special occasion or simply want to add some flair to your everyday look these beginner-friendly designs will boost your confidence and have friends asking where you got your nails done. We’ve tested dozens of methods to bring you the most foolproof approaches that work every single time.
Simple Geometric Patterns for Beginners
Geometric patterns offer the perfect starting point for anyone new to nail art. We’ve found these shapes provide clean lines and striking results with minimal tools required.
Basic Stripes and Lines
Stripes transform plain nails into sophisticated designs using just tape and steady hands. We recommend starting with vertical lines since they’re easier to control and create an elongating effect on shorter nails. Simply apply your base color, let it dry completely, then place thin strips of painter’s tape or nail art tape across each nail.
Horizontal stripes work beautifully for accent nails or when you want a bolder statement. Apply the tape horizontally across your nail, paint over it with a contrasting color, and remove the tape while the polish is still slightly wet. This prevents peeling and creates crisp edges.
Diagonal lines add ever-changing movement to your manicure without requiring advanced skills. Position the tape at a 45-degree angle and experiment with different widths. Thinner lines create subtle elegance while thicker stripes make dramatic impact statements.
Easy Polka Dots
Polka dots bring playful charm to any manicure using household items you already own. We love using bobby pins as dotting tools since they create perfectly round circles in two different sizes depending on which end you use. Dip the round end into your chosen polish and gently press onto the nail surface.
Toothpicks work wonderfully for creating smaller dots with more precision control. Paint your base color first, then use the toothpick to apply dots in contrasting shades. We suggest practicing the pressure needed on paper first to achieve consistent sizing.
Cotton swabs produce larger dots perfect for statement designs or filling negative space. Roll the tip in polish and dab onto nails for soft, rounded shapes. Mix different sized dots on the same nail for added visual interest and texture variation.
Triangle and Square Designs
Triangles create modern geometric appeal using simple tape placement techniques. Cut regular tape into triangle shapes or use nail art stencils for more precision. Apply your base color, position the triangular tape pieces, paint over them with accent colors, and remove while wet for sharp edges.
Squares offer versatility in creating checkerboard patterns or minimalist block designs. We find that small squares work best on shorter nails while larger ones suit longer nail beds. Use square nail stickers or cut your own from tape to achieve uniform shapes.
Negative space triangles showcase your natural nail while adding contemporary flair. Paint around triangle stencils rather than over them to leave geometric cutouts in your colored polish. This technique works especially well with bold, saturated colors that contrast beautifully against natural nail tones.
Quick Color Block Techniques
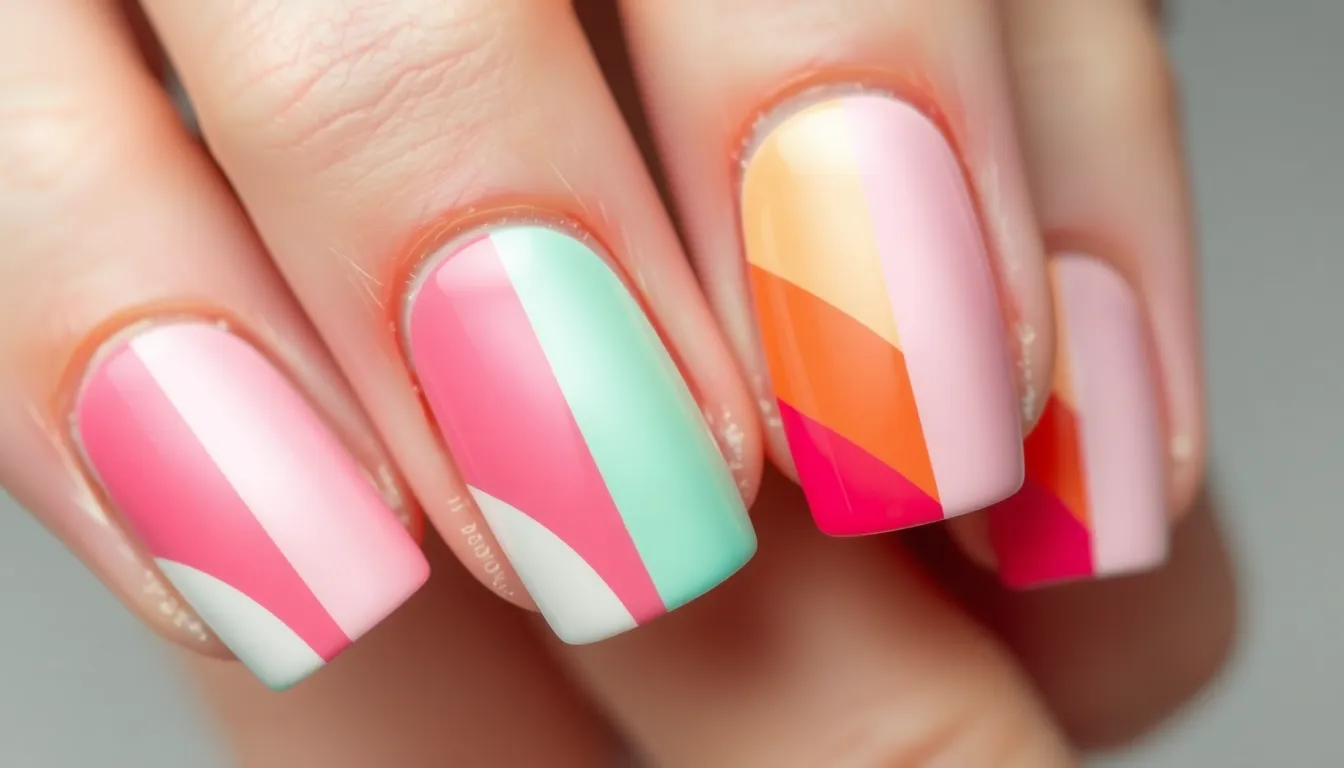
Color blocking transforms ordinary nails into bold statement pieces using simple techniques we’ve perfected over years of testing.
Two-Tone Split Nails
Vertical splits create the most striking two-tone effect for beginners. We recommend placing tape down the center of each nail, painting one half with your first color, and letting it dry completely before removing the tape. Horizontal splits offer a modern French manicure alternative by dividing nails at the halfway point or three-quarter mark.
Diagonal splits add ever-changing movement to your nail art design. Position tape at a 45-degree angle across each nail for the most flattering look. We suggest using contrasting colors like black and white, navy and gold, or pink and mint green for maximum impact.
Clean lines require steady hands and quality tape. Remove tape while polish is slightly wet to prevent peeling. Touch up any bleeding with a small brush dipped in nail polish remover.
Ombre Gradient Effects
Sponge technique creates seamless color transitions using makeup sponges or kitchen sponges. Apply two colors side by side on the sponge, then dab onto nails in a rocking motion. Multiple coats build intensity and smooth out harsh lines between colors.
Brush blending works best with similar color families like blues to purples or pinks to oranges. Paint your lighter color as the base, then quickly drag a brush with the darker shade from tip to cuticle while polish remains workable.
Top coat application seals the gradient and eliminates sponge texture marks. We apply two thin coats for the smoothest finish. Color combinations like sunset hues (orange to pink), ocean tones (blue to teal), or monochromatic schemes (light to dark pink) create professional looking results.
Color Blocking with Tape
Geometric shapes emerge easily when we use tape as our guide for clean edges. Create rectangles by placing tape horizontally across nails, leaving sections exposed for contrasting colors. Triangle designs form when we position tape diagonally from corner to corner.
Negative space techniques showcase natural nails within blocked color sections. Apply base coat, place tape in desired patterns, paint over everything, then remove tape to reveal natural nail beneath. Striping tape creates thinner lines for more intricate blocking patterns.
Color placement follows the rule of three for balanced designs. We use one dominant color, one accent shade, and one neutral or metallic highlight. Removal timing matters most when tape comes off while polish is tacky but not completely wet to prevent smudging or peeling.
Effortless Floral Nail Art
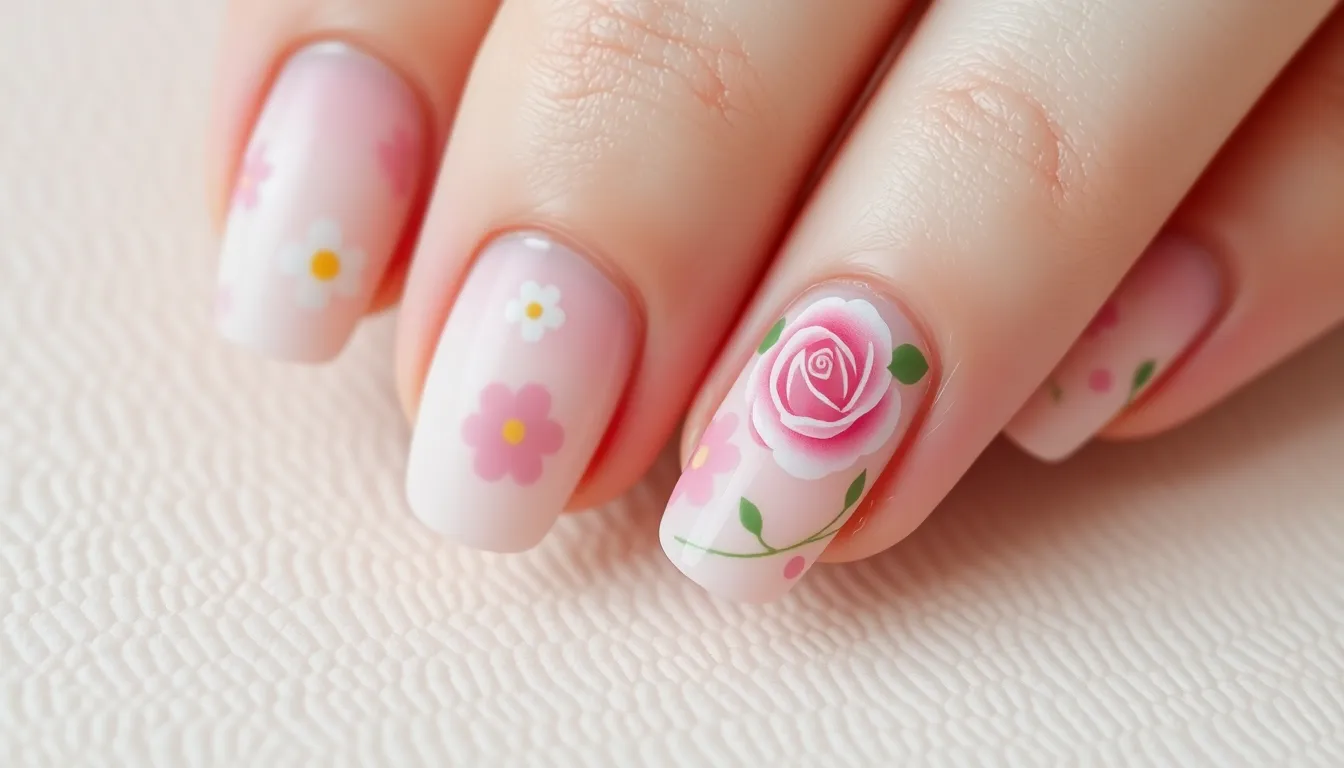
Floral patterns bring a feminine touch to our nail art repertoire without requiring advanced artistic skills. We’ll explore three beginner-friendly flower designs that create stunning results using basic tools.
Simple Daisy Designs
Create charming daisies using just a dotting tool and white polish. Start with a colored base coat in pastels like soft pink, lavender, or mint green for the perfect backdrop. Place five to six small white dots in a circle formation to form the petals. Add a tiny yellow dot in the center using a toothpick or the smallest dotting tool. Finish with a clear top coat to seal your design.
Position multiple daisies across different nails for a garden-inspired look. Vary the sizes by using different dotting tools or bobby pins for smaller blooms. Paint some daisies partially off the nail edge to create a natural, scattered effect. We recommend practicing the petal placement on a practice wheel first to perfect your technique.
Easy Rose Patterns
Build simple roses using the swirl technique with a thin nail art brush. Apply your base color and let it dry completely before starting the rose design. Begin with a small center dot using pink or red polish. Draw a curved line from the center outward in a spiral motion to create the rose shape. Make 2-3 concentric spirals for a fuller appearance.
Layer different shades of pink or red for dimensional roses that catch the light beautifully. Start with darker colors on the outside and work toward lighter tones in the center. Create rose gardens by painting multiple small roses across one accent nail. Pair roses with tiny green dots or short curved lines to represent leaves and stems.
Minimalist Leaf Motifs
Design elegant leaves using just two brush strokes per leaf for maximum impact. Choose green shades ranging from sage to emerald or experiment with autumn colors like burgundy and gold. Paint a curved line for the leaf’s center vein using a thin brush. Add a second curved stroke on each side to complete the leaf shape.
Arrange leaves in clusters of three or five for balanced compositions that follow natural growth patterns. Create falling leaf designs by scattering individual leaves across multiple nails in different orientations. Paint leaves in various sizes using different brush widths or by varying your pressure. Combine leaf motifs with other floral elements like tiny berries using dotting tools for cohesive botanical nail art.
Fast French Manicure Variations
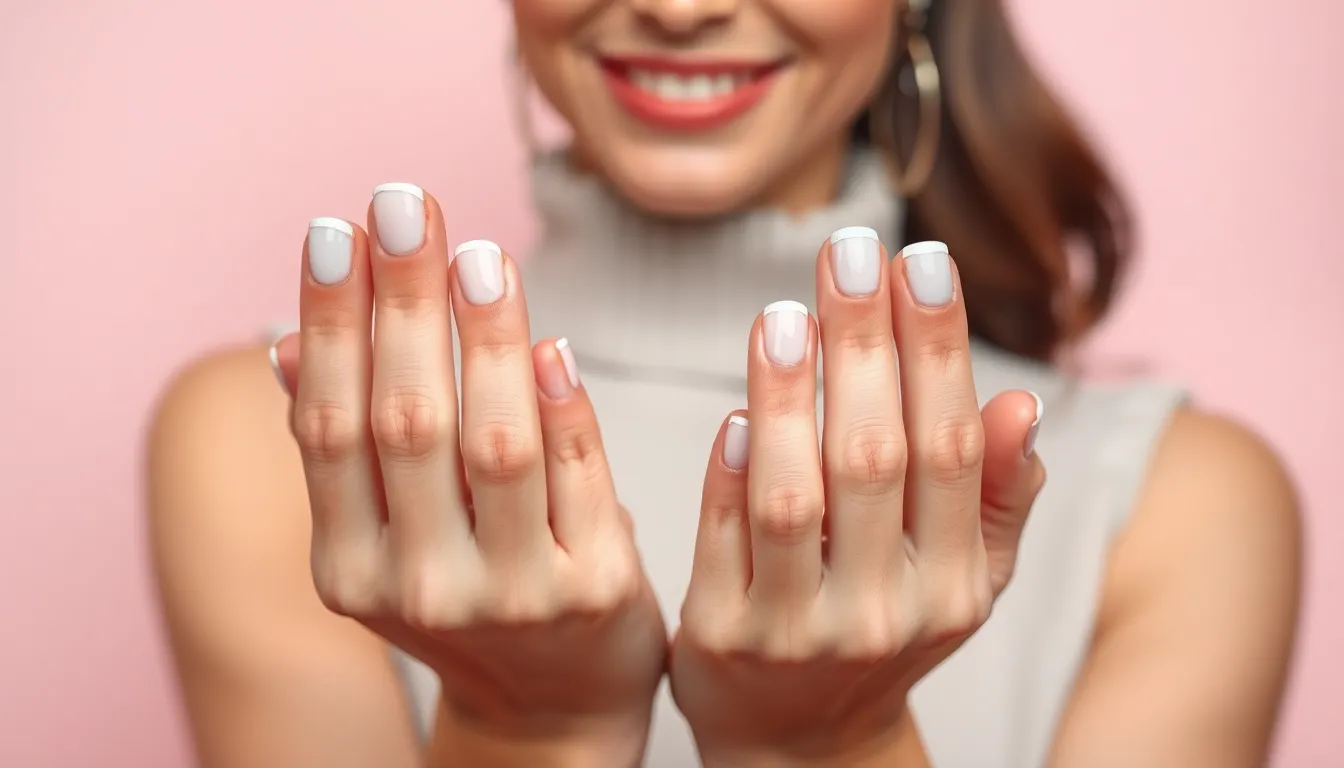
French manicures remain timeless for their clean elegance and versatility. We’ve discovered these variations make the classic look more accessible and creative for home nail artists.
Classic French Tips
Creating perfect white tips becomes effortless with these proven techniques. We recommend using nail guides or tape to achieve crisp lines every time. Position the guides at your desired tip length and paint across with steady strokes.
Polish application works best with thin coats rather than thick ones. Apply two light layers of white polish for even coverage without streaking. Remove the guides immediately after painting for clean edges.
Cleanup becomes simple with a small brush dipped in nail polish remover. Trace along the tip line to perfect any wobbly sections. Seal your French tips with a clear top coat for lasting wear and glossy shine.
Colored French Tips
Traditional white tips transform into vibrant statements with colored polish instead. We suggest trying soft pastels like baby pink or lavender for subtle elegance. Bold colors such as coral red or navy blue create dramatic modern looks.
Color coordination enhances your overall style when matching tips to your outfit. Choose metallics like gold or silver for special occasions and evening events. Neon shades work perfectly for summer festivals and beach vacations.
Application follows the same technique as classic French tips but offers endless creativity. Layer different colors on each nail for a rainbow effect. Mix glitter polish with solid colors for added sparkle and dimension.
Reverse French Manicure
Inverting the French manicure places color at the base instead of the tips. We paint the half moon area near your cuticles with your chosen shade. This technique draws attention upward and elongates shorter nails visually.
Positioning requires careful placement using curved nail guides or reinforcement stickers. Press the guides firmly against your nail base to prevent polish bleeding. Apply color in thin layers for smooth coverage without bumps.
Finishing touches include removing guides while polish remains slightly wet. Clean up any mistakes with a thin brush and acetone for perfect curves. Top coat application protects the design and creates a professional salon finish.
Easy Stamping and Stencil Methods
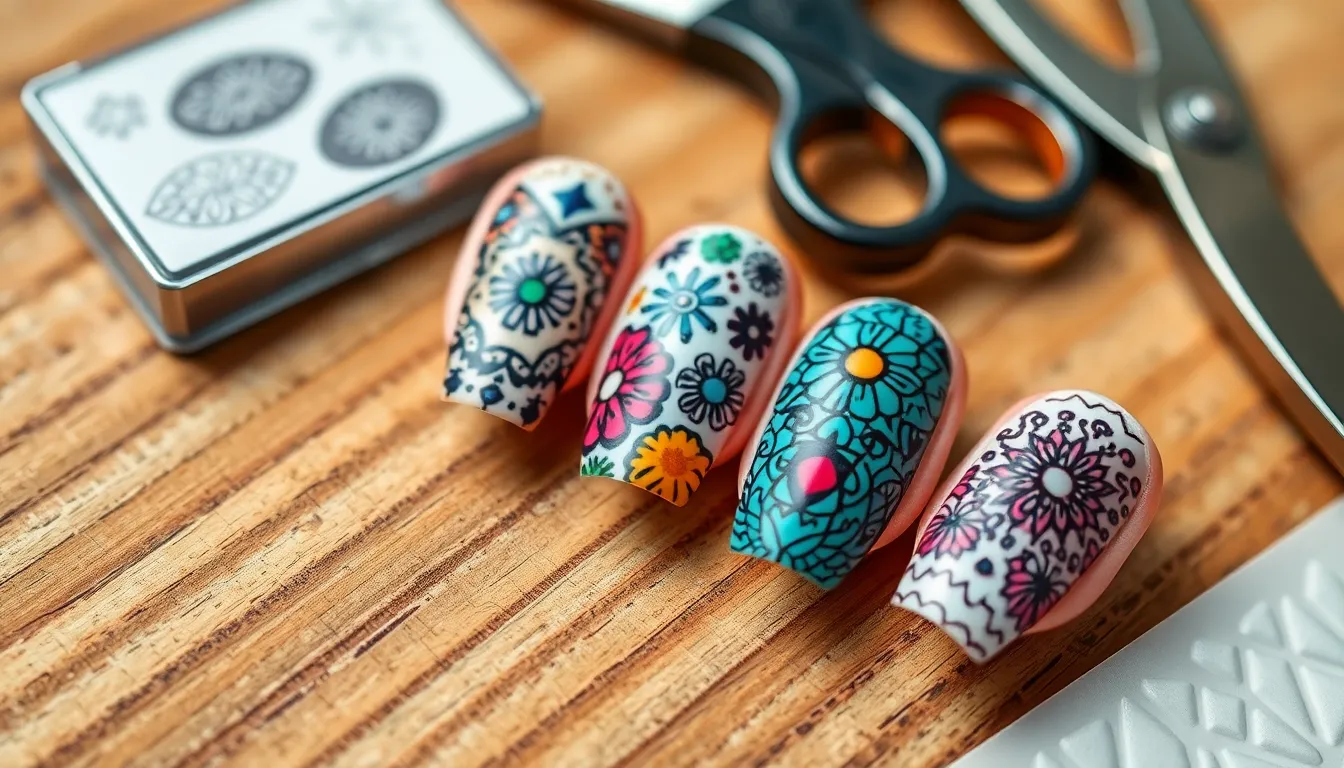
Stamping and stencil techniques transform complex nail art designs into achievable masterpieces for beginners. We’ll explore three foolproof methods that deliver professional results without requiring artistic skills.
Using Nail Art Stamps
Nail art stamps create intricate patterns instantly with specialized plates and stampers. We recommend starting with simple geometric or floral designs that transfer easily onto your nails.
Purchase a basic stamping kit that includes metal plates, a silicone stamper, and scraper tool for around $15-25. Apply base color first and let it dry completely before stamping your chosen design.
Press the stamper firmly onto the engraved plate after scraping excess polish away. Roll the stamper across your nail in one smooth motion to transfer the complete pattern without smudging.
Clean your stamper with tape between each nail to remove leftover polish residue. We’ve found that using contrasting colors creates the most striking visual impact on stamped designs.
DIY Stencil Techniques
DIY stencils offer endless creative possibilities using common household materials. We suggest cutting shapes from tape, paper, or contact paper to create custom patterns that match your personal style.
Create heart shapes by folding paper and cutting curved edges, then securing them to dry base polish. Remove stencils immediately after applying your top color to achieve crisp, clean lines every time.
Use reinforcement stickers from office supplies to make perfect circles for moon manicures or accent dots. Position multiple small stencils across each nail to build layered geometric patterns with different color combinations.
Try negative space techniques by covering portions of your nail before applying color. We recommend using low tack tape that won’t damage your base polish when removed.
Vinyl Decal Applications
Vinyl decals provide instant nail art with zero artistic skill required. We purchase pre cut vinyl shapes, letters, and patterns that stick directly onto painted nails for effortless decoration.
Apply decals to completely dry base polish to prevent lifting or bubbling underneath. Smooth each decal with your finger to eliminate air pockets and ensure proper adhesion to your nail surface.
Seal vinyl applications with two thin coats of top coat rather than one thick layer. This prevents the decals from peeling at the edges and extends your manicure’s lifespan significantly.
Remove vinyl decals gently using cuticle oil to soften the adhesive before peeling. We keep collections of seasonal decals like snowflakes, hearts, and stars for quick themed manicures throughout the year.
Simple Glitter and Accent Techniques

Glitter and metallic accents transform basic manicures into eye-catching masterpieces with minimal effort. These sparkly techniques add glamour to any nail look while remaining beginner-friendly.
Single Accent Nail Designs
Focus on one statement nail per hand to create instant visual impact without overwhelming your overall look. We recommend starting with your ring finger as it’s the traditional accent nail placement that naturally draws attention.
Apply base color to all nails first, then choose your accent nail for special treatment. Glitter polish works beautifully over any base shade, creating depth and dimension that catches light from every angle.
Layer different textures on your accent nail using chunky glitter, fine shimmer, or metallic polish. Mix gold glitter over navy blue for elegant contrast, or try silver sparkles over burgundy for sophisticated drama.
Create themed accents by matching your glitter choice to special occasions or seasonal colors. Holiday parties call for red and green combinations, while summer events shine with coral and gold pairings.
Easy Glitter Gradients
Start with a makeup sponge to blend glitter polish from your nail tips toward the base, creating a smooth gradient effect. Dab the sponge lightly rather than wiping to avoid streaking the glitter particles.
Apply glitter concentrate at the tip of your nail, then use progressively lighter applications as you move toward the cuticle. This technique mimics professional ombre effects without requiring advanced skills or expensive tools.
Build layers gradually by allowing each coat to dry completely before adding the next application. Three thin layers create better coverage than one thick coat that might appear clumpy or uneven.
Seal with top coat to smooth out any texture from the glitter particles and extend the wear time of your gradient design. Quality top coat prevents chipping and maintains the sparkly finish for days.
Foil Transfer Methods
Purchase nail foil sheets from beauty supply stores or online retailers for instant metallic designs. These thin films come in gold, silver, rose gold, and holographic options that create mirror-like finishes.
Apply special adhesive or tacky base coat to clean, dry nails before pressing the foil firmly against the surface. Work quickly since the adhesive becomes less effective as it dries completely.
Press and peel the foil sheet smoothly across your nail, then remove it in one swift motion to reveal the transferred metallic pattern. Gentle pressure ensures complete contact without tearing the delicate foil material.
Finish with top coat to protect the foil transfer and prevent it from lifting at the edges. This final step locks in your metallic design and provides a smooth surface that resists chipping.
Quick Dotting Tool Creations

Dotting tools offer incredible versatility for creating precise nail art designs with minimal effort. We’ll explore various dot-based techniques that transform simple circles into stunning masterpieces.
Basic Dot Patterns
Simple polka dots create a timeless and playful nail art design that works for any occasion. We recommend starting with a base color and allowing it to dry completely before adding dots in contrasting shades. Varying dot sizes adds visual interest – use the large end of your dotting tool for statement dots and the small end for delicate accents.
Row patterns provide structure and elegance to your nail art. Place dots in straight lines across each nail, maintaining consistent spacing between each circle. Scattered dots offer a more organic and carefree appearance, perfect for casual everyday looks.
Size gradation creates ever-changing movement on your nails. Start with large dots at the cuticle area and gradually decrease the size toward the nail tip. This technique elongates the appearance of your nails while maintaining visual balance.
Flower Dot Designs
Five-dot flowers represent the easiest floral design you can master with a dotting tool. We place one center dot using a contrasting color, then surround it with four equally spaced petals. Layering different colors creates depth – try a white center with pink petals or a yellow center with purple blooms.
Daisy chains connect multiple flowers across your nail surface for a bohemian garden effect. Space your five-dot flowers approximately 2-3mm apart, then add tiny green dots between them to represent leaves and stems.
Cherry blossoms require only three dots per flower for an elegant Asian-inspired design. Position two pink dots close together for petals, then add a small white dot in the center. Cluster groupings of 3-5 cherry blossoms create realistic branch effects along your nail edges.
Abstract Dot Art
Mandala-inspired dot patterns create mesmerizing geometric designs using concentric circles. We start with a center dot and build outward in rings, alternating colors and sizes for maximum impact. Symmetrical placement ensures balanced compositions that draw the eye naturally.
Galaxy effects combine dots of varying sizes in deep blues, purples, and silver. Layer larger dots first, then fill spaces with progressively smaller ones. Glitter dots added sparingly create the illusion of distant stars in your cosmic nail art.
Ombre dot transitions blend colors seamlessly across your nail surface. Choose three related shades and create dots that gradually shift from one hue to another. This technique works especially well with sunset colors like orange, pink, and purple for dramatic evening looks.
Easy Seasonal Nail Art Ideas

Seasonal nail art lets us celebrate each time of year while keeping our designs fresh and current. These themed approaches help us choose colors and patterns that complement the natural beauty around us.
Spring Pastels
Pastel gradient nails create the perfect springtime vibe using soft pinks, lavenders, and mint greens. We apply a light base coat then blend these gentle hues using a makeup sponge for seamless color transitions. The key lies in working quickly while the polish remains wet and building up the colors gradually with light dabbing motions.
Cherry blossom dots transform basic nails into delicate spring artwork using our dotting tools from earlier techniques. We start with a nude or pale pink base then create small clusters of white or light pink dots along one side of each nail. Adding tiny brown stems with a thin brush completes this elegant seasonal look that captures spring’s essence.
Butterfly accent designs bring whimsical charm to our spring manicures using simple wing shapes. We paint butterfly silhouettes on accent nails using pastel colors then add small dots for the body and delicate lines for antennae. This design works beautifully when we limit it to one or two nails per hand for maximum impact.
Summer Bright Colors
Tropical sunset gradients capture summer heat using bold oranges, pinks, and yellows in horizontal bands. We blend these vibrant colors from cuticle to tip using the sponge technique while the polish stays workable. The result mimics those gorgeous summer sunsets we love watching during vacation evenings.
Beach wave patterns recreate ocean movement using white and blue polish in flowing lines. We drag a thin brush through wet blue polish to create wave-like curves then add white foam details along the peaks. This design works especially well when we vary the wave heights across different nails for natural ocean rhythm.
Watermelon slice nails bring fruity fun to summer manicures using pink, white, and green in distinct sections. We paint the tip green for the rind, add a thin white line, then fill the remaining nail with bright pink. Small black dots created with our dotting tool represent seeds and complete this playful summer treat design.
Fall and Winter Themes
Autumn leaf patterns celebrate fall colors using warm oranges, deep reds, and golden yellows in simple leaf shapes. We paint basic oval leaves then add central veins using a thin brush or toothpick while the base color remains slightly wet. Layering different sized leaves creates depth and mimics the natural variety we see during autumn walks.
Snowflake accent nails bring winter magic using white polish on dark backgrounds like navy or deep purple. We create six-pointed snowflakes by drawing intersecting lines then adding small branches and dots along each arm. Each snowflake should look slightly different since no two natural snowflakes are identical in their intricate beauty.
Holiday sparkle gradients combine festive glitter with our gradient techniques for celebration ready nails. We apply gold or silver glitter polish heavily at the tips then fade it toward the base using gentle sponge dabbing motions. This creates elegant party nails that catch light beautifully during winter gatherings and holiday festivities.
Conclusion
We’ve shown you that creating beautiful nail art doesn’t require professional training or expensive salon visits. With these simple techniques and everyday tools you can transform your nails into stunning works of art right from your home.
The beauty of these designs lies in their versatility – whether you’re drawn to geometric patterns geometric shapes or prefer delicate florals there’s something here for every style preference. Each method we’ve shared builds your confidence while giving you the freedom to experiment and express your creativity.
Remember that practice makes perfect and even the simplest dot or stripe can make a powerful statement. These techniques will serve as your foundation for more advanced designs as your skills grow. Now it’s time to gather your supplies and start creating your own nail masterpieces!
Frequently Asked Questions
What supplies do I need to start doing nail art at home?
You only need basic supplies like nail polish, tape, household items (cotton swabs, makeup sponges), and simple tools like dotting tools or toothpicks. A basic stamping kit and nail art brushes can enhance your designs, but most techniques use items you already have at home.
How long does it take to create simple nail art designs?
Most beginner-friendly designs take 15-30 minutes to complete on all nails. Quick techniques like accent nails, simple dots, or geometric patterns can be finished in under 20 minutes, making them perfect for busy schedules or last-minute touch-ups.
Can I create professional-looking nail art without experience?
Yes! The techniques covered focus on beginner-friendly methods that produce impressive results. Simple geometric patterns, dotting techniques, and stamping methods allow you to achieve professional-looking designs without prior nail art experience or expensive salon visits.
What’s the easiest nail art design for absolute beginners?
Polka dots are the simplest starting point. Using a dotting tool or even a bobby pin, you can create perfect circles on any base color. This technique requires no artistic skills and instantly transforms plain nails into cute, playful designs.
How can I make my nail art last longer?
Always apply a quality top coat to seal your design and prevent chipping. Allow each layer to dry completely before applying the next. Clean up around the cuticles with a small brush dipped in nail polish remover for a professional finish that lasts longer.
What household items can I use for nail art?
Common items work perfectly: tape for clean lines, makeup sponges for gradients, bobby pins for dots, plastic bags for texture effects, and even lace for patterns. These everyday items help create stunning designs without investing in expensive nail art tools.
Are French manicures suitable for beginners?
Absolutely! French tips are beginner-friendly when using nail guides or tape for clean lines. Start with classic white tips, then experiment with colored variations or reverse French manicures. The technique is forgiving and creates an elegant, timeless look.
How do I create smooth gradient effects on my nails?
Use a damp makeup sponge to blend two or more colors. Apply the colors to the sponge, then dab gently onto your nail, building up the gradient gradually. Seal with a top coat for a smooth, professional finish that hides any texture from the sponge.
What’s the best way to clean up mistakes while doing nail art?
Keep a small brush or cotton swab dipped in nail polish remover handy for immediate cleanup. For dried polish, use a cleanup brush with acetone around the cuticle area. Work on one nail at a time to catch and fix mistakes before they set.
Can I do seasonal nail art year-round?
Yes! Seasonal designs add variety and keep your nail art fresh. Spring pastels, summer tropical themes, autumn leaves, and winter snowflakes can all be adapted using basic techniques. Mix and match seasonal colors with simple patterns for endless creative possibilities.

