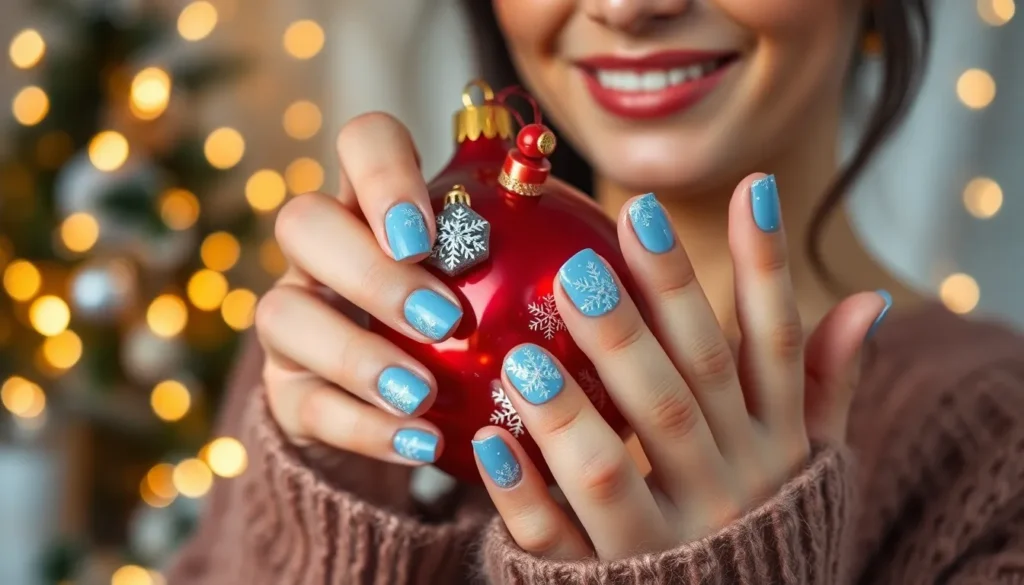
December’s crisp air and twinkling lights create the perfect backdrop for stunning nail art that captures the season’s magic. Whether you’re attending holiday parties or cozy winter gatherings, your nails deserve designs that sparkle as bright as fresh snow and shimmer like ornaments on a Christmas tree.
We’ve curated the most enchanting December nail ideas that’ll transform your fingertips into miniature winter wonderlands. From elegant snowflake patterns and rich burgundy hues to glamorous gold accents and festive red classics, these designs celebrate everything we love about the holiday season.
Ready to discover nail art that’s both Instagram-worthy and party-perfect? Let’s explore December’s hottest trends that’ll keep your manicure game strong through New Year’s Eve and beyond.
Classic Red and Green Holiday Nail Designs
Nothing captures the Christmas spirit quite like the timeless duo of red and green on your fingertips. These traditional colors bring instant holiday cheer and work beautifully for both casual celebrations and formal winter events.
Traditional Christmas Color Combinations
Deep forest green paired with classic ruby red creates the perfect foundation for holiday nail art. We love alternating colors on each finger for a playful candy cane effect that catches the light beautifully. Try painting your thumb and ring finger in rich emerald while keeping your index, middle, and pinky fingers in festive crimson.
Matte finishes transform these classic shades into sophisticated statement pieces. Consider adding subtle shimmer to one accent nail while keeping the others in velvety matte texture. This combination works especially well for office holiday parties where you want festive flair without being too bold.
Gradient effects blend red and green seamlessly from cuticle to tip. Start with a deep green base near the cuticle and fade into bright red at the nail tip using a makeup sponge. This ombre technique creates depth and visual interest while maintaining the traditional color scheme.
Elegant Emerald and Crimson Manicures
Jewel toned emerald creates stunning contrast against deep crimson when applied in geometric patterns. We recommend using tape to create clean lines and sharp angles that showcase both colors equally. Diamond shapes alternating between emerald and crimson look particularly striking on longer nails.
Negative space designs incorporate your natural nail color as a third element in the red and green palette. Paint thin emerald stripes with crimson dots in the clear spaces for a modern twist on traditional colors. This technique works beautifully for those who prefer subtle nail art with maximum impact.
French tip variations replace the classic white with alternating red and green colors. Apply emerald polish to half your nails and crimson to the others for a sophisticated take on holiday manicures. Add tiny gold dots at the smile line for an extra touch of luxury.
Festive Plaid and Tartan Patterns
Scottish tartan patterns bring cozy winter vibes to your holiday manicure using red and green as base colors. Start with a green base coat then add thin red lines both vertically and horizontally using a striping brush. Layer darker green lines over the red to create authentic plaid depth.
Buffalo check patterns simplify tartan designs while maintaining that festive cabin aesthetic. Paint alternating squares of red and green using tape guides for perfectly straight lines. This bold pattern works best on shorter nails where the squares remain proportional and eye catching.
Freehand plaid techniques allow for more artistic interpretation of traditional patterns. Use a thin nail art brush to create slightly imperfect lines that give your manicure a hand painted, artisanal look. Vary the line thickness and spacing to make each nail unique while maintaining the overall plaid theme.
Winter Wonderland Nail Art Inspirations
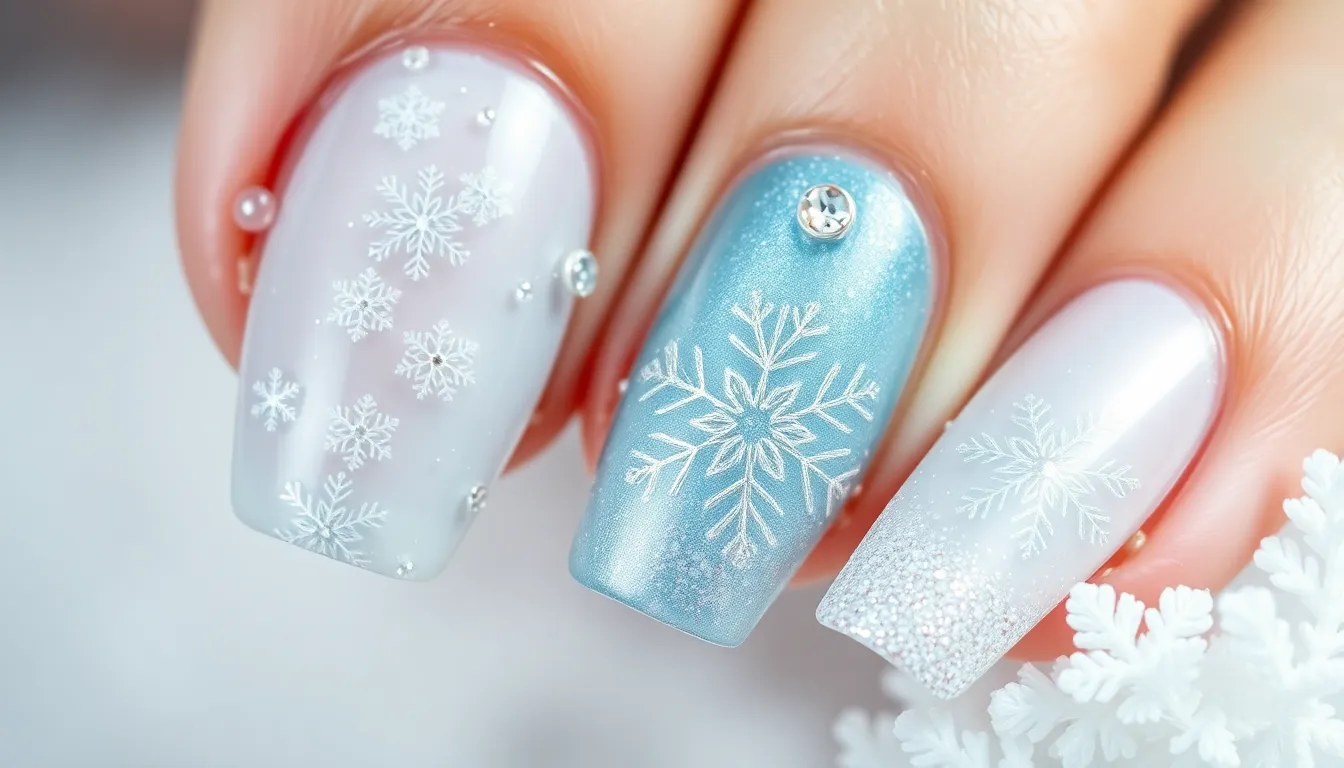
Transform your nails into a magical winter industry with these enchanting designs that capture the season’s icy beauty.
Snowflake and Frost Effect Designs
Delicate snowflake patterns create the ultimate winter nail masterpiece using white polish and fine detail brushes. We recommend starting with a light blue or clear base coat before adding intricate snowflake designs with dotting tools and striping brushes. Frost effect techniques involve sponging white or silver polish over a base color to mimic natural ice crystals forming on glass. Sugar nail art achieves a textured frost appearance by sprinkling fine white glitter or actual sugar onto wet topcoat before sealing. Stamping plates offer precise snowflake patterns for those who prefer consistent results across all nails.
Icy Blue and Silver Color Schemes
Powder blue shades paired with metallic silver accents evoke frozen winter mornings and pristine snow fields. We love combining baby blue bases with silver chrome powder for a mirror-like finish that catches light beautifully. Gradient ombre effects from white to deep ice blue create stunning depth reminiscent of winter skies at twilight. Metallic silver foils applied over blue bases produce a cracked ice appearance that’s both sophisticated and seasonal. Pearl finishes in cool tones add subtle elegance while maintaining the winter theme throughout your manicure.
Crystal and Glitter Accent Techniques
Rhinestone placement transforms simple winter nails into dazzling statement pieces using clear or AB crystals strategically positioned. We suggest applying gems while topcoat is still tacky to ensure secure adhesion without additional glue. Holographic glitter creates mesmerizing rainbow effects that mimic ice crystals refracting sunlight on snowy days. Chunky silver glitter applied as accent nails or over entire sets produces a glamorous winter ball ready appearance. Crystal caviar beads rolled onto wet polish create unique textural elements that catch light from every angle.
Sparkling New Year’s Eve Nail Ideas
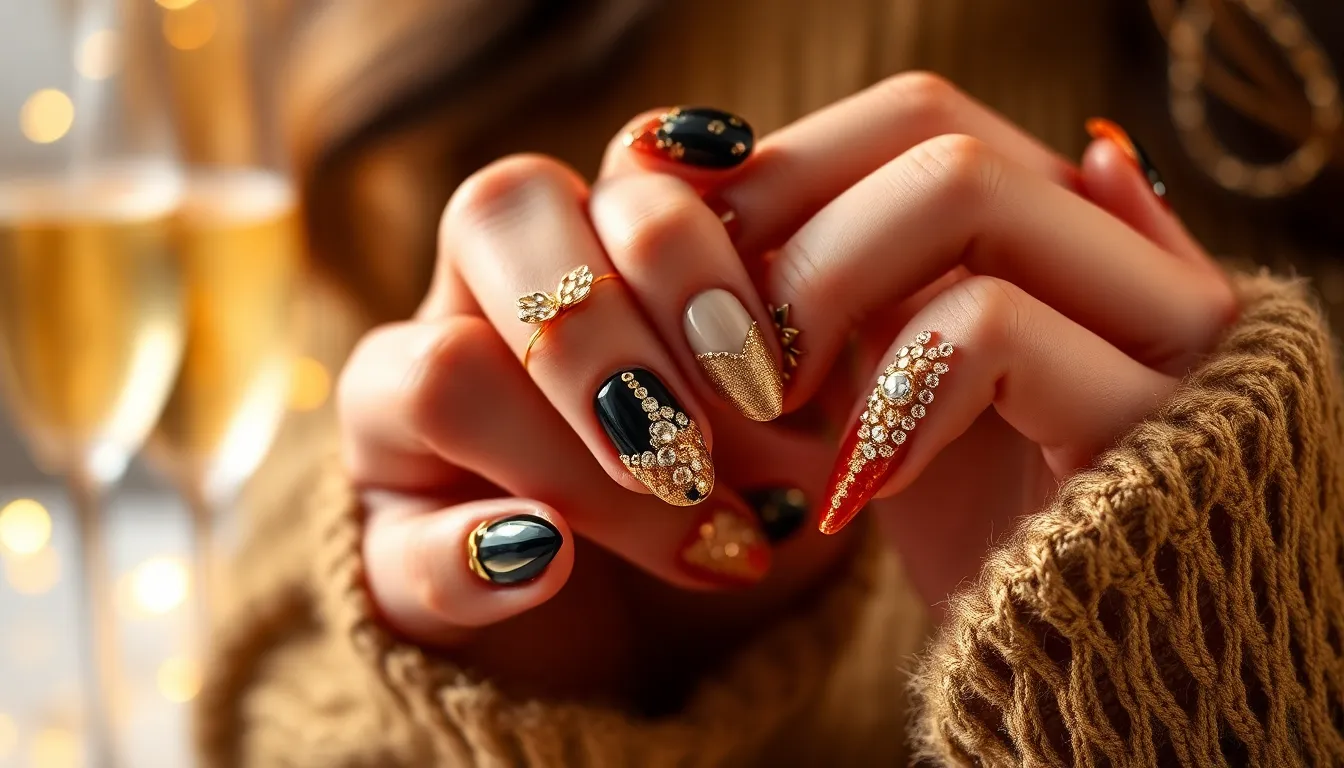
Ring in the new year with dazzling nail designs that capture the celebration’s glamorous spirit. These sophisticated looks will make your manicure the perfect accessory for midnight toasts and party photos.
Gold and Black Glamorous Combinations
Gold and black nail combinations create the ultimate statement look for New Year’s Eve celebrations. We love pairing matte black base coats with gold foil accents that catch the light beautifully under party lighting. Try alternating gold and black nails for a bold checkerboard effect that screams sophistication.
Create stunning geometric patterns by using gold striping tape over black polish to form triangles, diamonds, or Art Deco inspired designs. Apply gold glitter gradients starting from the nail tips and fading toward the cuticles for an elegant ombre effect. Black nails with single gold accent stripes down the center channel classic tuxedo vibes perfectly.
Consider adding gold studs or small beads to black nails for textural interest that photographs beautifully. Gold French tips over black bases offer a modern twist on the traditional manicure style.
Champagne and Rose Gold Metallics
Champagne and rose gold metallics deliver understated elegance perfect for sophisticated New Year’s gatherings. We recommend starting with champagne base coats that reflect light like actual bubbly in your glass. Rose gold chrome powders create mirror finishes that transform simple manicures into luxury statements.
Layer different metallic shades by applying champagne polish first then adding rose gold accents with makeup sponges for seamless blending. Try vertical or horizontal gradient effects using both colors for dimension that changes as you move your hands. Single accent nails in rose gold while keeping others in champagne creates subtle contrast without overwhelming the look.
Apply these metallics over white base coats to intensify their reflective properties and ensure true color payoff. Matte top coats over metallic polishes create unique brushed metal effects that feel contemporary and chic.
Sequin and Rhinestone Applications
Sequin and rhinestone applications transform ordinary manicures into showstopping masterpieces worthy of midnight celebrations. We suggest placing small sequins while your top coat remains tacky for secure adhesion that lasts through dancing and champagne toasts. Create gradient effects by concentrating sequins at nail tips and spacing them further apart toward the cuticles.
Apply rhinestones using tweezers and nail glue for precise placement that won’t shift during wear. Try creating constellation patterns with tiny crystals that mimic stars in the night sky. Single statement rhinestones at the base of each nail create elegant focal points without overwhelming the design.
Mix different sized sequins and rhinestones for textural variety that catches light from multiple angles. Holographic sequins add rainbow reflections that change colors as you move your hands throughout the evening. Seal everything with extra thick top coat layers to prevent snagging and ensure your sparkly elements stay put until the ball drops.
Cozy December Sweater Weather Nails
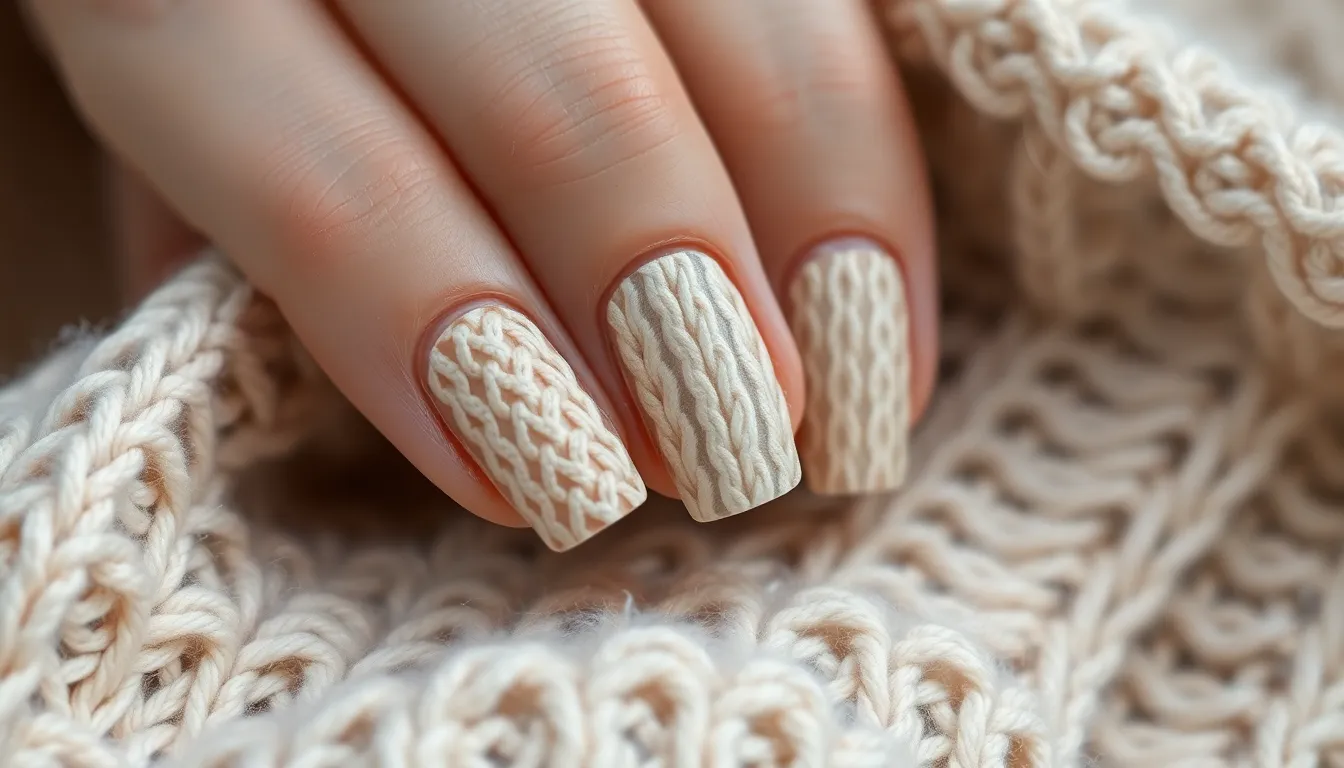
December’s crisp air calls for nail designs that mirror our favorite winter knits. These cozy-inspired manicures bring the warmth of your favorite sweater to your fingertips.
Cable Knit Texture Nail Art
Recreating the intricate patterns of cable knit sweaters on nails requires exact techniques and tools. We recommend starting with a neutral base coat in cream, beige, or soft gray to mimic traditional sweater colors. Using a thin nail art brush or dotting tool, we create raised lines that intersect and weave together just like actual cable patterns.
Popular cable knit nail techniques include:
- Crossover patterns using white or light polish over darker bases
- Vertical braided lines that run from cuticle to tip
- Diamond lattice designs that mirror fisherman sweaters
- Twisted rope effects created with overlapping curved lines
Building these textures takes patience, but the results perfectly capture December’s cozy aesthetic. We suggest practicing on nail wheels first to master the intricate crossover motions before applying to natural nails.
Warm Neutral and Cream Tones
Embracing December’s comfort palette means choosing shades that evoke cashmere scarves and wool mittens. Warm beiges like “Oatmeal Cream” and “Mushroom Taupe” create sophisticated bases for sweater-inspired designs. We love pairing these neutrals with soft cream accents and gentle ivory highlights.
Essential sweater weather nail colors include:
| Color Family | Exact Shades | Best For |
|---|---|---|
| Creams | Vanilla Bean, Ivory Silk | Base coats and French tips |
| Beiges | Camel Hair, Sand Dollar | Full coverage looks |
| Grays | Dove Wing, Storm Cloud | Accent nails and gradients |
| Browns | Cocoa Butter, Chai Latte | Warm undertone bases |
These shades work beautifully alone or layered to create depth and dimension. We often combine two similar tones to achieve that perfectly imperfect handknit appearance.
Matte Finish Winter Inspirations
Transforming glossy December nail colors with matte topcoats instantly creates that soft sweater texture we crave. Matte finishes eliminate shine while preserving color depth, making warm neutrals appear more sophisticated and winter-appropriate. We apply matte topcoat as the final step after all decorative elements have dried completely.
Stunning matte winter combinations include:
- Burgundy base with matte cream cable knit patterns
- Forest green nails with matte gold geometric accents
- Charcoal gray with matte silver snowflake details
- Navy blue featuring matte white Fair Isle patterns
Creating contrast between matte and glossy elements adds visual interest to sweater-inspired designs. We recommend leaving small accent areas glossy while matting the majority of each nail for the perfect balance of texture and shine.
Christmas Tree and Holiday Symbol Nails
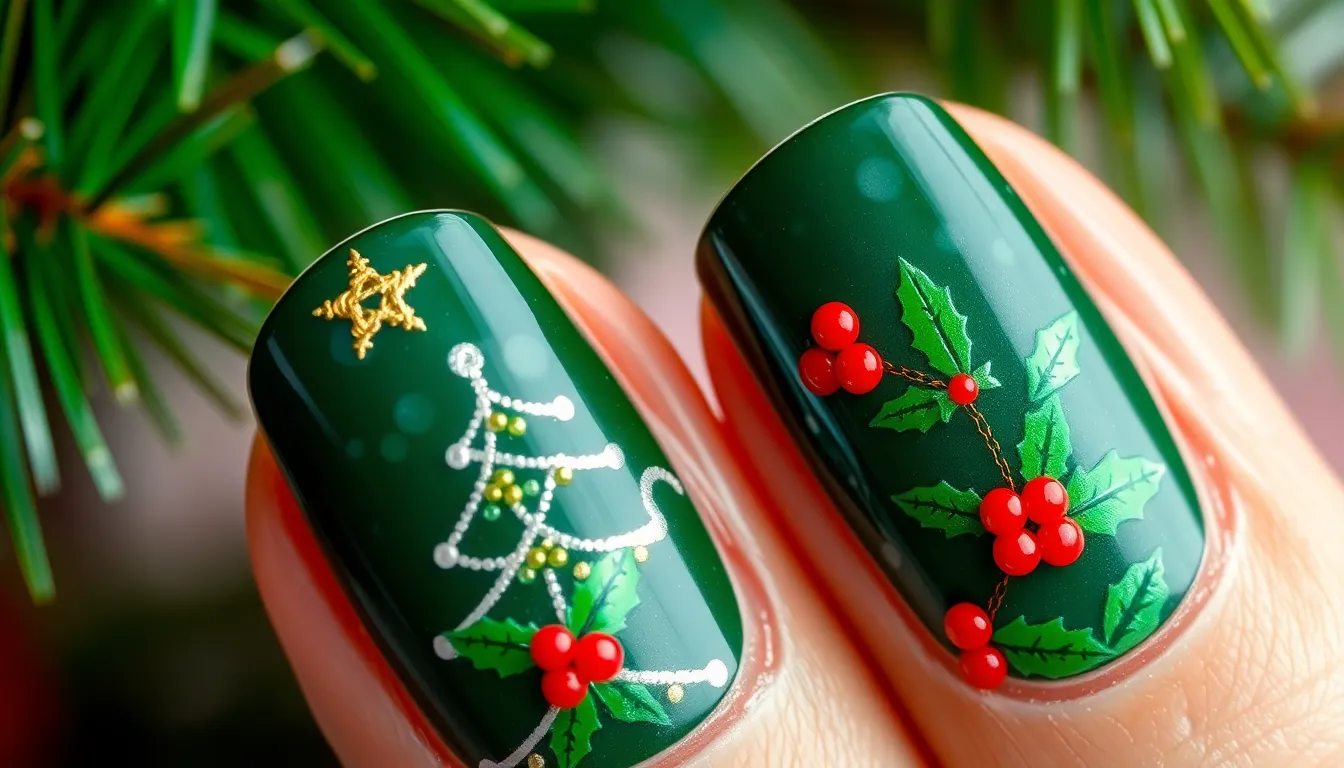
Traditional holiday symbols bring instant festive charm to your December manicure. We’ll show you how to create these iconic designs that capture the magic of Christmas morning on your fingertips.
Miniature Christmas Tree Designs
Christmas tree nail art transforms your nails into tiny winter forests that sparkle with seasonal joy. Start with a deep forest green base coat and use a thin striping brush to create triangular tree shapes in varying sizes. Layer the triangles from bottom to top, making each section slightly smaller to achieve that classic evergreen silhouette.
Add dimension by applying darker green shades to create shadow effects on one side of each tree. Use a dotting tool dipped in gold or silver polish to place tiny ornaments throughout the branches. Finish with a small yellow or white star at the top of each tree, and dust with fine holographic glitter to mimic fresh snow catching the light.
Create variety across your nails by alternating tree sizes and positions. Place larger trees on your thumb and ring finger, while smaller versions work perfectly on your pinky and middle finger. This technique creates visual balance and prevents your design from looking overwhelming.
Candy Cane Striped Patterns
Candy cane stripes bring playful sweetness to your holiday nail collection with their classic red and white design. Begin with a crisp white base coat that’s completely dry before adding the signature stripes. Use striping tape or nail guides to create perfectly straight diagonal lines across each nail.
Paint alternating red stripes using a steady hand and high quality nail polish for smooth, even coverage. Remove the tape while the polish is still slightly wet to achieve clean, professional looking lines. Seal everything with a glossy top coat that enhances the candy like appearance.
Experiment with different stripe widths to create unique variations on the traditional pattern. Thin stripes offer a delicate, sophisticated look while thicker bands create bold, statement making nails. Apply this design to accent nails or create a full candy cane manicure that’s perfect for holiday parties.
Holly and Mistletoe Nail Art
Holly and mistletoe designs capture the romantic spirit of December holidays with their lush green foliage and bright berries. Create holly leaves using a deep green polish and a small detail brush to paint the characteristic pointed, wavy edges. Layer different shades of green to add depth and realistic texture to each leaf.
Paint tiny red dots using a dotting tool to represent holly berries, clustering them in groups of three or four near the leaf stems. For mistletoe designs, use lighter green shades and create small, rounded leaf pairs with delicate white berries nestled between them.
Enhance these botanical designs with subtle gold outlining around each leaf to make them pop against darker base colors. Apply these motifs as accent designs on one or two nails per hand, pairing them with solid festive colors on the remaining nails. This approach creates an elegant, cohesive look that celebrates the natural beauty of holiday greenery.
Elegant December Wedding Guest Manicures
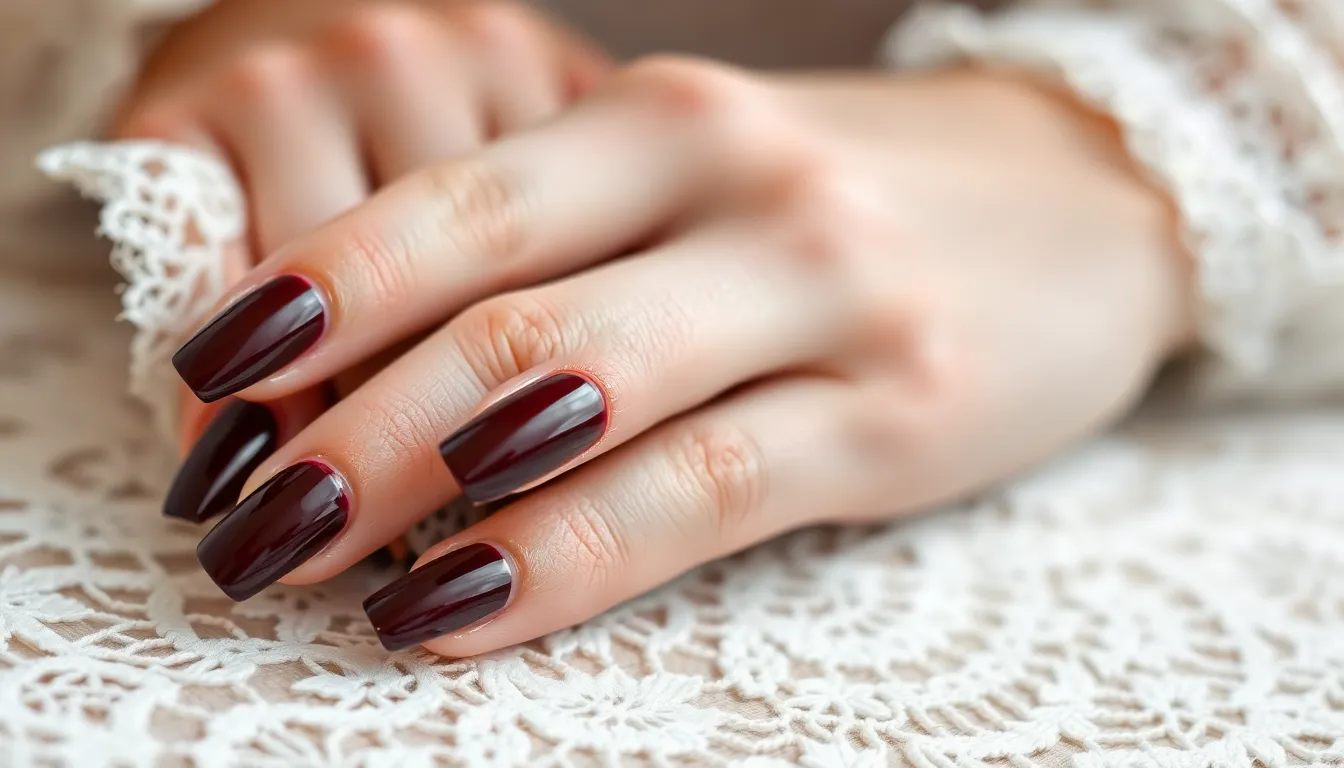
December weddings call for sophisticated nail designs that complement formal attire while respecting the couple’s special day. We’ve curated refined manicure ideas that strike the perfect balance between elegance and seasonal charm.
Sophisticated Winter Wedding Colors
Deep burgundy and wine shades create timeless elegance perfect for winter ceremonies. These rich hues pair beautifully with velvet dresses and formal evening wear without competing with the bride’s spotlight. We recommend choosing a classic burgundy like OPI’s “Malaga Wine” or Essie’s “Bordeaux” for maximum sophistication.
Navy blue and midnight tones offer unexpected elegance that photographs beautifully against winter wedding backdrops. These deeper blues work exceptionally well with metallic jewelry and complement both warm and cool undertones. Consider adding a subtle shimmer finish to navy base colors for extra dimension without overwhelming sparkle.
Soft taupe and mushroom grays provide neutral sophistication that works with any wedding color palette. These understated shades create a polished look that won’t distract from your outfit or the ceremony’s focal points. Pair these earthy neutrals with gold accessories for a cohesive winter wedding guest ensemble.
Pearl and White Accent Details
Delicate pearl accents transform simple nude manicures into wedding appropriate masterpieces. Apply small pearl beads to accent nails using clear topcoat as adhesive, creating subtle texture that catches light beautifully during photos. We suggest limiting pearl details to ring fingers or thumbs for balanced elegance.
French tips with winter twists elevate classic designs through subtle seasonal updates. Replace traditional white tips with soft champagne or pearl finishes that complement winter wedding lighting. These refined variations maintain sophistication while adding contemporary flair to timeless nail art.
Negative space designs incorporate white elements without appearing too bridal or attention grabbing. Create geometric cutouts or delicate lace patterns using white polish against nude bases. These modern techniques offer visual interest while maintaining the understated elegance appropriate for wedding guests.
Subtle Holiday Themed Touches
Minimalist snowflake details add festive charm without overwhelming formal attire or competing with wedding themes. Paint tiny silver or white snowflakes on single accent nails using thin brushes or dotting tools. Keep designs small and sparse to maintain elegance while acknowledging the December season.
Discrete metallic accents incorporate holiday sparkle through thin striping tape or delicate foil applications. Apply narrow gold or silver lines along cuticles or create simple geometric patterns on accent nails. These refined metallic touches catch candlelight beautifully during evening ceremonies and receptions.
Muted seasonal colors allow holiday acknowledgment through sophisticated color choices rather than obvious decorative elements. Choose dusty rose instead of bright red, or sage green rather than traditional Christmas green. These refined seasonal hues maintain wedding appropriateness while subtly celebrating December’s festive atmosphere.
DIY December Nail Ideas for Beginners
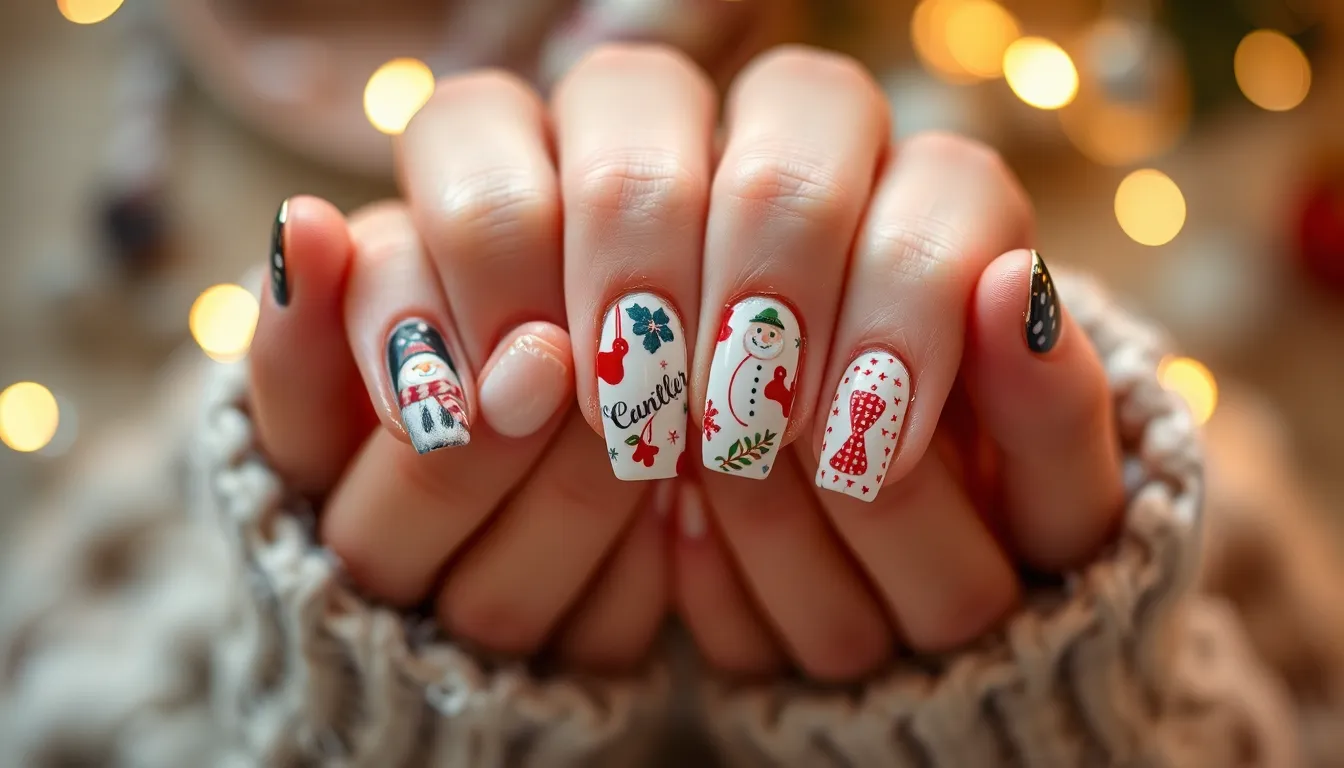
Creating stunning December nail designs doesn’t require professional skills or expensive salon visits. We’ll show you three foolproof techniques that deliver gorgeous festive results every time.
Simple Stamping Techniques
Stamping plates transform basic manicures into professional-looking holiday masterpieces. We recommend starting with clear stamping plates featuring snowflakes, Christmas trees, or geometric patterns. Apply your base color completely and let it dry for at least 10 minutes before stamping.
Choose contrasting colors for the best stamping results. Dark bases like navy or burgundy work beautifully with white or silver stamping polish. Light bases such as cream or pale pink create stunning effects with gold or deep red stamps.
Practice the stamping motion on paper first. Roll the stamper gently across the design plate, then transfer it to your nail with a firm rocking motion. Clean your stamping plate with acetone between each use to maintain crisp designs.
Easy Gradient and Ombre Methods
Makeup sponges create effortless gradient effects perfect for December themes. Apply two or three complementary colors to a damp beauty sponge in overlapping stripes. Dab the sponge onto your nail repeatedly until you achieve the desired blend.
Winter-themed color combinations work exceptionally well for beginners. Try white fading to pale blue for an icy effect, or blend deep red into gold for a festive sunset look. Burgundy transitioning to cream creates an elegant holiday gradient.
Seal gradient designs with a quality top coat immediately. This step smooths the texture created by sponging and prevents the colors from separating. Apply thin coats to avoid disturbing the gradient effect underneath.
Quick Holiday Sticker Applications
Nail stickers offer instant holiday glamour without artistic skills. We suggest choosing high-quality vinyl stickers in metallic finishes or classic holiday motifs like holly leaves, candy canes, or reindeer silhouettes.
Apply stickers to completely dry base coats for best adhesion. Use tweezers or an orange stick to position delicate designs precisely. Press down all edges firmly to prevent lifting during wear.
Layer different sticker sizes for ever-changing holiday designs. Place larger stickers as focal points on accent nails, then add smaller coordinating elements across remaining fingers. Finish with two thin coats of top coat to secure all elements and create a smooth surface.
Luxurious December Salon-Inspired Designs
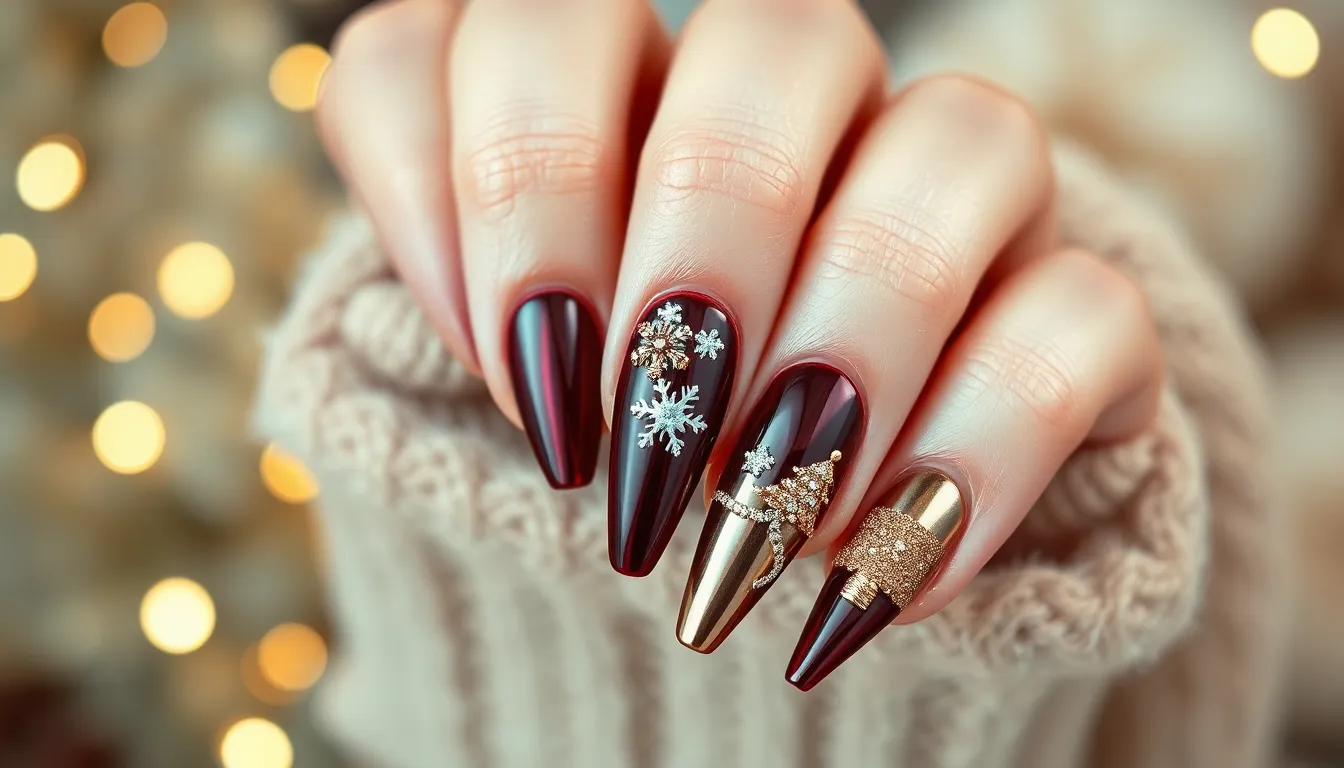
We’ll explore sophisticated techniques that transform ordinary December nails into extraordinary masterpieces worthy of professional salons. These advanced designs elevate your holiday manicure to luxurious heights.
Professional Chrome and Mirror Effects
Professional chrome finishes create stunning reflective surfaces that catch light beautifully during December festivities. We recommend starting with a gel base coat followed by a black or dark base color to achieve maximum reflectivity. Apply chrome powder using a silicone tool while the tacky layer remains uncured for the most seamless mirror effect.
Mirror finishes work exceptionally well with geometric December patterns like snowflake outlines or minimalist holiday trees. Creating gradient chrome effects involves applying powder more heavily at the nail tips and blending toward the cuticle area. We suggest sealing chrome applications with a high-quality top coat to prevent chipping during holiday activities.
Temperature-reactive chrome powders offer ever-changing color shifts that mirror winter’s changing atmosphere. These specialty finishes transition between silver and blue tones or gold and copper hues depending on ambient conditions. Professional application techniques ensure even coverage and long-lasting wear throughout the December season.
3D Holiday Embellishments
3D embellishments transform flat nail surfaces into sculptural holiday artwork that demands attention at December gatherings. We create miniature snow globe effects using clear acrylic beads and fine glitter suspended in gel medium. Building dimensional Christmas trees requires layering green gel in triangular shapes with tiny rhinestone ornaments.
Sculptural snowflakes emerge through careful placement of white acrylic powder mixed with iridescent micro-glitter. Each flake requires six symmetrical points crafted using a fine detail brush and steady application technique. We recommend curing each layer separately to maintain structural integrity.
Raised holly leaves showcase advanced sculpting skills using green gel formed into natural leaf shapes. Adding dimensional berries involves rolling small amounts of red acrylic into perfect spheres and positioning them strategically. These 3D elements create texture variation that photographs beautifully under holiday lighting conditions.
Layered ribbon bow designs require multiple gel applications to achieve realistic fabric-like appearance. We build these embellishments by creating individual ribbon loops and centering knots for authentic holiday package aesthetics. Professional techniques ensure these dimensional elements remain secure through December celebrations.
Advanced Nail Extension Styles
Advanced extensions provide expanded canvas space for intricate December designs that showcase professional artistry. We create stiletto shapes that elongate fingers while supporting complex holiday nail art compositions. Building these extensions requires precise C-curve formation and proper apex placement for optimal strength.
Coffin-shaped extensions offer wide nail beds perfect for detailed winter landscapes and holiday scenes. Creating these geometric forms involves filing techniques that maintain structural integrity while achieving sharp, clean lines. We recommend reinforcing stress points with additional gel layers during the extension building process.
Almond extensions provide elegant proportions that complement December’s sophisticated color palettes like deep burgundies and champagne golds. These curved shapes require careful sidewall filing to achieve smooth, natural-looking transitions. Professional shaping techniques ensure comfortable wear throughout holiday festivities.
Tapered square extensions combine strength with versatility for December designs ranging from minimalist elegance to elaborate holiday celebrations. Building these shapes involves creating straight sidewalls with softly rounded corners that prevent snagging. We layer gel applications strategically to distribute stress and prevent breaking during December activities.
Conclusion
December offers endless possibilities for creating stunning nail art that captures the magic of the season. Whether you’re drawn to classic holiday colors or prefer sophisticated wedding-appropriate designs we’ve covered options for every skill level and occasion.
From beginner-friendly DIY techniques to luxurious salon-inspired masterpieces there’s a perfect December manicure waiting for you. The key is choosing designs that reflect your personal style while embracing the festive spirit of the season.
We encourage you to experiment with these ideas and make them your own. Mix and match techniques create your own color combinations and don’t be afraid to add personal touches that make your December nails uniquely yours.
Frequently Asked Questions
What are the most popular December nail art trends for 2025?
The most popular December nail art trends include elegant snowflake designs, rich burgundy shades, glamorous gold accents, classic festive reds, and winter wonderland themes. Crystal and glitter accents, sparkling New Year’s Eve designs, and cozy sweater-inspired textures are also trending. These styles combine traditional holiday elements with modern techniques for stunning seasonal manicures.
How can I create snowflake nail art at home?
Start with a light blue or clear base coat, then let it dry completely. Use a dotting tool or thin brush to create intricate snowflake patterns with white polish. Begin with a central point and add symmetrical branches extending outward. Finish with a top coat for durability and extra shine.
What colors work best for holiday nail designs?
Classic holiday colors include deep reds, forest greens, rich burgundy, champagne gold, and silver. For a modern twist, try navy blue, soft taupe, icy blues, and rose gold metallics. These colors can be used alone or combined for gradient effects and elegant color combinations.
How do I make my nail art last through New Year’s Eve?
Apply a quality base coat, use thin layers of polish, and seal with a durable top coat. Avoid activities that could chip your nails, wear gloves when cleaning, and apply cuticle oil daily. Touch up any minor chips immediately and consider gel polish for longer-lasting results.
What are some beginner-friendly December nail art techniques?
Try simple stamping with holiday motifs, easy gradient effects using makeup sponges, and quick holiday sticker applications. Cable knit texture designs using neutral colors and basic French tips with seasonal twists are also perfect for beginners. These techniques require minimal tools and skills.
How can I incorporate winter wedding themes into my nail design?
Choose refined colors like deep burgundy, navy blue, or soft taupe for elegance. Add subtle pearl accents, delicate winter-themed French tips, or minimalist snowflake designs. Avoid overly bold patterns and stick to sophisticated, understated designs that complement formal attire without competing with the bride.
What tools do I need for advanced December nail art?
Essential tools include dotting tools, thin brushes, stamping plates, makeup sponges for gradients, and nail art pens. For advanced designs, consider chrome powders, 3D embellishments, rhinestones, holographic glitter, and gel polishes. A quality LED lamp is necessary for gel applications and curing.

