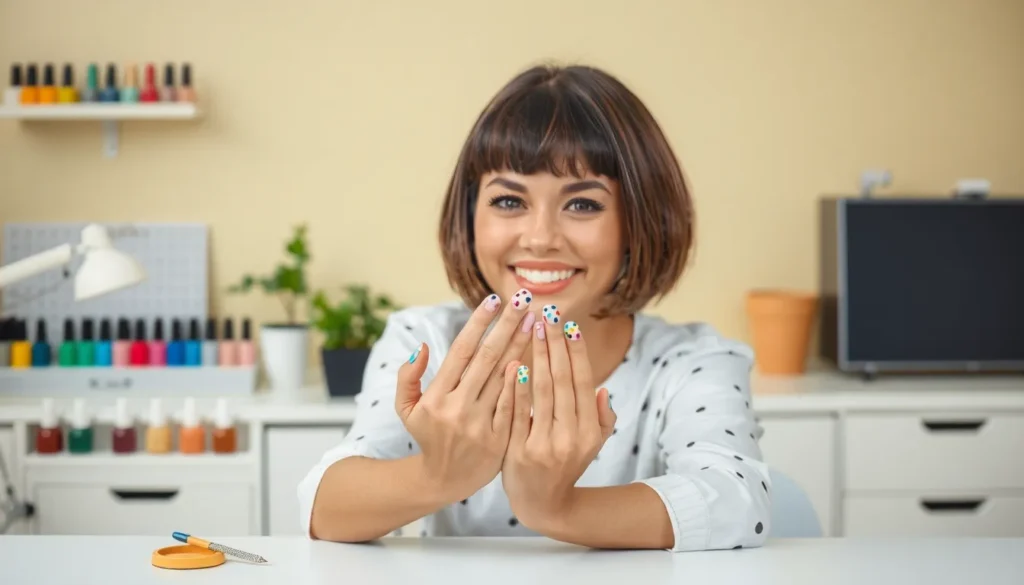
We’ve all been there – scrolling through Instagram and admiring those gorgeous nail designs that look like they require a professional degree in art. But what if we told you that creating stunning nail art doesn’t have to drain your wallet or take hours of your precious time? You can achieve salon-worthy results right from your living room with just a few basic tools and our foolproof techniques.
Whether you’re a complete beginner who can barely paint within the lines or someone looking to refresh their nail game, we’ve got you covered. From simple polka dots that’ll make your friends ask “where’d you get those done?” to elegant geometric patterns that scream sophistication – these designs prove that cute doesn’t have to mean complicated.
Ready to transform your nails from basic to brilliant? Let’s jump into our collection of easy nail art ideas that’ll have you showing off your manicure everywhere you go.
Simple Polka Dot Designs Using a Toothpick
Toothpick polka dots offer the perfect starting point for beginners who want professional-looking results with minimal effort. We’ll show you how this everyday item transforms into your most versatile nail art tool.
Classic Two-Color Polka Dots
Base preparation sets the foundation for flawless polka dots that last for days. Apply your chosen base color in two thin coats, allowing each layer to dry completely before proceeding to the dot application process.
Dip technique requires dipping the toothpick tip into your contrasting polish color and gently pressing it onto your nail surface. Create uniform dots by maintaining consistent pressure and reloading the toothpick every 2-3 dots to ensure vibrant color payoff.
Spacing strategy involves starting with larger dots near your cuticle area and gradually decreasing size toward your nail tip. Place dots approximately 2-3 millimeters apart for balanced coverage, or cluster them together for a more dramatic polka dot effect.
Color combinations that work beautifully include classic black dots on white base, navy dots on nude base, or white dots on any bold color. Try metallic gold dots over deep burgundy or silver dots over midnight blue for sophisticated evening looks.
Rainbow Gradient Polka Dots
Multi-color setup begins with arranging 5-6 different colored polishes in rainbow order across your workspace. We recommend using bright colors like red, orange, yellow, green, blue, and purple for maximum visual impact.
Progressive application starts with red dots at your cuticle area, followed by orange dots slightly overlapping the red section. Continue this pattern through each rainbow color, creating a seamless gradient effect across your entire nail surface.
Blending technique involves working quickly while polish remains wet to create soft color transitions between adjacent dots. Use a clean toothpick to gently pull colors together where they meet, creating beautiful gradient blending effects.
Finish options include adding a glossy top coat for vibrant shine or matte top coat for trendy rainbow polka dots with sophisticated texture. Both finishes protect your gradient design while extending wear time to 5-7 days.
Ombre Polka Dot Fade
Shade selection requires choosing three tones of the same color family, progressing from light to dark or vice versa. Popular combinations include light pink to deep rose, pale blue to navy, or cream to chocolate brown.
Density variation creates the ombre effect by placing fewer dots in your lightest shade area and gradually increasing dot density toward your darkest shade. Start with 3-4 light dots near your cuticle, then add 6-8 medium shade dots in the center, finishing with 10-12 dark dots at your tip.
Layering method builds depth by applying your lightest shade first across the entire nail, then medium shade covering two-thirds of the nail, and darkest shade covering only the tip third. This creates natural color transition while maintaining distinct polka dot patterns.
Size graduation enhances the ombre effect by using larger dots for darker shades and smaller dots for lighter shades. Create visual flow by making your darkest dots approximately 3 millimeters wide and your lightest dots around 1 millimeter wide.
Easy Striped Nail Art with Tape
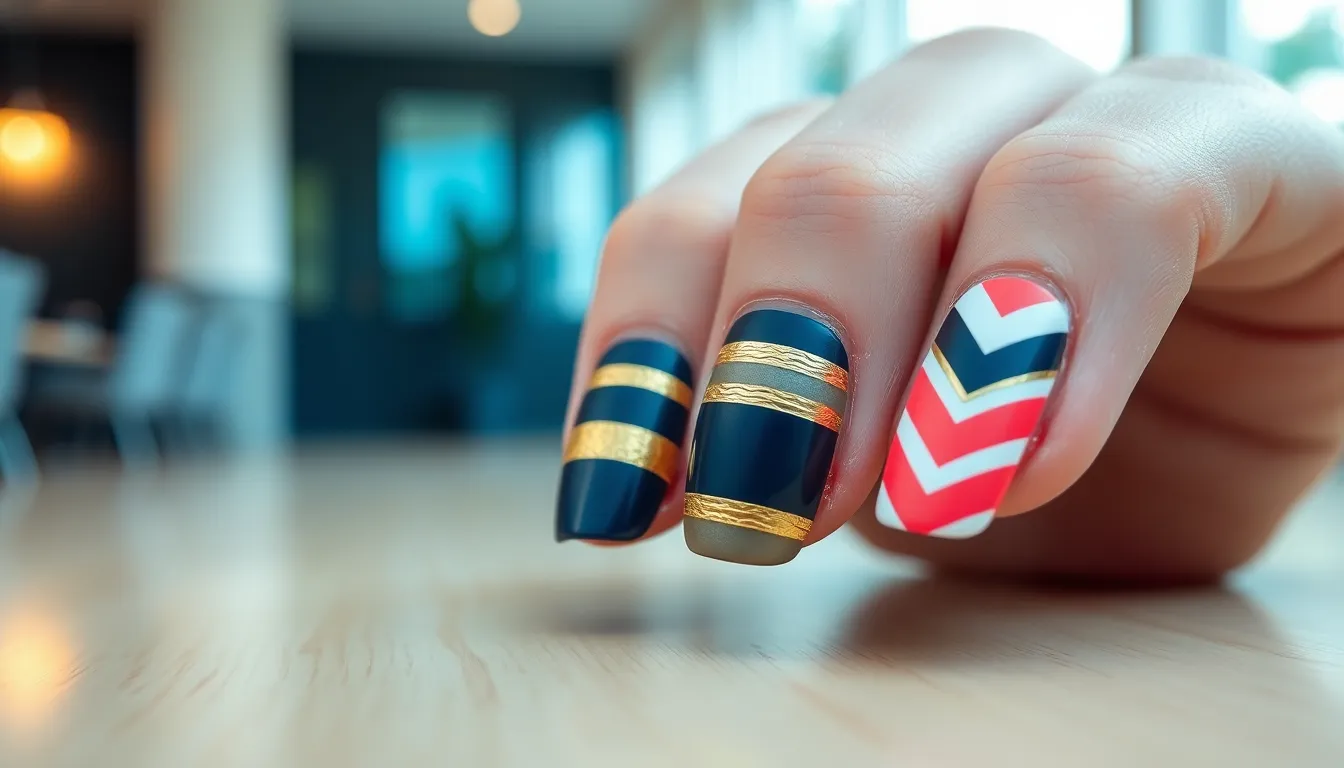
Striping tape transforms ordinary manicures into professional looking designs with minimal effort. We’ll show you three foolproof striped patterns that create stunning geometric nail art using basic supplies you likely already have at home.
Horizontal Stripe Patterns
Start with horizontal stripes to master the tape technique before moving to more complex designs. Apply your base coat and allow it to dry completely for 15 minutes to prevent peeling when you remove the tape later.
Choose contrasting colors like navy blue with gold or classic black with white for the most striking horizontal stripe effect. Paint your base color first and wait until it’s completely dry to the touch.
Place striping tape across each nail horizontally, spacing strips about 2-3 millimeters apart for balanced proportions. Press the tape edges down firmly to prevent paint from bleeding underneath.
Apply your accent color over the exposed nail areas between tape strips using smooth, even strokes. Work quickly but carefully to maintain clean lines before the polish becomes tacky.
Remove the tape immediately while the top coat is still wet by pulling it off at a 45 degree angle. This prevents the polish from cracking or peeling away with the tape.
Vertical Accent Stripes
Create vertical accent stripes by placing tape lengthwise down the center or sides of each nail after your base color has dried completely. This technique works especially well on longer nail shapes like oval or almond.
Position single strips down the middle of each nail for a minimalist look, or place multiple strips on either side of the nail for a more dramatic geometric pattern. Leave equal spacing between strips for visual balance.
Select metallic accent colors such as rose gold, silver, or copper to add sophistication to your vertical striped manicure. These shades complement most base colors and catch light beautifully.
Paint thin coats of your accent color over the taped sections, building up opacity gradually rather than applying one thick layer. Thin coats dry faster and create smoother, more professional looking results.
Seal with top coat after removing the tape to protect your vertical stripes and add glossy shine that makes the design pop.
Diagonal Chevron Stripes
Form chevron patterns by placing tape diagonally across your nails in a V shape, creating the classic zigzag pattern that adds ever-changing movement to your manicure design.
Start at the cuticle area and angle your first piece of tape toward the opposite corner of your nail. Place the second piece of tape to meet the first at a point, forming the chevron angle.
Repeat the chevron pattern by adding additional V shapes down the length of your nail, maintaining consistent spacing and angles for a polished geometric look.
Use gradient colors like pink to coral to orange for an ombre chevron effect, or stick with two contrasting shades for bold, graphic appeal. Bright colors like electric blue and lime green create eye catching summer designs.
Work on one nail at a time when creating diagonal chevron stripes to ensure the tape doesn’t lose its adhesive properties before you finish painting.
Quick French Tip Variations for Beginners
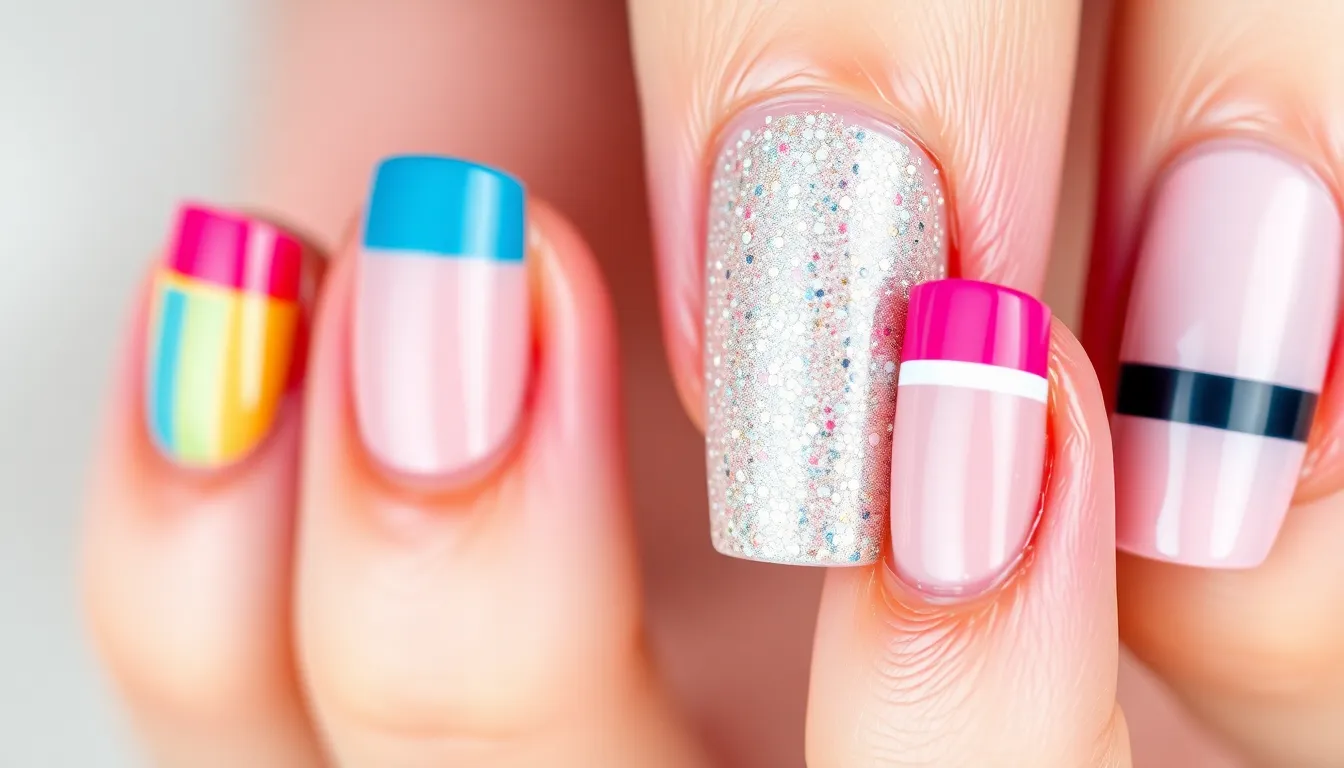
We’ll transform the classic French manicure with these beginner-friendly variations that add personality to your nail art repertoire. These updated French tip designs require minimal skill while delivering maximum impact.
Colorful French Tips
Colorful French tips replace traditional white with vibrant hues that match your mood or outfit. We recommend starting with a clear or nude base coat, then applying your chosen color along the nail tip using a small brush or nail art pen. Popular color combinations include coral tips on nude bases, mint green on white backgrounds, or navy blue on light pink foundations.
Create seasonal looks by selecting colors that reflect the time of year. Summer calls for bright oranges, tropical blues, or sunny yellows, while autumn invites deeper burgundies, burnt oranges, or forest greens. Winter designs shine with jewel tones like emerald, sapphire, or amethyst purple.
Practice the curved tip line by following your natural nail shape rather than forcing a perfect arc. Start from one side of the nail and sweep across to the other side in one smooth motion. Clean up any uneven edges with a small brush dipped in nail polish remover before applying your top coat.
Glitter French Manicure
Glitter French manicures add sparkle to the classic design without overwhelming the entire nail. We suggest using fine glitter polish or loose glitter mixed with clear top coat for the tips. Apply your base color first, then carefully paint the glitter mixture along the tip edge for instant glamour.
Choose glitter colors that complement your base shade for a cohesive look. Silver glitter pairs beautifully with any base color, while gold glitter enhances warm tones like peach, coral, or nude shades. Holographic glitter creates a rainbow effect that works especially well over white or light gray bases.
Layer different glitter sizes for added dimension by starting with fine glitter as your base, then adding a few larger glitter pieces as accents. This technique creates depth and visual interest without requiring advanced nail art skills. Seal everything with two coats of clear top coat to smooth the surface and extend wear time.
Double French Tip Design
Double French tips feature two parallel lines at the nail tip, creating a modern twist on the traditional style. We create this look by applying the first tip line as usual, then adding a second, thinner line slightly below it. Use contrasting colors like black and white, or complementary shades like blue and silver for striking results.
Start with your base coat and first tip color, allowing it to dry completely before adding the second line. Use a striping brush or thin nail art brush to paint the second line, maintaining consistent spacing across all nails. The second line should be approximately half the width of the first tip for balanced proportions.
Experiment with different color combinations to match various occasions or outfits. Try pairing metallic gold with deep burgundy for formal events, or bright pink with mint green for playful summer looks. This design works particularly well on longer nail shapes like almond or coffin styles, where you have more space to showcase both lines clearly.
Cute Floral Nail Art Using Dotting Tools
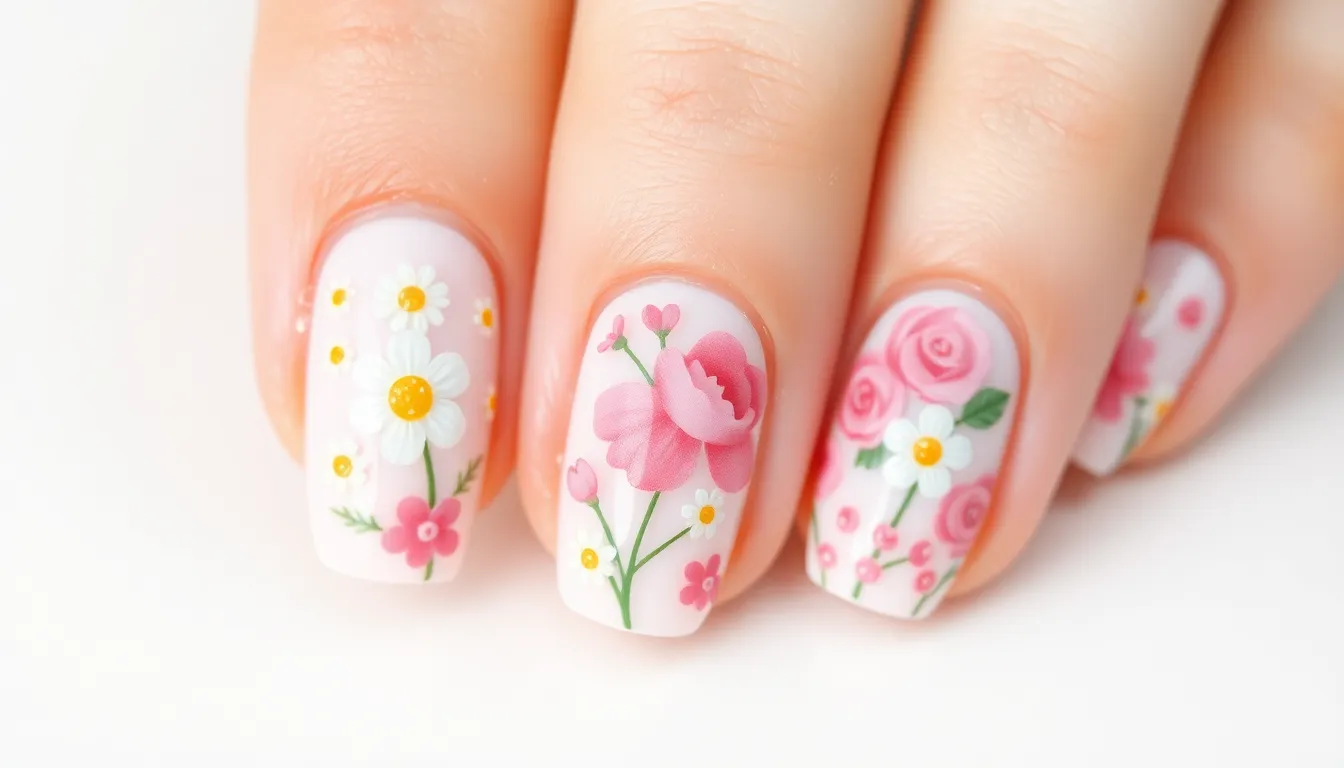
Dotting tools transform simple dots into beautiful floral masterpieces that rival salon designs. These affordable instruments create delicate petals and intricate flower details with remarkable precision.
Simple Daisy Flowers
Create charming daisy flowers by forming white petals around a yellow center dot. Start with a dry base color of your choice, then dip your smallest dotting tool into white polish. Make five to six oval-shaped dots radiating from a central point, slightly overlapping each petal for a natural look. Allow the white petals to dry completely before adding the bright yellow center dot using the same tool.
Position multiple daisies across your nails using odd numbers for the most pleasing arrangement. Place one large daisy on your ring finger as an accent, then add smaller daisies to your thumb and middle finger. Vary the sizes by using different dotting tools or adjusting the pressure you apply. Complete the design with tiny green dots at the base of each flower to represent leaves.
Cherry Blossom Petals
Soft pink cherry blossoms require a gentle touch and strategic petal placement for authentic results. Begin with a nude or pale pink base coat that’s completely dry. Dip your medium dotting tool into soft pink polish and create five heart-shaped petals by pressing down and slightly dragging the tool. Form each petal by making two connected dots that meet at a point, creating the characteristic cherry blossom shape.
Layer different shades of pink to add depth and dimension to your cherry blossom design. Use a darker pink for some petals and a lighter shade for others, creating natural variation across your nails. Add tiny white dots in the center of each flower using your smallest dotting tool, then finish with dark pink or brown dots to represent the flower centers.
Minimalist Rose Designs
Abstract roses showcase elegance through simplified spiral patterns that capture the essence of the flower. Start with your dotting tool dipped in your chosen color, then create a small center dot on your dry base coat. Make a continuous spiral around this center point, gradually increasing the size with each revolution. Keep the spiral loose and organic rather than perfectly geometric.
Build sophisticated rose gardens by combining different sized roses in complementary colors. Create large statement roses on your ring finger using deeper colors like burgundy or classic red. Add smaller roses in lighter shades such as soft pink or coral to your other nails. Incorporate tiny green dots as leaves between the roses, connecting your floral elements into a cohesive garden design that spans across your manicure.
Fun Animal Print Nails Made Easy
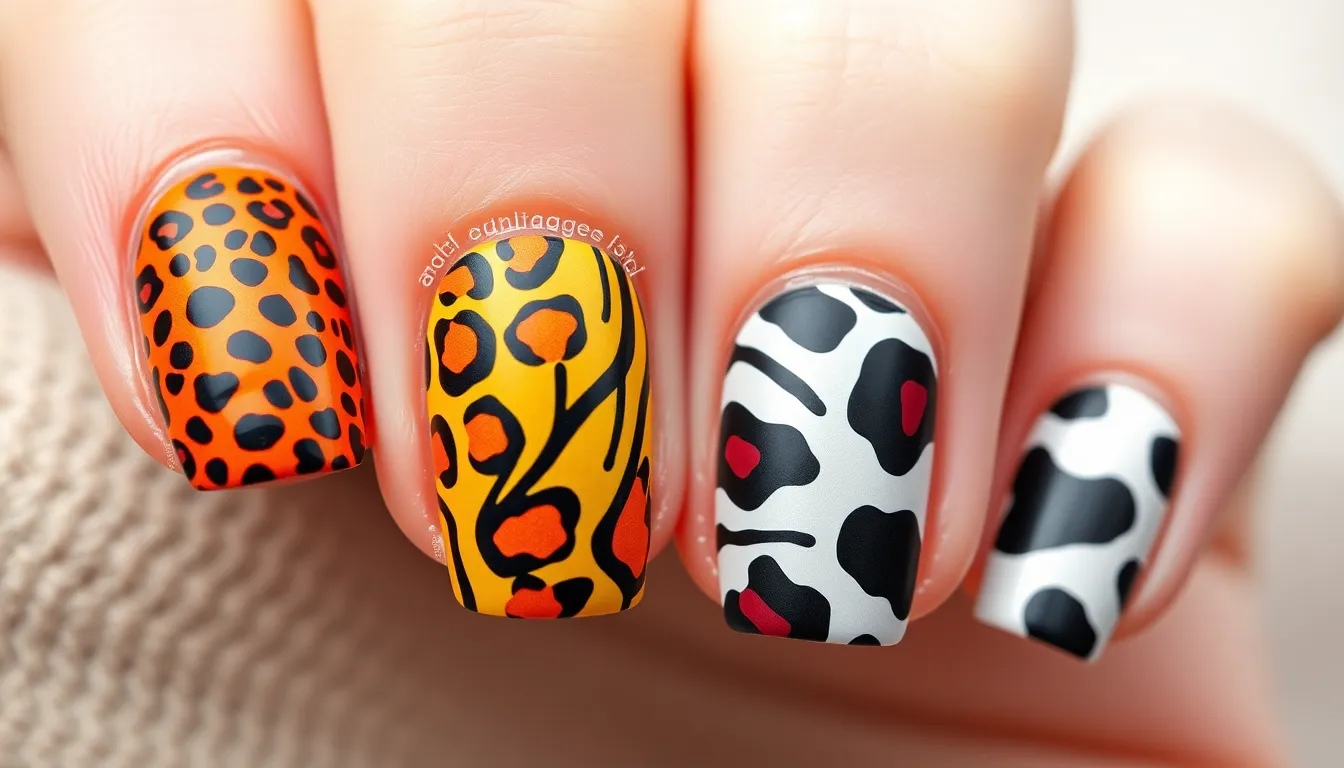
Animal print nail designs add a wild touch to your manicure without requiring complex techniques. We’ll show you how to create three popular animal patterns using simple tools you probably already have at home.
Leopard Print Spots
Leopard spots start with a neutral base color like nude, beige, or light brown that mimics natural leopard fur. We recommend letting your base coat dry completely before adding the spotted pattern.
Create irregular shapes using a small dotting tool or toothpick dipped in brown polish to make the main spots. Make these shapes uneven and organic rather than perfect circles, as real leopard spots vary in size and form.
Outline each spot with black polish using an even smaller tool or thin brush, leaving small gaps in the outline to maintain authenticity. Real leopard spots aren’t completely enclosed, so we leave tiny openings in our outlines.
Vary the spacing between spots to avoid creating a uniform pattern that looks too artificial. Place some spots closer together while leaving larger gaps elsewhere for a natural, random appearance.
Add dimension by making some spots larger than others and occasionally overlapping them slightly for a more realistic leopard print effect.
Zebra Stripe Pattern
Black and white stripes form the foundation of classic zebra print, starting with either color as your base depending on your preference. We typically use white as the base for easier stripe application.
Paint wavy lines using a thin nail art brush loaded with black polish, creating irregular curves rather than straight lines. Zebra stripes naturally curve and bend, so we avoid perfectly straight patterns.
Vary the thickness of each stripe by applying more or less pressure with your brush, making some lines thick while keeping others thin and delicate.
Leave white spaces between the black stripes of varying widths to mimic real zebra patterns, where the white areas aren’t uniform in size.
Work diagonally across the nail rather than horizontally or vertically for the most authentic zebra stripe appearance that flows naturally with your nail shape.
Cow Print Design
White base color provides the perfect canvas for classic cow print patterns, allowing the black spots to stand out dramatically against the light background.
Paint irregular blobs using black polish and a small brush or sponge, creating organic shapes that resemble natural cow markings rather than geometric patterns.
Make connecting shapes by having some black areas touch or partially overlap, as real cow spots often connect and form larger irregular patches.
Use different sizes throughout your design, mixing tiny spots with medium and large patches for authentic cow print variation across all your nails.
Add pink accents sparingly with a dotting tool to create small pink spots that mimic the natural coloring found on some cow breeds, giving your design extra charm and personality.
Geometric Shapes for Modern Nail Art
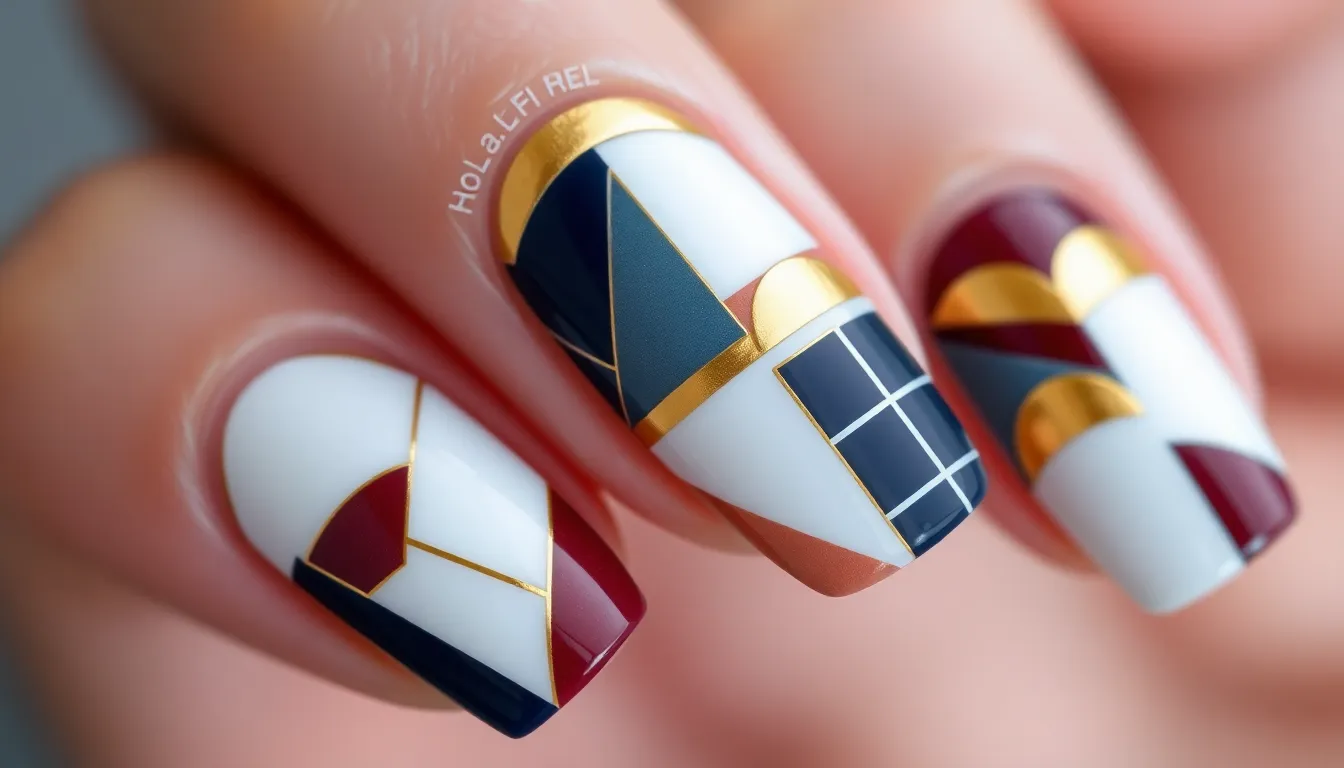
Geometric nail art brings contemporary sophistication to your fingertips with clean lines and bold shapes. These structured designs create striking visual impact while remaining surprisingly simple to achieve.
Triangle Color Blocking
Triangle color blocking transforms your nails into modern art canvases using strategic tape placement and contrasting colors. We recommend starting with a light base color and allowing it to dry completely before applying triangular tape segments at various angles across each nail.
Create bold diagonal triangles by placing tape from one corner of your nail to the opposite side, dividing the nail into two distinct color zones. Paint the exposed section with your chosen accent color, then carefully remove the tape while the polish is still slightly wet to avoid peeling.
Mix multiple triangle shapes on different nails for ever-changing variety, using three complementary colors like navy, white, and gold for a sophisticated palette. Apply each color in separate triangular sections, ensuring clean lines between each geometric segment.
Experiment with triangle sizes by creating large statement triangles on your ring fingers while keeping smaller geometric accents on remaining nails. This technique draws attention to your focal nail while maintaining visual balance across your entire manicure.
Square Grid Patterns
Square grid patterns deliver structured elegance through precise geometric lines that create window-like divisions across your nail surface. We achieve this look using thin striping tape or a fine nail art brush to form intersecting horizontal and vertical lines.
Start with grid foundation by applying your base color and marking equal intervals along your nail edges using a dotting tool for consistent spacing. Draw light guidelines with a fine brush before committing to your final grid pattern.
Fill alternating squares with contrasting colors to create a checkerboard effect, or leave some squares empty for a minimalist aesthetic. Use a small flat brush to carefully fill each square section without bleeding into adjacent areas.
Vary your grid sizes across different nails, creating larger squares on thumbs and index fingers while using smaller grids on remaining nails. This size variation adds visual interest while maintaining the geometric theme throughout your manicure.
Half-Moon Accent Nails
Half-moon accent nails feature curved geometric shapes at your nail base that create elegant contrast against solid color backgrounds. We use round reinforcement stickers or curved tape to achieve these perfect semicircular designs.
Position reinforcement stickers just above your cuticle area, creating a natural curve that follows your nail’s base shape. Paint over the exposed nail area with your chosen accent color, ensuring complete coverage without polish bleeding under the sticker edges.
Remove stickers immediately after painting while the polish remains wet to prevent pulling or chipping when the sticker lifts away. This timing creates crisp, clean lines that define your half-moon shape perfectly.
Combine multiple half-moons by layering different sized curves or using complementary colors for each semicircle section. Try metallic gold half-moons over deep burgundy bases, or soft pink curves over classic nude shades for versatile geometric elegance.
Sweet Heart Designs for Any Occasion
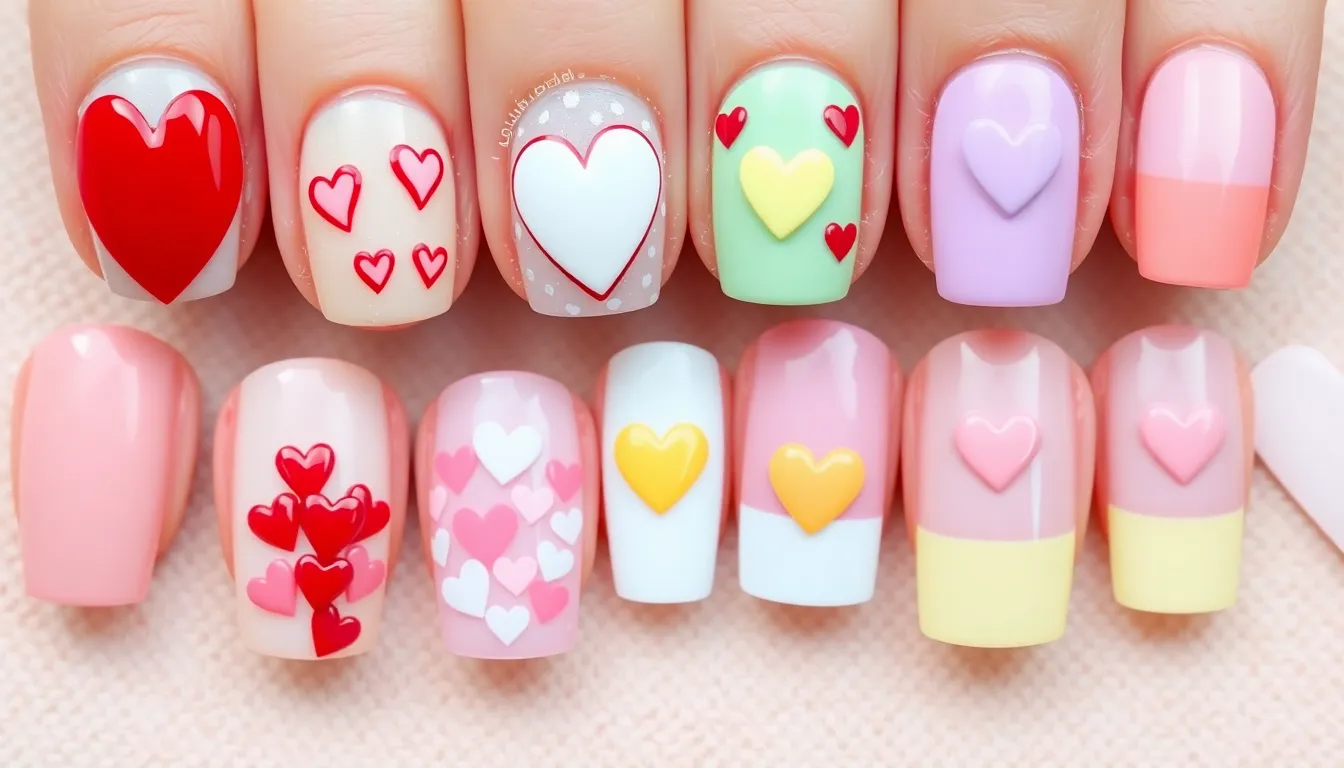
Heart motifs bring romance and sweetness to your manicure with effortless charm. These adorable designs work perfectly for date nights, Valentine’s Day, or simply expressing your playful side through nail art.
Classic Red Hearts
Red hearts create timeless nail art that never goes out of style. Start with a nude or clear base coat and let it dry completely before adding your heart designs. Use a small dotting tool or toothpick to create perfectly shaped hearts by making two dots side by side, then dragging the tool downward to form the heart’s point.
Position your hearts strategically across each nail for maximum visual impact. We recommend placing one large heart on the ring finger as an accent nail, then adding smaller hearts on the remaining fingers. Vary the heart sizes to create visual interest without overwhelming the design.
Classic red hearts pair beautifully with white bases for a Valentine’s Day look or nude bases for everyday elegance. Seal your design with a glossy top coat to make the red hearts pop and ensure your manicure lasts longer.
Pastel Heart Clusters
Pastel heart clusters offer a softer, more romantic approach to heart nail art. Choose three to four complementary pastel shades like baby pink, lavender, mint green, and soft yellow for your heart palette. Apply a white or very light pink base to make the pastel colors appear more vibrant.
Create small heart clusters by grouping different colored hearts together on each nail. Start with the lightest color first, then layer darker pastels on top for depth. Make some hearts overlap slightly to achieve a natural, organic clustering effect.
Mix different heart sizes within each cluster for visual texture and movement. We suggest using a fine detail brush or small dotting tool to create mini hearts alongside your regular sized ones. This technique adds whimsical charm that’s perfect for spring and summer manicures.
Heart Shaped French Tips
Heart shaped French tips transform the traditional French manicure into something magical and romantic. Replace the classic white tip with heart shaped outlines using your favorite colored polish. Start by applying a nude or pink base coat and allowing it to dry thoroughly.
Use nail guides or create your own template by cutting heart shapes from tape to achieve perfect symmetry. Place the heart template at the tip of each nail, then fill in the heart shape with red, pink, or any color of your choice. Remove the template immediately while the polish is still wet for clean, crisp edges.
Experiment with different heart tip variations like double hearts or gradient heart tips using two complementary colors. We love creating ombre effects within the heart shape by blending from light to dark pink for a sophisticated romantic look. Finish with a high gloss top coat to make your heart shaped tips shine beautifully.
Glitter Accent Nails Without the Mess
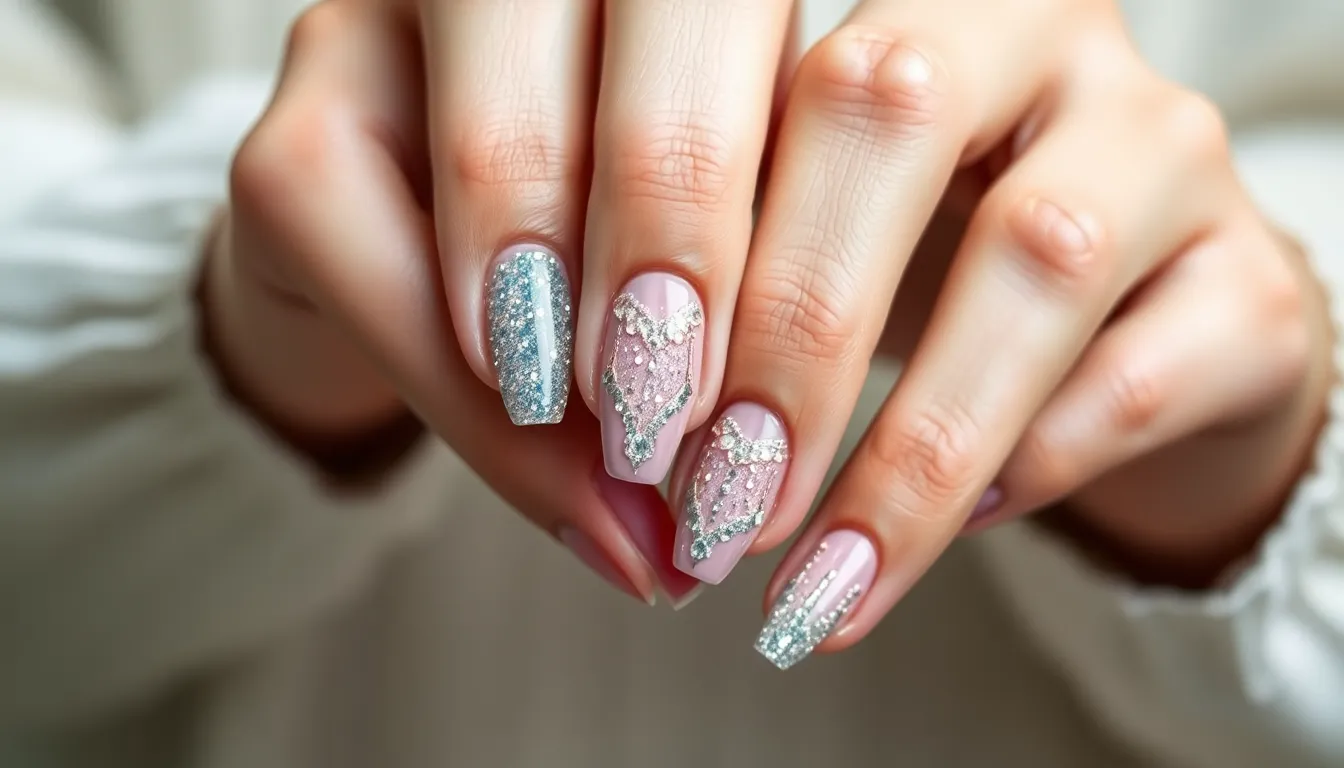
Glitter nail art doesn’t have to mean cleanup chaos or endless scrubbing afterward. We’ll show you three foolproof techniques that contain the sparkle while maximizing the glamour.
Single Glitter Feature Nail
Focus your glitter application on just one accent nail per hand to create maximum impact without overwhelming your entire manicure. Choose your ring finger or middle finger as the perfect canvas for this sparkling statement piece.
Apply a base coat to all nails first, then paint four nails with your chosen solid color while leaving your accent nails bare. Wait for the solid color to dry completely before moving to the glitter application.
Use a makeup sponge to dab glitter polish onto your accent nail rather than brushing it on directly. This technique prevents streaking and gives you better control over the glitter distribution. Press the sponge gently against the nail surface, building up the sparkle gradually with multiple light layers.
Seal your design with a high quality top coat to lock in the glitter particles and create a smooth finish. Apply thin coats to avoid dragging the glitter or creating bubbles in your design.
Glitter Gradient Technique
Start with a solid base color that complements your chosen glitter shade for the best gradient effect. Nude, black, or deep jewel tones work exceptionally well as foundation colors for this technique.
Apply glitter polish to a makeup sponge in a gradient pattern, with the heaviest concentration at the tip and lighter coverage toward the cuticle. Dab the sponge onto your nail, starting at the free edge and pressing less firmly as you move toward the base.
Build the gradient slowly with three to four light applications rather than trying to achieve full coverage in one pass. Allow each layer to dry completely before adding the next to prevent the glitter from clumping or sliding around.
Clean up any excess glitter around your cuticles using a small brush dipped in nail polish remover while the design is still slightly tacky. This prevents glitter particles from sticking to your skin permanently.
Glitter Cuticle Line Design
Create a delicate glitter accent by applying sparkle only along the cuticle line for an elegant reverse French manicure effect. This technique works beautifully with clear or nude base colors.
Use a thin nail art brush dipped in glitter polish to draw a precise line along your cuticle area. Keep the line thin and consistent, following the natural curve of your cuticle for the most flattering result.
Apply the glitter line on dry base polish to prevent bleeding or smudging of your design. Work slowly and steadily, using your non dominant hand to rest against a flat surface for better control.
Finish with a glossy top coat that extends slightly over the glitter line to blend it seamlessly with the rest of your nail. This creates a professional salon quality finish that lasts longer and resists chipping.
Quick Ombre Effects Using Makeup Sponges
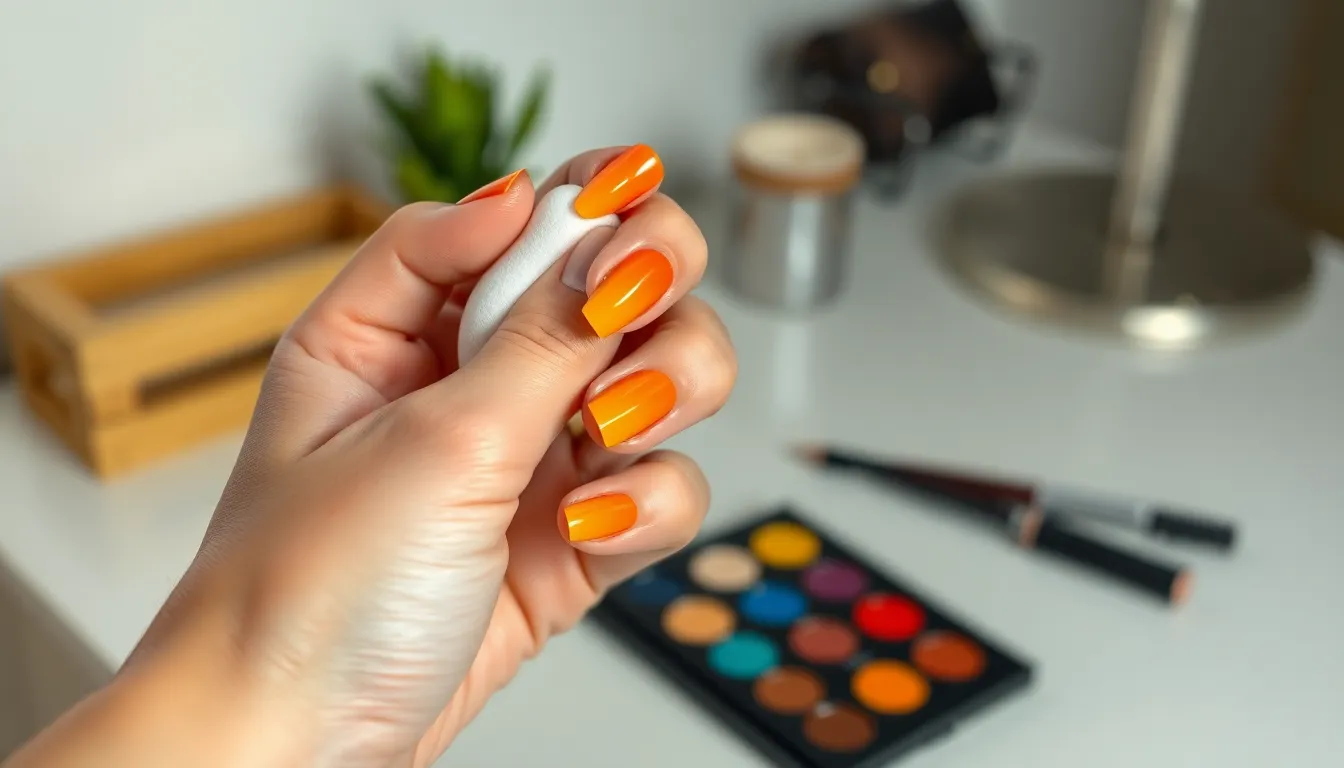
We’ve discovered that makeup sponges create the smoothest ombre nail art with minimal effort and professional results. These versatile tools blend colors seamlessly while eliminating harsh lines that traditional brushes often leave behind.
Two-Color Sunset Ombre
Sunset ombre nails capture the warm glow of golden hour with just two complementary shades. Start by applying your lighter color as the base coat on all nails and allow it to dry completely. Paint both colors side by side on a small palette or piece of foil, creating a small puddle of each shade.
Dampen your makeup sponge slightly with water to prevent it from absorbing too much polish. Dab the sponge into both colors simultaneously, picking up the darker shade on one edge and the lighter on the other. Press the sponge gently onto your nail, starting from the tip and working toward the cuticle with a gentle bouncing motion.
Blend the colors by dabbing repeatedly in the center area where they meet. Orange to yellow combinations work beautifully for classic sunset looks, while pink to coral transitions create romantic evening vibes. Apply a top coat immediately after achieving your desired blend to seal the gradient and add shine.
Multicolor Rainbow Fade
Rainbow fade nails transform your fingertips into miniature works of art using three to five vibrant colors. Choose colors that flow naturally together, such as red, orange, yellow, green, and blue, or opt for a monochromatic rainbow using different shades of the same color family.
Apply your lightest color as the base and let it dry. Line up your chosen colors on your palette in the order you want them to appear on your nail. Dab your damp makeup sponge across all colors, ensuring each section of the sponge picks up a different hue.
Press the sponge onto your nail with the lightest color at the cuticle and the darkest at the tip. Roll the sponge slightly as you dab to create fluid color transitions between each shade. Build up the intensity gradually with multiple light applications rather than one heavy coat.
Clean up any excess polish around your cuticles with a small brush dipped in acetone. Purple to blue to teal combinations create stunning ocean effects, while pink to purple to blue gradients deliver dreamy galaxy vibes.
Subtle Nude Ombre
Nude ombre nails offer sophisticated elegance perfect for professional settings and everyday wear. Select two to three nude shades within the same undertone family, ensuring they differ by only one or two shades for the most natural effect.
Begin with your lightest nude shade as the base color and allow it to cure completely. Peachy nudes blend beautifully with deeper caramel tones, while cool pink nudes pair perfectly with taupe or mushroom shades.
Apply your colors to the palette with the lightest shade taking up most of the space. Load your damp sponge primarily with the light color and just a touch of the darker shade on one edge. Focus the darker color near the nail tip while keeping the cuticle area light and natural.
Build the gradient slowly with gentle dabbing motions, paying attention to creating an almost imperceptible transition. The goal is subtle sophistication rather than dramatic contrast. Finish with a glossy top coat to enhance the natural shine and create a polished, professional appearance that complements any outfit.
Adorable Seasonal Nail Art Ideas
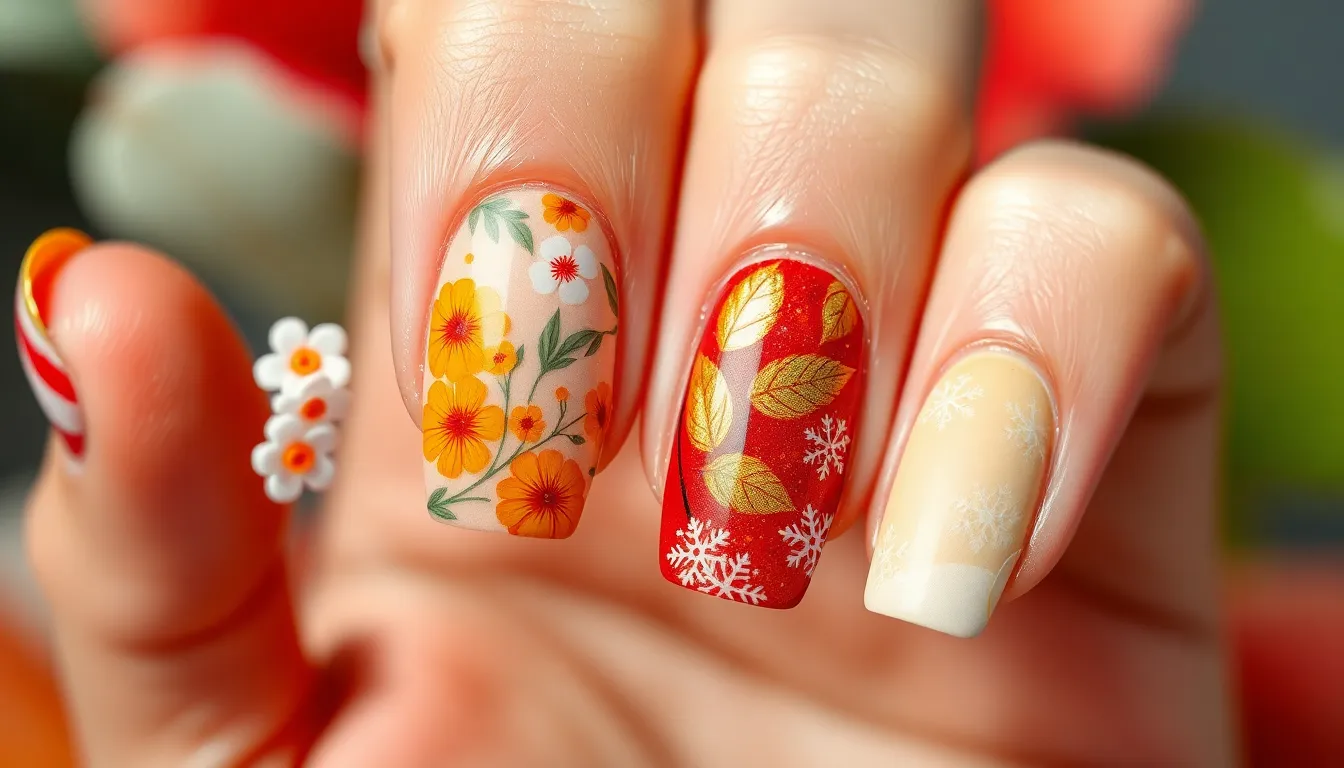
Seasonal nail art lets us celebrate every time of year with designs that capture the essence of each season. We can easily adapt our favorite techniques from polka dots and stripes to create themed looks that match the changing weather and holidays.
Spring Pastel Themes
Soft lavender flowers bloom beautifully when we use our dotting tool techniques with pale purple polish on a white base. Create delicate petals by making five small dots in a circle, then add a tiny yellow center for authentic spring blossoms.
Baby pink cherry blossoms capture spring’s gentle awakening using the same floral methods we mastered earlier. Apply light pink dots in clusters of three to five, spacing them irregularly across the nail for a natural branch effect.
Mint green gradient base works perfectly with our ombre sponge technique, blending from white to soft green. Layer tiny white dots over the gradient to mimic fresh spring rain or budding flowers.
Pastel rainbow stripes transform our striping tape method into spring magic by alternating baby blue, soft yellow, and light pink bands. Keep stripes thin and evenly spaced for a delicate watercolor appearance.
Summer Beach Vibes
Ocean wave patterns come alive when we modify our horizontal stripe technique with varying shades of blue and white. Create irregular wavy lines instead of straight ones, building layers from dark navy at the bottom to sky blue at the top.
Tropical fruit accents use our dotting skills to create tiny pineapples on a sunny yellow base. Make diagonal crosshatch patterns with a thin brush, then add a small green crown using our precise line techniques.
Sunset ombre effects showcase our sponge blending method with warm coral, orange, and yellow tones. Blend from deep coral at the base to bright yellow at the tips for a perfect beach sunset capture.
Palm tree silhouettes transform our geometric line work into tropical scenes by painting simple black tree shapes over gradient backgrounds. Keep trees minimal with just a trunk and a few frond lines for clean summer elegance.
Fall Autumn Leaves
Golden maple leaves emerge when we adapt our heart-shaped dotting technique into leaf patterns. Create the basic leaf shape with burnt orange polish, then add darker veining with a thin brush for realistic autumn detail.
Burgundy and copper gradients use our proven ombre method with rich fall colors. Blend deep wine red into shimmering copper, creating the perfect backdrop for seasonal accent designs.
Scattered leaf patterns work beautifully over our nude base colors using small dotting motions in various autumn shades. Mix gold, orange, red, and brown dots randomly across nails for a fallen leaf effect.
Cozy plaid designs transform our grid pattern technique into warm flannel-inspired looks. Use thin tape to create intersecting lines in burgundy, gold, and cream for classic autumn sophistication.
Winter Holiday Motifs
Snowflake patterns shine when we use our dotting tool to create six-pointed stars with white polish on dark blue bases. Connect dots with thin lines radiating from the center, adding smaller dots at line endpoints for intricate crystal details.
Glittery evergreen trees combine our triangle geometric shapes with our accent glitter techniques. Paint simple green triangles stacked vertically, then brush fine gold glitter over wet polish for festive sparkle.
Candy cane stripes adapt our diagonal striping method with red and white alternating bands. Keep stripes thin and evenly spaced, curving slightly at the nail tip to mimic the classic holiday treat shape.
Holiday ornament designs use our circular dotting skills to create baubles in jewel tones like emerald, ruby, and sapphire. Add tiny gold caps at the top of each circle using our precise accent techniques for authentic ornament appeal.
Conclusion
With these simple techniques in your nail art toolkit you’ll never run out of creative possibilities. Each method we’ve covered requires only basic supplies yet delivers professional-looking results that’ll impress everyone.
The beauty of these designs lies in their versatility – you can mix and match techniques or adapt them to suit any occasion or season. Whether you’re heading to work or a special event there’s a perfect nail art style waiting for you.
Don’t be afraid to experiment with different color combinations and make these designs uniquely yours. Start with the techniques that feel most comfortable and gradually work your way up to more complex patterns as your confidence grows.
Your nails are a canvas for self-expression so have fun with the process and enjoy creating beautiful art right at your fingertips.
Frequently Asked Questions
What tools do I need to start doing nail art at home?
You only need basic tools like toothpicks, striping tape, dotting tools, makeup sponges, and reinforcement stickers. Most designs require regular nail polish in various colors, a base coat, and top coat. These affordable supplies can create professional-looking results without expensive equipment.
How long should I wait between nail art steps?
Always allow each layer to dry completely before applying the next step. Base coats typically need 2-3 minutes, while nail polish requires 5-10 minutes depending on thickness. Working on one nail at a time helps ensure proper drying and prevents smudging.
Can beginners really create professional-looking nail art?
Absolutely! The techniques covered focus on simple methods that deliver impressive results. Starting with basic designs like polka dots, stripes, and French tips builds confidence and skills. Practice on one or two nails first before doing a full manicure.
What’s the best way to prevent messy glitter application?
Focus glitter on just one accent nail, use a makeup sponge for gradient effects, or apply a thin glitter line along the cuticle. Always use a base coat and work over a paper towel to catch fallout. A top coat seals everything in place.
How do I make my nail art last longer?
Start with clean, prepped nails and always use a base coat. Apply thin layers of polish rather than thick coats, and seal everything with a quality top coat. Avoid hot water and wear gloves when cleaning to extend your manicure’s lifespan.
Which nail art technique is easiest for complete beginners?
Polka dots using a toothpick are the most beginner-friendly technique. Simply dip a toothpick in polish and dot onto dry base color. They’re forgiving, quick to create, and look adorable even if imperfect. Start with classic two-color combinations for best results.
Can I mix different nail art techniques on the same hand?
Yes! Mixing techniques like combining a glitter accent nail with striped designs or adding hearts to ombre backgrounds creates unique, personalized looks. Just ensure each nail complements the others and maintain a cohesive color scheme throughout your manicure.
What colors work best for nail art beginners?
Start with high-contrast combinations like black and white, or classic pairings like red and gold. Neutral bases with colorful accents are very forgiving. Avoid colors that are too similar in shade, as they won’t create enough visual impact for your designs.

