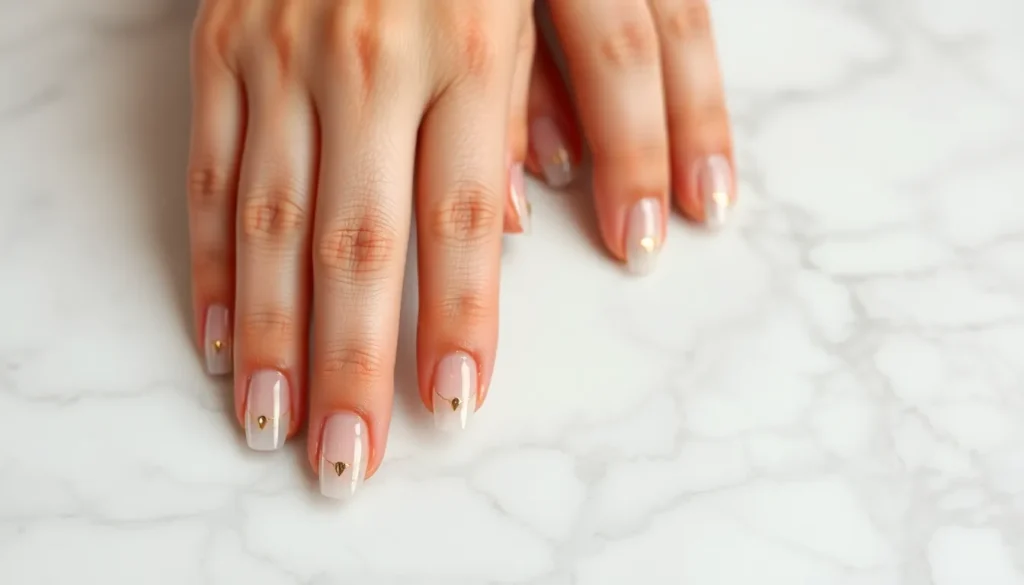
Clear nails are having a major moment – and we’re absolutely obsessed with this timeless trend that’s taking the beauty industry by storm. There’s something incredibly chic about perfectly polished transparent nails that effortlessly complement any outfit or occasion.
We’ve discovered that clear nail designs aren’t just about simplicity – they’re a canvas for creativity that allows your natural beauty to shine through. From glossy minimalist manicures to intricate clear nail art with subtle embellishments, these versatile looks work for everyone, whether you’re heading to the boardroom or walking down the aisle.
The best part? Clear nail ideas are incredibly low-maintenance and budget-friendly, making them perfect for busy lifestyles. We’ll show you how to achieve salon-quality results at home while exploring innovative techniques that’ll transform your basic clear polish into stunning statement nails that turn heads wherever you go.
Clear Base with Minimalist Accent Nails
Clear base coats provide the perfect foundation for subtle accent designs that add just enough visual interest without overwhelming your natural nail beauty. These understated approaches let you experiment with nail art while maintaining that effortless, polished look we all crave.
Single Gold Foil Strip
Gold foil strips create stunning focal points when applied to just one or two accent nails. We recommend placing a thin vertical strip down the center of your ring finger for an elegant touch that catches light beautifully. The metallic element contrasts perfectly against the transparent base, creating depth without adding bulk.
Application becomes effortless with pre-cut foil strips from beauty supply stores. Simply press the strip onto your tacky base coat, smooth out any air bubbles, and seal with a clear top coat. The result delivers sophisticated glamour that works equally well for office meetings and dinner dates.
Tiny Dot Patterns
Micro dots scattered across one accent nail transform simple clear polish into playful nail art. We suggest using a dotting tool or bobby pin to create small circles in metallic silver, rose gold, or white polish. The key lies in maintaining irregular spacing for that organic, hand painted aesthetic.
Strategic placement makes all the difference in achieving balanced designs. Focus dots along the nail bed’s lower third or create a diagonal pattern that flows from cuticle to tip. Three to five dots typically provide enough visual interest without creating chaos on your nail canvas.
Delicate Line Art
Fine line work elevates clear nails with architectural precision and modern appeal. We love creating geometric patterns using thin striping brushes dipped in contrasting polish colors like black, navy, or deep burgundy. Single straight lines, intersecting angles, or minimalist wave patterns work beautifully on accent nails.
Steady hand techniques ensure professional looking results every time. Rest your painting hand on a stable surface and use your non dominant hand as a guide. Draw lines slowly and deliberately, allowing each stroke to dry completely before adding intersecting elements or additional layers.
Clear Nails with Subtle Shimmer Effects
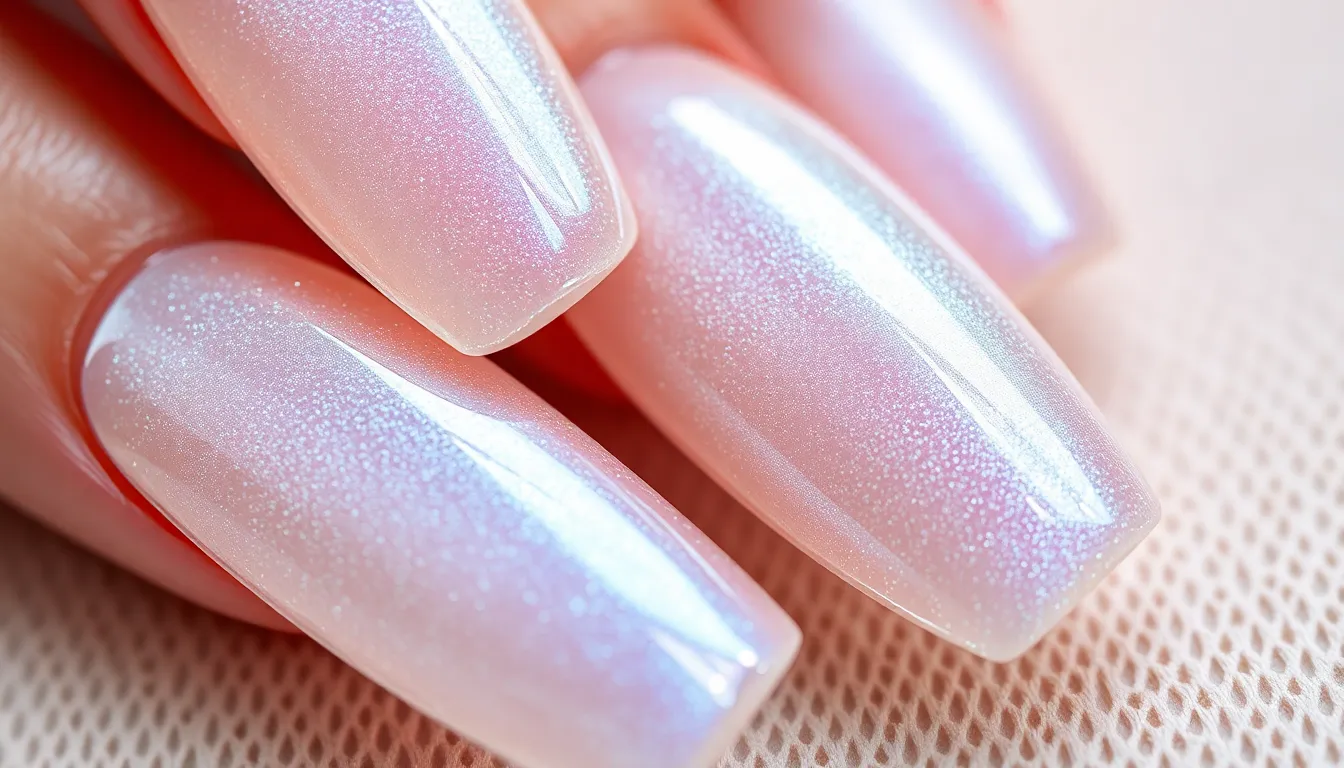
Shimmer effects transform basic clear polish into something truly special without overwhelming the natural beauty of your nails. We’ll explore three sophisticated techniques that add just the right amount of sparkle to your clear nail designs.
Iridescent Top Coats
Apply iridescent top coats over your clear base for an instant ethereal glow that shifts colors in different lighting. We recommend brands like Essie “Set in Stones” or Sally Hansen “Insta Dri” iridescent formulas for the most seamless application. These magical coats create a rainbow effect that appears subtle indoors but catches light beautifully when you move your hands.
Layer thin coats to build up the intensity gradually rather than applying one thick layer. Start with your clear base color completely dry, then brush on the iridescent top coat in smooth strokes from cuticle to tip. We suggest waiting 2-3 minutes between coats if you want a more pronounced shimmer effect.
Focus on the ring finger and thumb as accent nails if you prefer a more understated look. This technique works exceptionally well for office settings where you want polish that’s professional yet eye catching.
Fine Glitter Gradients
Create stunning ombre effects by concentrating fine glitter particles at the nail tips and gradually fading toward the base. We use a makeup sponge to dab glitter polish in a patting motion, starting heavy at the tips and lightening the pressure as we move toward the cuticle area.
Select ultra fine glitters in silver, gold, or holographic shades that complement your skin tone perfectly. Brands like Zoya “Magical Pixie” collection or OPI “Liquid Sand” series offer the ideal particle size for smooth gradient transitions. These formulas blend seamlessly with clear polish without creating bumpy textures.
Build the gradient slowly with multiple thin applications rather than trying to achieve the look in one coat. We start with just a whisper of glitter at the tips, let it dry completely, then add slightly more coverage with each subsequent layer until we achieve the desired intensity.
Pearl Powder Accents
Mix pearl powder directly into clear polish to create a custom shimmer blend that’s uniquely yours. We recommend using cosmetic grade pearl powders in white, champagne, or rose gold tones for the most flattering results. A tiny amount goes a long way, so start with just a pinch and add more as needed.
Apply pearl accents strategically to create focal points rather than covering the entire nail surface. We like to brush pearl mixture along the nail bed’s center or create delicate curved lines that follow the natural nail shape. This technique adds dimension while maintaining the transparent quality that makes clear nails so appealing.
Seal pearl applications with a quality top coat to prevent the powder from wearing off during daily activities. We suggest using a slightly thicker top coat formula like Seche Vite or Glisten & Glow to lock in the pearl particles and create a smooth, professional finish that lasts up to two weeks.
Clear French Manicure Variations
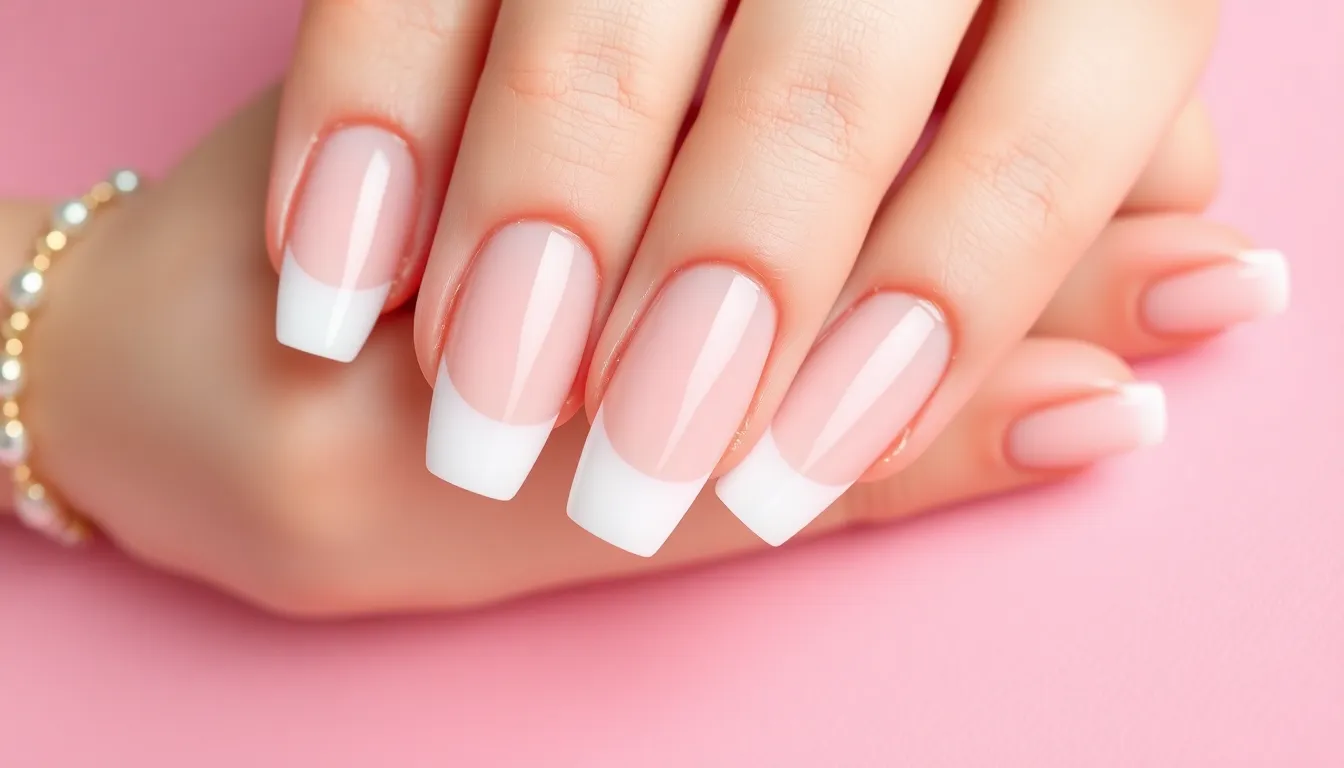
We’ve elevated the classic French manicure with innovative twists that maintain the timeless elegance while adding modern flair. These sophisticated variations transform clear nails into stunning focal points perfect for any occasion.
Classic White Tips
Classic White Tips create the quintessential French manicure that never goes out of style. We recommend using a high-quality white polish like Essie’s “Blanc” or OPI’s “Alpine Snow” for the crispest, most opaque coverage. Start by applying your clear base coat and allowing it to dry completely before creating your smile line.
Position your brush at a 45-degree angle to achieve the perfect curve, beginning from one corner of the nail and sweeping across to the other. Practice makes perfect with this technique, so don’t worry if your first attempts aren’t flawless. The key lies in steady hand movements and consistent pressure throughout the stroke.
Finish with a glossy top coat to seal your design and add durability to your manicure. This classic combination typically lasts 7-10 days with proper care and cuticle oil application every other day.
Colored French Tips
Colored French Tips offer endless possibilities for personalizing your clear nail canvas with vibrant or subtle hues. We love experimenting with soft pastels like lavender, mint green, or coral pink for spring and summer looks. Bold colors such as deep burgundy, navy blue, or emerald green create striking statements for fall and winter seasons.
Apply your chosen color using the same technique as traditional white tips, ensuring clean lines and even coverage. Popular color combinations include rose gold with clear base for romantic occasions, or black tips for edgy, contemporary styles. Consider your skin tone when selecting colors; cooler undertones complement blues and purples while warmer undertones pair beautifully with corals and golds.
Layer different shades on each nail for an ombre effect, transitioning from light to dark across your fingertips. This gradient technique adds visual interest while maintaining the sophisticated French manicure structure.
Reverse French Designs
Reverse French Designs flip the traditional concept by placing color at the base of your nail instead of the tip. We create these eye-catching looks by painting a curved line near the cuticle area, leaving the majority of the nail clear. This technique works exceptionally well with metallic shades like champagne, silver, or rose gold.
Start with a thin brush or striping tool to create precise half-moon shapes at your nail base. The reverse technique requires extra patience since you’re working closer to delicate cuticle skin. Use tape or nail guides if you’re new to this style, removing them while the polish is still slightly wet for clean edges.
Experiment with geometric shapes instead of traditional curves, such as triangular points or straight lines across the base. These modern interpretations of reverse French manicures complement minimalist jewelry and contemporary fashion choices perfectly.
Clear Nails with Embedded Elements
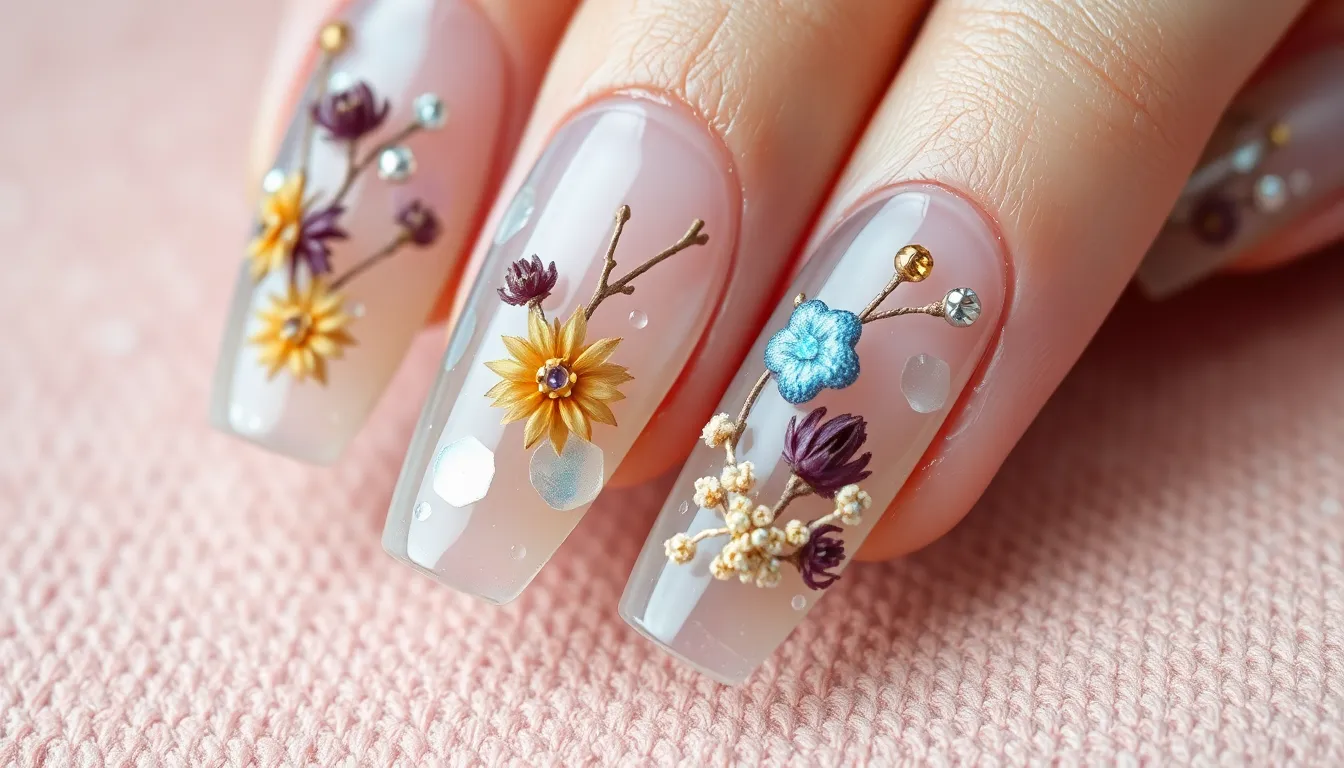
Embedded elements transform clear nail polish into stunning three-dimensional art pieces. These decorative additions create depth and visual interest while maintaining the sophisticated transparency we love about clear nails.
Dried Flowers and Leaves
Dried flowers create romantic botanical nail art that feels effortlessly elegant. We recommend using small petals from roses, baby’s breath, or pressed violets for the most striking effects. Apply a base coat of clear polish and gently press the dried elements onto wet polish using tweezers or a toothpick.
Miniature leaves from ferns or eucalyptus add an earthy sophistication to clear nails. Position these delicate elements near the cuticle area or along one side of the nail for asymmetrical beauty. Seal everything with two thin coats of clear top coat to prevent lifting and ensure longevity.
Real flower preservation requires proper drying techniques to maintain color vibrancy. Press fresh petals between paper towels for 2-3 weeks or use silica gel packets for faster results. Store dried elements in airtight containers to prevent moisture damage before application.
Holographic Flakes
Holographic flakes deliver mesmerizing rainbow effects that shift with every movement. We suggest applying these iridescent pieces over a tacky base coat for maximum adhesion. Use a small brush or tweezers to place individual flakes strategically across the nail surface.
Large flakes work best as accent pieces on one or two nails per hand. Create stunning focal points by clustering several flakes near the nail tip or arranging them in geometric patterns. Mix different sizes for added dimension and visual complexity.
Butterfly-shaped holographic elements add whimsical charm to clear nail designs. Position these delicate pieces to appear as if they’re landing on your nails naturally. Apply extra top coat around the edges to secure raised elements and create smooth finishes.
Small Rhinestones and Crystals
Rhinestones transform clear nails into glamorous statement pieces perfect for special occasions. We recommend using high-quality crystals in sizes 2mm to 4mm for optimal balance and wearability. Apply these sparkling elements while your base coat remains slightly tacky for secure placement.
Crystal patterns create sophisticated designs that catch light beautifully throughout the day. Arrange stones in straight lines along the nail bed or create delicate floral motifs near the cuticle. Use nail glue for extra security on larger stones that might experience more wear.
Color combinations with clear crystals maintain the transparent aesthetic while adding brilliance. Mix clear stones with subtle champagne or rose gold tones for elegant coordination. Apply stones to accent nails only to prevent overwhelming the overall design and maintain wearability for daily activities.
Clear Geometric Nail Art Designs
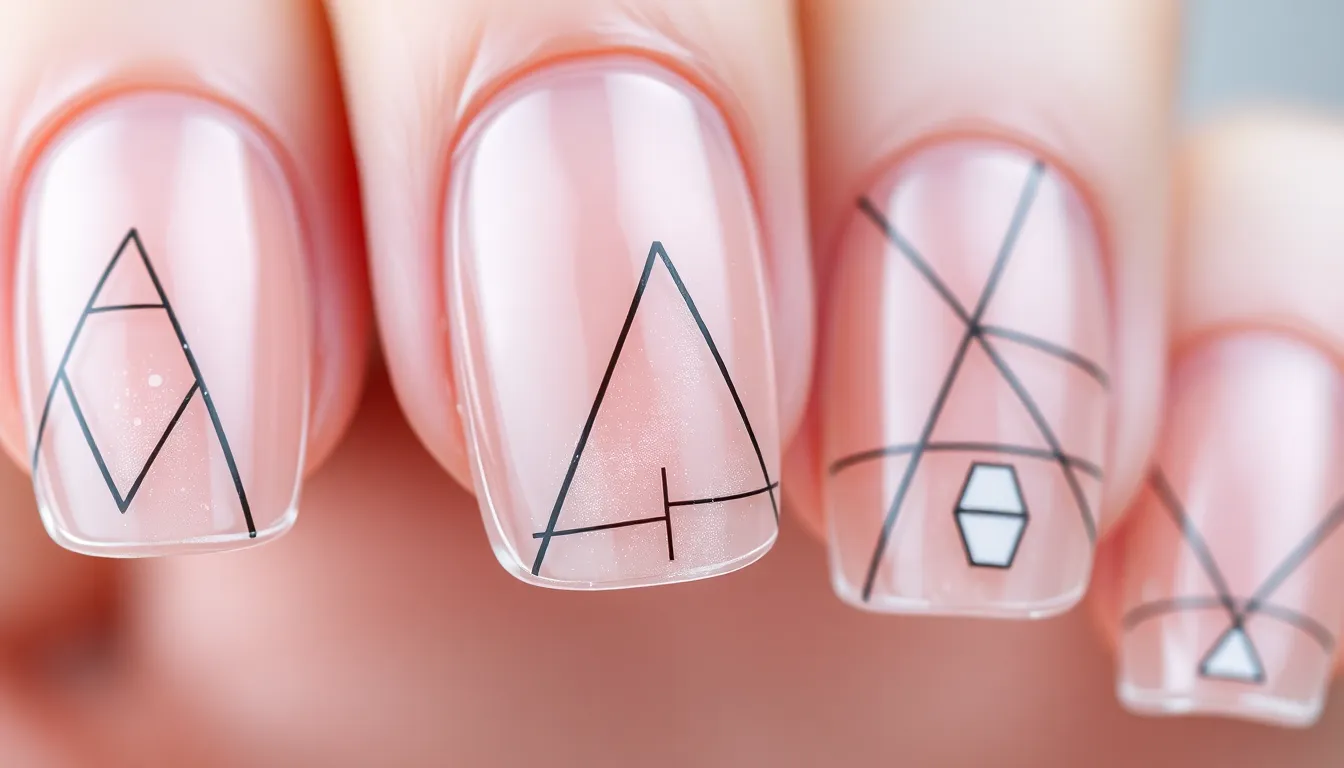
Geometric patterns on clear nails create striking architectural beauty that transforms minimalist manicures into sophisticated statement pieces. We’ll explore three essential geometric techniques that showcase precision and modern artistry.
Negative Space Triangles
Negative space triangles offer dramatic visual impact by strategically exposing clear nail sections within bold geometric frameworks. We recommend using striping tape to create perfect triangle outlines before applying your chosen polish color. Position triangles at different angles across each nail to create ever-changing movement and visual interest.
Start by applying a clear base coat and allowing it to dry completely. Place thin striping tape in triangle formations on alternating nails for balanced asymmetry. Apply two coats of your selected color over the exposed areas, then carefully remove the tape while the polish remains slightly wet for clean edges.
Professional nail artists suggest varying triangle sizes across your manicure to avoid repetitive patterns. Large triangles work beautifully on ring fingers as accent nails, while smaller geometric shapes complement the remaining nails perfectly.
Wire Thin Lines
Wire thin lines create elegant geometric grids that add architectural precision to clear nail designs without overwhelming their transparent beauty. We achieve these ultra fine lines using specialized striping brushes or nail art pens designed for detailed work. Strategic line placement transforms simple clear polish into sophisticated geometric masterpieces.
Create parallel lines running vertically or horizontally across each nail for classic grid patterns. Intersecting diagonal lines form diamond shapes that catch light beautifully against clear backgrounds. Mix metallic colors like gold, silver, or rose gold for luxurious wire thin line effects.
Practice steady hand movements on practice wheels before attempting wire thin lines on natural nails. We recommend starting with single accent nails to master the technique before applying geometric line patterns across entire manicures.
Abstract Shapes
Abstract shapes allow creative freedom while maintaining geometric design principles that complement clear nail aesthetics perfectly. We combine irregular polygons, organic curves, and unexpected angles to create unique artistic expressions on transparent backgrounds. Each nail becomes an individual canvas for geometric experimentation.
Use dotting tools to create small circular elements within larger abstract shapes for added visual texture. Combine matte and glossy finishes within single abstract designs to enhance dimensional effects. Outline abstract shapes with contrasting colors to define boundaries and create striking focal points.
Experiment with color blocking techniques inside abstract geometric forms for bold artistic statements. We suggest limiting color palettes to two or three complementary shades to maintain sophisticated geometric harmony across your clear nail manicure.
Clear Gradient and Ombre Effects
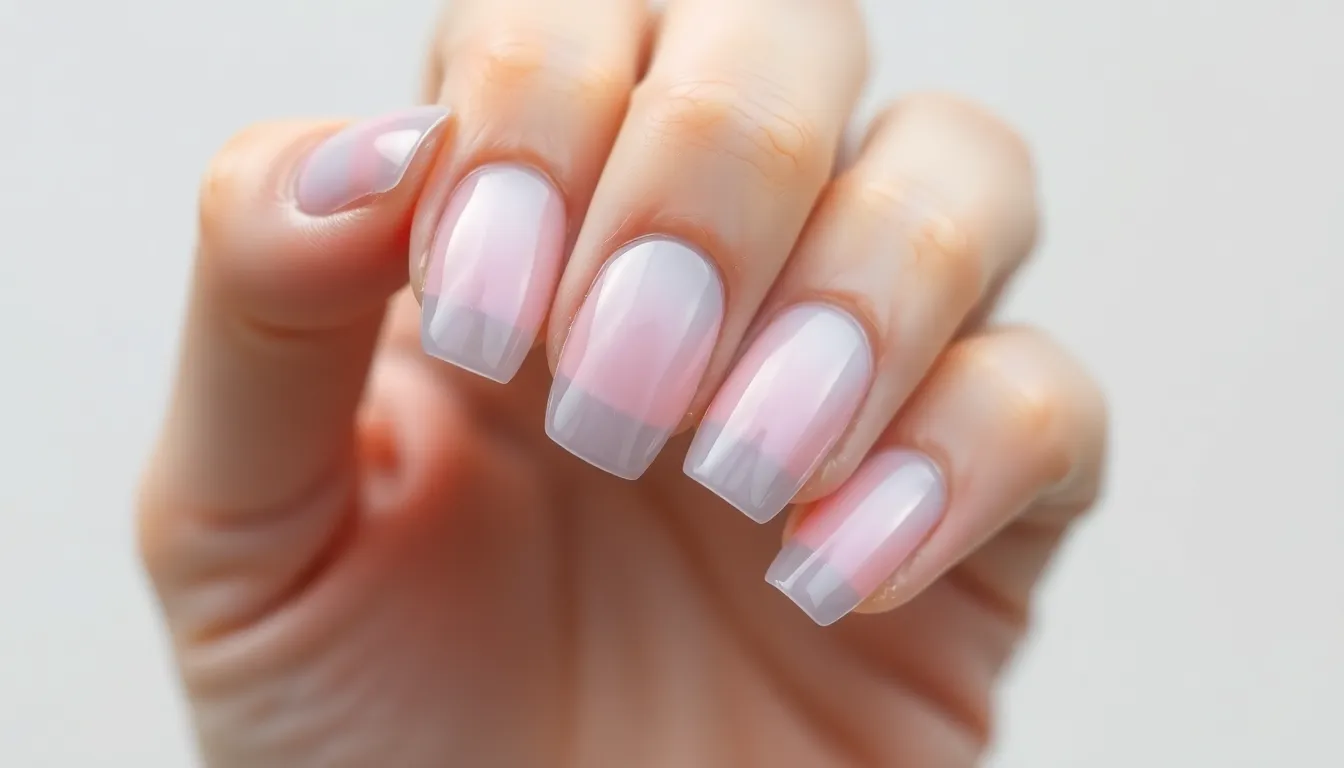
Creating smooth color transitions on clear nails transforms simple manicures into ethereal masterpieces. We’ll explore three sophisticated techniques that blend colors seamlessly while maintaining the transparent beauty of clear polish.
Subtle Color Transitions
Apply a base coat of clear polish and let it dry completely before starting your gradient work. We recommend using a makeup sponge to dab two complementary colors together, creating a natural fade from one shade to another. Start with light pink at the cuticle and blend into clear tips for a barely-there flush of color that enhances your natural nail bed.
Mix your chosen polish with clear topcoat in a 1:3 ratio to achieve the perfect transparency level. We’ve found that pastels like lavender, peach, and mint green work exceptionally well for creating subtle transitions. Blend the colors while they’re still wet using gentle tapping motions with a clean sponge.
Seal your gradient with two thin coats of clear topcoat to smooth any texture from the sponging technique. We suggest waiting 60 seconds between each application to prevent smudging your carefully crafted transition.
Cloud-Like Blending
Create dreamy cloud effects by using white polish mixed with clear base in varying ratios. We start with a 1:4 ratio for wispy edges and increase opacity toward the center of each “cloud.” Dab the mixture onto your nails using a sea sponge for the most natural texture.
Layer multiple shades of white and gray to build depth in your cloud design. We recommend applying the lightest shade first, then adding deeper tones in strategic areas. Work quickly while the polish remains workable, typically within 30 seconds of application.
Soften harsh edges by gently patting with a clean, damp makeup sponge. We’ve discovered that rotating the sponge while patting creates the most realistic cloud formations on clear nails.
Translucent Layering
Build your ombre effect using multiple thin layers of the same color mixed with clear polish. We start with a 1:5 ratio for the first layer and gradually increase the color concentration with each subsequent coat. Apply each layer only to the portion of the nail where you want increased opacity.
Graduate the intensity by applying the first layer to 80% of your nail, the second to 60%, and continue reducing coverage with each coat. We typically use 4-5 layers to achieve a smooth gradient from fully clear to richly colored tips.
Blend each layer while it’s still tacky using a flat shader brush dipped in clear topcoat. We move the brush in gentle sweeping motions from the color toward the clear area to eliminate any visible lines between layers.
Clear Nails with Textured Finishes
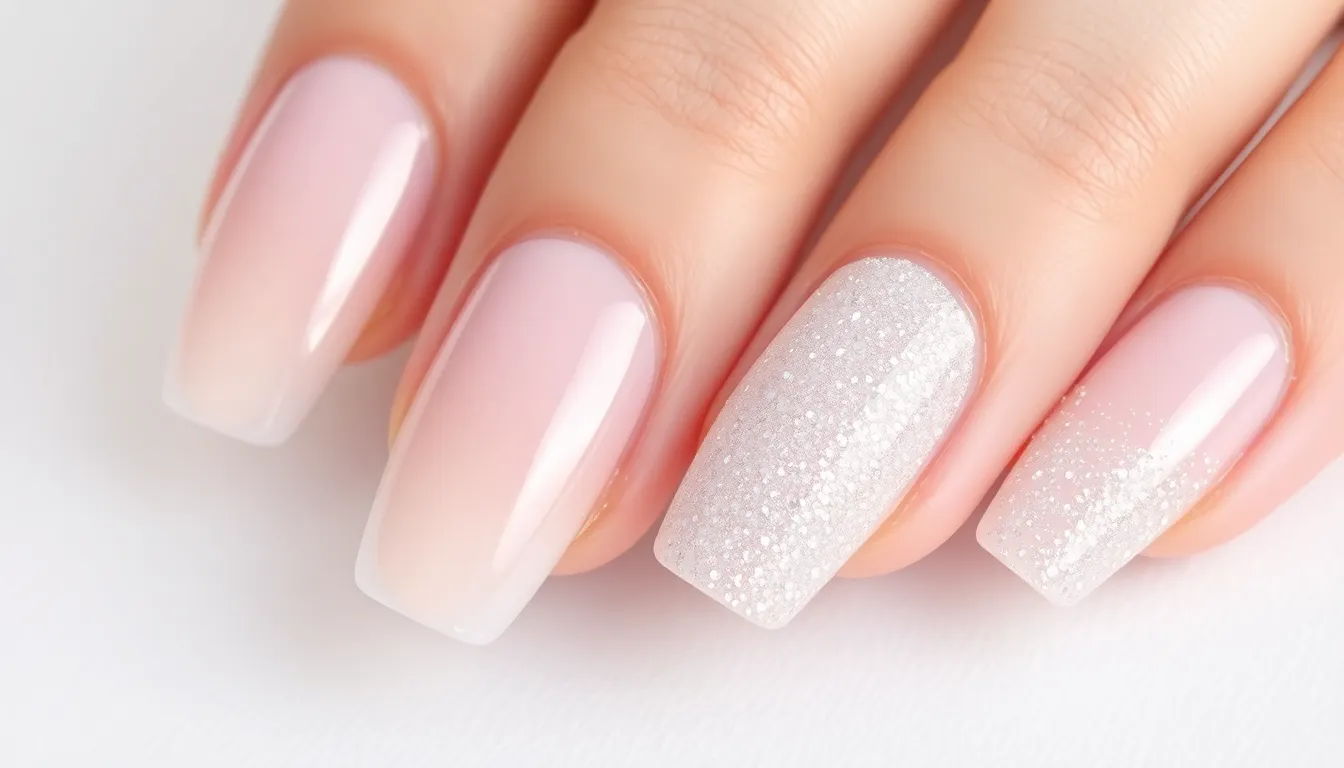
Textured finishes transform clear nail polish from glossy simplicity into tactile masterpieces that invite touch and admiration. These innovative techniques create dimensional surfaces that catch light uniquely while maintaining the transparent elegance we love about clear manicures.
Matte Top Coat Applications
Matte top coats instantly transform glossy clear polish into sophisticated velvet surfaces that exude modern elegance. We recommend applying a thin layer over completely dry clear polish using steady horizontal strokes from cuticle to tip. Professional matte finishes like Essie Matte About You or OPI Matte Top Coat provide superior coverage and longevity lasting up to 7 days.
Strategic application creates stunning contrast effects when combined with glossy elements. Apply matte finish to exact areas like nail tips or geometric sections while leaving other portions glossy for dimensional visual interest. This technique works beautifully with our previously discussed geometric patterns and French tip variations.
Layering multiple thin coats prevents streaking and ensures even coverage across the entire nail surface. Allow each coat to dry completely for 2-3 minutes before applying the next layer. The matte texture provides excellent grip for nail art additions like rhinestones or dried flowers.
Sugar Sand Effects
Sugar sand textures create grainy surfaces that mimic beach sand while maintaining clear nail transparency. Mix fine cosmetic sand or sugar granules directly into clear top coat using a 3:1 polish to texture ratio for optimal consistency. Brands like China Glaze Texture Collection offer pre-made textured polishes that eliminate mixing guesswork.
Application requires gentle dabbing motions rather than brushing to distribute granules evenly across the nail surface. We suggest working quickly since textured polishes thicken faster than regular formulas. Focus on one nail at a time for best results and smooth finish quality.
Creating gradient sand effects involves applying heavier texture at nail tips and lighter coverage toward cuticles. This technique mimics natural sand dune formations while keeping the overall look sophisticated. The textured surface catches overhead lighting beautifully and creates interesting shadow play throughout the day.
Velvet Powder Techniques
Velvet powder transforms wet clear polish into luxurious fabric textures that feel incredibly soft to touch. Apply base clear coat and immediately dust velvet flocking powder over the wet surface using a fluffy brush or powder applicator. Popular brands like Born Pretty Store offer velvet powders in multiple colors that complement clear bases perfectly.
Timing proves critical since powder must adhere to tacky polish surfaces within 30 seconds of application. We recommend working on one nail completely before moving to the next finger. Gently press powder into the polish using a clean brush to ensure secure adhesion and smooth texture distribution.
Sealing velvet nails requires careful top coat application to avoid disturbing the powder texture. Use quick light strokes or consider spray sealers that won’t flatten the velvet surface. The finished effect creates nails that look like tiny velvet cushions while maintaining the clear polish’s natural beauty underneath.
Clear Water Marble Techniques
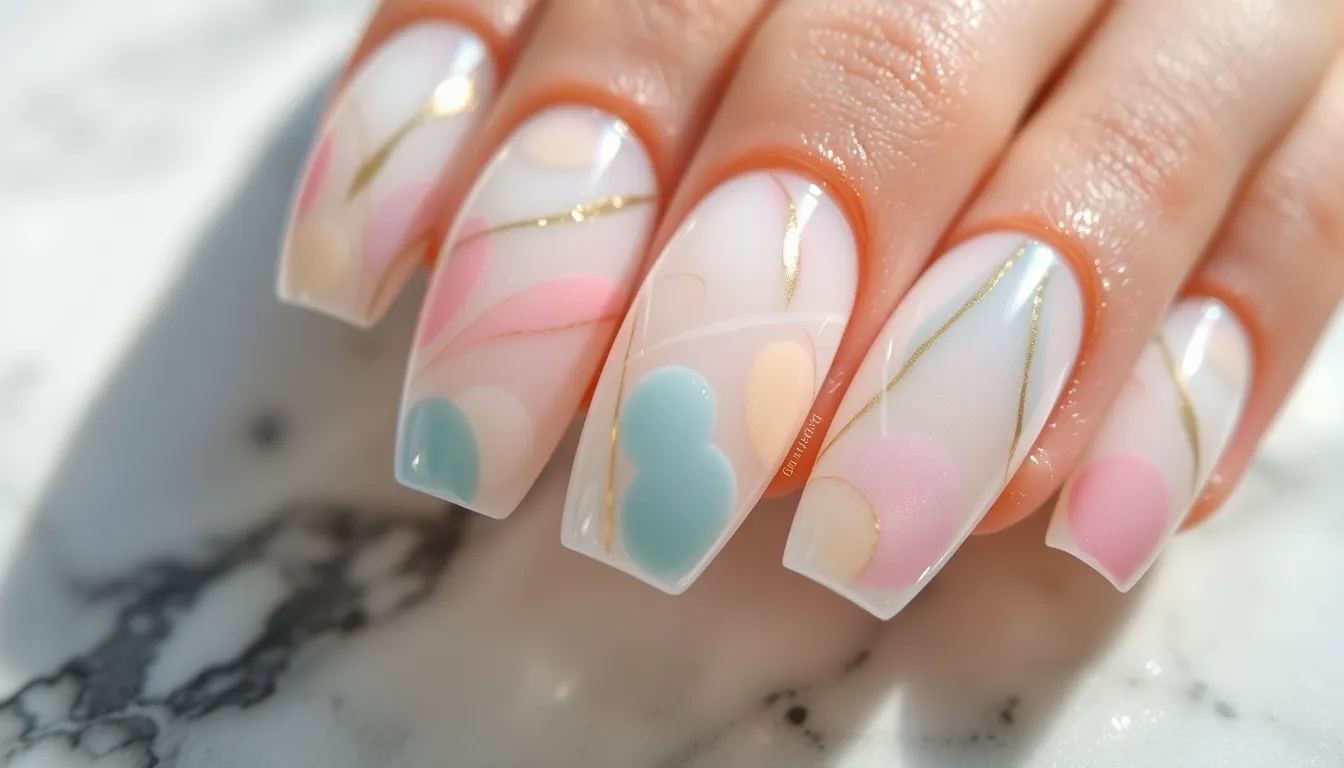
Water marbling transforms clear nail polish into mesmerizing fluid art that captures movement and elegance in every design. We’ll explore three stunning approaches that create organic patterns while maintaining the sophisticated transparency that makes clear nails so captivating.
Monochromatic Swirls
Creating monochromatic swirls gives us the perfect introduction to water marbling while keeping the focus on clear polish beauty. We start by filling a small cup with room temperature filtered water and dropping our clear base polish into the center. Adding white or black polish in alternating drops creates concentric circles that we can manipulate with a toothpick or dotting tool.
Drawing the tool from the center outward creates classic petal patterns, while figure eight motions produce flowing organic swirls. We dip our prepared nail straight down through the design and hold it steady for three seconds before lifting. The key lies in working quickly since polish films form rapidly on water surfaces.
Cleanup becomes essential for professional results, so we apply liquid latex or tape around our cuticles before beginning. This technique works beautifully on accent nails or can be applied to all ten fingers for a cohesive ethereal look.
Pastel Color Drops
Pastel color drops elevate our water marble technique by introducing soft hues that complement clear polish without overwhelming its natural elegance. We choose two to three pastel shades like lavender, mint green, or dusty pink that blend harmoniously when mixed.
Dropping each color alternately into our water cup creates delicate rings that we can swirl gently for subtle mixing effects. The transparency of our clear base allows these soft colors to show through like watercolor paintings on glass. We avoid over mixing since pastel marbles look most beautiful when colors remain somewhat distinct.
Temperature control becomes crucial with pastels since cooler water helps maintain their soft appearance. We work with nail polish that’s been stored at room temperature for at least two hours to ensure smooth flow patterns. Each nail receives its own unique pattern, creating a cohesive yet varied manicure that feels both artistic and wearable.
Metallic Accent Marbling
Metallic accent marbling introduces luxury elements that catch light beautifully against clear nail backgrounds. We select one metallic shade like rose gold, silver, or champagne to pair with our clear base, creating sophisticated contrast without losing transparency.
Adding just one drop of metallic polish to every three drops of clear creates subtle veining effects that resemble natural marble stone. We can intensify the metallic presence by using two drops for more dramatic patterns or keep it minimal for everyday elegance.
The metallic particles settle differently than regular polish, so we work faster and use gentle swirling motions to prevent separation. These designs photograph beautifully under different lighting conditions since the metallic elements create depth and dimension. We seal our water marble designs with a quality top coat to preserve the intricate patterns and ensure long lasting wear that maintains its artistic appeal.
Clear Stamping and Decal Ideas
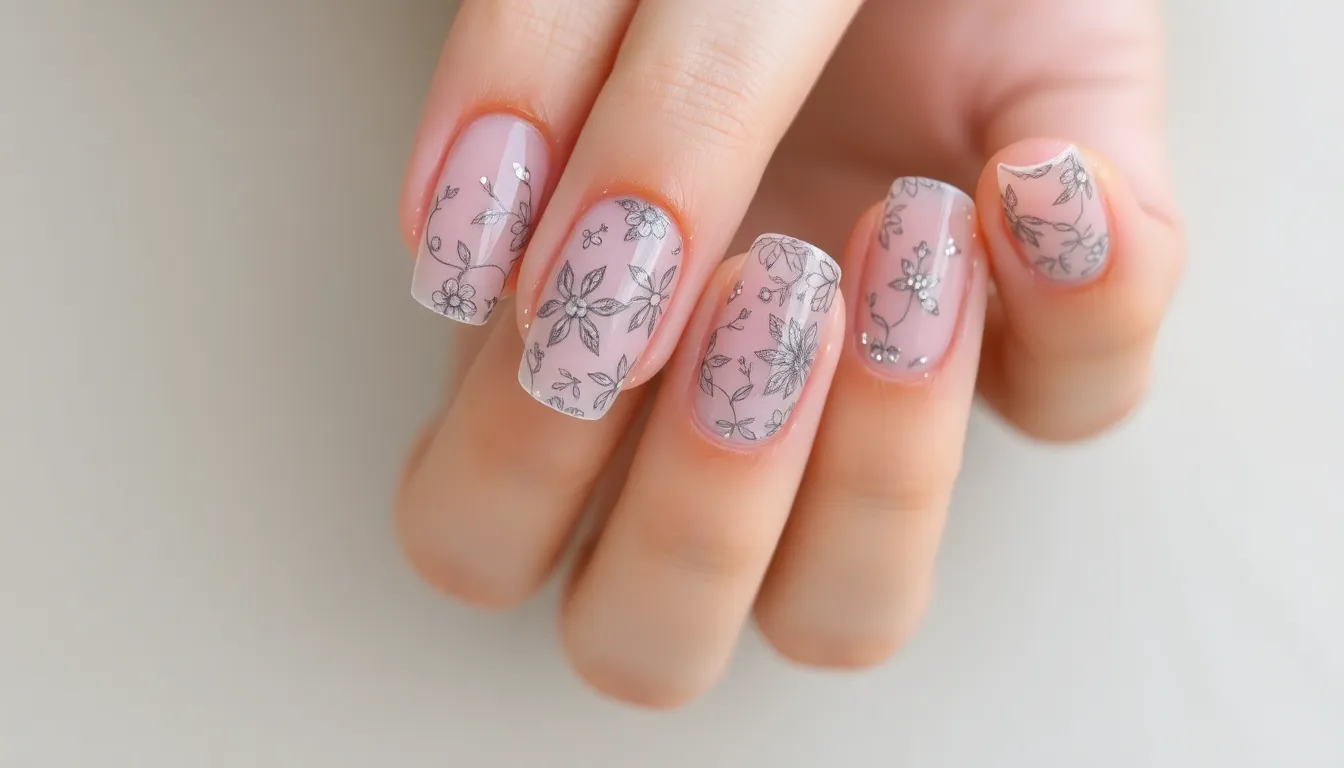
Clear nail stamping and decals open new dimensions for nail artistry while preserving the transparent elegance we’ve been exploring. These techniques allow us to layer intricate patterns and designs over our clear base without compromising the sophisticated minimalist aesthetic.
Transparent Stamping Plates
Transparent stamping plates create stunning layered effects that complement our clear nail foundation perfectly. We recommend using specialized clear stamping polishes that maintain transparency while delivering crisp pattern definition. Popular plate designs include delicate lace patterns, geometric grids, and botanical motifs that enhance rather than overwhelm the natural nail bed.
Application technique requires steady pressure and quick movement to achieve clean transfers. We suggest using a silicone stamper for best results with transparent polishes, as it picks up fine details more effectively than traditional rubber stampers. Practice the stamping motion on paper first to perfect your technique before applying to nails.
Layering multiple transparent stamps creates dimensional artwork that catches light beautifully. Start with larger background patterns and add smaller detail stamps on top. We’ve found that alternating between different transparency levels creates depth while maintaining the clear aesthetic we’re cultivating throughout this manicure journey.
Water Transfer Decals
Water transfer decals offer precision placement for intricate designs that would be challenging to paint freehand. We prefer high quality decal brands like Born Pretty and BGMAX that provide crisp lines and vibrant colors while maintaining flexibility. Soak decals in room temperature water for 15-20 seconds until they slide easily from the backing paper.
Strategic placement enhances the overall design without overwhelming the clear base. We recommend positioning larger decals on accent nails and using smaller motifs across remaining fingers for balance. Popular choices include delicate butterflies, minimalist text, and abstract line art that complement the transparent canvas beautifully.
Sealing techniques preserve decal longevity and maintain the smooth finish essential for professional results. Apply a thin layer of base coat over the positioned decal, followed by your preferred top coat. We suggest using quick dry formulations to prevent smudging during the sealing process.
Vinyl Stencil Patterns
Vinyl stencils create perfect negative space designs that showcase the clear polish beneath while adding geometric interest. We cut custom shapes using create vinyl or purchase pre made stencil sheets from nail art suppliers. Triangle patterns, chevrons, and curved crescents work exceptionally well with clear base applications.
Placement precision determines the final impact of your stenciled design. We recommend using tweezers for exact positioning and pressing edges firmly to prevent polish bleeding underneath. Remove stencils while the polish is still slightly wet for the cleanest lines and most defined patterns.
Color coordination maintains design cohesion throughout your clear nail journey. We suggest using sheer tints, metallics, or gradient colors that enhance rather than compete with the transparent aesthetic. Apply thin coats over stencils to prevent buildup that could create uneven texture when the stencil is removed.
Clear Seasonal and Holiday Themes
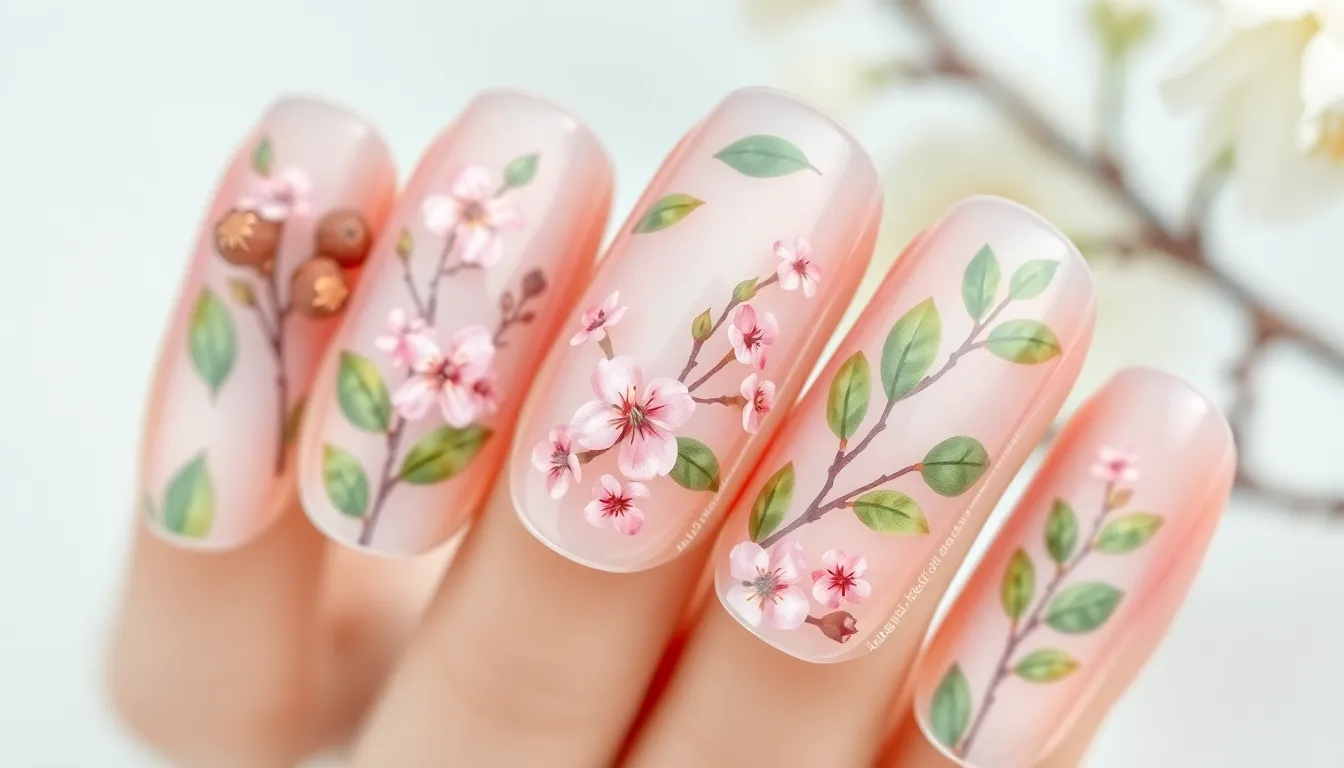
Clear nails provide the perfect canvas for celebrating seasonal changes while maintaining sophisticated elegance throughout the year. We’ll explore how to incorporate seasonal elements that enhance rather than overwhelm your transparent manicure.
Spring Floral Motifs
Cherry blossom branches create stunning spring nail art when painted with thin brushes over clear polish. We recommend using soft pink and white acrylics to paint delicate petals along the nail bed, focusing on the upper third for balanced composition. Apply these designs on accent nails only to maintain the minimalist clear nail aesthetic.
Pressed flower applications transform clear nails into botanical masterpieces perfect for spring celebrations. Place small dried flowers like baby’s breath or miniature daisies near the cuticle area using clear top coat as adhesive. Seal everything with two coats of clear polish to create a glass-like finish that preserves the flowers indefinitely.
Watercolor leaf patterns add organic movement to clear spring manicures using translucent green polishes. We suggest diluting regular polish with clear base coat to achieve the watercolor effect, then applying with a fan brush for natural leaf shapes. Focus on creating subtle gradients from light to medium green for authentic botanical appeal.
Summer Beach Vibes
Seashell embellishments bring coastal charm to clear nails using tiny real shells or shell-shaped charms. Position these elements at the base of accent nails, securing them with a small drop of nail glue before sealing with clear top coat. Choose shells in natural white or pearl tones to complement the transparent base beautifully.
Ocean wave techniques create mesmerizing summer effects using blue and white marbling over clear polish. We recommend dropping small amounts of translucent blue polish into clear base coat, then using a fine brush to create wave patterns. Apply this technique to just one or two nails per hand for striking focal points.
Sand texture applications mimic beach sand using fine cosmetic glitter in nude and gold tones. Sprinkle the glitter onto wet clear polish, concentrating it along the nail tips to create natural sand dune effects. This technique works especially well on shorter nails where the texture won’t interfere with daily activities.
Winter Snowflake Designs
Hand painted snowflakes transform clear nails into winter wonderlands using white acrylic paint and fine detail brushes. We suggest creating unique six-pointed designs on each accent nail, varying the size and intricacy for natural snowfall effects. Start with simple geometric centers and add delicate branches extending outward for authentic crystalline patterns.
Holographic snowflake stickers provide professional results without requiring artistic skills. Apply these transparent decals over cured clear polish, positioning them strategically across different nails for balanced winter themes. Choose iridescent options that catch light beautifully while maintaining the see-through quality of your base.
Ice crystal effects create stunning winter nail art using clear crackle polish over standard clear base coats. Apply the crackle formula in thin, even strokes and allow it to naturally separate into ice-like patterns. We recommend adding a touch of blue or silver shimmer underneath the crackle layer for enhanced crystalline depth that captures winter’s magical essence.
Conclusion
Clear nail designs offer endless possibilities for expressing creativity while maintaining effortless elegance. We’ve explored techniques that transform simple clear polish into stunning works of art—from geometric patterns and gradient effects to seasonal themes and textured finishes.
These versatile designs adapt to any occasion whether you’re seeking subtle sophistication or eye-catching glamour. The beauty lies in their accessibility—most techniques require basic tools and can be mastered at home with practice.
We encourage you to experiment with these ideas and discover your signature clear nail style. Remember that the transparent canvas allows your natural nails to shine through while showcasing your artistic flair.
Frequently Asked Questions
What makes clear nails a popular trend in beauty?
Clear nails offer a chic, timeless appeal that serves as a creative canvas for both minimalist and intricate designs. They’re versatile enough for various occasions, low-maintenance, budget-friendly, and perfect for busy individuals who want an elegant look without constant touch-ups.
Can I achieve salon-quality clear nail designs at home?
Yes, you can create professional-looking clear nail designs at home using simple tools like dotting tools, striping brushes, and bobby pins. The article provides detailed techniques for accent nails, line art, shimmer effects, and geometric patterns that deliver salon-quality results.
What are some easy clear nail design ideas for beginners?
Beginners can start with minimalist accent nails, tiny dot patterns using a dotting tool, gold foil strips for elegance, or delicate line art with thin striping brushes. These techniques are simple yet sophisticated and don’t require advanced nail art skills.
How can I add shimmer to clear nails without losing their natural beauty?
Apply iridescent top coats for ethereal glow, create fine glitter gradients for ombre effects, or mix pearl powder into clear polish for custom shimmer accents. Layer strategically to maintain the transparent aesthetic while adding subtle sparkle.
What’s a modern twist on the classic French manicure with clear nails?
Try colored French tips instead of white, create reverse French designs with color at the nail base, or experiment with different shapes and metallic accents. These variations maintain the French manicure’s elegance while adding contemporary flair.
How do I create textured finishes on clear nails?
Use matte top coats for velvet surfaces, apply sugar sand effects for beach-inspired texture, or use velvet powder techniques for luxurious fabric textures. Each method transforms glossy clear nails into tactile, dimensional masterpieces while preserving their elegance.
What are clear water marble techniques?
Clear water marble involves creating fluid art patterns using monochromatic swirls, pastel color drops for watercolor effects, or metallic accent marbling for luxury dimension. These techniques create mesmerizing artistic designs while maintaining transparent sophistication.
How can I incorporate seasonal themes into clear nail designs?
For spring, use floral motifs and watercolor leaves. Summer designs include seashell embellishments and ocean wave techniques. Winter themes feature hand-painted snowflakes and ice crystal effects. Each season offers unique ways to enhance clear nails while maintaining their elegance.
What embedded elements work well with clear nails?
Dried flowers and leaves create romantic botanical art, holographic flakes provide mesmerizing rainbow effects, and small rhinestones or crystals add glamour. These three-dimensional elements transform clear nails into stunning art pieces while preserving their transparent beauty.
Are clear nail designs suitable for professional settings?
Absolutely. Clear nail designs are perfect for professional environments because they maintain a polished, sophisticated appearance while allowing for subtle creativity. The minimalist aesthetic complements business attire and appears neat and well-maintained in any professional setting.

