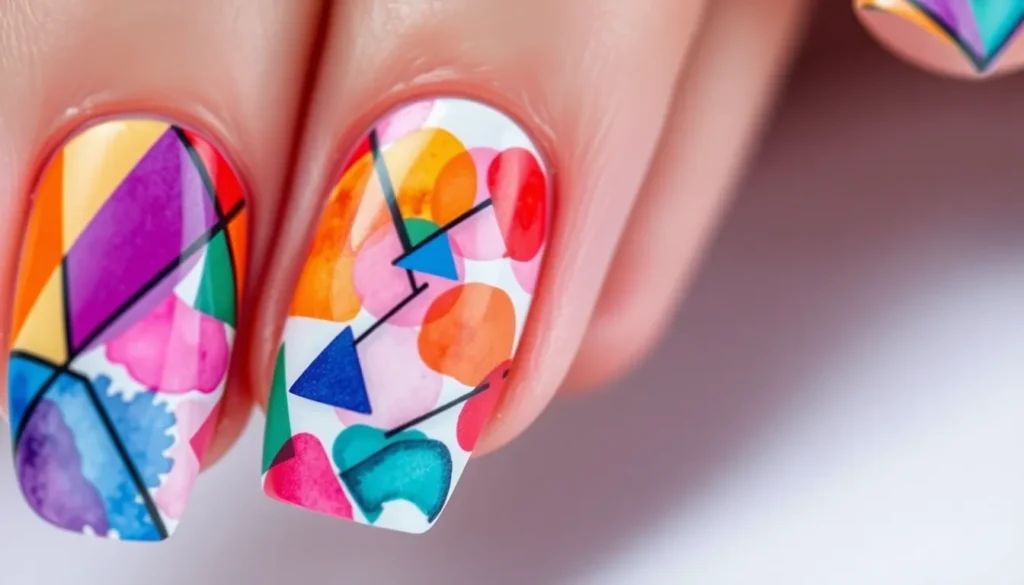
We’ve all scrolled through social media admiring those stunning abstract nail designs that look like tiny masterpieces on fingertips. Abstract nail art has become one of the hottest trends in beauty, offering endless creative possibilities that go beyond traditional patterns and colors.
Whether you’re tired of the same old solid colors or looking to express your artistic side, abstract nail designs let you break all the rules. From flowing watercolor effects and geometric shapes to marble textures and splatter patterns, there’s an abstract style that matches every personality and skill level.
The best part? You don’t need to be a professional nail artist to create these eye-catching looks. With the right techniques and a little creativity, we’ll show you how to transform your nails into wearable art that’s guaranteed to turn heads and spark conversations wherever you go.
Geometric Abstract Nail Art Ideas
Geometric patterns bring structure and sophistication to abstract nail designs. We’ll explore how clean lines and bold shapes create stunning visual impact.
Bold Triangular Patterns
Create striking triangular designs using tape or nail stencils for precise edges. We recommend starting with two contrasting colors like black and gold or navy and white to make triangular shapes pop against each base coat.
Layer multiple triangles in different sizes to build depth and visual interest. Try placing smaller triangles inside larger ones or overlapping them at various angles to create ever-changing compositions that catch light beautifully.
Experiment with negative space triangles by painting the entire nail one color and leaving triangular sections unpainted. This technique works especially well with nude or clear base coats, allowing your natural nail to become part of the artistic design.
Minimalist Line Designs
Draw thin parallel lines across your nails using striping tape or a fine nail art brush. We suggest spacing lines evenly for a clean, modern look that complements both casual and professional outfits perfectly.
Create intersecting line patterns by drawing perpendicular or diagonal lines that cross each other at different points. This approach generates interesting geometric intersections while maintaining the minimalist aesthetic that’s currently trending.
Use metallic polishes like silver, gold, or rose gold for your line work to add subtle luxury to simple designs. These metallic accents reflect light and create dimension without overwhelming the overall minimalist composition.
Color Block Compositions
Paint solid rectangular sections in different colors across each nail, creating a modern art gallery effect on your fingertips. We recommend using no more than three colors per nail to maintain visual balance and prevent the design from becoming cluttered.
Vary the block sizes to create more ever-changing compositions that feel intentionally asymmetrical. Try making some blocks thin vertical strips while others are wider horizontal rectangles for added visual movement.
Choose complementary color palettes like coral and teal, or purple and yellow to make your color blocks vibrate against each other. This creates an energetic, contemporary look that’s perfect for making a bold fashion statement.
Fluid Abstract Nail Art Ideas
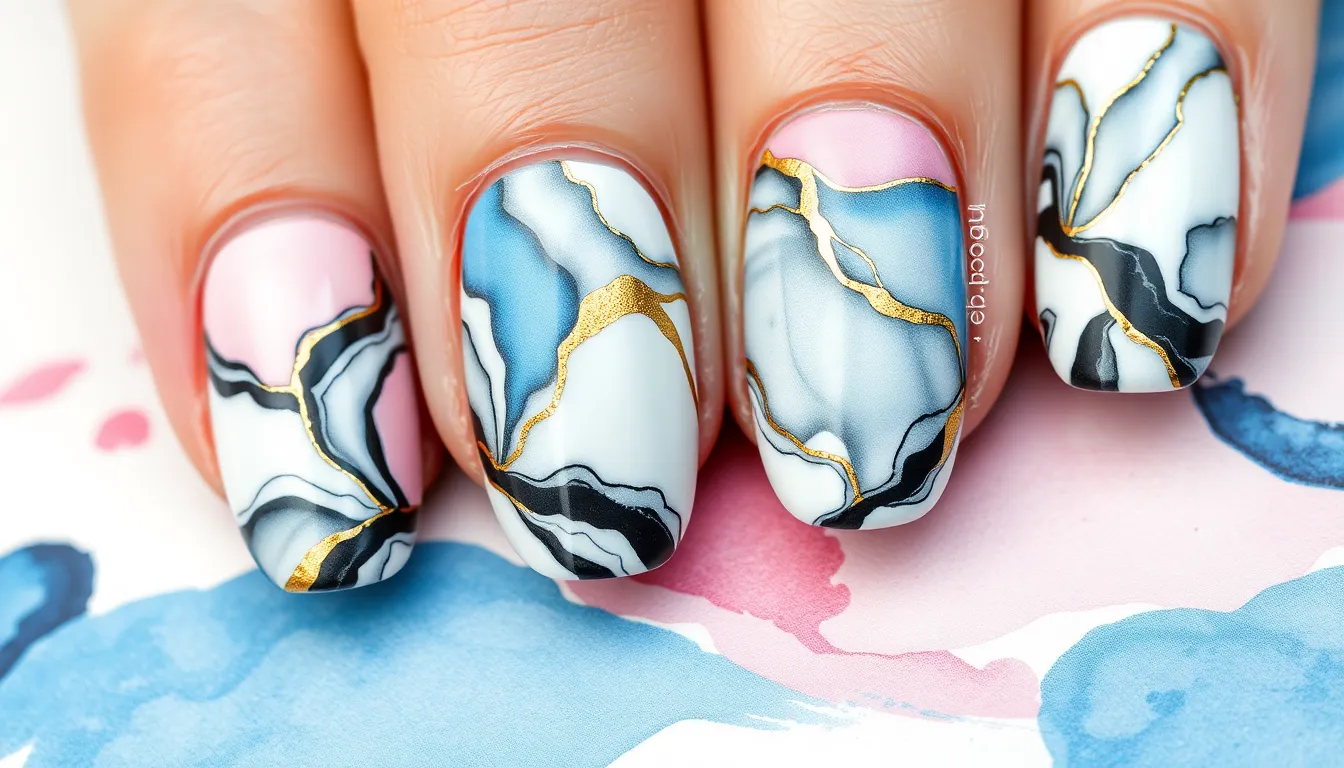
Flowing designs create movement and organic beauty that contrasts perfectly with the structured geometric patterns we’ve explored. These liquid inspired techniques bring natural artistry to your fingertips through organic shapes and seamless color transitions.
Marble Effect Techniques
Stone inspired patterns transform nails into miniature masterpieces using simple water marbling methods. Drop different colored polishes into room temperature water and create swirls with a toothpick before dipping your nail through the surface. We recommend using contrasting shades like black and white or navy and gold for the most dramatic marble veining effects.
Dry marble techniques offer more control for beginners who want stone textures without water mess. Apply a base coat then add drops of contrasting polish directly onto the wet nail surface. Use a small brush or dotting tool to drag colors together creating natural marble patterns that mimic real stone formations.
Feathered marble designs combine multiple colors for complex geological appearances. Layer three to four complementary shades and use a fine detail brush to pull colors into organic vein patterns. This technique works especially well with earth tones like terracotta, cream, and sage green for natural stone effects.
Watercolor Blending Methods
Gradient washing techniques create soft color transitions that mimic watercolor paintings on paper. Apply polish to a makeup sponge then dab onto nails while the base coat remains slightly tacky. We suggest working quickly and blending colors while they’re still wet for the smoothest transitions.
Wet on wet blending produces dreamy cloud like effects using alcohol or acetone as a blending medium. Drop small amounts of different colored polishes onto the wet nail surface then add a tiny drop of rubbing alcohol to create organic blooming patterns. This method creates unpredictable but beautiful abstract shapes every time.
Layered transparency effects build depth through multiple thin coats of sheer polishes. Start with a light base then apply translucent colors in overlapping patches allowing each layer to show through. This technique works best with sheer polishes in analogous color families like blues and purples or pinks and corals.
Alcohol Ink Swirls
Direct application methods create bold flowing patterns using alcohol inks mixed with clear topcoat. Mix one to two drops of alcohol ink with clear polish on a palette then apply with a thin brush in sweeping motions. We find that metallic alcohol inks create the most striking swirl effects against dark base colors.
Blending solution techniques use special alcohol ink blending answers to create organic flowing shapes. Apply drops of different colored inks directly onto the nail then add blending solution to watch colors flow and merge naturally. This method produces unique unrepeatable patterns that look like abstract paintings.
Layered ink effects build complexity through multiple alcohol ink applications over dried base layers. Apply your first layer of swirls and let dry completely before adding second and third layers in complementary colors. This technique creates depth and movement that appears to flow beneath the nail surface.
Textural Abstract Nail Art Ideas
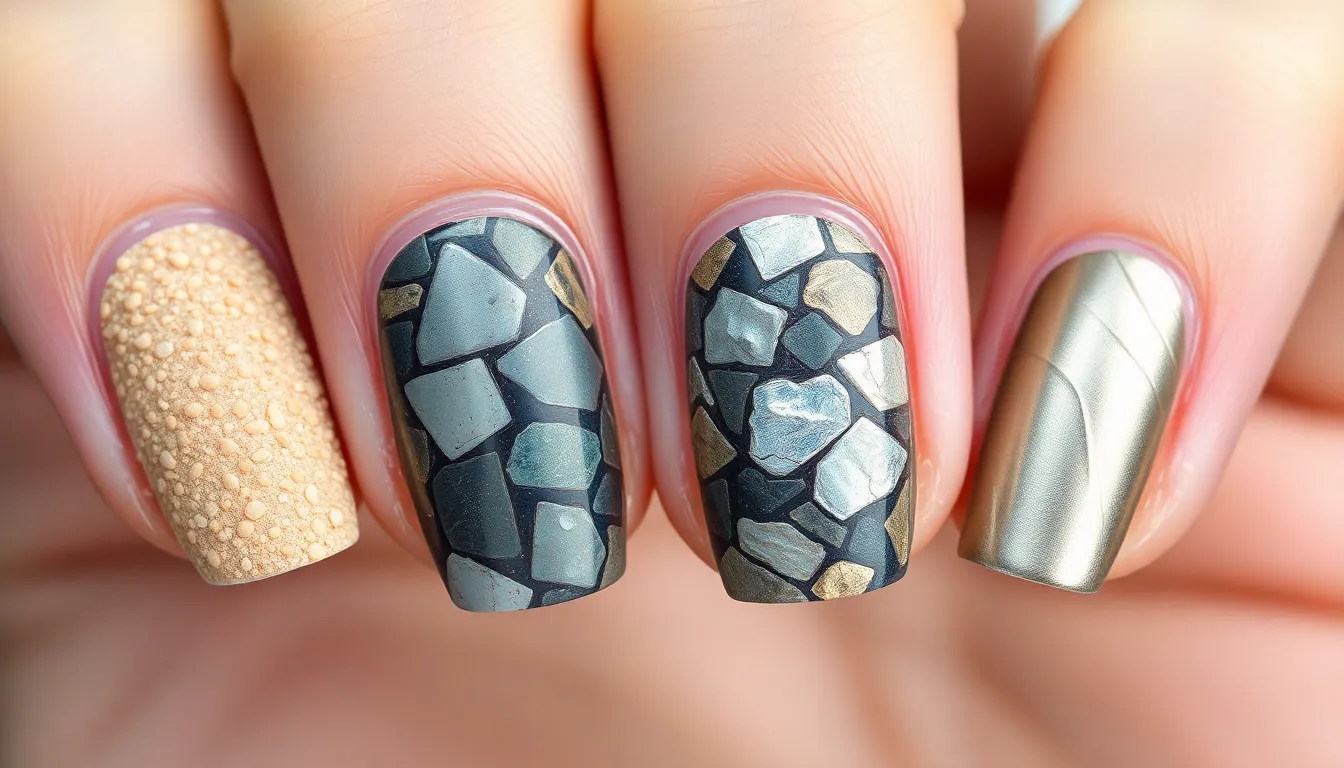
Moving beyond smooth surfaces, textural abstract nail art adds dimension and tactile elements that catch light beautifully. These techniques transform nails into miniature sculptures with raised surfaces and varied finishes.
Sand and Stone Effects
Sand effect nail art creates beautiful gritty textures that mimic natural beach elements and desert landscapes. We recommend mixing fine sand or textured nail powder into clear topcoat for authentic granular finishes. Apply base colors in earth tones like beige, taupe, or dusty brown before adding the textured layer.
Stone effect techniques involve building up polish layers to create rocky surfaces and mineral inspired patterns. Create realistic granite appearances by sponging on multiple gray and black shades, then sealing with matte topcoat for authentic stone texture. Marble stone effects work wonderfully with veining techniques using thin brushes and contrasting colors.
Layered sand applications produce depth and visual interest through varied particle sizes and color combinations. Start with larger textured elements at the nail base and gradually decrease texture density toward the tips. Mix different colored sands within single designs to create sunset or ocean floor inspired abstract compositions.
Metallic Foil Applications
Metallic foil fragments create stunning light catching elements that add luxury to abstract designs. We suggest tearing foil into irregular shapes rather than cutting geometric pieces for more organic abstract appearances. Apply foil over tacky base coat or specialized foil adhesive for strongest adherence.
Layered foil techniques involve building up multiple metallic elements in different sizes and orientations. Place larger foil pieces first as background elements, then add smaller fragments on top for dimensional effects. Combine gold, silver, and copper foils within single designs for rich metallic abstract compositions.
Crackled foil effects produce unique broken glass appearances that catch light from multiple angles. Press foil firmly onto nails then gently stretch or wrinkle the surface before smoothing down edges. Seal crackled foil with thin topcoat layers to maintain texture while preventing lifting.
3D Sculptural Elements
Sculpted gel extensions allow us to build three dimensional abstract shapes directly onto nail surfaces. Use thick builder gels or sculpting gels to create raised geometric forms, organic bumps, or flowing wave patterns. Cure each layer completely before adding additional elements or color applications.
Textured paste applications produce raised surface designs that create shadow and depth effects. Mix acrylic paint with texture paste or modeling compound for colored sculptural elements. Apply with palette knives or sculpting tools to create abstract raised patterns that complement underlying color schemes.
Embedded element techniques involve pressing small objects like beads, crystals, or fabric pieces into wet polish or gel. Position elements strategically to create focal points within abstract compositions while maintaining wearable nail lengths. Seal embedded materials with multiple topcoat layers for durability and smooth finish transitions.
Splatter and Drip Abstract Nail Art Ideas
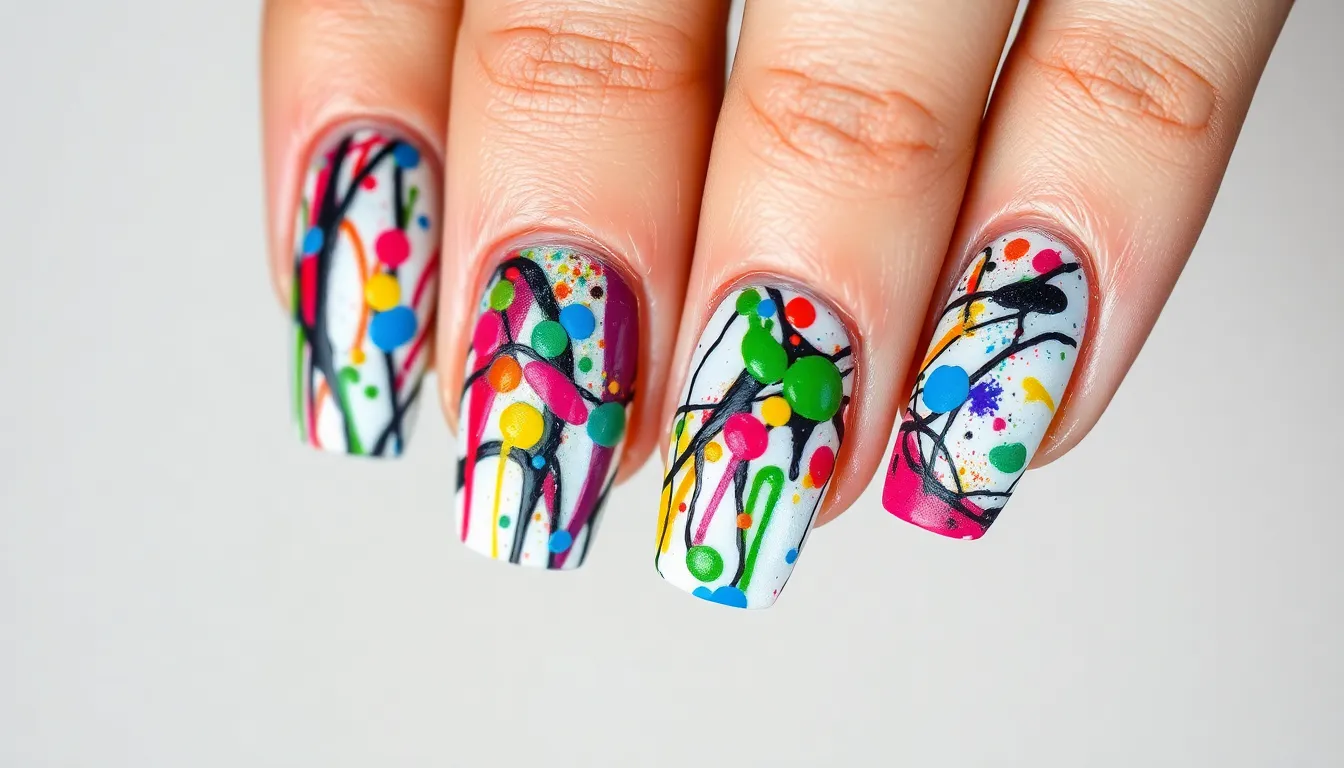
Movement and spontaneity define splatter and drip techniques, creating ever-changing abstract designs that capture attention. We’ll explore methods that transform your nails into artistic masterpieces with controlled chaos.
Jackson Pollock Inspired Designs
Action painting techniques bring the famous artist’s energy to your fingertips through strategic splatter patterns. Load a small brush with polish and flick it across your base color to create authentic paint splatters. Multiple colors work best when you layer them gradually, allowing each splatter layer to dry completely before adding the next.
Controlled dripping methods help you achieve Pollock’s signature style without the mess of traditional action painting. Dip a thin brush into polish and hold it above your nail, letting gravity create natural drips down the surface. Black and white combinations over bright base colors create the most dramatic contrast, while metallic accents add depth to your artistic composition.
Random pattern creation captures the essence of abstract expressionism through intentional spontaneity. Apply your base color first, then use multiple brushes loaded with different polishes to create overlapping splatters. Toothbrushes work exceptionally well for creating fine splatter textures, while larger brushes produce bolder drip effects that mimic gallery artwork.
Paint Drip Techniques
Vertical dripping effects create elegant flowing designs that elongate your nails naturally. Start with a lighter base color and apply dots of darker polish near the cuticle area, then use a thin brush to pull the color downward. Gravity assists this technique when you hold your hand vertically during application, creating authentic paint drip appearances.
Color bleeding methods produce organic transitions between different polish shades for sophisticated abstract effects. Apply your base color while it’s still slightly wet, then add drops of contrasting polish that will naturally bleed into the base. Jewel tones like emerald, sapphire, and ruby create stunning bleeding effects when combined with neutral bases.
Layered drip applications build complexity through multiple dripping sessions that create depth and visual interest. Allow your first drip layer to dry completely before adding subsequent layers in different colors. Metallic polishes work particularly well as final drip layers because they catch light and highlight the dimensional aspects of your design.
Spray Paint Effects
Airbrush simulation techniques recreate the smooth gradients of spray paint using traditional nail polish tools. Load a makeup sponge with polish and dab it lightly across your nail surface to create soft, diffused color applications. Building layers gradually produces the most realistic spray paint appearance, especially when you blend colors at their meeting points.
Stencil spray methods combine geometric precision with organic spray textures for unique abstract compositions. Cut small shapes from tape or specialized nail stencils, apply them to your base color, then use a sponge to dab contrasting polish around the edges. Remove stencils immediately while polish is wet to achieve clean lines with soft, sprayed edges.
Gradient spray applications mimic street art aesthetics through smooth color transitions that flow across your nail surface. Start with your lightest color at one end of the nail and gradually build darker shades toward the opposite end using gentle dabbing motions. Neon colors over black bases create the most authentic urban spray paint appearance that captures contemporary street art vibes.
Negative Space Abstract Nail Art Ideas
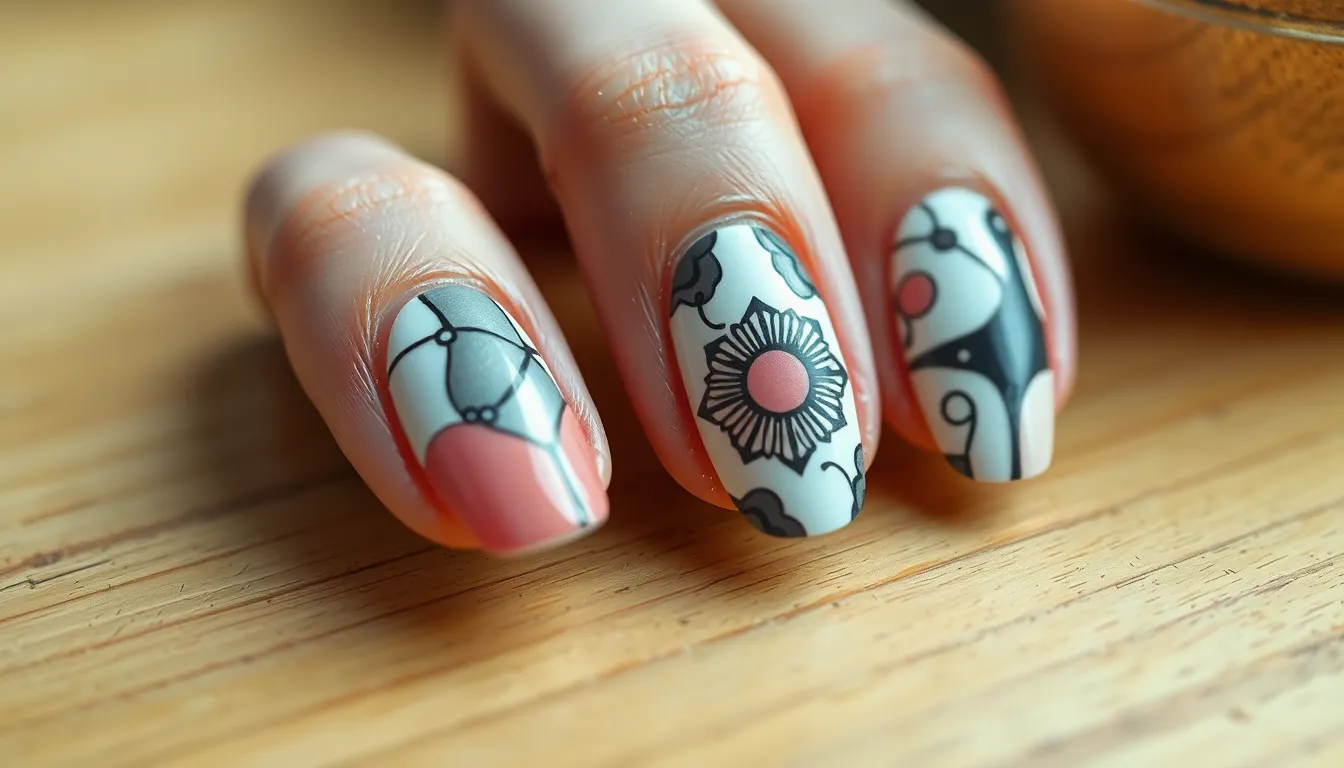
Negative space designs transform empty areas into powerful design elements that create stunning visual balance. These techniques use the natural nail as part of the artwork rather than covering every surface.
Strategic Bare Nail Exposure
Asymmetrical placement creates ever-changing visual interest by positioning painted areas on different parts of each nail. We recommend leaving the ring finger’s upper left quadrant bare while covering the pinky’s lower right section for an unbalanced yet harmonious look.
Curved boundaries soften the transition between painted and natural areas using gentle arcs instead of harsh lines. Apply polish in crescent shapes along the cuticle area or create wave patterns that flow from one side of the nail to the other.
Triangular sections offer structured negative space through geometric precision and clean angles. Position tape to create sharp triangular cutouts near the nail bed or along the sidewalls for modern architectural appeal.
Organic shapes incorporate irregular forms like teardrops, kidney beans, or cloud formations. These natural patterns work especially well with earthy color palettes and create a more relaxed abstract aesthetic.
Cutout Pattern Designs
Stencil applications ensure consistent shapes across multiple nails using pre cut templates or vinyl decals. Place stencils over base color, apply top shade, then remove carefully to reveal precise negative space patterns underneath.
Hand drawn outlines offer creative freedom for custom shapes and personal artistic expression. Use thin detail brushes to paint borders around designated negative areas before filling in surrounding spaces with chosen colors.
Layered cutouts create depth through multiple overlapping transparent sections and varying opacity levels. Apply sheer polish in some negative areas while leaving others completely bare for dimensional contrast effects.
Interconnected patterns link negative spaces across fingers through continuous lines or repeated motifs. Design flowing ribbons that weave between painted sections or create puzzle piece connections that span the entire hand.
Transparent Overlay Techniques
Sheer tinting adds subtle color to negative areas without completely covering the natural nail surface. Mix clear polish with tiny amounts of pigment to create translucent washes that enhance rather than hide.
Gradient transparency transitions from opaque color to completely clear areas through careful layering techniques. Build up polish density gradually using multiple thin coats that become progressively lighter toward negative zones.
Holographic films introduce iridescent elements within transparent sections using specialty nail foils or chrome powders. Apply these materials only in designated negative areas to create striking light catching accents against bare nail.
Clear stamping transfers patterns onto negative spaces using transparent or lightly tinted stamping polish. This technique adds texture and detail to bare areas without overwhelming the overall design balance.
Mixed Media Abstract Nail Art Ideas
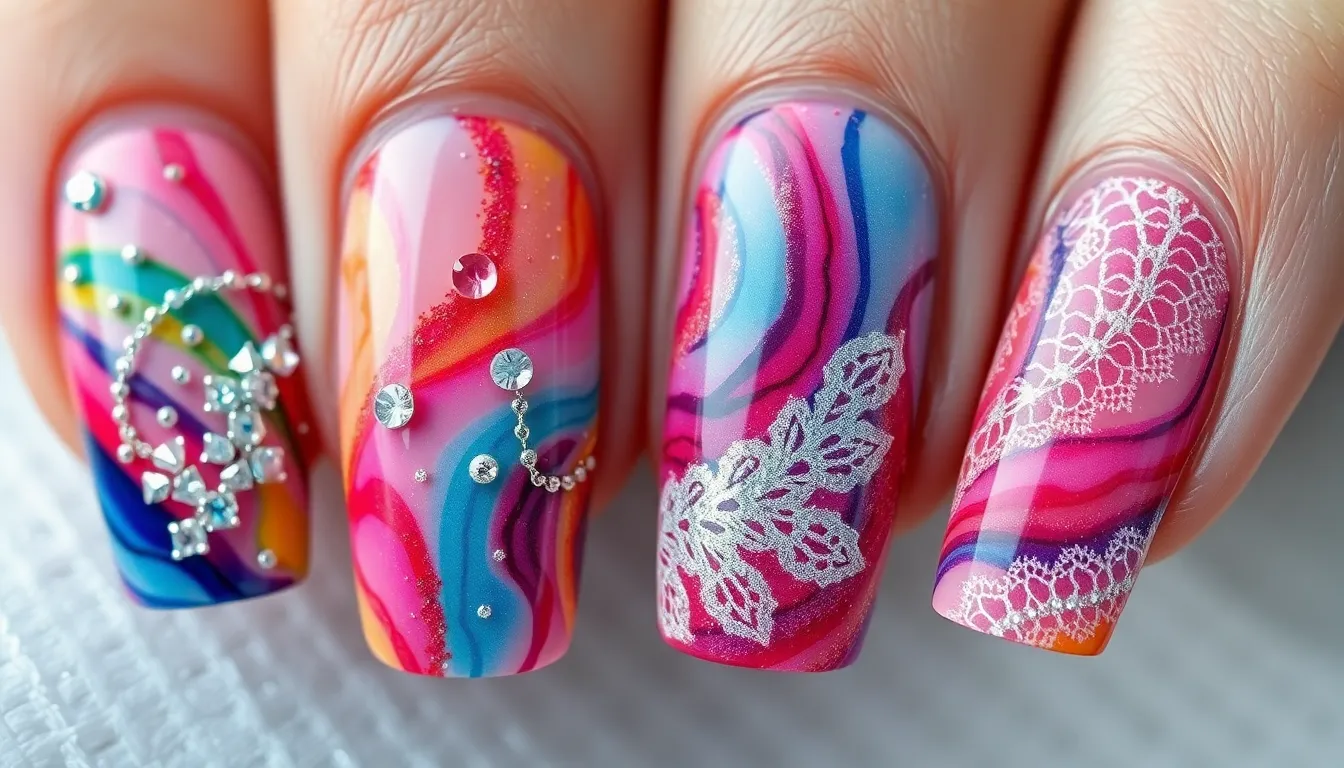
Mixed media transforms ordinary abstract nail designs into extraordinary three-dimensional masterpieces. We can layer different materials to create unique textures that catch light and add visual depth to our artistic creations.
Rhinestone and Glitter Combinations
Scattered rhinestone placement creates focal points within abstract color fields. We position larger stones at strategic points like nail corners or along curved lines to anchor flowing designs. Small rhinestones work perfectly when clustered around swirls or geometric intersections.
Glitter gradient techniques blend sparkle seamlessly into abstract backgrounds. We apply fine glitter densely at nail tips and fade it toward the cuticle using a makeup sponge. Chunky glitter adds drama when placed over wet nail art for organic embedding.
Mixed size applications provide visual hierarchy within abstract compositions. We combine micro glitter with medium gems to create constellation effects over dark polish. Large statement rhinestones serve as centerpieces surrounded by smaller sparkles for galaxy inspired designs.
Fabric and Lace Incorporations
Lace pattern transfers imprint delicate textures onto abstract nail surfaces. We press actual lace fabric into wet topcoat to create raised impressions that add tactile interest. Vintage lace produces intricate Victorian patterns while modern mesh creates contemporary geometric textures.
Fabric texture embedding introduces unexpected materials into nail art compositions. We tear silk or chiffon into small pieces and embed them under clear polish for subtle textile effects. Cotton fibers create cloud like textures when layered over watercolor backgrounds.
Thread accent placements add linear elements to flowing abstract designs. We position metallic threads along marble veins or use colored embroidery floss to outline organic shapes. Thin yarn creates interesting borders when curved around negative space areas.
Metallic Chain Accents
Delicate chain overlays introduce structured elements to fluid abstract patterns. We position fine jewelry chains over dried polish and seal with topcoat for permanent attachment. Curved chain placement follows natural nail contours while straight lines create modern contrast.
Chunky chain focal points serve as bold centerpieces within abstract compositions. We place single chain links at nail centers surrounded by swirled colors or geometric patterns. Multiple chain pieces create industrial aesthetics when combined with metallic polish backgrounds.
Chain link separations divide abstract sections into distinct color zones. We use chains as borders between contrasting polish areas or to separate geometric shapes from fluid elements. Antique brass chains complement warm abstract palettes while silver chains enhance cool color schemes.
Color Theory Abstract Nail Art Ideas
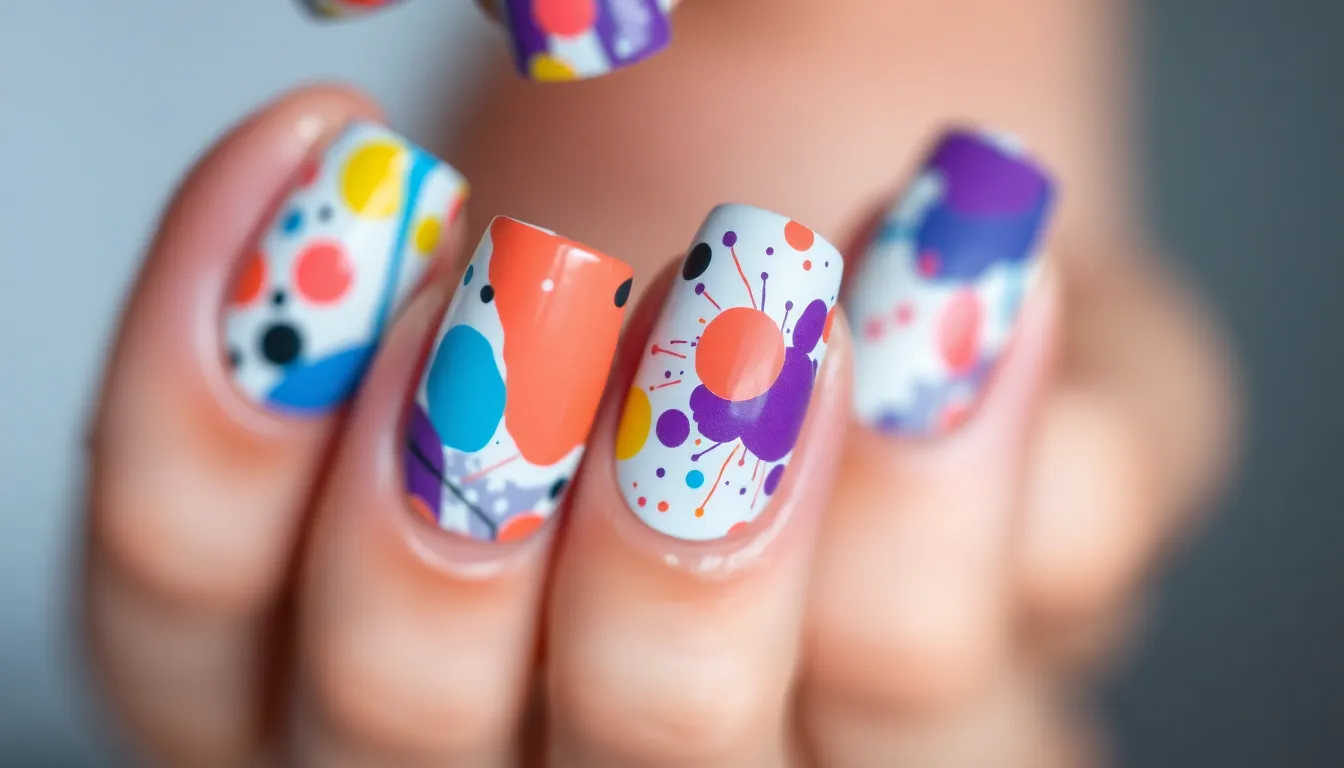
Understanding color relationships transforms abstract nail art from random designs into sophisticated artistic statements.
Complementary Color Schemes
Opposite color combinations create the most dramatic visual impact in abstract nail designs. Blue and orange pairings deliver stunning contrast when applied as geometric blocks or flowing watercolor effects. We recommend starting with navy blue as your base color and adding bright coral orange accents through splatter techniques or marble swirls.
Purple and yellow combinations offer another striking complementary pairing for bold abstract looks. Deep violet backgrounds work beautifully with golden yellow drip patterns or scattered geometric shapes. Red and green schemes provide classic contrast that’s perfect for creating eye-catching splatter designs or asymmetrical color blocks.
Creating balance with complementary colors requires strategic placement and proportion control. Use the 70-30 rule where one color dominates while the complementary shade serves as an accent. This prevents overwhelming the design while maintaining visual interest through strategic contrast points.
Monochromatic Gradient Designs
Single color families in varying shades create sophisticated depth without overwhelming complexity. Blues ranging from powder to navy work exceptionally well for ocean-inspired marble effects and subtle watercolor blending. We suggest using at least three different shades within the same color family to achieve proper gradient transitions.
Grayscale monochromatic designs offer timeless elegance with endless creative possibilities. Charcoal to silver gradients create stunning metallic effects when combined with foil accents or textural elements. Pink family gradients from blush to magenta produce romantic abstract looks that complement both casual and formal styles.
Layering techniques maximize the impact of monochromatic color schemes in abstract designs. Apply the lightest shade as your base coat then build darker tones through sponge dabbing or brush blending. This creates natural depth variations that mimic professional watercolor paintings on your nails.
Analogous Color Palettes
Adjacent colors on the color wheel blend harmoniously for naturally flowing abstract designs. Blue-green-purple combinations create ocean sunset effects that work beautifully with marble techniques or gradient blending. We find these color families particularly effective for creating organic abstract patterns that feel cohesive and balanced.
Warm analogous palettes featuring red-orange-yellow create energetic abstract nail art. These combinations work exceptionally well for splatter designs and ever-changing drip patterns that capture movement and vitality. Cool analogous schemes using blue-green-purple deliver calming effects perfect for watercolor blending and soft marble textures.
Transitioning between analogous colors requires subtle blending techniques for seamless results. Use wet blending methods where colors meet to create natural gradations rather than harsh lines. This approach produces abstract designs that feel organic and professionally executed while maintaining visual harmony throughout your nail art.
Tool-Based Abstract Nail Art Ideas
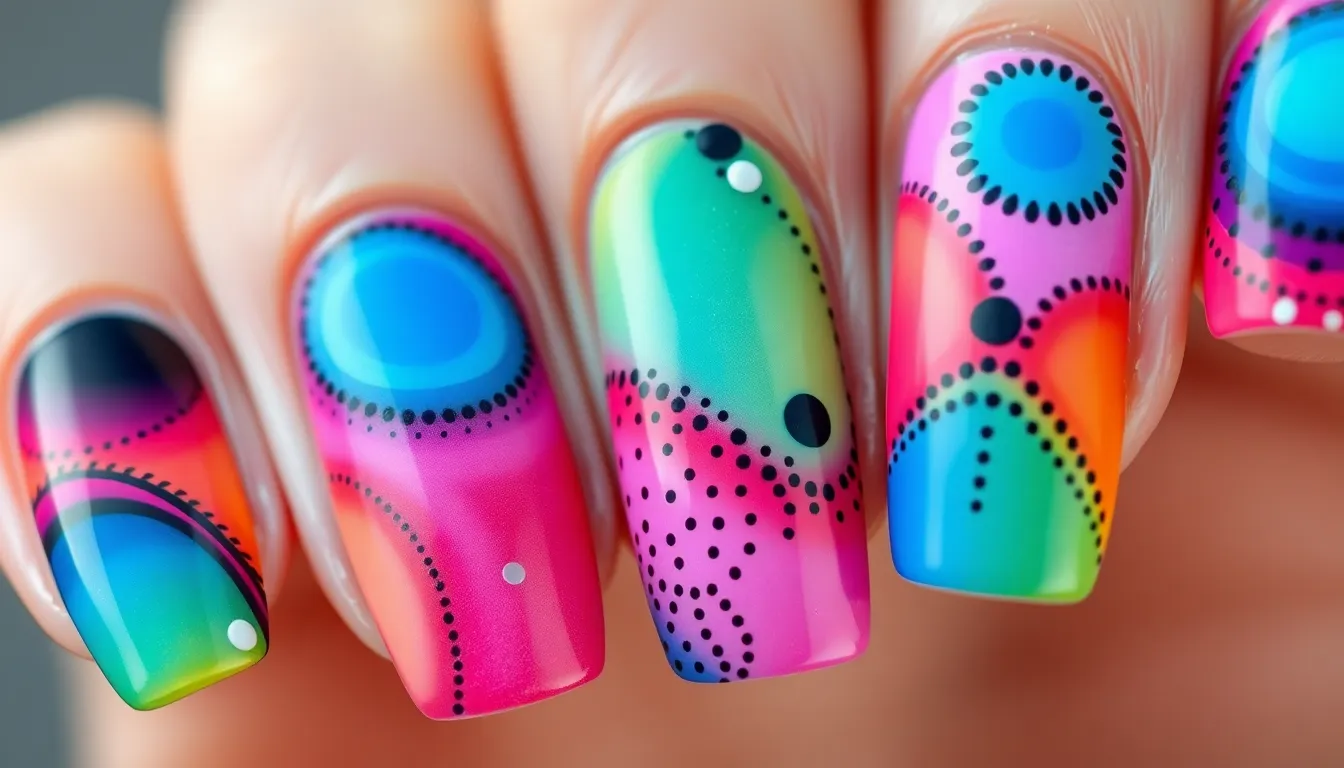
Using the right tools transforms your abstract nail art from basic to brilliant. We’ll show you how exact tools create distinct patterns and textures that elevate your designs to professional levels.
Sponge Application Methods
Gradient sponge techniques create seamless color transitions that mimic watercolor paintings on your nails. Apply three different polish colors in horizontal stripes on a makeup sponge, then dab repeatedly across the nail surface to blend the colors naturally. The key lies in using light, overlapping motions rather than pressing too firmly against the nail bed.
Stippling methods produce organic textures that resemble stone or concrete surfaces. Load a small cosmetic sponge with polish and gently bounce it across the nail to create irregular patterns. This technique works exceptionally well with matte topcoats to enhance the textured appearance.
Cloud effect applications achieve dreamy, ethereal designs by using torn sponge pieces. Rip a makeup sponge into irregular shapes, then use the rough edges to create soft, cloud like patterns with white or pale polish over darker base colors.
Brush Stroke Techniques
Feathering strokes create delicate, wispy patterns that add movement to abstract designs. Use a fine liner brush with thinned polish to draw light, sweeping motions across the nail. The secret involves pulling the brush away from the nail surface at the end of each stroke for natural looking tapering.
Cross hatching methods build depth and dimension through intersecting line patterns. Apply diagonal strokes in one direction first, then layer perpendicular strokes over them using a slightly darker shade. This technique creates sophisticated grid patterns that catch light beautifully.
Stipple brush texturing produces unique organic patterns similar to pointillism paintings. Load a stipple brush with polish and tap it gently across the nail surface to create clustered dot patterns. The irregular bristles create natural looking variations in size and intensity.
Dotting Tool Patterns
Graduated dot sequences form elegant abstract patterns using dots of varying sizes across the nail. Start with large dots using the bigger end of the dotting tool, then fill spaces with smaller dots using the pointed end. This creates visual rhythm and flow in your abstract composition.
Overlapping circle designs produce complex geometric patterns through strategic dot placement. Create intersecting circles of different sizes, allowing colors to blend naturally where they overlap. Use metallic polishes for the overlapping areas to create stunning highlighting effects.
Random constellation patterns achieve galaxy inspired abstract art through scattered dot placement. Apply dots in clusters with varying densities across the nail, using multiple colors to create depth. The randomness creates organic patterns that feel both cosmic and artistic.
Seasonal Abstract Nail Art Ideas
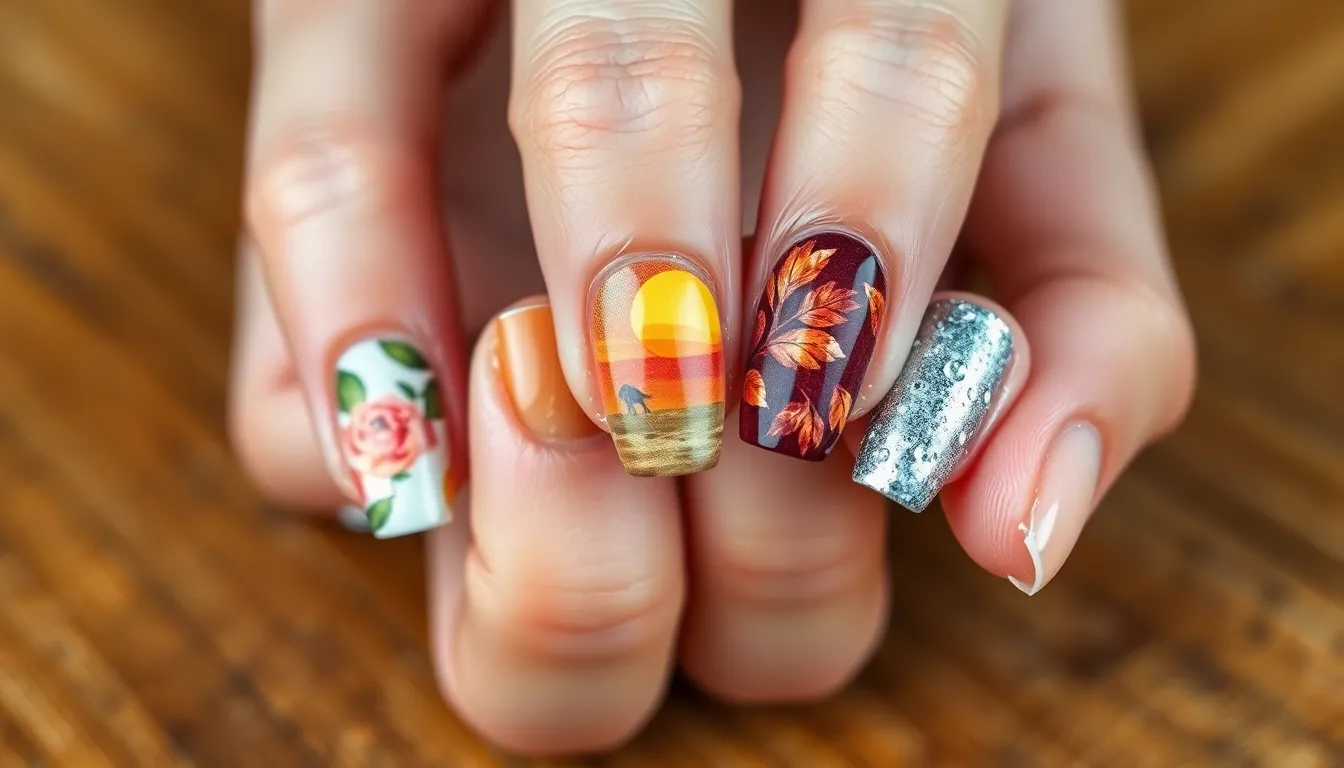
Each season brings fresh inspiration for abstract nail art, allowing us to capture nature’s changing moods through artistic designs. We can transform our nails into seasonal masterpieces by adapting colors, textures, and patterns to reflect the unique beauty of spring, summer, fall, and winter.
Spring Pastel Abstracts
Soft watercolor washes create the perfect foundation for spring abstract designs, mimicking blooming flowers and fresh growth. We recommend blending pale pink, lavender, mint green, and butter yellow using wet brushes to achieve seamless color transitions. These gentle hues work beautifully with fluid techniques we’ve explored earlier, particularly the wet on wet blending method.
Cherry blossom inspired patterns capture spring’s delicate beauty through scattered pink dots and flowing branches. Apply soft pink base colors, then use dotting tools to create clusters of small circles in varying shades from white to deep rose. Thin brush strokes in brown or gray can connect these elements, creating organic tree branch effects.
Fresh gradient combinations celebrate spring renewal by layering multiple pastel shades from light to lighter tones. Start with a white base, then sponge blend coral into peach, or transition from sage green through mint to cream. These subtle shifts create depth while maintaining the season’s gentle aesthetic.
Summer Vibrant Compositions
Tropical sunset abstracts bring vacation vibes to fingertips through bold orange, magenta, and yellow combinations. We create these striking designs by applying the complementary color schemes discussed earlier, using the 70-30 rule with warm oranges as dominant colors and cool purples as accent points. Horizontal gradient washes work particularly well for sunset effects.
Ocean wave patterns capture summer’s aquatic energy through flowing blue and teal compositions. Apply various shades of blue from navy to turquoise using the marble effect techniques, creating organic wave-like movements across the nail surface. White foam details added with thin brushes enhance the oceanic feel.
Neon geometric bursts reflect summer’s high energy through electric colors and sharp angular designs. Combine hot pink, electric blue, lime green, and bright orange in triangular and rectangular sections using the color block composition methods. These bold combinations create festival-ready designs perfect for summer celebrations.
Fall Earth Tone Designs
Autumn foliage abstracts celebrate fall’s rich palette through warm browns, burnt oranges, deep reds, and golden yellows. We layer these colors using sponge application methods to create organic leaf-like textures and natural blending effects. The analogous color palette approach works perfectly here, transitioning from amber through rust to burgundy.
Harvest moon compositions capture fall’s mystical atmosphere through metallic golds, copper tones, and deep purples. Apply bronze bases, then add copper foil accents using the metallic foil application techniques discussed earlier. These designs benefit from strategic negative space placement to balance the rich metallics.
Cozy texture combinations bring fall’s tactile comfort to nail art through sand and stone effects mixed with warm colors. Layer textured powders in camel, chocolate, and rust tones to create depth reminiscent of fallen leaves and tree bark. These earthy textures pair beautifully with smooth gradient backgrounds.
Winter Metallic Abstracts
Icy chrome effects transform nails into winter wonderlands through silver, platinum, and holographic elements. We achieve these stunning looks by combining transparent overlay techniques with metallic applications, creating layers that shift and shimmer like fresh snow. Holographic films work particularly well over pale blue or white bases.
Snowflake splatter patterns capture winter’s crystalline beauty through white and silver paint drip techniques on dark backgrounds. Apply deep navy or black bases, then use controlled dripping methods to create organic snowflake shapes. Metallic silver accents add sparkle and dimension to these winter scenes.
Aurora borealis inspirations bring northern lights magic to fingertips through shifting purple, green, and blue metallics. Layer these colors using the alcohol ink swirl methods, allowing them to blend naturally while maintaining distinct color bands. Iridescent topcoats enhance the otherworldly shimmer effect, creating designs that change appearance as light hits different angles.
Conclusion
We’ve explored an incredible range of abstract nail art possibilities that transform your fingertips into miniature canvases. From geometric precision to fluid watercolor effects and textural dimensions these techniques offer endless creative potential for every skill level.
The beauty of abstract nail art lies in its freedom from rules – there’s no wrong way to express your artistic vision. Whether you’re drawn to minimalist negative space designs or bold mixed-media creations you now have the knowledge to experiment confidently.
Remember that mastering these techniques takes practice but the journey itself is part of the joy. Start with simpler approaches like sponge gradients or basic geometric shapes then gradually incorporate more complex elements as your confidence grows.
Your nails are waiting to become your next masterpiece. Grab your tools embrace the creative process and let your imagination guide you toward stunning abstract designs that reflect your unique style.
Frequently Asked Questions
What is abstract nail art?
Abstract nail art is a creative alternative to traditional nail designs that includes watercolor effects, geometric shapes, marble textures, and splatter patterns. It allows for artistic expression without following specific representational forms, making each design unique and eye-catching.
Do I need professional skills to create abstract nail art?
No, you don’t need professional skills to achieve abstract nail art looks. These designs are versatile and cater to various skill levels. With the right techniques and inspiration, anyone can transform their nails into artistic works of art.
What are some popular geometric abstract nail art designs?
Popular geometric designs include bold triangular patterns using tape or stencils, minimalist line designs with thin parallel lines, and color block compositions featuring solid rectangular sections in complementary colors for a contemporary art gallery effect.
How do I create marble effect nails?
You can achieve marble effects through water marbling techniques or dry marble methods. Feathered marble designs combine multiple colors for complex appearances, while using thin brushes to create veined patterns mimics natural stone textures.
What tools do I need for abstract nail art?
Essential tools include sponges for gradients, various brushes for stroke techniques, dotting tools for geometric patterns, tape or stencils for precision, and specialty items like textured powders or metallic foils depending on your chosen design.
How can I incorporate negative space into abstract designs?
Negative space designs use bare nail areas as design elements through asymmetrical placements, curved boundaries, triangular sections, or organic shapes. You can also use transparent overlays, sheer tinting, or clear stamping to enhance these spaces.
What colors work best for abstract nail art?
Complementary color schemes (like blue and orange) create dramatic effects, while monochromatic gradients offer sophistication. Analogous color palettes provide harmonious blends. Follow the 70-30 rule for color balance in your designs.
Can I create seasonal abstract nail art?
Yes! Spring features soft pastel watercolor washes, summer showcases vibrant tropical sunsets, fall celebrates earthy tones and harvest themes, while winter includes icy chrome effects and aurora borealis inspirations to reflect seasonal beauty.

