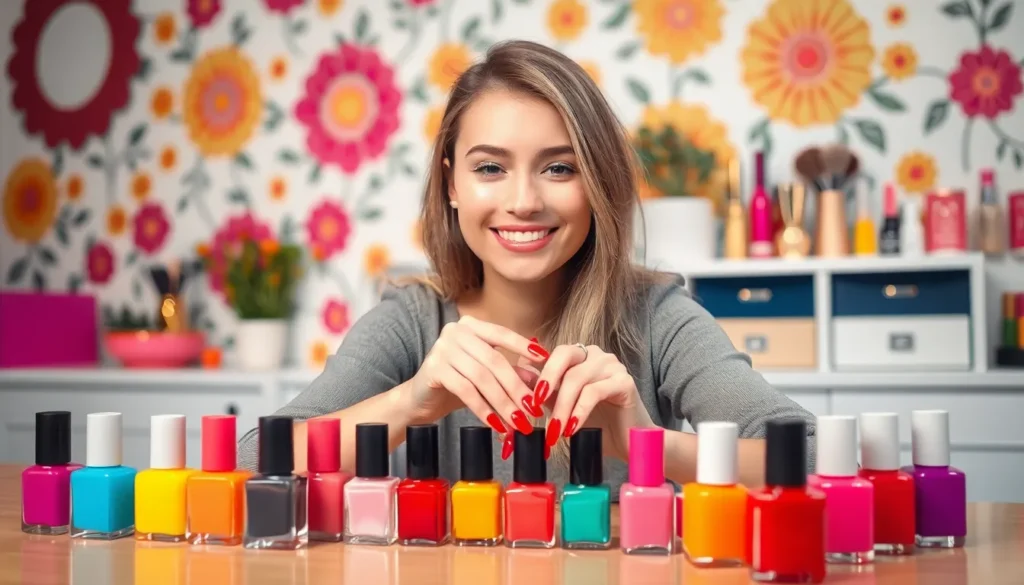
We’ve all been there – scrolling through Pinterest at midnight dreaming of salon-perfect nails while staring at our bare fingertips. The good news? You don’t need expensive trips to the nail salon or years of practice to achieve stunning manicures right from your couch.
Creating beautiful nail art at home isn’t just budget-friendly – it’s incredibly satisfying and surprisingly simple once you know the right techniques. Whether you’re a complete beginner or someone who’s tried and failed before we’re here to change that narrative completely.
Transform your nails from basic to breathtaking with supplies you probably already own. From elegant minimalist designs to eye-catching patterns that’ll have everyone asking where you got your nails done we’ll show you exactly how to master these looks without the learning curve or hefty price tag.
Simple Solid Color Manicures That Never Go Out of Style
Solid color manicures remain the foundation of home nail art because they’re foolproof and always look polished. We’ll show you three essential shades that work for any occasion and skill level.
Classic Red Nails for Timeless Elegance
Red nails create an instant statement that works for every season and event. Choose from cherry red for summer parties, burgundy for fall gatherings, or bright crimson for holiday celebrations. We recommend applying a base coat first to prevent staining your natural nails.
Start with two thin coats rather than one thick application for the smoothest finish. Allow each layer to dry completely before adding the next coat. This technique prevents bubbles and streaking that can ruin the polished look you’re aiming for.
Pick the right red shade for your skin tone to maximize the elegant effect. Cooler undertones pair beautifully with blue-based reds like cherry or classic fire engine red. Warmer skin tones glow with orange-based reds such as coral red or tomato red.
Nude Shades for Everyday Sophistication
Nude polish creates the perfect “your nails but better” look for professional settings. Select shades that closely match your skin tone for the most natural appearance. Light peachy nudes complement fair skin while deeper caramel tones enhance darker complexions.
Apply nude polish in three thin layers for optimal coverage and longevity. The first coat may appear streaky or uneven, but subsequent layers will build beautiful opacity. We find that nude shades require this extra layer to achieve that salon quality finish.
Match your nude shade to your daily wardrobe for seamless coordination. Beige tones work with neutrals like white shirts and black pants. Pinky nudes complement pastels and feminine colors in your closet.
Bold Black Nails for Dramatic Impact
Black nails make a powerful fashion statement that pairs surprisingly well with any outfit. This versatile color works for edgy rock concerts, elegant evening events, or trendy casual looks. We love how black polish makes jewelry and accessories pop against the dark backdrop.
Choose a high quality black formula to avoid the chalky finish common with cheaper brands. Look for polishes with good opacity that cover in two coats maximum. Glossy black creates sophistication while matte black offers modern edge.
Maintain black nails with regular touch ups since chips show more dramatically on dark colors. Keep a small brush and your black polish handy for quick fixes. We suggest refreshing the topcoat every few days to maintain that just painted shine.
Basic Nail Art Techniques Using Household Items
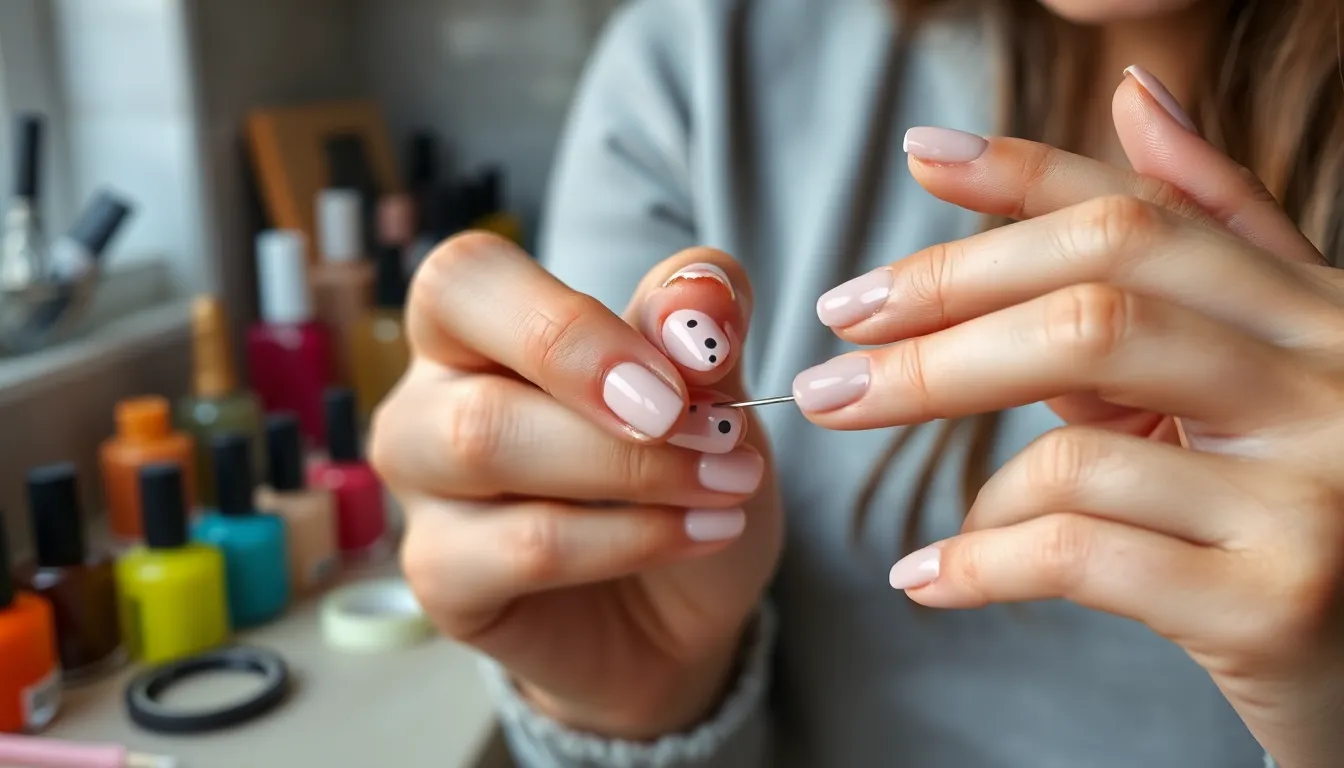
Building on our solid color foundation, we can elevate our manicures using common household items to create professional-looking nail art.
Dotting Tool Alternatives from Your Kitchen
Bobby pins create perfect polka dots when you dip the round end into nail polish. We recommend using the larger ball end for bigger dots and the smaller tip for delicate details.
Toothpicks work wonderfully for creating graduated dot patterns from large to small. Dip the pointed end into polish and gently touch your nail surface, rotating slightly for clean circles.
Kitchen utensil handles like wooden spoon ends make excellent large dotting tools for bold circular designs. Clean metal measuring spoon handles also produce consistent medium-sized dots across all your nails.
Pencil erasers deliver soft, matte-finished dots that add texture variation to your design. We suggest using new erasers for the cleanest application and most uniform shape.
Creating Stripes with Tape or Rubber Bands
Regular scotch tape transforms into precision striping tape when cut into thin strips. Apply your base color first, let it dry completely, then position tape strips where you want clean lines before applying your accent color.
Rubber bands stretch around your nail to create curved stripes and geometric patterns. We wrap them around wet base polish to create negative space designs or use them as guides for painting accent lines.
Painter’s tape offers the cleanest edges for professional-looking stripes without polish bleeding. Remove the tape immediately after applying your top color while it’s still slightly wet for razor-sharp lines.
Washi tape creates decorative borders and can be left on as part of the design. Cut it into various widths to achieve different stripe thicknesses and layer different patterns for complex geometric looks.
Marble Effect Using Water and Toothpicks
Room temperature water in a small bowl serves as your marble canvas for creating organic swirled patterns. Drop 2-3 different nail polish colors into the water, watching them spread naturally across the surface.
Toothpicks become your artistic tools for creating marble veins and swirls. Drag the tip through the floating polish colors in various directions to create unique patterns before each nail dip.
Tape around your cuticles protects your skin from excess polish during the dipping process. We dip each nail straight down into the water pattern, then immediately remove it to capture the design.
Petroleum jelly applied around your nail edges creates an easy cleanup barrier. This prevents polish from sticking to your skin and makes removing excess color simple with a cotton swab after the design sets.
French Manicure Variations You Can Master at Home
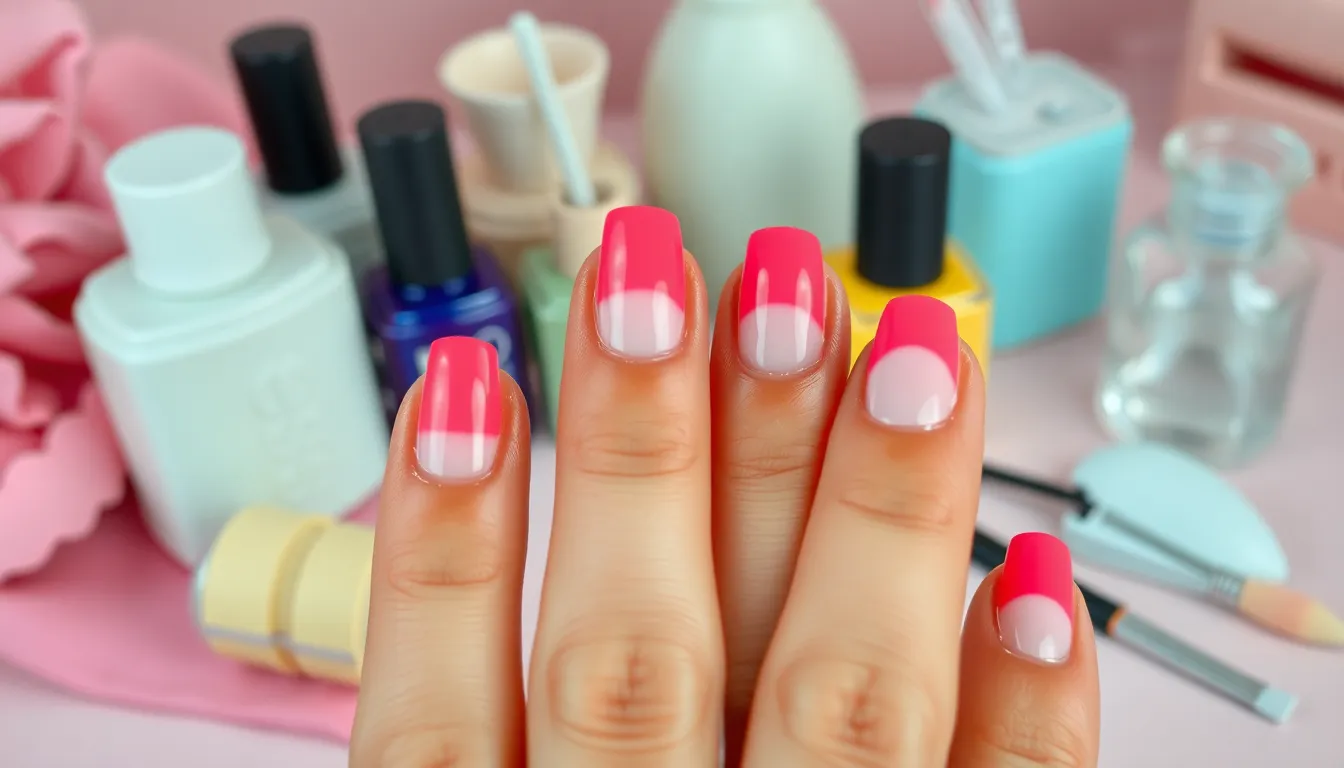
French manicures remain one of the most requested nail styles, and we’re excited to show you how to achieve salon-quality results from your own home. These versatile techniques work perfectly with the basic supplies you’ve already gathered.
Traditional White Tips Made Easy
Start with clean, shaped nails and apply your favorite nude or clear base coat for the perfect foundation. Place french manicure guides or small pieces of tape along your nail tips, leaving about 2-3mm exposed at the end. Apply white polish in thin, even strokes across the exposed tip area, working from one side to the other.
Remove the guides immediately while the polish is still slightly wet to prevent peeling or chipping. Clean up any mistakes using a small brush dipped in nail polish remover for crisp, professional-looking lines. Finish with a clear top coat to seal your design and add lasting shine.
Choose guide stickers, reinforcement hole stickers, or even small pieces of scotch tape as your alignment tools. Practice the sweeping motion on your non-dominant hand first to build confidence with brush control. Allow each layer to dry completely before moving to the next step for the smoothest results.
Colorful French Tips for Modern Flair
Transform your traditional french manicure by swapping white polish for vibrant colors like coral, mint green, or lavender. Select complementary base colors such as nude with pink tips or clear with blue tips for a fresh, contemporary look. Experiment with metallic shades like gold, silver, or rose gold for special occasions and evening events.
Create ombre french tips by blending two colors together using a makeup sponge for a gradient effect. Try glitter polish on the tips over your base color for sparkle and dimension that catches the light beautifully. Mix different finishes by pairing matte base coats with glossy colored tips for textural contrast.
Apply seasonal colors like pastels for spring, brights for summer, or deep jewel tones for fall and winter. Consider your wardrobe when selecting tip colors to ensure your manicure coordinates with your most-worn outfits. Layer sheer colors over white tips to create custom tinted shades that perfectly match your style preferences.
Reverse French Manicure Tutorial
Paint your entire nail with your chosen tip color first, creating the opposite effect of traditional french manicures. Position curved nail guides or tape along your cuticle line, leaving the moon area near your nail bed exposed. Apply a contrasting color or clear base coat to the exposed crescent shape for the signature reverse look.
Use the same color placement techniques but flip the design to highlight your nail bed instead of tips. Select bold color combinations like black base with gold moons or navy with silver crescents for dramatic impact. Follow the natural curve of your cuticle when placing guides to maintain the elegant french manicure silhouette.
Remove guides while the polish remains tacky to achieve clean, smooth lines without pulling or smudging. Perfect your technique by starting with your pinky finger and working toward your thumb for better brush control. Seal your reverse french design with a quality top coat to prevent chipping and extend wear time up to seven days.
Gradient and Ombre Nail Designs for Beginners
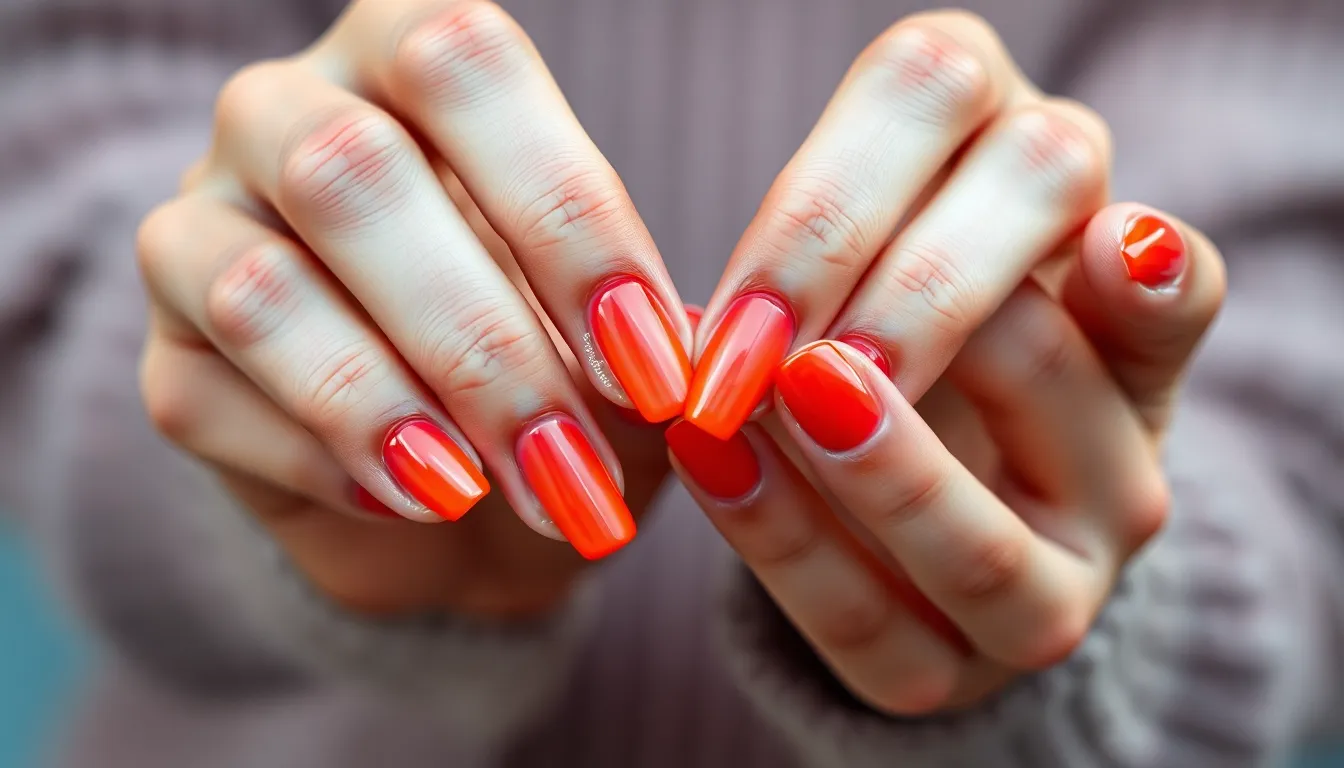
We’ll explore stunning gradient techniques that create seamless color transitions right at your fingertips. These designs look incredibly sophisticated yet remain surprisingly achievable for beginners.
Two-Color Sunset Gradient Technique
Start with your favorite complementary color duo like coral and orange or pink and purple for the most striking sunset effects. Apply your base coat first and let it dry completely before beginning the gradient process.
Paint your entire nail with the lighter of your two chosen colors as the foundation shade. This creates the perfect canvas for blending and helps achieve more vibrant results.
Apply the darker color to the top third of your nail while the base is still slightly tacky. Work quickly to ensure proper blending before the polish sets.
Use gentle downward strokes with a clean, flat brush to blend the colors where they meet. The key is using light pressure and working in thin layers rather than trying to perfect it in one pass.
Build up the gradient gradually by repeating the process with thin coats until you achieve the desired intensity. Each layer deepens the transition and creates more dimension.
Sponge Method for Seamless Blending
Choose a makeup sponge or cosmetic wedge for the smoothest gradient application, as these tools create the most natural color transitions.
Paint both colors side by side directly onto the sponge in vertical stripes, making sure the edges touch for proper blending.
Dab the sponge gently onto your nail in a rolling motion rather than pressing hard, which can create harsh lines instead of smooth transitions.
Rotate the sponge slightly between dabs to vary the pattern and create more organic looking gradients that mimic natural sunset effects.
Clean up excess polish around your cuticles using a small brush dipped in acetone or nail polish remover for professional looking results.
Seal with a quality top coat to smooth out any texture from the sponge application and add lasting shine to your gradient design.
Glitter Fade Effects
Select a glitter polish that complements your base color, with fine glitter particles working better than chunky ones for smooth fade transitions.
Apply glitter heavily at the nail tip and gradually decrease coverage as you move toward the cuticle area using light dabbing motions.
Layer different glitter sizes by starting with fine particles as the base and adding larger pieces sparingly for dimensional effects.
Blend the glitter line using a clean brush or sponge to soften harsh edges where the glitter concentration changes most dramatically.
Create reverse glitter fades by concentrating sparkle at the cuticle and fading toward the tip for unique accent nails that complement your gradient designs.
Finish with two thin coats of clear top coat to encapsulate the glitter and prevent snagging while maintaining the fade effect’s visual impact.
Quick Accent Nail Ideas That Add Instant Style
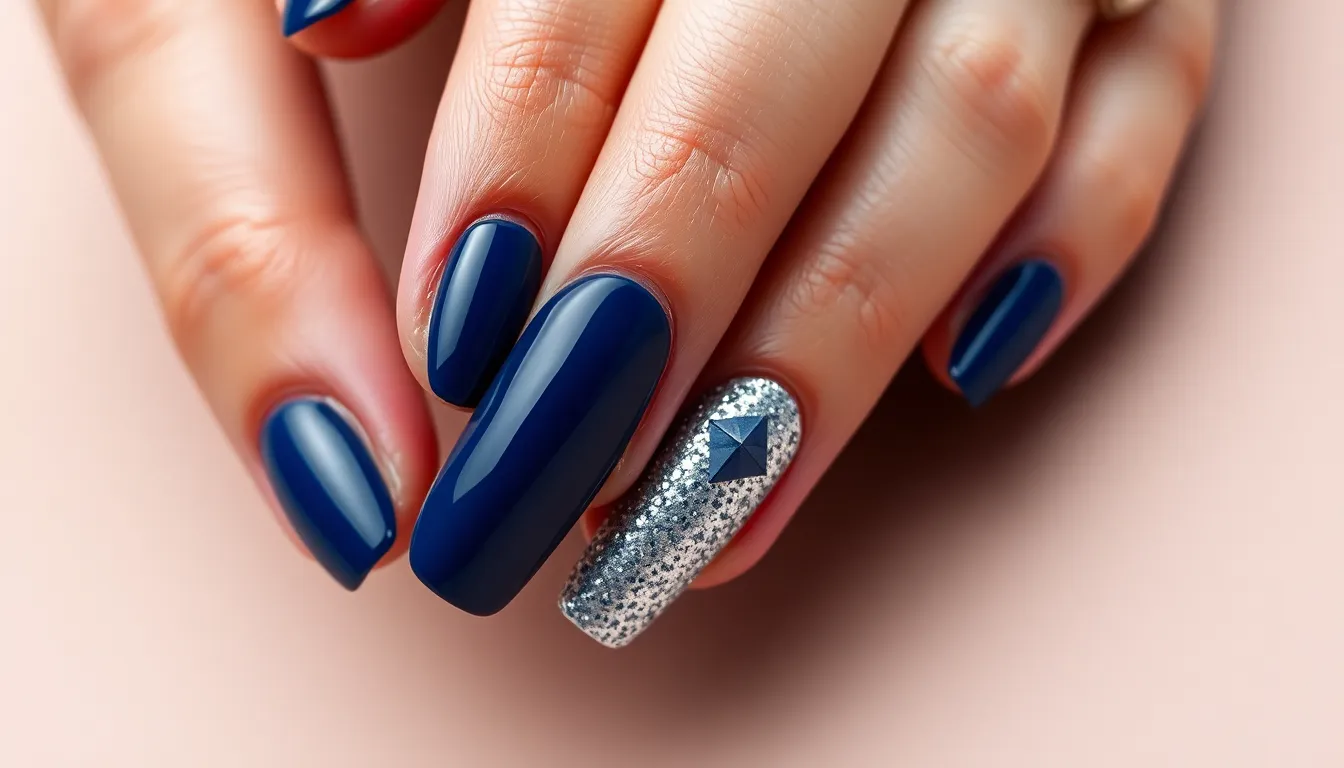
Accent nails transform ordinary manicures into eye-catching designs with minimal effort and maximum impact. We’ll show you three simple techniques that instantly elevate your nail game without requiring advanced skills or expensive tools.
Single Glitter Nail for Subtle Sparkle
Single glitter accents create the perfect balance between understated elegance and festive flair. We recommend choosing your ring finger as the accent nail since it naturally draws attention when you gesture or hold objects.
Start by applying your base color to all nails and allowing it to dry completely. Choose a glitter polish that complements your base shade – silver pairs beautifully with cool tones like blues and purples, while gold enhances warm colors such as reds and oranges.
Apply the glitter polish to your chosen accent nail using thin coats to avoid clumping. We suggest dabbing the brush gently rather than stroking to achieve even coverage. Build up the sparkle gradually with 2-3 thin layers instead of one thick application.
Seal your design with a high-quality top coat to smooth the texture and prevent glitter from catching on clothing. This technique works exceptionally well for special occasions when you want subtle glamour that won’t overwhelm your overall look.
Ring Finger Art Designs
Ring finger designs serve as the focal point of your manicure while keeping the overall look sophisticated and wearable. We’ve found that simple geometric patterns work best for beginners who want impressive results.
Create triangle designs using nail tape to mask off sections of your nail. Paint the exposed area with a contrasting color, remove the tape while the polish is still wet, then seal with top coat for clean lines.
Dot patterns offer another foolproof option for ring finger accents. Use a bobby pin or toothpick to create uniform dots in various sizes – we recommend starting with larger dots near the cuticle and gradually making them smaller toward the tip.
Negative space designs work particularly well on ring fingers because they’re modern yet minimal. Leave portions of your natural nail exposed while painting geometric shapes or stripes around them. This technique creates visual interest without overwhelming your hands.
Contrasting Color Pop Techniques
Contrasting colors create instant drama and help your accent nail stand out from the crowd. We suggest using color theory principles to select combinations that complement rather than clash with each other.
Choose colors directly opposite each other on the color wheel for maximum impact – think navy blue with bright orange, or deep purple with vibrant yellow. These combinations create visual tension that immediately draws the eye to your accent nail.
Apply your base color to four nails and let them dry completely before painting your accent nail with the contrasting shade. We recommend using a slightly darker or brighter version of your base color’s opposite to ensure the contrast remains striking without being harsh.
Metallic contrasts offer a more subtle approach to color popping. Pair matte finishes with metallic accents, such as matte black nails with one gold accent finger, or soft pink bases with a single rose gold highlight. This technique adds sophistication while maintaining the eye-catching effect you’re after.
Stamping and Sticker Nail Art for Effortless Patterns
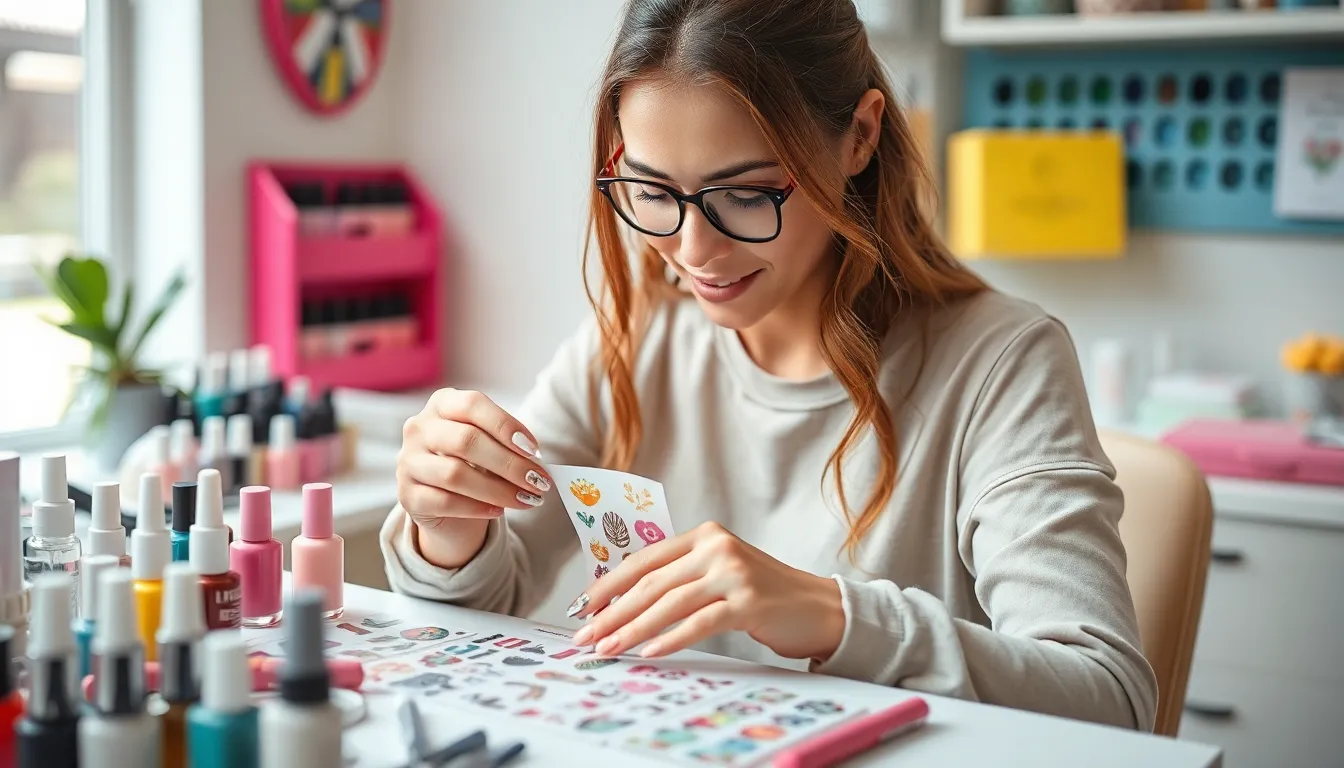
Stamping and sticker techniques revolutionize home nail art by delivering intricate patterns without requiring artistic skills. We’ll explore these foolproof methods that transform basic manicures into professional-looking designs in minutes.
Nail Stamping Basics and Tool Selection
Stamping plates serve as the foundation for creating detailed nail art patterns with precision and consistency. We recommend starting with beginner-friendly plates featuring larger designs like florals, geometric shapes, and simple motifs before advancing to intricate lace patterns or tiny details.
Essential stamping tools include a quality stamper with a firm silicone head, a scraper card for removing excess polish, and special stamping polish that transfers cleanly. Basic stamping kits typically cost $15-25 and include multiple plates with various designs.
Preparation steps ensure successful stamping results every time we create these patterns. Apply base coat and two thin layers of base color, allowing each to dry completely before stamping. Clean the stamping plate with acetone or rubbing alcohol to remove any residue from previous uses.
Technique mastery comes from practicing the rolling motion that transfers designs effectively. We place polish over the desired pattern, scrape away excess with a firm 45-degree angle, then roll the stamper across the design to pick up the image. Quick transfer to the nail prevents the polish from drying on the stamper.
Applying Nail Stickers Like a Pro
Sticker selection varies from simple geometric shapes to complex 3D embellishments that add instant glamour to any manicure. We find that water transfer decals, vinyl stickers, and foil transfers each offer unique advantages for different design goals.
Application timing determines sticker adherence and longevity on our nails. Apply stickers to completely dry base color, positioning them carefully since repositioning can damage both the sticker and underlying polish. Use tweezers or a cuticle pusher for precise placement of smaller stickers.
Sealing techniques protect stickers from peeling and extend wear time significantly. We apply thin coats of top coat around the edges first, then cover the entire nail with a final protective layer. Multiple thin coats work better than one thick application.
Water decal application requires exact steps for professional results we can achieve at home. Soak decals in room temperature water for 10-15 seconds until they slide freely, then position on the nail and smooth out air bubbles with a soft brush or cotton swab.
Mix and Match Pattern Ideas
Layering different pattern types creates unique custom designs that showcase our personal style preferences. We combine stamped geometric backgrounds with small sticker accents, or use stamped florals as bases for strategic sticker placement on select nails.
Color coordination between patterns ensures cohesive looks rather than chaotic mixing that can overwhelm the design. Choose patterns in the same color family or use metallic accents to tie together different pattern styles across multiple nails.
Accent nail strategies help balance busy patterns without creating visual overload on our hands. Apply complex stamped designs to one or two nails per hand, then use simple stickers or solid colors on remaining nails for elegant contrast.
Seasonal pattern combinations keep our nail art fresh and relevant throughout the year. Summer designs might feature tropical stamped leaves with bright geometric stickers, while winter looks could combine snowflake stamps with silver metallic accent stickers for festive appeal.
Minimalist Nail Designs That Look Professional
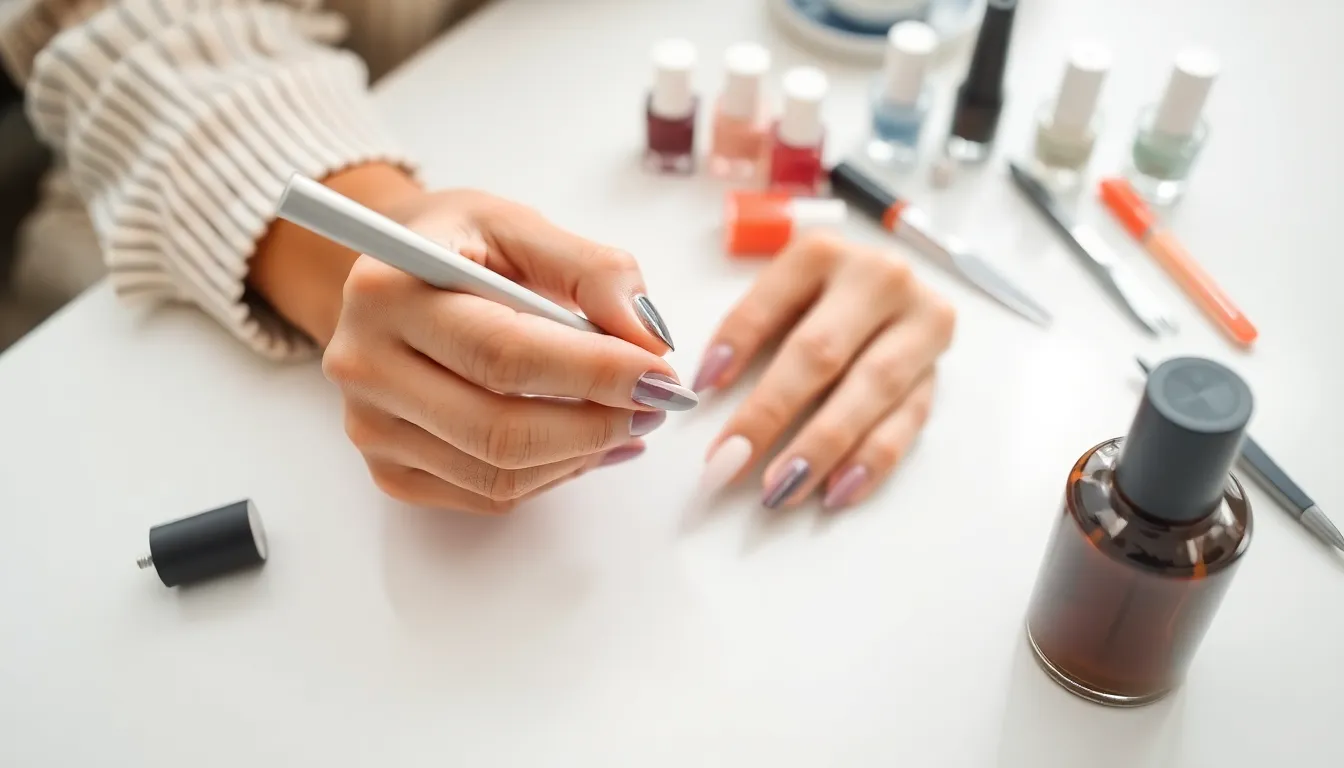
Creating professional nail art doesn’t require complex techniques or expensive tools. These minimalist approaches deliver maximum impact while maintaining workplace appropriateness.
Geometric Shapes with Tape
Clean triangle patterns transform your nails into sophisticated geometric masterpieces using regular scotch tape or nail guides. Position tape diagonally across each nail to create triangular sections, then apply contrasting polish colors like nude and white or black and gold. Remove the tape while the polish is slightly wet to achieve crisp, salon-quality lines.
Square and rectangular blocks offer another striking geometric option that’s surprisingly simple to execute. Create these shapes by placing tape horizontally or vertically across your nails, leaving exact sections exposed for color application. Metallic shades like rose gold or silver work particularly well against neutral bases for a modern professional appearance.
Diamond shapes provide an elegant focal point when positioned at the nail’s center or tip. Cut small diamond templates from tape or use nail vinyls to create precise shapes. Apply a complementary shade within the diamond outline, then carefully remove the tape to reveal sharp, defined edges that elevate any basic manicure.
Negative Space Nail Art
Half moon designs showcase the natural nail while incorporating color in strategic areas. Apply tape in a curved shape near the cuticle area, leaving the lunula (half moon) exposed. Paint over the remaining nail surface with your chosen polish, then remove the tape to reveal the natural nail underneath for a sophisticated contrast.
Vertical stripe cutouts create an elongating effect that’s perfect for professional settings. Use thin striping tape to mask vertical sections of each nail, then apply polish over the entire surface. When you remove the tape, clean lines of natural nail create visual interest without overwhelming the overall look.
Geometric cutout patterns combine multiple negative space elements for a contemporary artistic effect. Create patterns using triangle, circle, or square-shaped nail vinyls, then apply a single polish color over the remaining exposed areas. The natural nail becomes part of the design itself, creating depth and dimension that appears complex but requires minimal skill.
Simple Line Designs
Single accent stripes provide instant elegance when applied strategically across the nail surface. Use striping tape or a thin brush to create one clean line horizontally across the middle of each nail, or position it diagonally for a more ever-changing look. Gold, silver, or black lines work beautifully against nude or light pink base colors.
Parallel line patterns create rhythm and movement using multiple thin stripes spaced evenly across the nail. Apply three to five lines using nail art pens or thin brushes, maintaining consistent spacing between each line. Vary the line thickness slightly to add visual interest while keeping the overall design cohesive and professional.
Curved line accents soften the geometric approach while maintaining clean, minimalist appeal. Create gentle S-curves or wave patterns using nail art brushes or flexible striping tape. These organic shapes work particularly well when applied in metallic shades over neutral bases, creating movement that catches light beautifully in office environments.
Holiday and Seasonal Easy Nail Ideas at Home
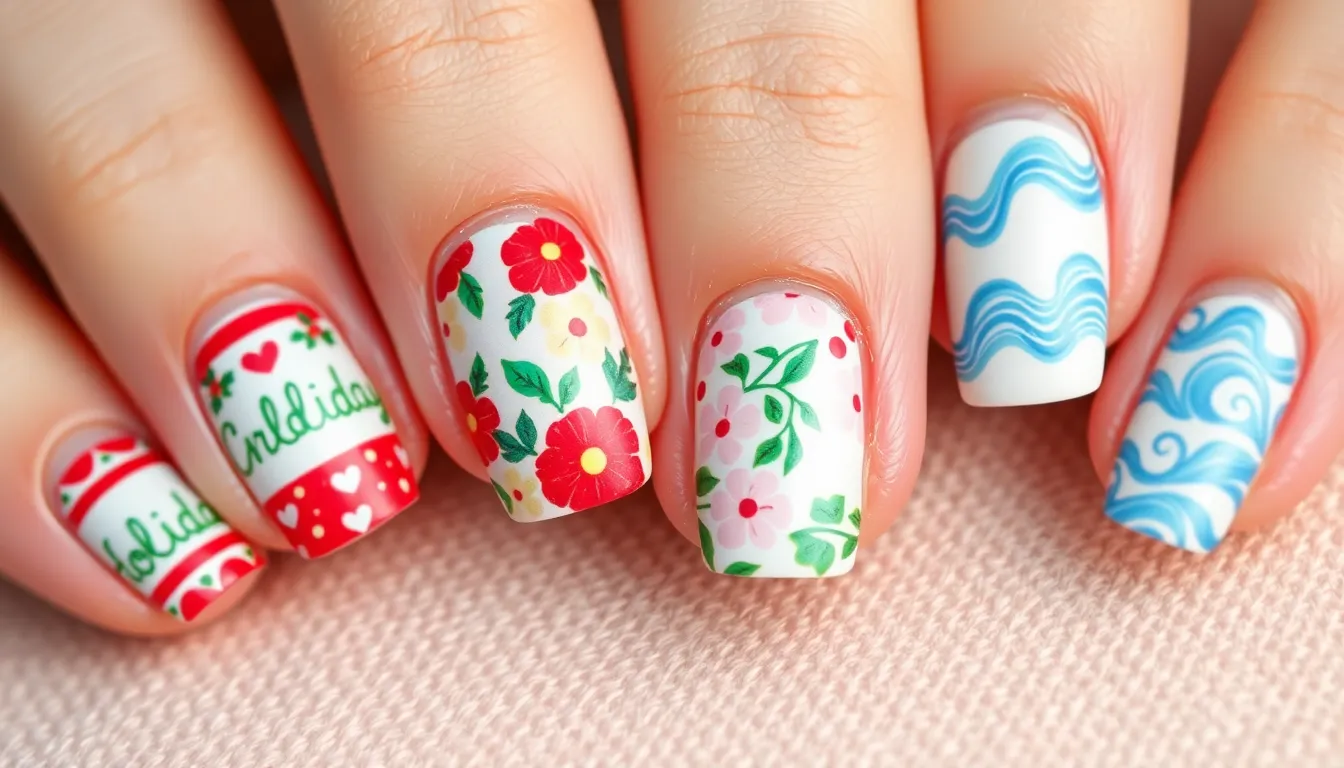
Transform your nails into festive masterpieces that celebrate every season with these holiday and seasonal designs. We’ll show you how to capture the spirit of special occasions using simple techniques that complement your wardrobe and mood throughout the year.
Festive Christmas Nail Patterns
Christmas nail patterns bring holiday magic to your fingertips using supplies you likely already own. Start with a deep green or classic red base coat, then create snowflakes using a white nail art pen or small brush dipped in white polish. Dot patterns work perfectly for creating holly berries by applying three small red dots clustered together with tiny green leaves using a toothpick.
Candy cane stripes offer another festive option that requires only red and white polish plus striping tape. Apply a white base coat first, then use thin striping tape to create diagonal lines before painting over with red polish. Remove the tape while the polish is still slightly wet for crisp, clean lines that mimic the classic holiday treat.
Gold accent nails elevate any Christmas manicure with metallic touches that catch light beautifully. Paint your ring finger with gold polish, then add small star stickers or create tiny dots with gold nail art pens on your other nails. Finish with a glossy top coat to seal your design and add extra sparkle that lasts through holiday celebrations.
Spring Floral Designs
Spring floral designs capture the season’s renewal with delicate patterns that celebrate blooming gardens. Use a pale pink or lavender base coat, then create simple daisies by making five white dots in a circle with yellow centers using a dotting tool or bobby pin. Small cherry blossoms work beautifully when you apply pink dots and add tiny white highlights with a fine brush.
Gradient petal effects create sophisticated floral backgrounds without requiring artistic skills. Apply two complementary spring colors to a makeup sponge, then dab gently across your nails to blend the shades together. Once dry, add small white or yellow dots to represent scattered flower petals floating in a gentle breeze.
Vine and leaf patterns add organic movement to spring manicures using simple brushwork. Draw curved lines with green polish using a thin brush or nail art pen, then add small oval leaves along the vines. Tiny pink or white dots scattered along the vines represent budding flowers that enhance the garden theme.
Summer Beach Inspired Looks
Summer beach inspired looks capture vacation vibes with designs that remind you of sandy shores and ocean waves. Create simple wave patterns using blue and white polish with a makeup sponge to blend colors horizontally across your nails. Add small white dots to represent sea foam, then finish with a glossy top coat that mimics water’s natural shine.
Tropical fruit accents bring summer sweetness to your fingertips with easy geometric shapes. Paint watermelon designs by creating pink triangles with black dot seeds and thin green rinds using a small brush. Pineapple patterns work well as accent nails when you apply yellow polish and create crosshatch lines with brown or gold polish.
Sunset gradient effects capture golden hour beauty using warm oranges, pinks, and yellows blended with a makeup sponge. Start with the lightest color at your cuticle, then gradually blend darker shades toward your nail tips. Palm tree silhouettes make perfect accent additions when drawn with black polish using a thin brush or nail art pen against the sunset background.
Essential Tools and Supplies for DIY Nail Art Success
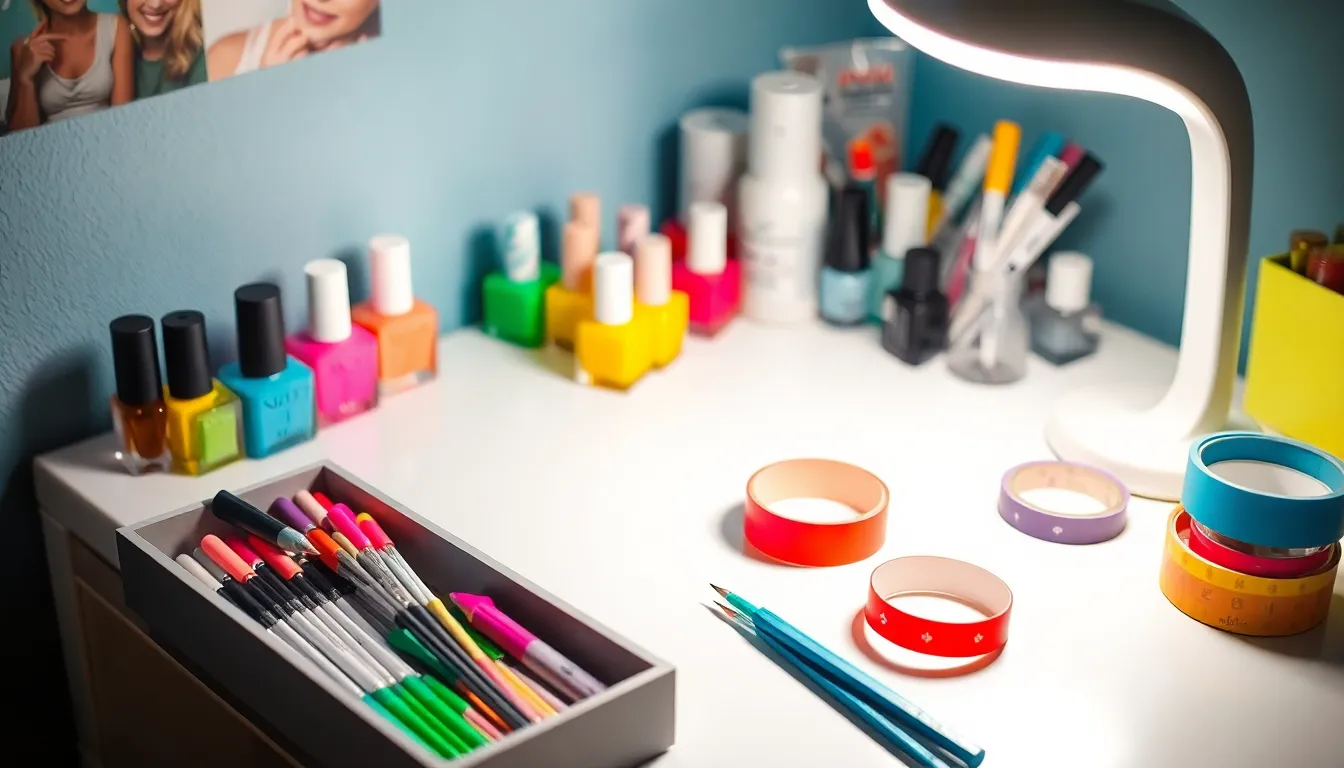
Building on our seasonal designs and minimalist techniques, let’s establish the foundation for creating any nail art look with confidence. The right tools make all the difference between professional-looking results and frustrating failures.
Must-Have Polishes and Base Coats
Base coats protect your natural nails and create the perfect foundation for any design. We recommend investing in a high-quality base coat that prevents staining and extends wear time. Ridge-filling base coats work exceptionally well for creating smooth surfaces on textured nails.
Top coats seal and protect your artwork while adding professional shine to every manicure. Quick-dry formulas save valuable time, while gel-look top coats provide that coveted salon finish. Matte top coats instantly transform any design into a sophisticated, modern look.
Core polish colors form your creative palette and should include black, white, nude, and red shades. These versatile colors work for every technique we’ve covered, from French tips to geometric patterns. Metallic polishes in gold and silver add instant glamour to accent nails and holiday designs.
Specialty polishes expand your design possibilities with unique finishes and effects. Glitter polishes create stunning gradient fades and accent details. Magnetic polishes produce cat-eye effects with minimal effort. Sheer polishes perfect the negative space techniques and layering methods we’ve explored.
Affordable Nail Art Tools
Dotting tools create perfect circles and patterns without requiring steady hands or artistic training. Bobby pins serve as excellent makeshift dotting tools, while nail art pens with various tip sizes offer more precision. Toothpicks work wonderfully for marbling effects and fine detail work.
Striping tape delivers clean lines instantly and makes geometric designs accessible to everyone. Painter’s tape creates wider stripes and negative space effects. Washi tape adds decorative borders and colorful accents. Scotch tape remains the most versatile option for French tips and angular patterns.
Stamping supplies revolutionize complex designs by transferring intricate patterns in seconds. Stamping plates feature hundreds of design options, from florals to geometric patterns. Quality stampers and scrapers ensure clean transfers every time. Special stamping polishes provide the opacity needed for crisp, clear impressions.
Brushes and applicators give you artistic control over detailed work and blending techniques. Fine liner brushes perfect for creating delicate stripes and details. Makeup sponges work excellently for gradient effects and ombre blending. Fan brushes create unique textures and splatter effects for creative designs.
Workspace Setup Tips
Lighting determines the quality of your results and prevents color matching mistakes. Position a bright LED lamp directly over your work area to see true colors and catch any imperfections. Natural daylight bulbs provide the most accurate color representation for polish selection.
Organization keeps supplies accessible and maintains your creative flow during application. Arrange polishes by color family or frequency of use in a small organizer. Keep cotton swabs, acetone, and cleanup brushes within arm’s reach. Store small tools like dotting tools and tape in clear containers for easy identification.
Surface protection prevents damage to your furniture and makes cleanup effortless. Lay down a towel or plastic mat to catch spills and polish drips. Keep a small trash bin nearby for used cotton pads and tape strips. Place a cup of warm water nearby for quick tool cleaning between colors.
Comfort considerations ensure steady hands and reduce fatigue during longer nail art sessions. Sit in a comfortable chair with good back support and proper arm positioning. Rest your elbows on the table to minimize hand shaking. Take breaks every 15-20 minutes to prevent cramping and maintain precision throughout the process.
Conclusion
Creating stunning nail art at home has never been more accessible or rewarding. We’ve shown you that with basic supplies and simple techniques you can achieve professional-looking results without very costly or spending hours perfecting your skills.
Whether you’re drawn to classic solid colors minimalist geometric designs or festive seasonal patterns there’s a perfect nail art style waiting for you to discover. The key is starting with the fundamentals and gradually building your confidence with each new technique you try.
Remember that practice makes progress and every nail artist started as a beginner. With the right tools proper workspace setup and a willingness to experiment you’ll be creating Instagram-worthy manicures that reflect your personal style and creativity in no time.
Frequently Asked Questions
What supplies do I need to start doing nail art at home?
You’ll need basic supplies like high-quality base and top coats, a few core polish colors (red, nude, black), and simple tools you likely already have. Bobby pins, toothpicks, scotch tape, and sponges work perfectly for creating professional-looking designs. Add dotting tools, striping tape, and nail stamping plates as you advance.
Can beginners really create salon-quality nail art at home?
Yes! The techniques covered focus on simple methods that anyone can master. From classic solid colors to basic patterns using household items, these designs require no artistic experience. Start with solid colors, then progress to tape stripes and dotting techniques for impressive results without years of practice.
How do I choose the right nail polish colors for my skin tone?
For nude shades, match the polish to your natural skin undertones. Red polishes work universally but choose blue-based reds for cool undertones and orange-based reds for warm undertones. Experiment with different shades in natural lighting to find your most flattering colors.
What’s the easiest way to create French manicure tips at home?
Use nail guides or regular scotch tape to create clean lines. Apply your base color first, place the tape to create the tip shape, then paint over it with white or your chosen tip color. Remove tape while polish is still slightly wet for crisp, professional-looking lines.
How can I make gradient or ombre nails without special tools?
Use a makeup sponge to blend two complementary colors. Apply both colors to the sponge, then dab onto your nail in overlapping motions. Work quickly while polish is wet, and use a toothpick to blend the transition area for smooth color gradation.
What are accent nails and how do I create them?
Accent nails are single nails decorated differently from the rest, typically the ring finger. Apply glitter polish, create geometric patterns with tape, or use contrasting colors. This technique adds instant style while keeping the overall look sophisticated and workplace-appropriate.
How do nail stamping plates work for intricate designs?
Nail stamping uses engraved plates to transfer detailed patterns onto nails. Apply special stamping polish to the design, scrape excess off, press with a stamper, then roll onto your nail. This technique delivers complex patterns that would be impossible to paint freehand.
Can I create holiday-themed nails without artistic skills?
Absolutely! Use simple techniques like tape for candy cane stripes, dotting tools for snowflakes, or sponges for gradient effects on spring florals. Seasonal nail art relies more on color choices and basic patterns than complex artistic abilities.
How long do DIY nail art designs typically last?
With proper base and top coat application, DIY nail art can last 7-10 days. Solid colors and simple designs tend to last longer than complex patterns. Regular top coat touch-ups every 2-3 days help maintain shine and prevent chipping.
What’s the best workspace setup for doing nail art at home?
Create a well-lit area with good ventilation, using a table at comfortable height. Protect surfaces with newspaper or paper towels, organize supplies within easy reach, and have cotton swabs and acetone ready for cleanup. Good lighting is essential for precise application and color accuracy.

