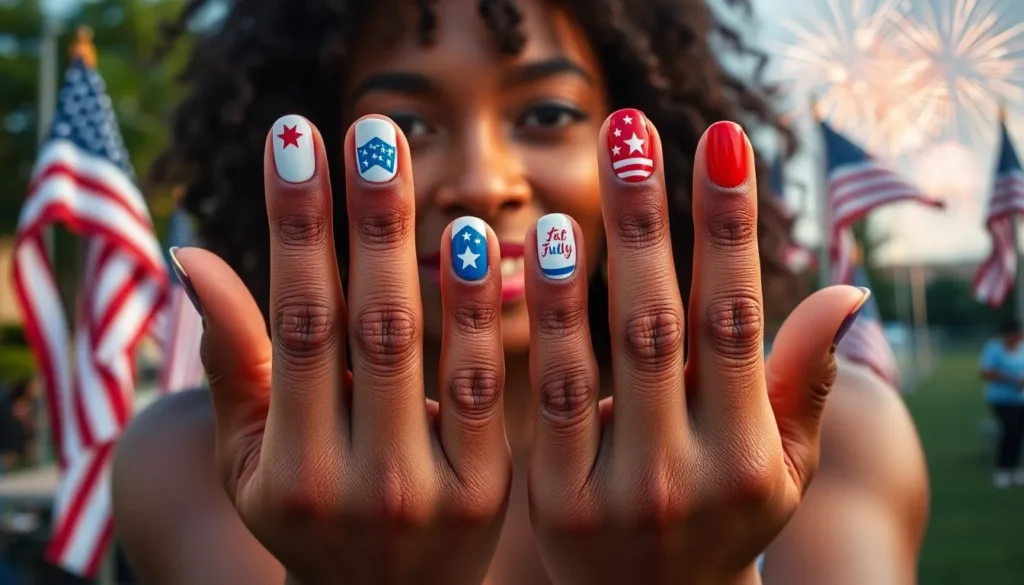
The 4th of July is just around the corner and we’re already dreaming of those perfect patriotic nail designs that’ll make our manicures pop at every BBQ and fireworks show. There’s something magical about incorporating red, white, and blue into our nail art that instantly puts us in the festive spirit and shows off our American pride.
We’ve spent countless hours researching and testing the most stunning Independence Day nail ideas that’ll have everyone asking where you got your nails done. From simple flag-inspired designs that beginners can master to intricate star-spangled patterns for the more adventurous, we’ve got options for every skill level and style preference.
Whether you’re planning a backyard celebration or heading to the beach for the holiday weekend, these nail designs will be the perfect finishing touch to your patriotic look. Let’s jump into these show-stopping ideas that’ll make your 4th of July manicure absolutely unforgettable.
Classic Red, White, and Blue Striped Designs
Striped nail designs offer the perfect foundation for your patriotic manicure this Independence Day. We’ll show you three essential striping techniques that create stunning red white and blue combinations for any skill level.
Horizontal Stripe Patterns
Horizontal stripes create a timeless flag inspired look that’s perfect for beginners. Start by applying a white base coat and let it dry completely. Use nail tape or striping tape to section off even horizontal bands across each nail. Paint alternating sections with red and blue polish, leaving some white spaces visible between the stripes.
Remove the tape while the polish is still slightly wet for clean crisp lines. This technique works beautifully on shorter nails and creates an instant patriotic statement. Try varying the stripe widths on different nails for added visual interest.
Vertical Stripe Variations
Vertical stripes elongate your nails while maintaining that classic American flag aesthetic. Apply your base color first, then use thin nail art brushes or striping brushes to paint vertical lines. We recommend starting with white as your base, then adding red and blue vertical stripes of varying widths.
Create rhythm by alternating thick and thin vertical lines across each nail. This design looks especially striking on longer nail shapes like coffin or almond. You can also use nail vinyls or tape to achieve perfectly straight vertical lines if freehand painting feels challenging.
Diagonal Stripe Techniques
Diagonal stripes add ever-changing movement to your 4th of July nail art. Position striping tape at 45 degree angles across your nails, creating diamond or chevron patterns with your red white and blue color scheme. This technique requires more precision but delivers show stopping results.
Layer different diagonal directions on accent nails for maximum impact. Try painting diagonal stripes going one direction on your ring finger, then switch the angle on your thumb for an asymmetrical design that catches the light beautifully. The diagonal approach works exceptionally well when combined with glitter topcoats or metallic accents.
Patriotic Star and Flag Nail Art
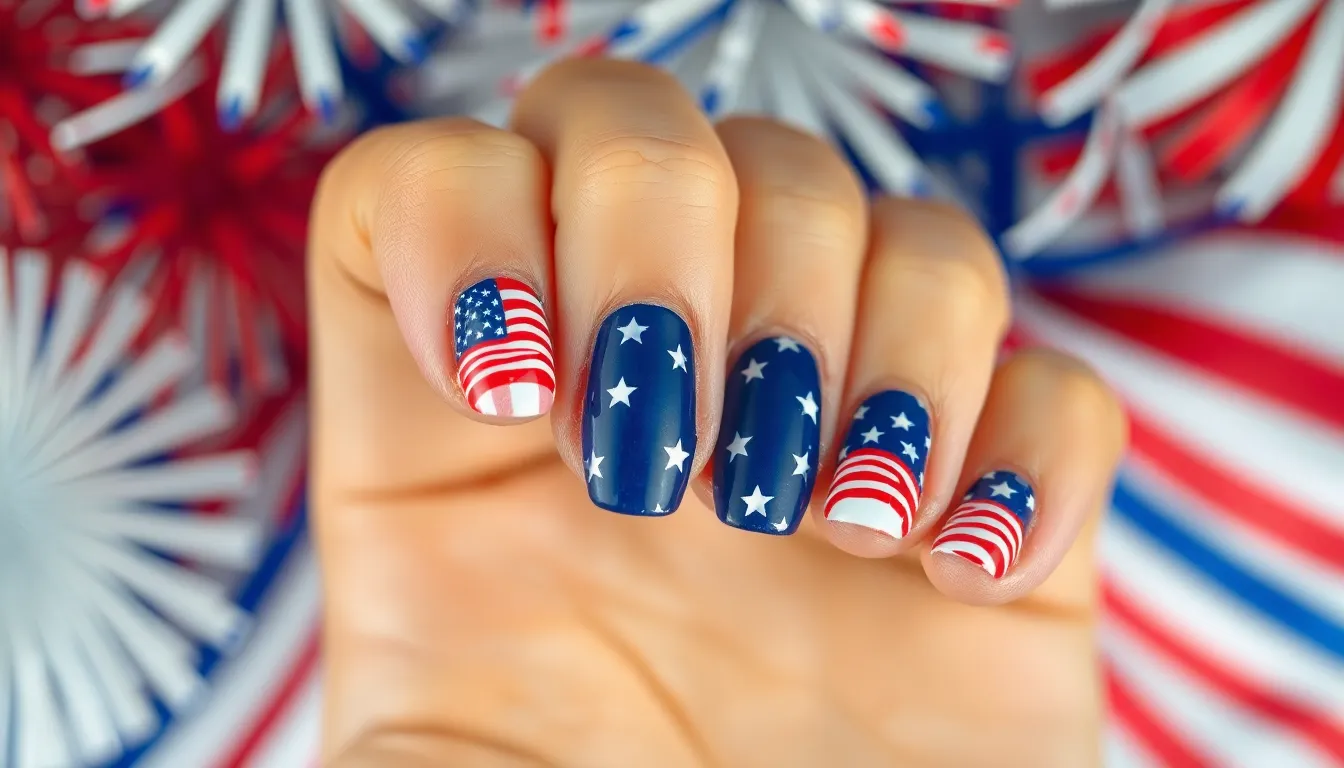
Stars and flags transform ordinary manicures into show stopping 4th of July masterpieces. These iconic patriotic symbols offer endless creative possibilities for celebrating Independence Day with nail art that truly captures the American spirit.
American Flag Accent Nails
Create stunning flag accents on one or two fingers for maximum visual impact without overwhelming your entire manicure. We recommend using your ring finger and thumb as accent nails while keeping other fingers in solid red, white, or blue polish.
Start with a white base coat and allow it to dry completely before adding the flag elements. Use thin striping tape to create clean horizontal red lines across the nail, leaving white spaces between each stripe for authentic flag proportions.
Paint a blue square in the upper left corner covering approximately one third of the nail’s width and half its length. Once dry, use a dotting tool or small brush to add tiny white stars within the blue field, creating an instantly recognizable American flag design.
Finish with a glossy top coat to protect your design and enhance the patriotic colors. This accent nail technique works beautifully with both short and long nail lengths, making it perfect for any skill level.
Star Spangled Banner Designs
Cover your entire nail set with scattered stars using various sizes and techniques for a celestial patriotic look. White stars on blue backgrounds create the most dramatic effect, while silver glitter stars add sparkle to any color combination.
Use star shaped nail stencils for perfectly uniform designs, or create freehand stars using a thin nail art brush for more organic patterns. Apply stars in clusters of three to five for balanced composition across each nail.
Alternate star sizes and densities between fingers to create visual rhythm throughout your manicure. Large stars work best on accent nails, while smaller stars fill space beautifully on remaining fingers without competing for attention.
Layer different metallic shades like silver, gold, and white to add depth and dimension to your star spangled design. This layering technique creates movement and catches light beautifully during fireworks displays and outdoor celebrations.
Constellation Star Patterns
Map out exact constellation patterns like the Big Dipper or Cassiopeia using tiny white dots connected by thin silver lines. This sophisticated approach elevates traditional star nail art into astronomical artistry perfect for evening Independence Day events.
Use a dotting tool dipped in white polish to place stars according to actual constellation maps, then connect them with ultra thin brush strokes or nail art pens. This technique requires steady hands but creates stunning results worthy of professional nail salons.
Combine constellation patterns with gradient backgrounds transitioning from deep navy at the cuticle to lighter blue at the nail tip, mimicking twilight skies during 4th of July fireworks shows.
Apply holographic top coat over constellation designs to create twinkling effects that mirror real starlight. This finishing touch transforms simple dot patterns into mesmerizing celestial displays that capture attention throughout your holiday celebrations.
Fireworks-Inspired Nail Decorations
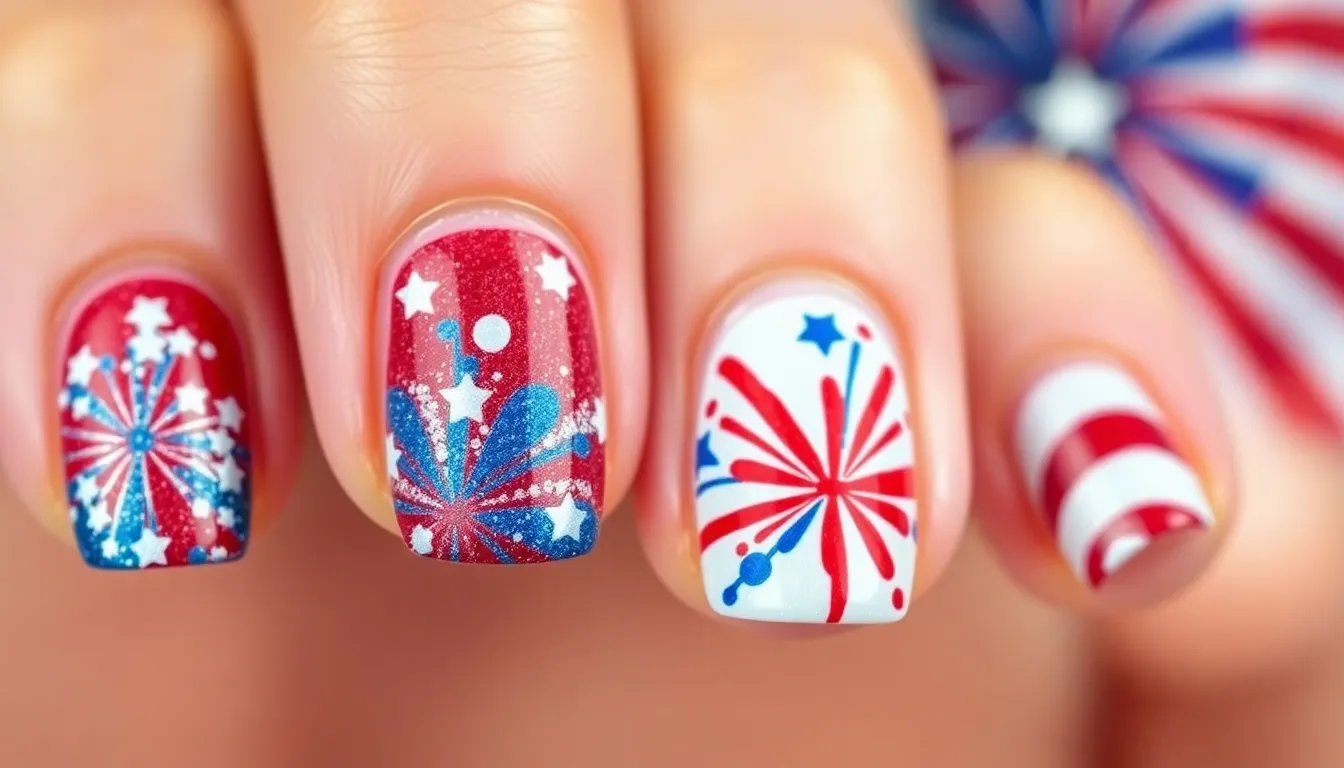
Fireworks create the most spectacular displays of Independence Day celebrations, and these explosive designs bring that same energy to our fingertips. We can capture the magic of sparklers, roman candles, and aerial displays through creative techniques that make our nails the star of any 4th of July gathering.
Glitter Explosion Effects
Dense glitter placement creates authentic firework burst patterns that shimmer with every hand movement. Start with a deep blue or black base coat to mimic the night sky where fireworks shine brightest. Apply a clear base coat first, then while it’s still tacky, sprinkle fine red, white, and silver glitter from the center of each nail outward in radiating lines.
Gradient glitter application produces the fading effect we see as fireworks expand across the sky. Begin with concentrated glitter at one point on the nail, then gradually decrease the density as you move outward. Use a small brush to blend the edges, creating that natural explosion fade.
Layered sparkle techniques add dimension and movement to your firework designs. Apply your first layer of fine glitter, seal with a thin top coat, then add larger hexagonal glitter pieces over exact areas. This creates depth and makes certain areas pop forward like real fireworks.
Color combination strategies help recreate exact firework types on our nails. Mix gold and orange glitters for chrysanthemum effects, combine silver and white for classic sparklers, or use red and blue together for patriotic burst patterns.
Hand-Painted Firework Bursts
Thin brush techniques allow us to create precise radiating lines that mimic actual firework explosions. Load a detail brush with white or gold polish and paint straight lines extending from a central point, varying the lengths to create natural looking bursts. Practice on paper first to perfect your line consistency.
Dot and line combinations produce complex firework patterns that look professionally done. Start by painting a small dot at the explosion center, then add radiating lines of different lengths around it. Finish with tiny dots at the end of each line to represent sparks falling away.
Color blending methods create realistic firework trails and fades. Begin each line with your chosen color at full opacity, then gradually thin the polish with clear coat as you paint toward the line’s end. This technique mimics how real fireworks fade as they burn out.
Freehand starburst patterns offer endless creativity for our Independence Day designs. Paint multiple explosion points on each nail using different sized bursts and color combinations. Overlap some patterns for depth and vary the directions to create ever-changing movement.
Holographic Firework Designs
Holographic polish selection transforms ordinary firework designs into mesmerizing light shows. Choose polishes with strong rainbow shifts that change from different angles, creating the prismatic effect we see in actual fireworks. Silver based holos work best for traditional sparkler effects.
Light reflection techniques maximize the holographic impact of our firework nail art. Apply holo polish in thin, even coats to prevent dulling the rainbow effect. Position your nails under different light sources to test the color shift before adding additional design elements.
Prism effect application creates multidimensional firework displays on our nails. Layer holographic topcoat over painted firework designs to add depth and movement. The holo particles will enhance the painted lines while creating new color combinations as light hits them.
Rainbow sparkle combinations produce the most dramatic firework effects for 4th of July celebrations. Mix holographic glitter with traditional colors in your firework patterns, concentrating the holo elements at burst centers where the most intense light occurs. Seal everything with a glossy topcoat to maximize shine and protection.
Sparkly Glitter and Metallic Finishes
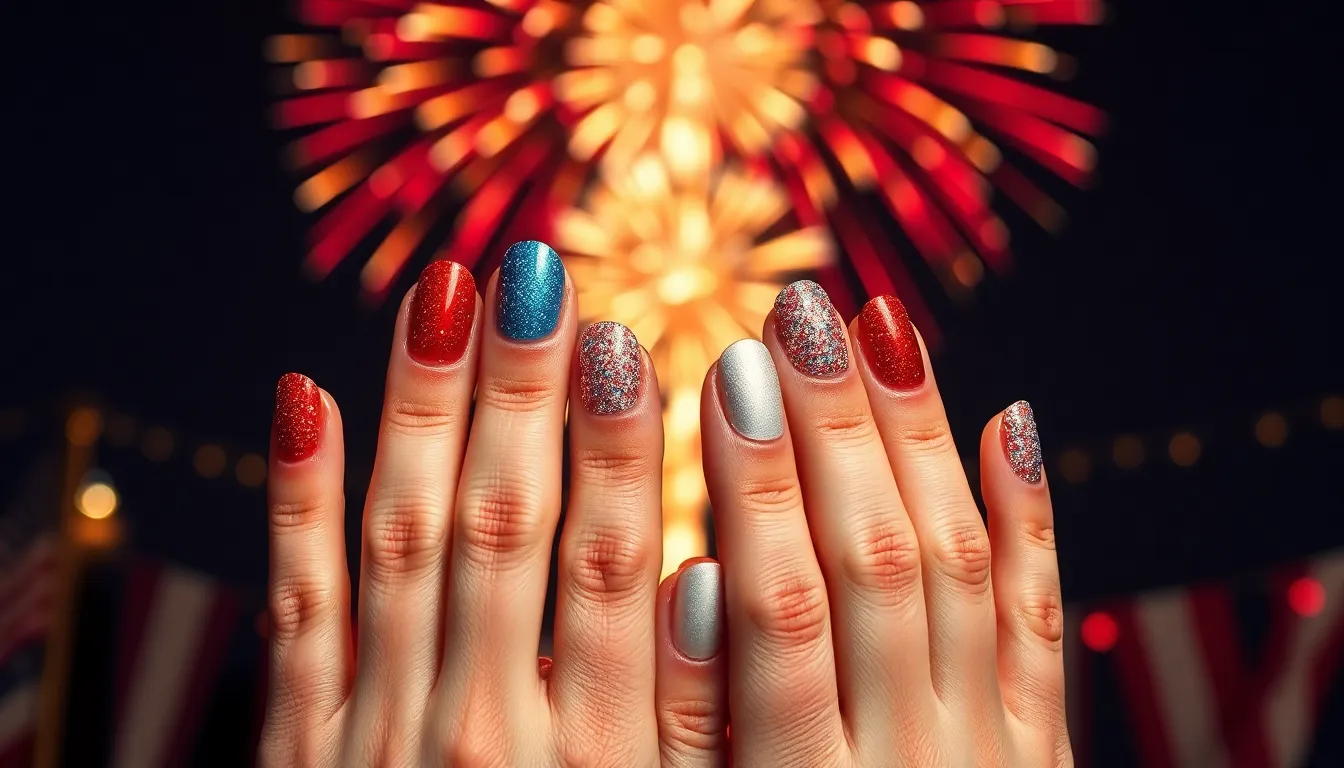
Shimmery textures elevate patriotic nail art with stunning light-catching effects that make your manicure sparkle like fireworks. These luxurious finishes transform basic red, white, and blue designs into show-stopping statements perfect for Independence Day celebrations.
Red Glitter Gradient Nails
Create a dazzling red glitter fade that mimics the glow of sparklers against the night sky. Start with a clear base coat on all nails, then apply red nail polish to the entire nail surface. While the polish remains slightly wet, use a makeup sponge to dab fine red glitter from the nail tips toward the middle, creating a concentrated sparkle effect at the tips that gradually fades toward the cuticles.
Build layers of glitter density by applying multiple coats with decreasing coverage areas. The first glitter application should cover about 60% of the nail from the tip, the second coat should cover 40%, and the final layer should focus on just the tip area. This technique creates depth and prevents the gradient from looking muddy or uneven.
Seal your red glitter gradient with two coats of high-quality top coat to smooth the texture and enhance shine. The top coat prevents glitter from catching on clothing and creates a professional salon finish that lasts throughout your holiday festivities.
Silver and Gold Accent Details
Transform simple patriotic designs with metallic accent strokes that catch light beautifully. Use thin nail art brushes to add silver stars along cuticle lines or create delicate gold stripes between existing red and blue elements. These metallic touches work especially well when applied over matte base colors, creating stunning contrast.
Apply metallic foil pieces for instant glamour that requires minimal artistic skill. Cut small star shapes from silver or gold nail foil, then press them onto tacky base coat using tweezers. The foil creates mirror-like reflections that make your nails sparkle from every angle.
Layer metallic polishes over existing designs for sophisticated depth. Gold chrome polish applied lightly over red creates a luxurious burgundy effect, while silver over blue produces an elegant navy metallic finish. These layering techniques add complexity without overwhelming the patriotic theme.
Blue Metallic Chrome Effects
Achieve mirror-like chrome finishes using specialized blue metallic polishes that create stunning reflective surfaces. Apply a black base coat first, as dark colors intensify the chrome effect and make the metallic finish more vibrant. The black base ensures your blue chrome appears rich and deep rather than washed out.
Buff your nails to a high shine before applying chrome polish, as any imperfections will show through the reflective finish. Use gentle circular motions with a fine buffer to create the smoothest possible surface for professional-looking results.
Enhance blue chrome nails with strategic placement on accent fingers only, pairing them with matte white and red designs on remaining nails. This creates visual interest while preventing the look from becoming overwhelming or competing with your outfit’s patriotic elements.
Easy DIY Patriotic Nail Stickers
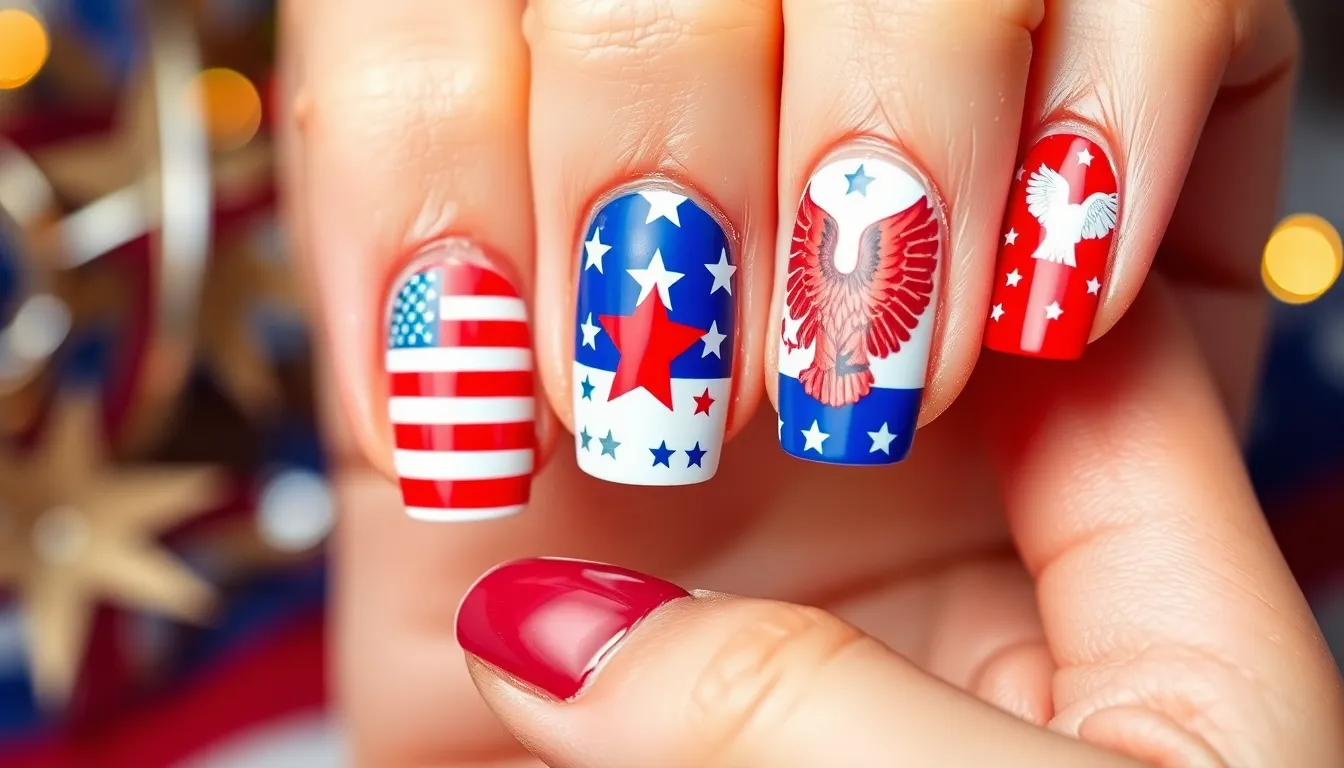
Nail stickers offer the perfect solution for creating professional looking 4th of July designs without advanced artistic skills. We’ll explore how these convenient accessories can transform your patriotic manicure game with minimal effort and maximum impact.
Flag Decal Applications
American flag water decals provide the most realistic miniature flag designs for your nails. We recommend applying these decals to your ring finger or thumb for a stunning accent nail that captures attention without overwhelming your entire manicure.
Preparation steps ensure smooth application and long lasting results. Clean your nail surface with rubbing alcohol to remove oils and debris. Apply a clear base coat and let it dry completely before positioning any flag decals.
Application technique determines the professional quality of your finished design. Soak the decal in warm water for 10 to 15 seconds until it slides easily from the backing paper. Position the flag decal carefully on your nail using tweezers or your fingertip. Press out any air bubbles by gently smoothing from the center outward.
Sizing considerations help you achieve the perfect fit for different nail shapes. Trim oversized flag decals with small scissors before application to prevent bunching at the nail edges. Square shaped nails accommodate full flag designs better than round or oval nail shapes.
Star Sticker Placements
Individual star stickers create versatile designs that complement any patriotic color scheme. We suggest placing single white stars on blue accent nails to mimic the American flag’s star field. Position three to five small stars in random patterns for a natural scattered look.
Star cluster arrangements add drama and visual interest to simple solid color bases. Group multiple star stickers together on one nail while keeping other nails minimal for balanced contrast. Vary the star sizes within each cluster to create depth and movement.
Geometric star patterns offer structured alternatives to random placement styles. Arrange stars in straight lines across the nail for a military inspired look. Create diagonal star trails that flow from one corner to the opposite edge of your nail.
Color coordination strategies enhance the overall patriotic theme of your manicure. Use silver star stickers on red nails and gold stars on blue backgrounds for metallic contrast. White stars work beautifully on both red and blue base colors for classic flag inspiration.
Patriotic Symbol Transfers
Eagle motif transfers bring majestic symbolism to your Independence Day nail art. We recommend using these larger transfers as focal points on accent nails rather than applying them to every finger. Position eagle designs on your middle or ring finger for maximum visual impact.
Liberty bell stickers add historical significance to your patriotic nail collection. These detailed transfers work best on longer nails where the intricate bell shape can be fully appreciated. Apply liberty bell designs over neutral backgrounds to make the symbols stand out clearly.
Firework symbol applications capture the celebratory spirit of July 4th festivities. Use burst pattern transfers on dark blue or black base colors to simulate nighttime firework displays. Layer different sized firework stickers to create depth and movement across your nail canvas.
Text transfer options let you showcase patriotic phrases and dates on your nails. Apply “USA” letter transfers individually across three fingers for a bold statement look. Use “1776” number transfers on accent nails to commemorate America’s founding year with historical pride.
French Manicure with American Twist

Transform the classic French manicure into a patriotic masterpiece that perfectly captures the spirit of Independence Day. We’ll show you how to elevate this timeless nail art with red, white, and blue elements that celebrate American pride.
Red and Blue French Tips
Replace traditional white tips with alternating red and blue colors for an instant patriotic upgrade. We recommend painting the thumb, middle finger, and pinky with red tips while using blue for the index and ring fingers. This creates visual balance across both hands without overwhelming the overall design.
Apply your base coat first then use striping tape to create clean, curved tip lines. Red polish should be applied in thin layers to prevent streaking, while blue shades need extra attention to achieve even coverage. We suggest using a high quality polish like OPI’s “Big Apple Red” or Essie’s “Aruba Blue” for vibrant color payoff.
Finish each tip with white accent dots placed strategically along the smile line. Small dotting tools work perfectly for creating uniform circles that represent stars scattered across your patriotic French tips. This technique adds dimension while maintaining the elegant French manicure silhouette.
Star-Studded French Design
Create white French tips first as your canvas for adding patriotic star details. We prefer using a classic white polish like Sally Hansen’s “White On” to establish the foundation. The white base provides excellent contrast for red and blue star accents.
Add tiny stars using dotting tools or nail art brushes in alternating red and blue patterns across each tip. We recommend placing 3-5 stars per nail depending on your nail size. Larger nails can accommodate more stars while maintaining visual balance.
Layer different sized stars to create depth and interest in your design. Start with larger blue stars as your base layer, then add smaller red stars on top. We suggest using metallic polish for accent stars to catch light and create sparkle effects.
Seal your star studded tips with a glossy top coat to protect the design and enhance color vibrancy. This final step ensures your patriotic French manicure lasts throughout all your 4th of July celebrations.
Patriotic Ombre French Style
Blend red, white, and blue colors from the cuticle to the tip for a stunning gradient effect. We start with a white base coat, then use makeup sponges to dab red polish near the cuticle area and blue toward the tips. This creates a seamless color transition that captures the American flag’s essence.
Work quickly while polish remains wet to achieve smooth blending without harsh lines. We recommend having all three colors open and ready before starting the sponging process. Light dabbing motions work better than heavy pressure for creating natural gradient effects.
Focus the darkest colors at the tips to maintain the French manicure structure while adding patriotic flair. Blue should be most concentrated at the nail tips, with red appearing strongest near the cuticle area. The white acts as a blending agent throughout the middle section.
Apply multiple thin layers rather than attempting to achieve full opacity in one application. We suggest building up the gradient slowly with 2-3 sponging sessions, allowing each layer to dry slightly between applications. This technique prevents muddy color mixing and maintains vibrant hues.
Conclusion
These patriotic nail designs offer countless ways to showcase your American spirit this 4th of July. Whether you’re drawn to classic red white and blue stripes or prefer the dazzling sparkle of firework-inspired art we’ve covered options for every skill level and style preference.
Don’t be afraid to mix and match techniques from different sections to create your own unique patriotic masterpiece. The beauty of nail art lies in personal expression so experiment with colors patterns and finishes until you find the perfect look.
Remember that proper preparation and quality products will help your festive manicure last through all your Independence Day celebrations. With these techniques in your toolkit you’re ready to create stunning nails that’ll be the talk of every barbecue parade and fireworks show.
Frequently Asked Questions
What are the best colors for 4th of July nail designs?
The classic patriotic color palette consists of red, white, and blue. These colors represent the American flag and create the perfect foundation for Independence Day nail art. You can use various shades within this palette, from deep navy blue to bright cherry red, combined with crisp white for maximum impact.
Can beginners create patriotic nail art easily?
Yes! Simple designs like horizontal stripes, basic flag patterns, and patriotic nail stickers are perfect for beginners. Start with easy techniques using striping tape for clean lines, or apply ready-made American flag decals and star stickers for professional-looking results without advanced skills.
How do I create realistic firework designs on my nails?
Use glitter explosion effects by applying dense glitter in burst patterns, create hand-painted starbursts with thin brushes, or try holographic polishes for light-catching effects. Combine dots and lines to mimic firework trails, and use gradient techniques to show fading sparkles for authentic firework patterns.
What tools do I need for patriotic nail art?
Essential tools include thin nail art brushes, striping tape, dotting tools, star-shaped stencils, and nail stickers. For advanced designs, consider holographic top coats, various glitter types, and chrome powders. These tools will help you create everything from simple stripes to complex constellation patterns.
How can I make my patriotic nails last longer?
Apply a quality base coat before your design, use thin layers of polish to prevent chipping, and seal everything with a durable top coat. For glitter and metallic finishes, use extra top coat layers. Avoid water for the first few hours after application to ensure proper curing.
Are there alternatives to painting complex designs?
Yes! Water decals, nail stickers, and patriotic symbol transfers offer professional results without painting skills. These include American flag decals, star stickers, eagle motifs, and patriotic text transfers. Simply apply over your base color and seal with top coat for long-lasting designs.
How do I create a patriotic French manicure?
Replace traditional white tips with alternating red and blue colors for a balanced look. Use striping tape for clean lines and add small star details with dotting tools. Alternatively, try a patriotic ombre French style by blending red, white, and blue from cuticle to tip.
What’s the best way to apply metallic finishes?
For chrome effects, use a black base coat first to create depth and richness. Apply the metallic polish in thin layers and finish with holographic top coat for maximum shine. Strategic placement on accent nails prevents overwhelming the overall design while maintaining visual interest.

